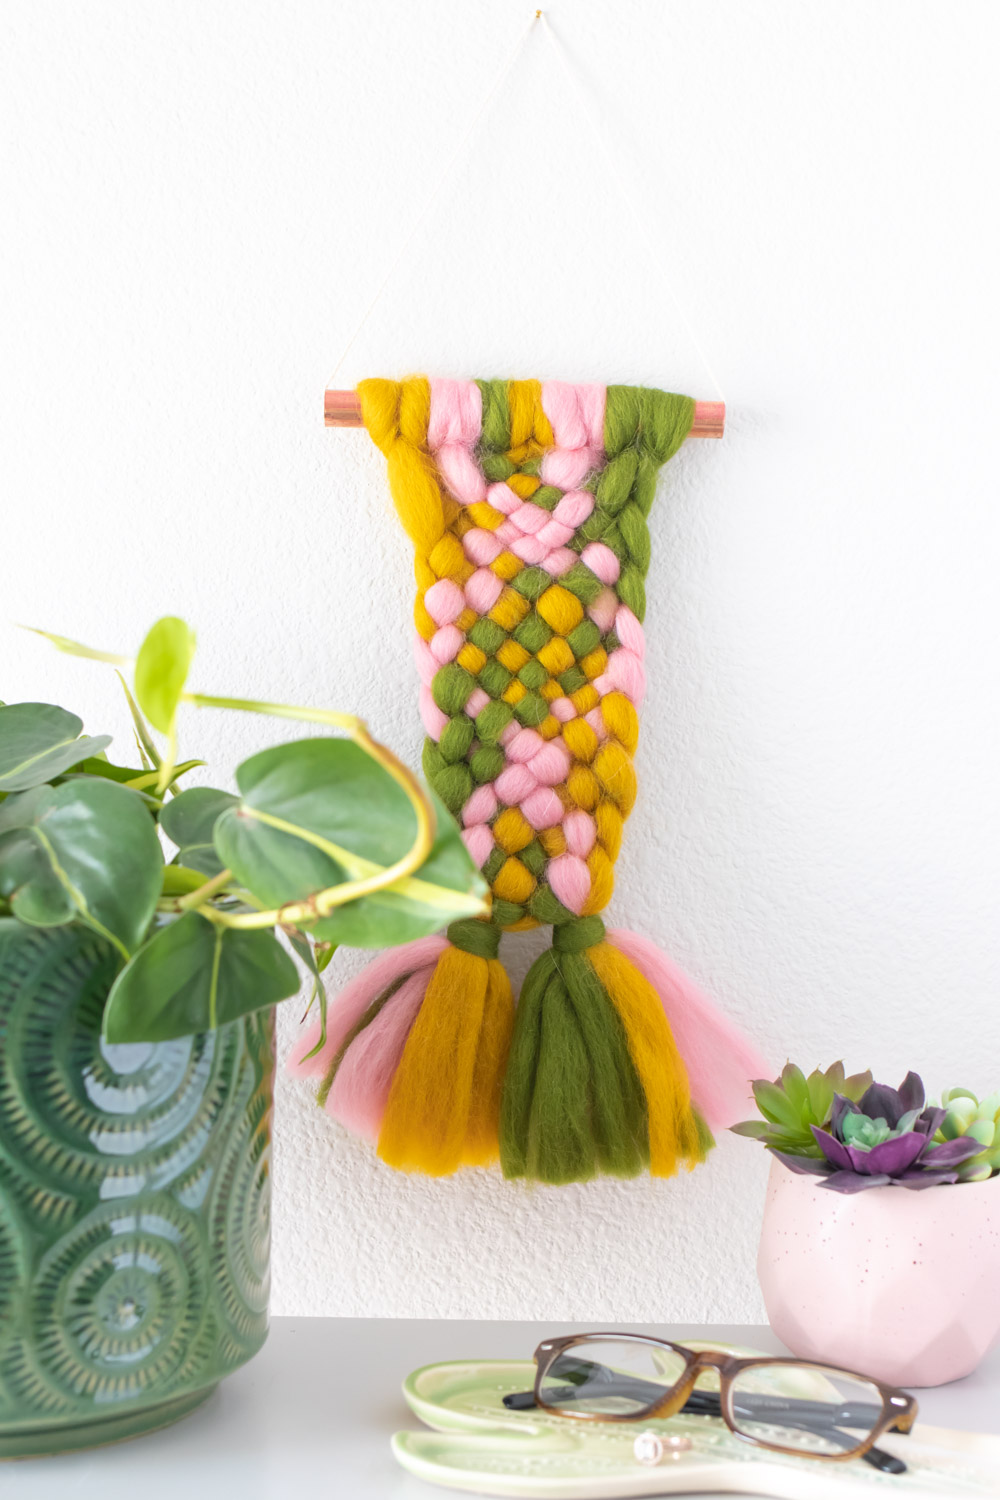
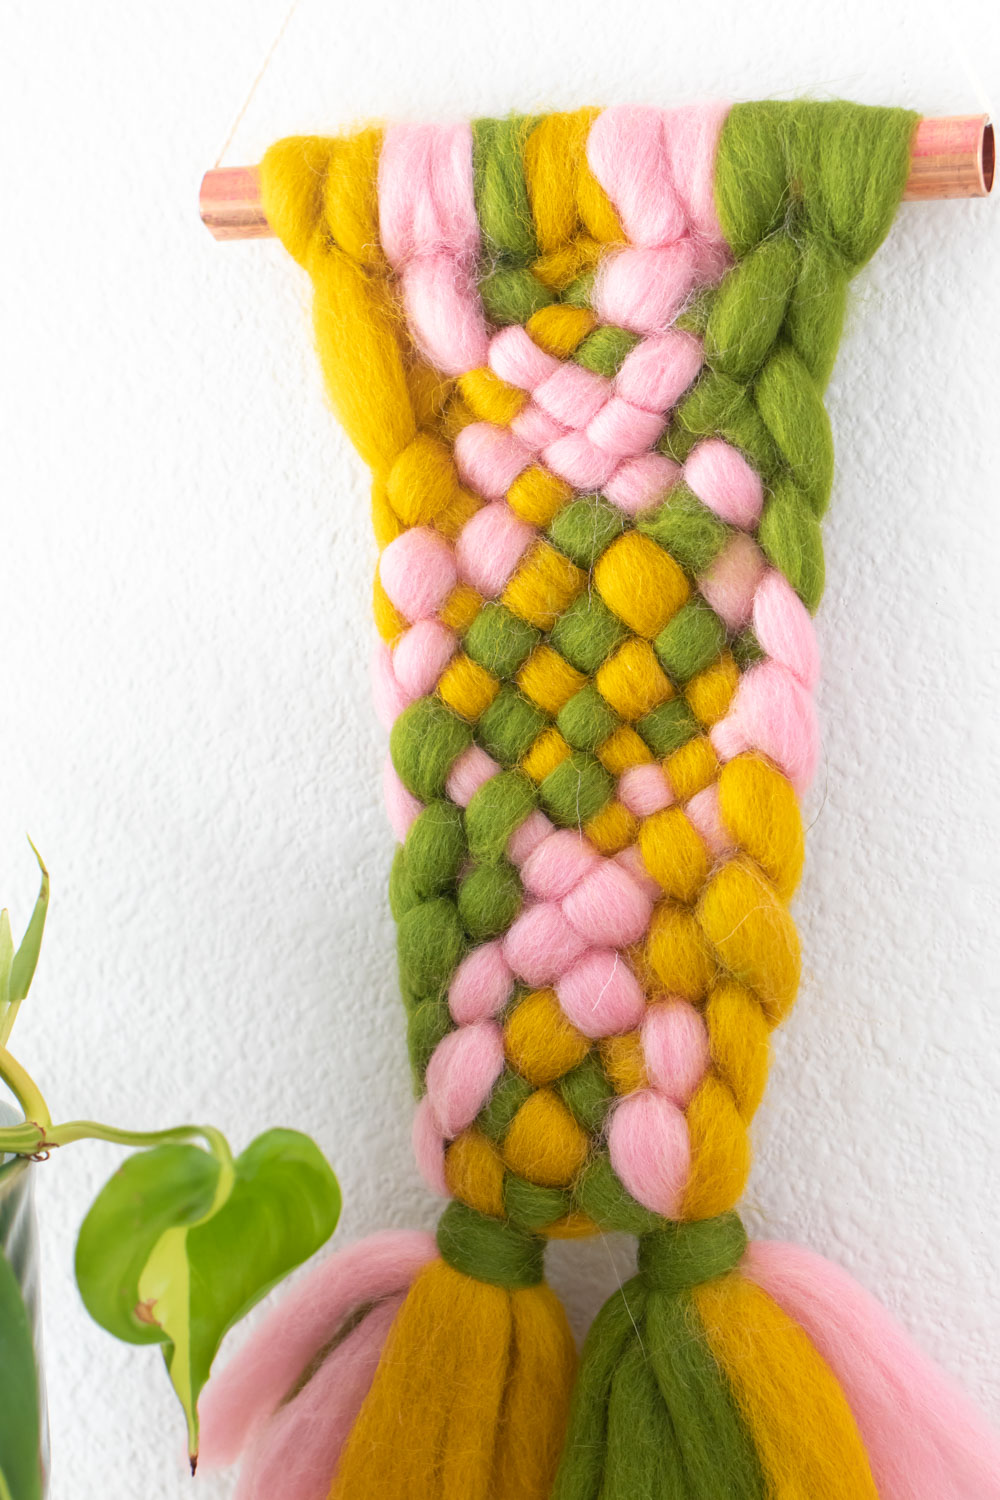
As many of us continue to practice “social distancing,” it’s the perfect time to learn a new skill. For me, that’s weaving! This past week under quarantine, I’ve been utilizing excess fiber materials to teach myself easy weaving techniques. This easy weaving project for a wall hanging DIY comes together in just 10 minutes! Made with three colors of thick roving, this simple wall hanging looks fancier than it really is. That’s why it’s the perfect beginner-friendly weaving project AND it gives you a chance to practice weaving without a loom. Here’s how to make a wall hanging DIY in just 10 minutes!
I suggest ordering roving on Etsy (I purchased mine here) for the best selection. Plus, you can support small businesses that are surely suffering right now.
Once you watch the video below from my Instagram, I think you’ll see just how easy this weaving pattern is. Basically, it’s an under-over pattern with two knots of fringe at the bottom. However, using roving makes the design look unique and significantly thicker. You only need a little bit of roving to make this easy weaving project, so you can use leftovers for things like needle felting or knitting.
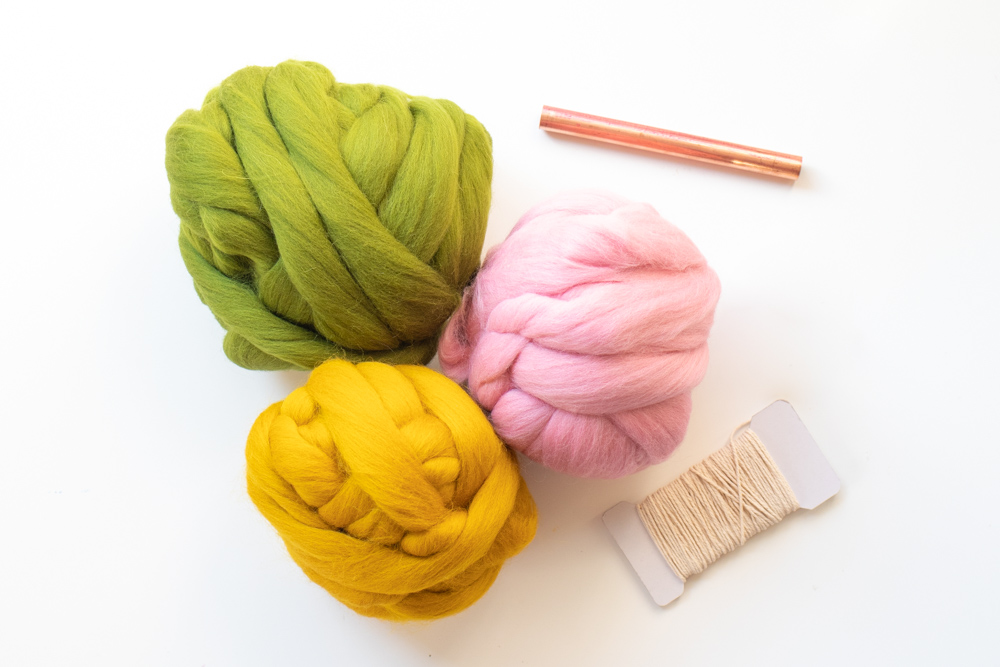
Supplies:
- Small pipe or wooden dowel, about 6 inches
- Thick roving, 3 colors
- String, for hanging
- Scissors
Beginner-Friendly Woven Wall Hanging
Step 1: Cut lengths of roving about 1-1/2 arm’s length from each color. Depending on the thickness of the roving, split strands in half. You should have 6 strands total.
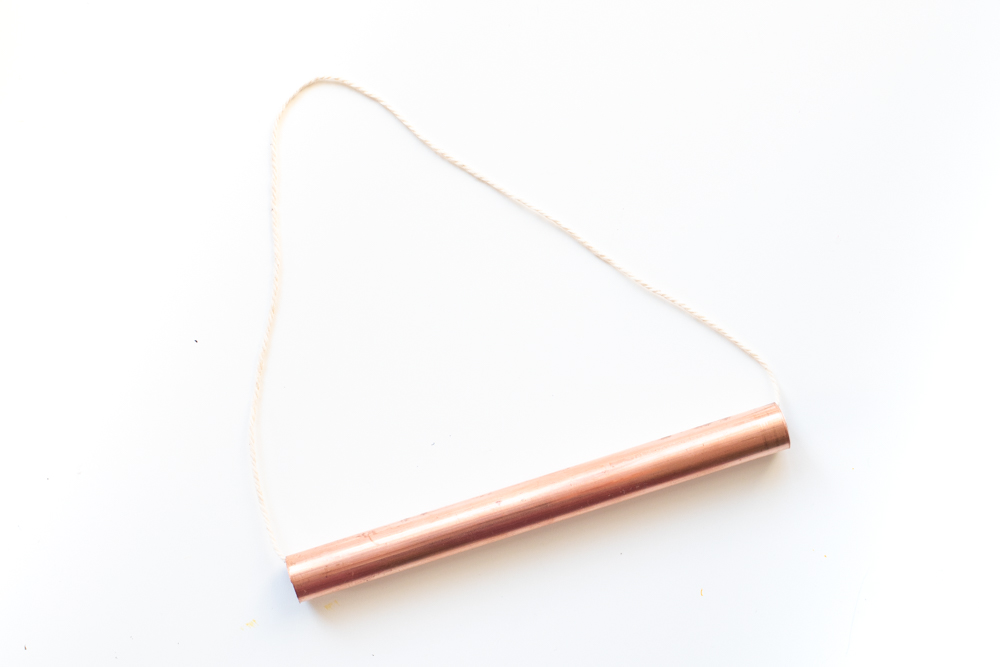
Step 2: Thread a string through the center of a copper pipe. Tie in a knot and hide the knot inside the pipe. If using a wooden dowel, tie the string to either end of the dowel for hanging the wall hanging DIY.
Step 3: Attach the strands to the copper pipe with a lark’s head knot. Fold each strand in half, place under the pipe and pull the loose end through the loop’s head. Pull tight and repeat with each, following a color pattern if desired.
Step 4: Starting with the middle strand (fourth knot over, leftmost strand), weave over-under the other strands across the left side. Then repeat with the strand to the right, weaving under-over so create a simple wall hanging DIY. Continue with each strand. Then pull up the design to tighten the weave.
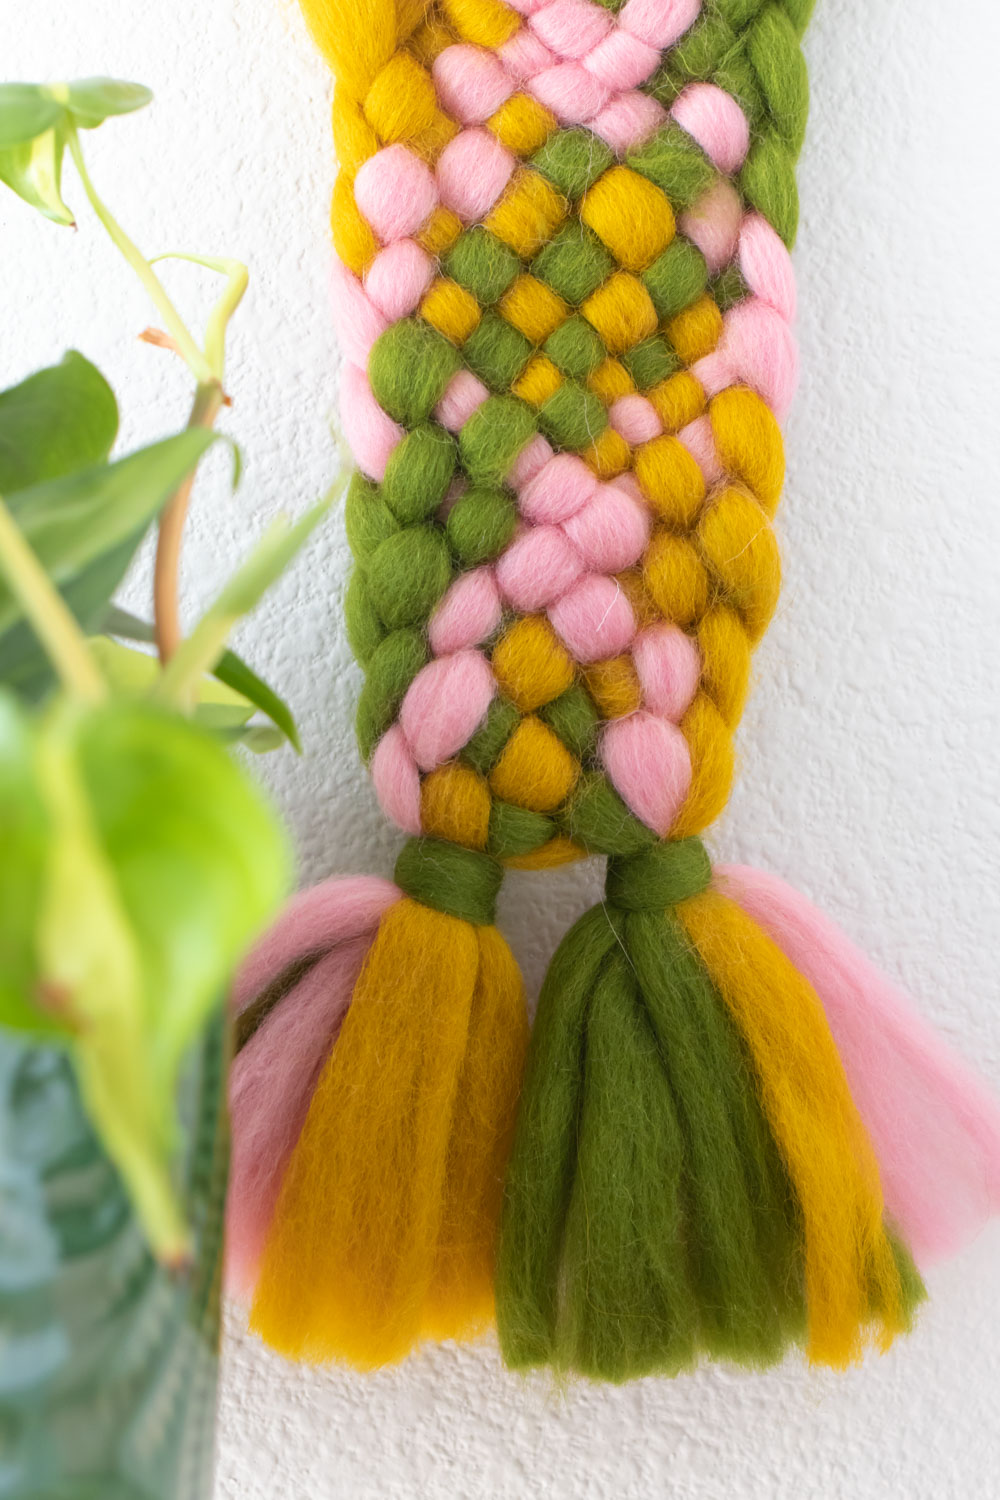
Step 5: Hold half of the wall hanging strands in each hand. Weave the rightmost strand into the middle, then trade off with the left side and repeat. Alternate until the easy weaving becomes mostly straight.
Step 6: Separate each side of strands. Cut a separate piece of roving about 8 inches long. Create a wrap knot by holding it in front of the section you want to knot, creating a “u” shape and wrapping it tightly around all strands at least twice. Thread the end through the loop and pull up the top piece. Repeat with each side and trim excess roving.
Ta-da! I found this to be the easiest way to weave for beginners, especially if you want to weave without a loom! Hopefully I’ll have more to share soon!