The following post was created in partnership with DecoArt
Ever since I started Club Crafted almost a year ago, I’ve struggled to find ways to keep my various photos feeling unique while still fitting my style and my “brand.” If you’re a photographer, blogger or other type of influencer, you’ve probably encountered this same problem at some point. I searched everywhere for photography backdrops, papers, vinyls, etc. and I’ve found a handful of backgrounds that work well for me, but eventually I hit a wall and couldn’t find anything new that I really liked. Luckily, there’s always another way!
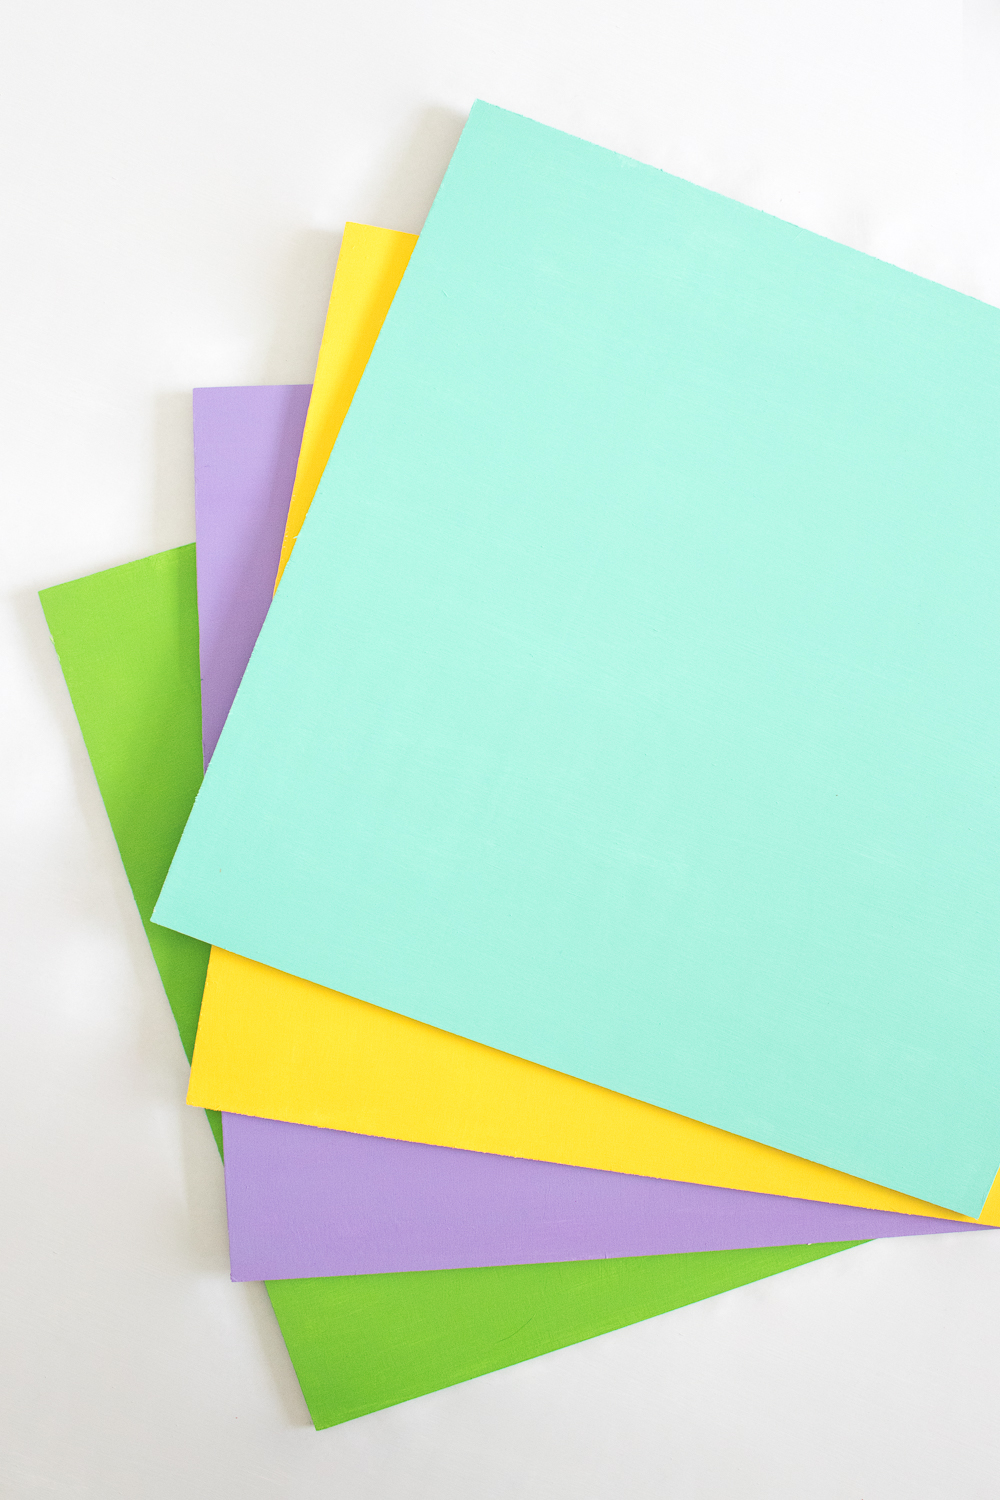
To completely customize my photos to always feel like my style, I decided to make my own colorful photography backgrounds using large pieces of wood and DecoArt Americana Multi-Surface Satin Paints in a few colors that fit my brand.
Having created my own backgrounds has made it much easier for me to make each photograph feel unique but still all have enough similarities that it feels like my blog’s style. After all, I don’t want all of my project photography to look the same, but I do want it to be clear that it’s “me.” This way, when I compile all of my images together, there appears to be a theme, such as with a color palette and styling similarities.
Because I don’t have a large studio and I definitely don’t have the funds to purchase special photography equipment, I went to Home Depot and purchased large pieces of thin wood and had them cut into fourths so they’d be a manageable size. Here’s a quick tutorial and a rundown of how I achieved bright, even colored backgrounds for my photography!
 Supplies:
- Thin pieces of wood
- White primer
- Extra large paint brushes
- Drop cloths or similar
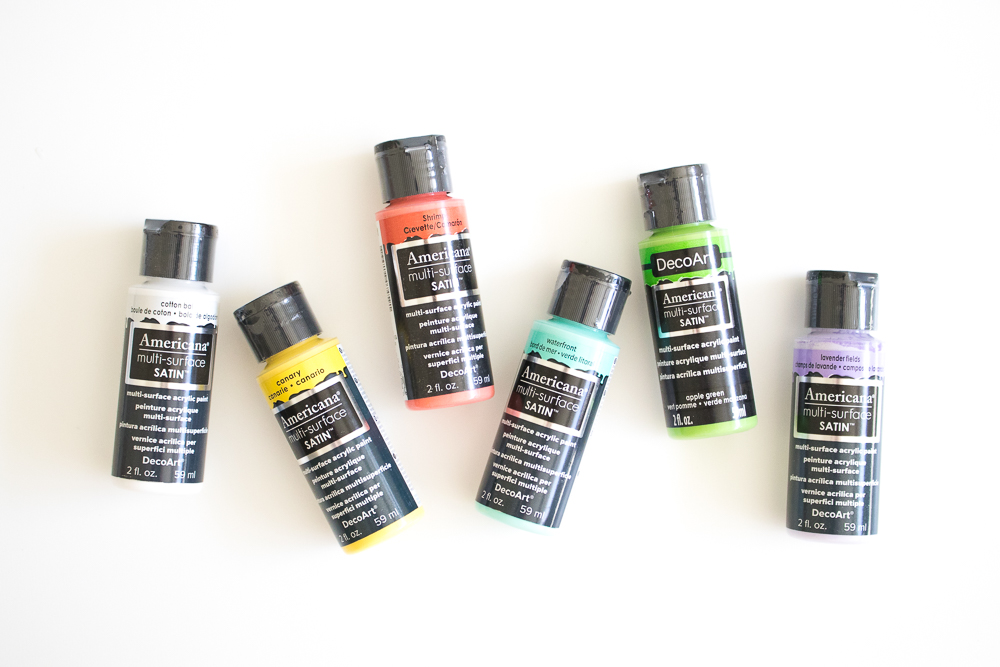
- DecoArt Americana Multi-Surface Satin Paints
Tip: My wood pieces are 2ft x 2ft and are perfectly sized for shooting my flatlays. I purchased a thin 4ft x 4ft piece of plywood at Home Depot and asked them to cut it for me (free!) so I ended up with four equal sized pieces for the price of one piece of wood. Each piece is fairly light to move around as needed.
Step 1: Lay out a drop cloth or something similar to cover the area you are painting it. To avoid dust setting in the paint, paint in a protected area or indoors. I actually use an old plastic shower curtain for my painting projects.
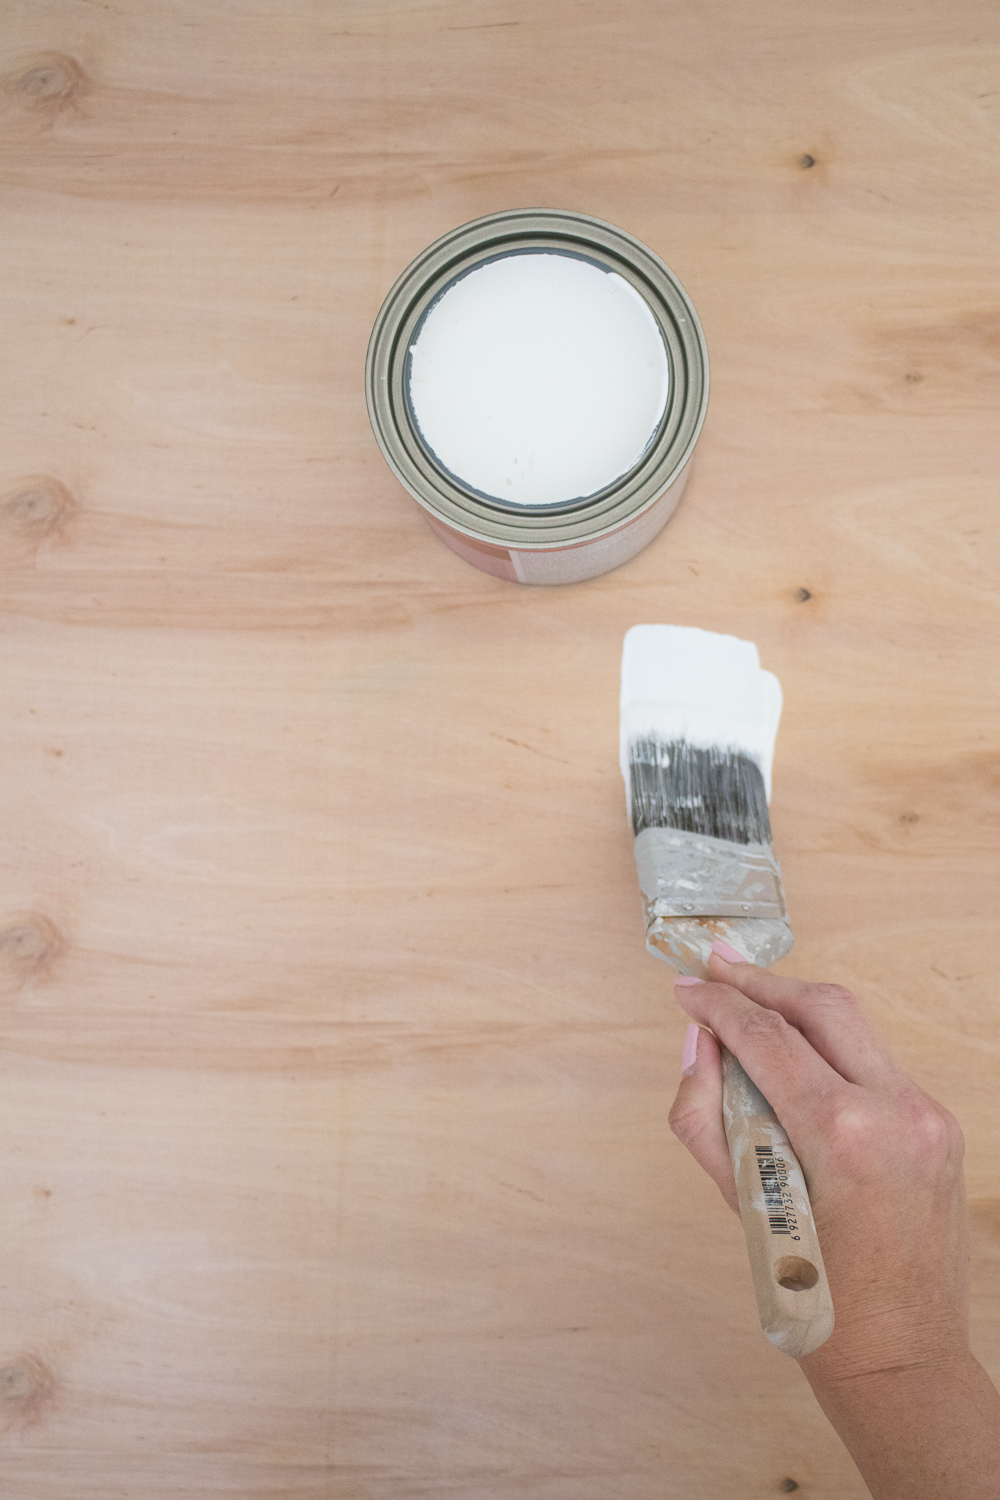 Step 2: Apply a layer of white primer to each piece of wood, let dry and paint a second layer. Painting a primer layer first ensures that the paint color will pop and have a better finish because it will not be absorbed into the wood.
Step 3: Paint a layer of DecoArt paint and let dry completely before painting a second coat. Two layers should be enough for the color to pop and the brushstrokes to appear even and hardly noticeable. However, paint a third layer if you feel it is necessary.
If desired, you can paint the opposite side of the wood in a different color to maximize the use of your wood. I like to do this so that I have two pieces that are same color for photographing more than just flatlays. Plus, the more color options the merrier!
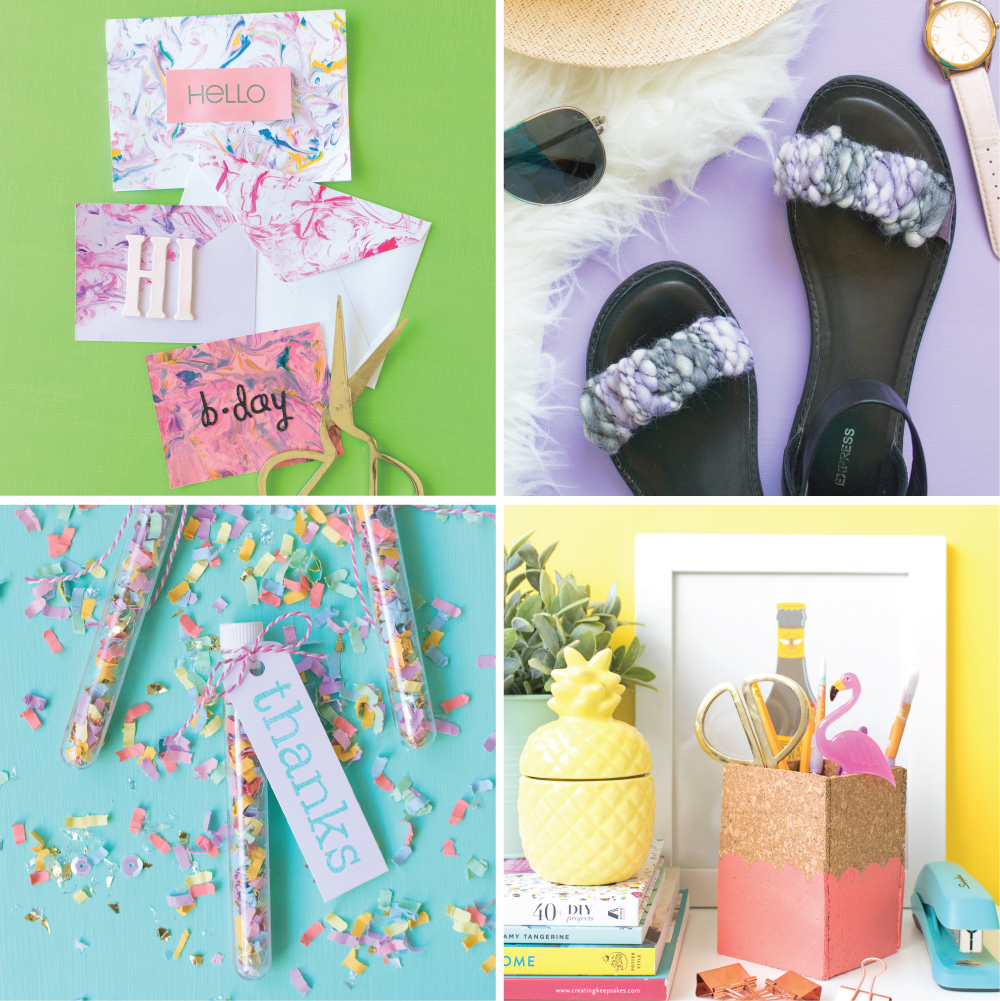 These are a few of the projects I’ve photographed with these background so far! I think the mint and purple ones are my favorites, but it’s so nice to have the yellow and green because I could not find backdrops in the correct colors anywhere else. Hopefully this quick tutorial helps you fellow photographers expand your background selections!
Thank you to DecoArt for generously providing products for this post. All opinions are my own. Thanks for supporting the brands that keep Club Crafted making!
Marisa
Brilliant idea!!!!!! Definitely want to try this out for my photos!!!
Breanna
This is a great idea! I’m just kind of starting out and was looking for a good way to stage my photos with a nice backdrop!
Lisa // Cucicucicoo: Eco Sewing and Crafting
Great tip, thanks! Those colors you use are just lovely! 🙂 Lisa