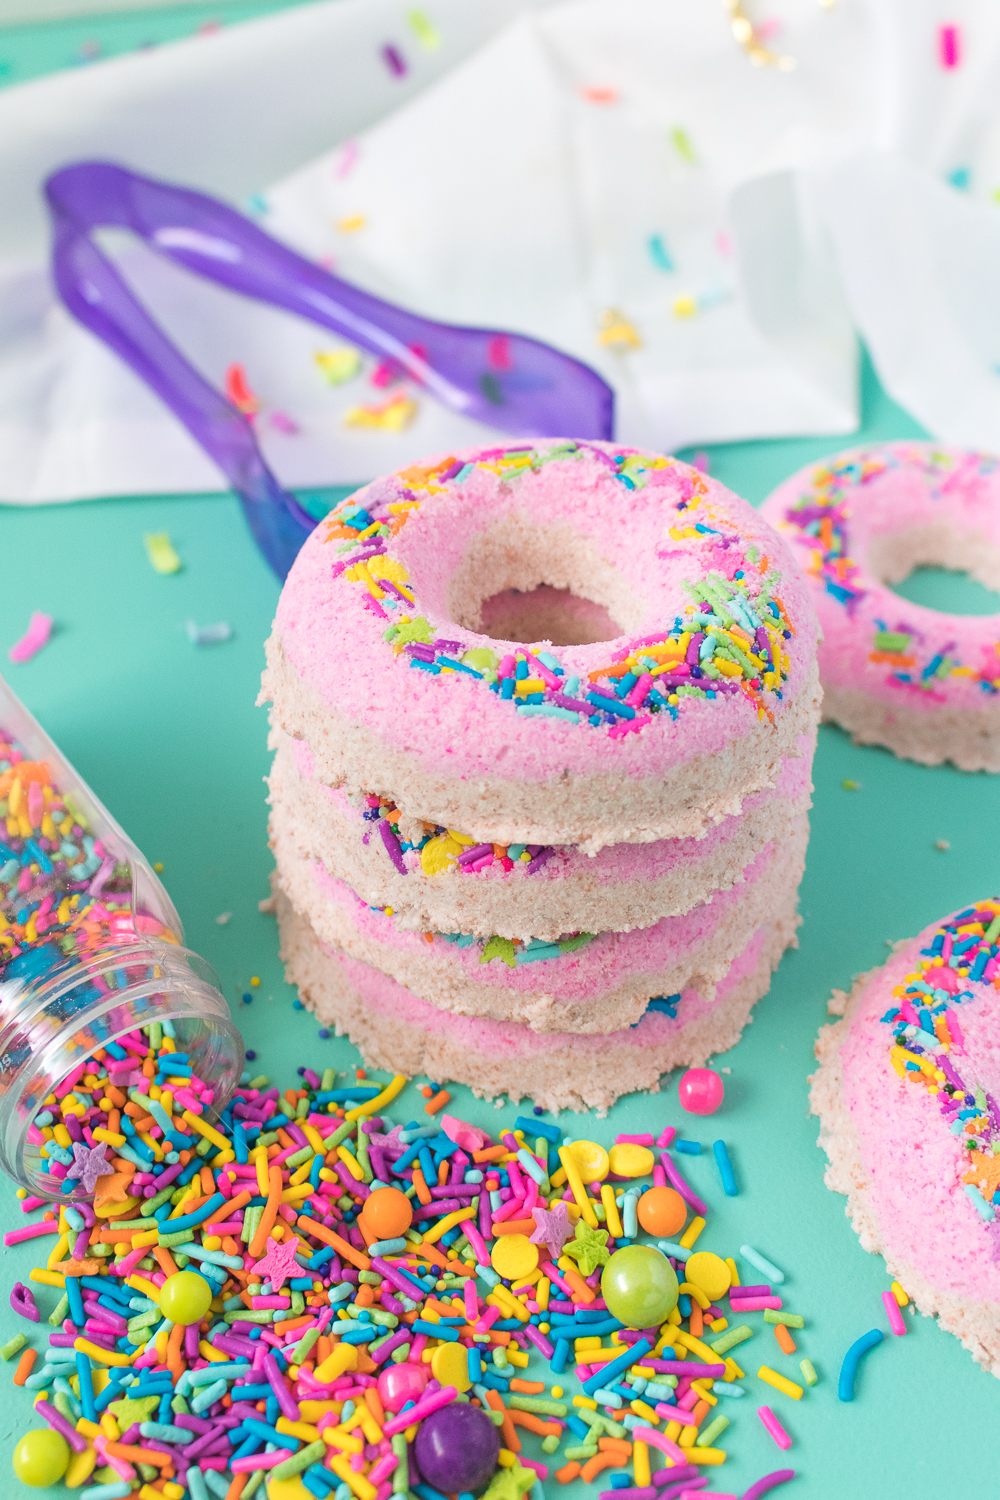
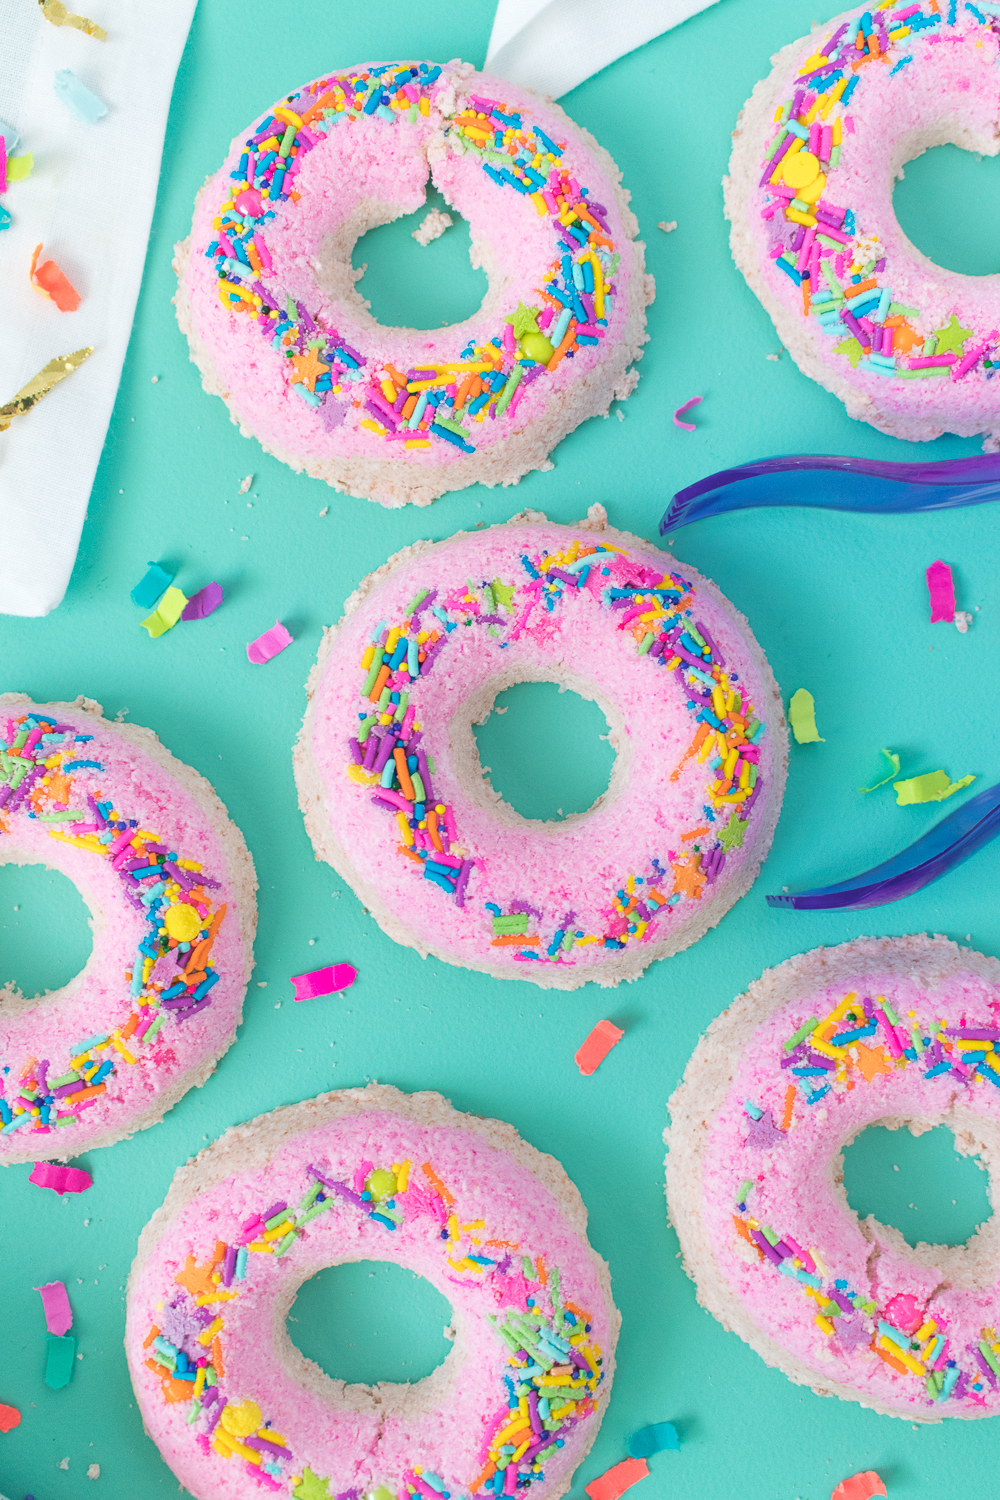
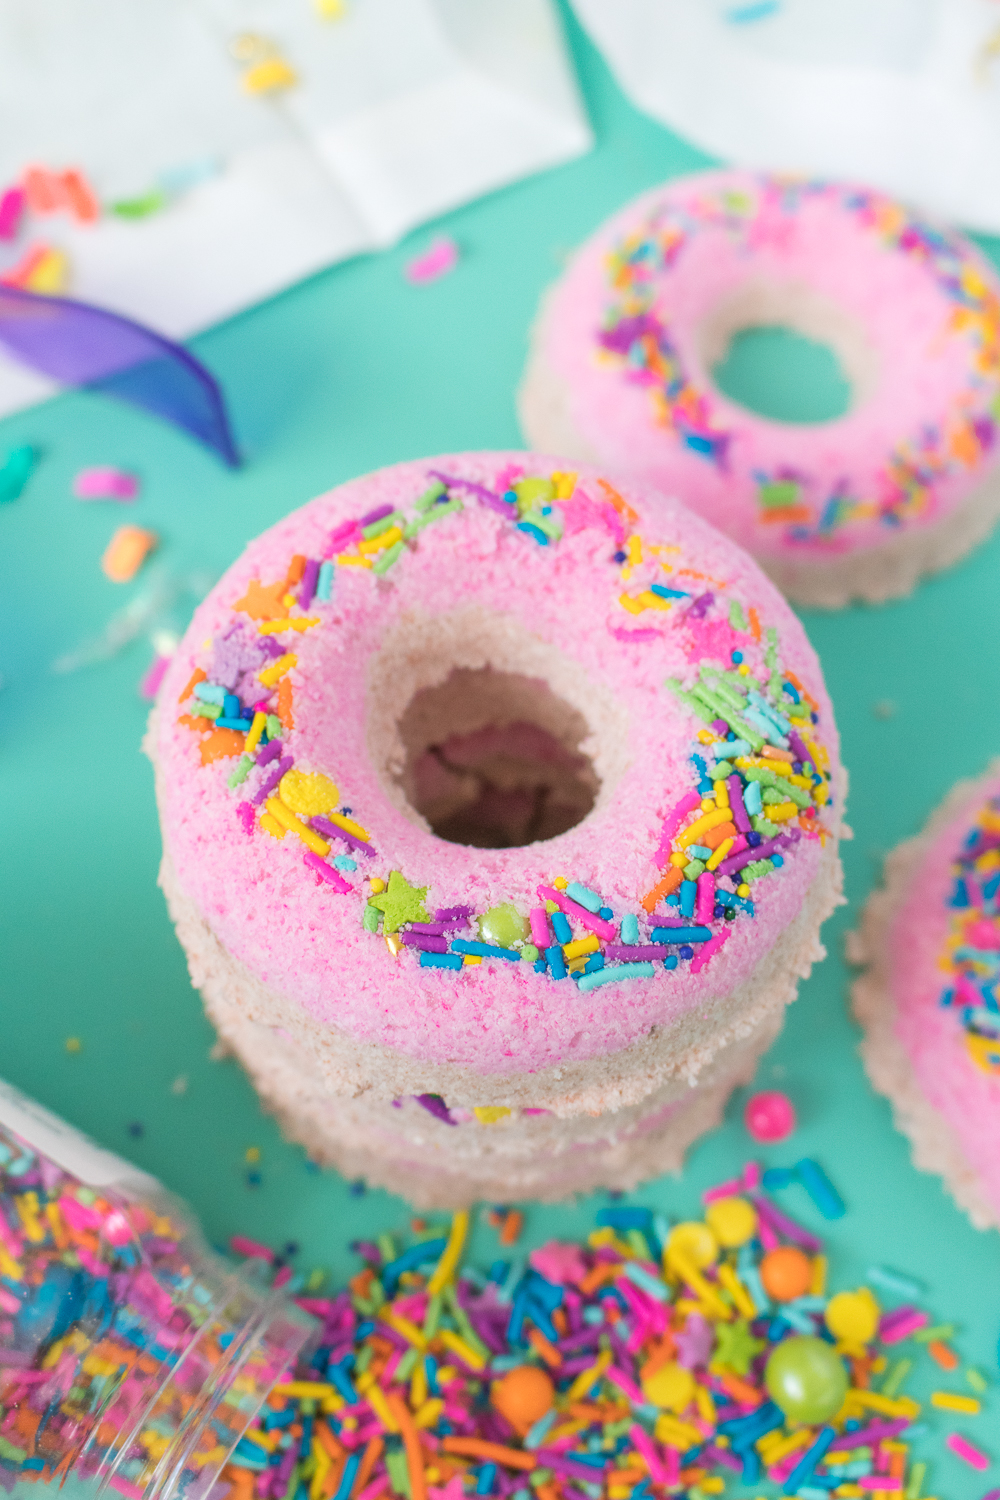
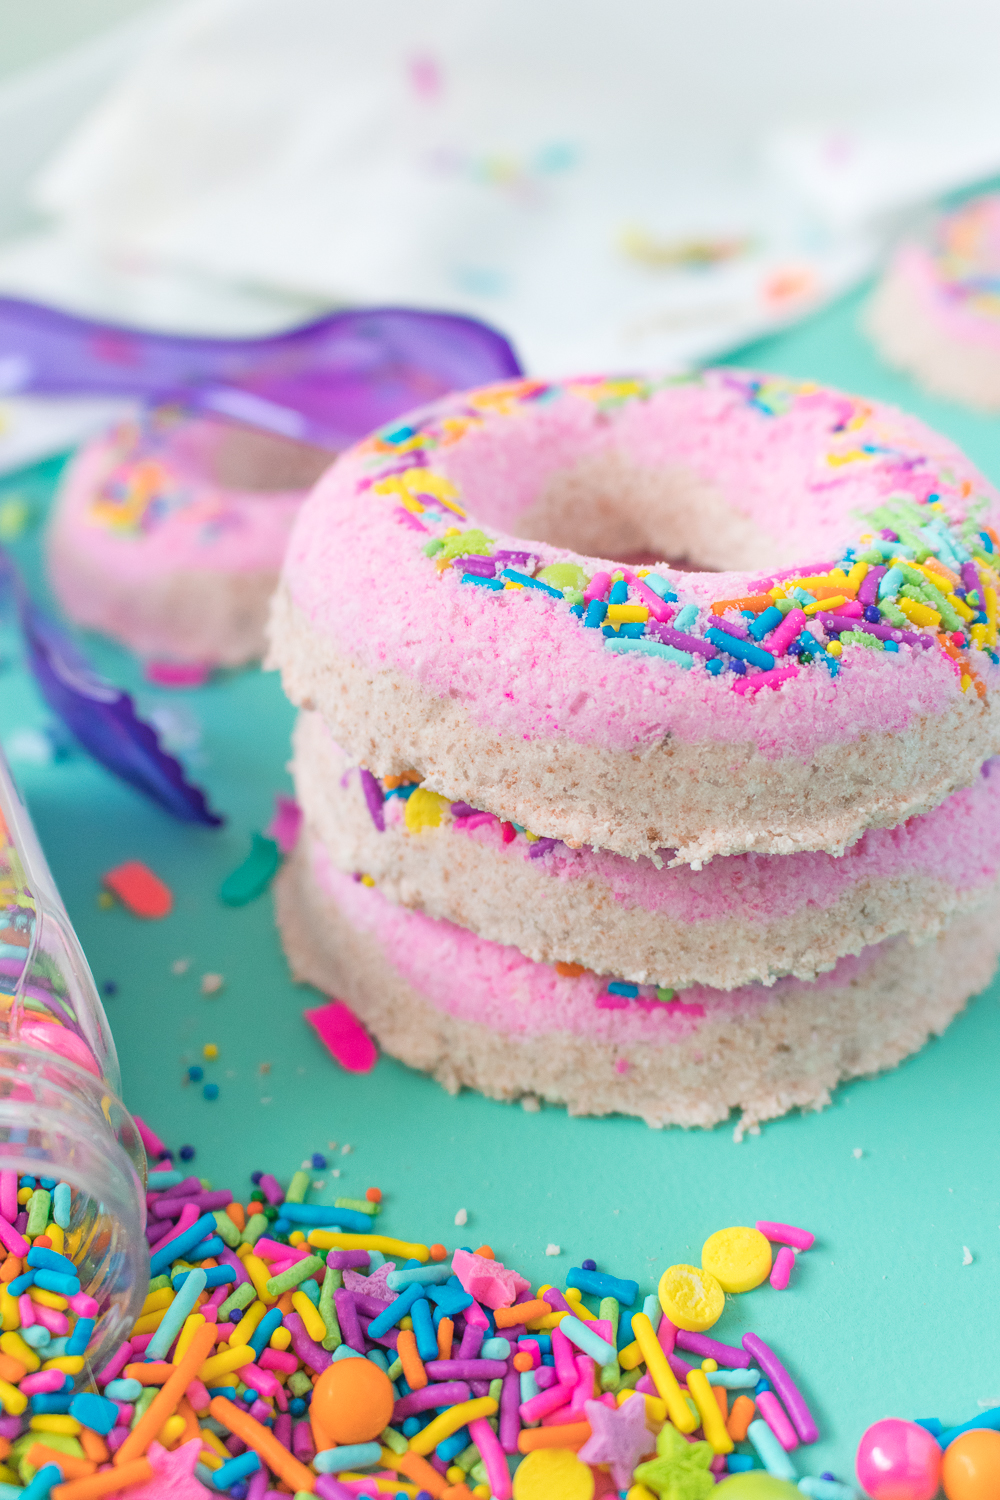
Can I get a hallelujah for bath season?! In my opinion, winter is the best time for a relaxing bath with specialty bath bombs and salts, so I couldn’t resist making something to make it that much more fun. These donut bath bombs are colorful, relaxing and great for gifting (unless you’d rather keep them all to yourself). Use your favorite scents or essential oils to create a luxurious but fun bath complete with sprinkles. I mean, what would a bath be without sprinkles, right?
 DONUT you want to relax in a bath with one of these right now?! ?
Making great bath bombs is all about the proportions of the wet and dry ingredients. When in doubt, start with less liquid and add more as needed to make the mixture just barely stick together. If the mixture becomes too wet, it will not mold properly and may fall apart or begin to fizz.
I use two colors to create the look of the donut. Brown soap coloring creates the tan “donut cake” and pink coloring creates the appearance of frosting with colorful frosting on top. As always, I used my favorite Sweetapolita sprinkles.
 Time: 25 minutes
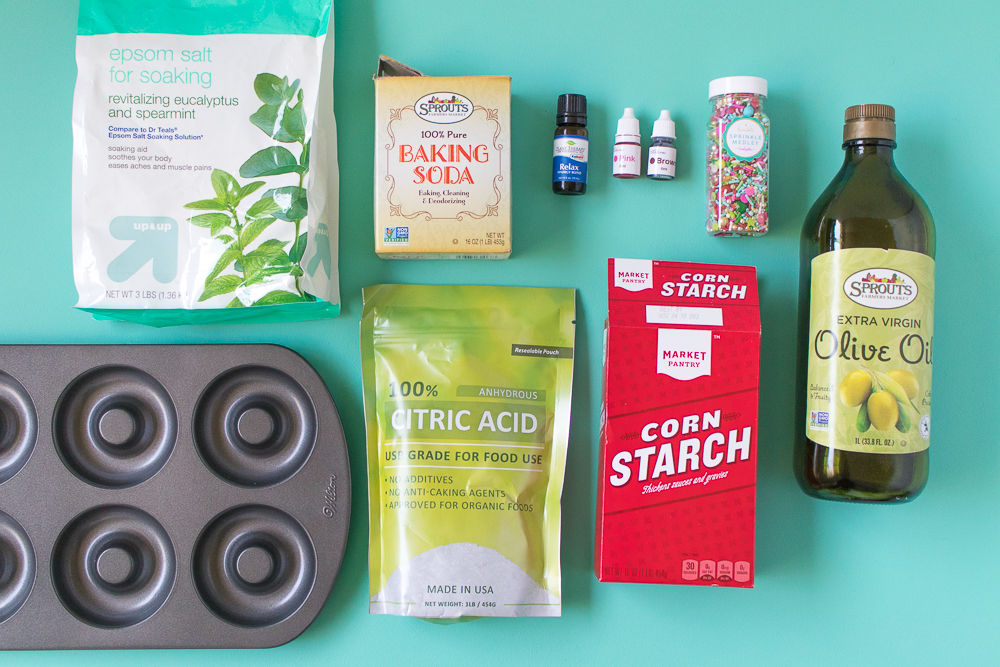
Supplies:
- 1 cup baking soda
- 1 cup cornstarch
- 1/2 cup citric acid
- 1/2 cup Epsom salts
- 2-3 tsp oil (I used olive oil)
- 1 tsp water
- 1 tsp essential oil
- Soap coloring or food coloring
- Donut mold/pan
- Sprinkles
- Bowls
- Whisk
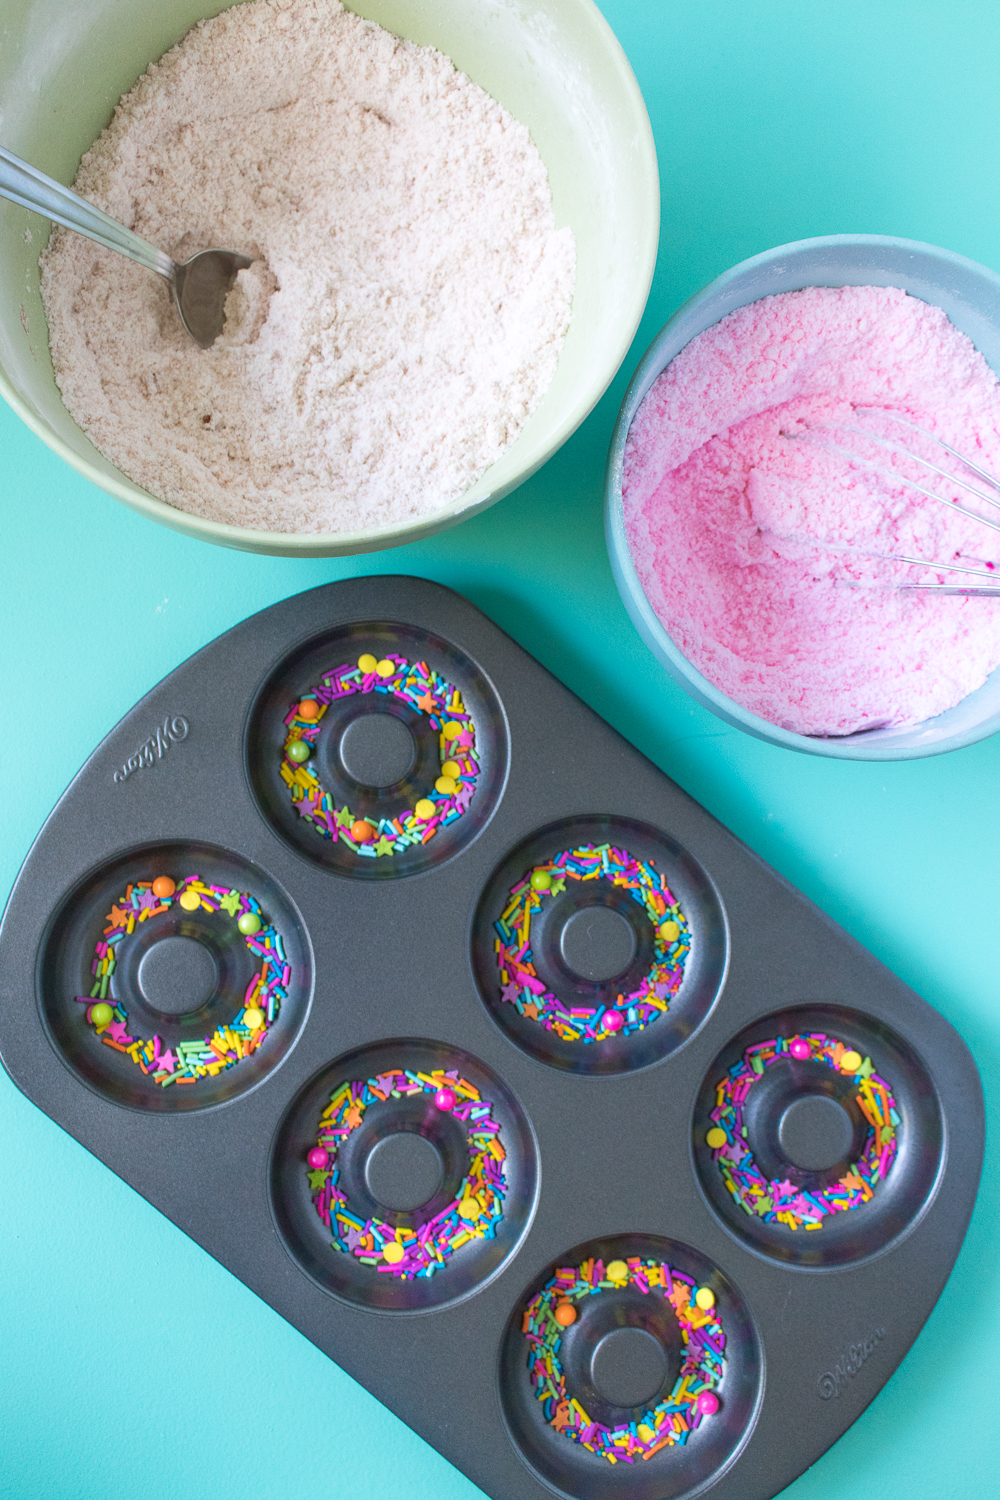
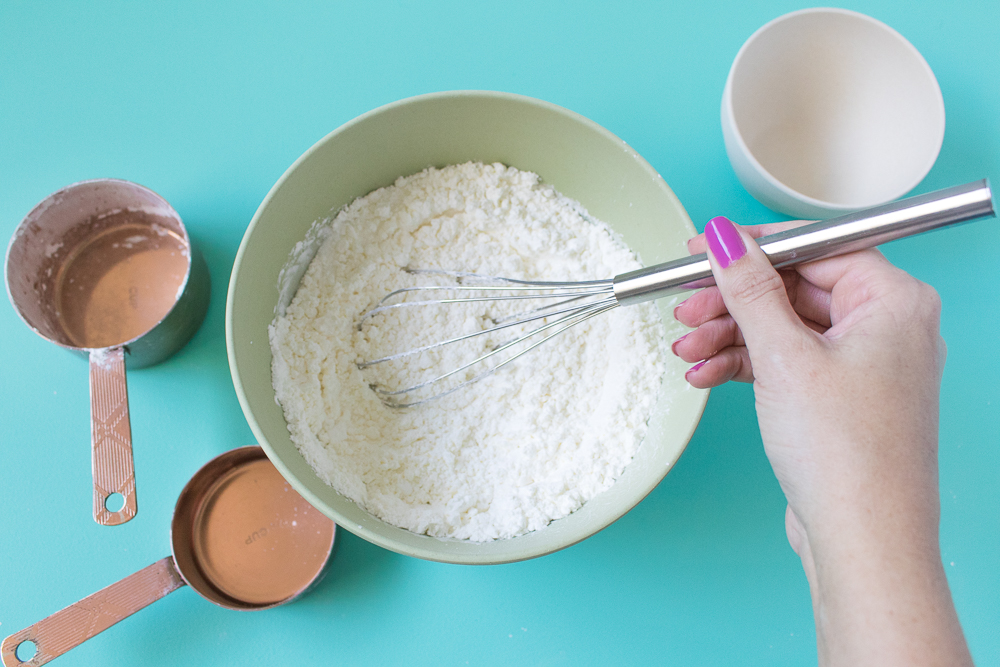 Step 1: Combine the dry ingredients in a large bowl and whisk well until combined. Then move about half of the dry mixture into a separate bowl.
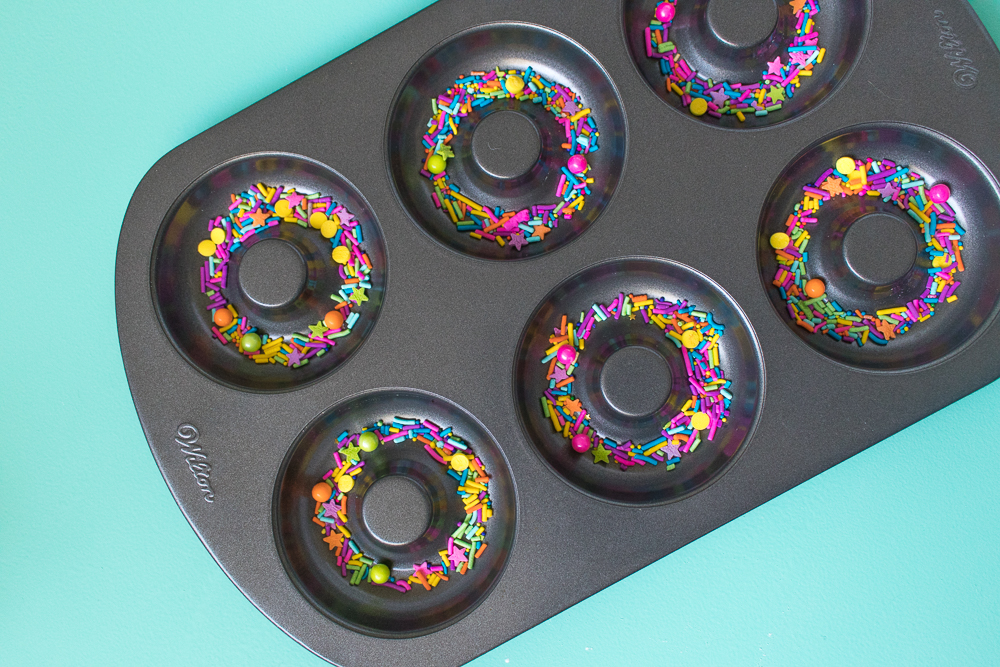 Step 2: Distribute the sprinkles into each cavity of a donut pan or mold. Spread them out so that they cover the bottom.
Step 3: In two small bowls, combine 1/2 tsp water, 1/2 tsp essential oils and 1 tsp olive oil in each one. Mix brown soap coloring in one and pink coloring in the other.
 Step 4: Pour the wet ingredients into the dry (brown into one, pink into the other) and mix well until evenly distributed and slightly moistened. Add more olive oil or coloring as needed to reach desired color and texture so that pressing the bath salt mixture between your fingers sticks lightly.
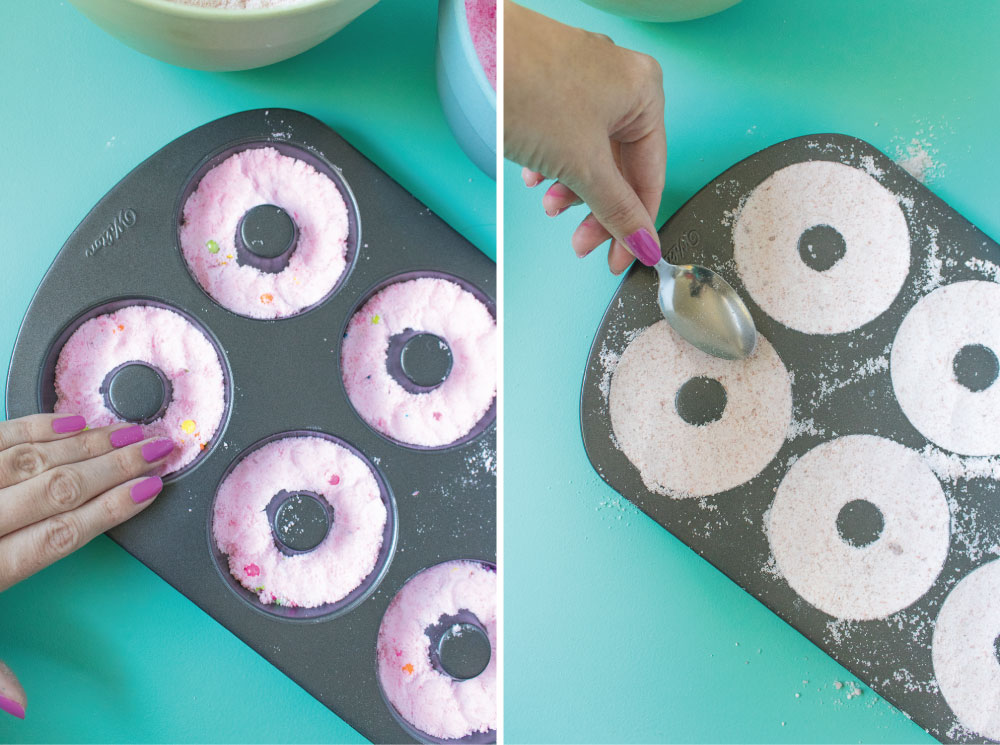 Step 5: Use a spoon to distribute the pink mixture over the top of the sprinkles. Press lightly with your fingers so that it fill about 1/3 of the cavity. Top with the tan colored mixture and use your fingers or a spoon to press firmly when it reaches the top of the cavity.
Step 6: Set aside for at least 2 hrs to dry. Place a flat baking sheet on top and carefully flip the donut pan over. Tap on the cavities to loosen and very carefully lift the pan so that the donut bath bombs are resting on the baking sheet. If you see them cracking, replace donut pan immediately and let dry for longer.

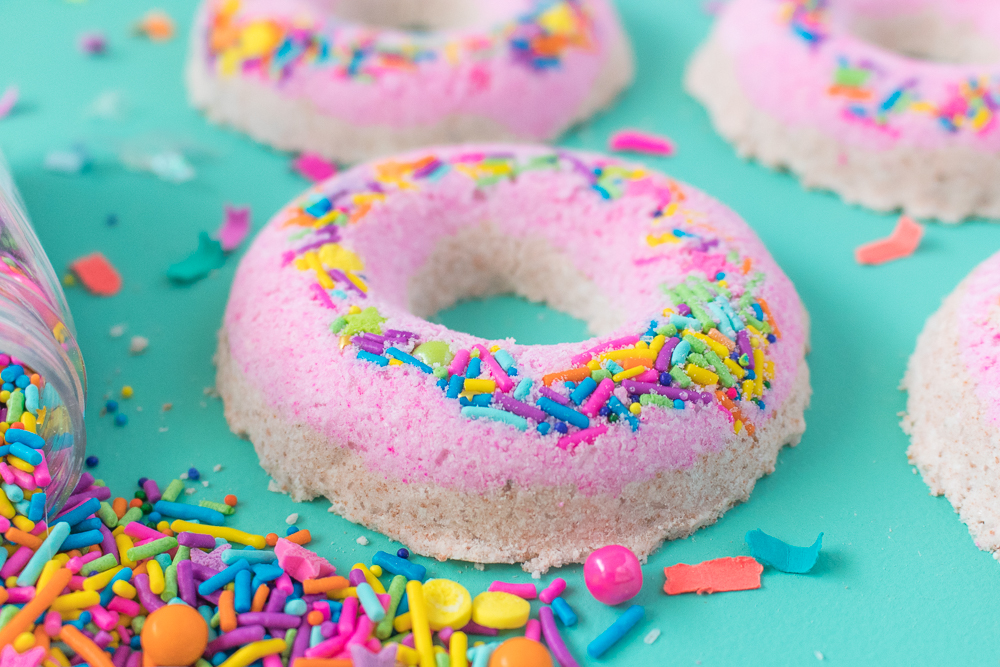 Once removed from the pan, allow to dry for another hour before package or using. Note, when placed in a plastic bag, the mixture releases air that will cause the bag to puff up. It’s a fun little science experiment! Store in a dry place and pop one in warm water for a luxuriously fizzy bath!
Rebekah
These would make adorable Valentines gifts for roommates!
Holly Wade
RebekahYes, I love that idea!