
Happy National Piñata Day!! Guess what we’re making today?!
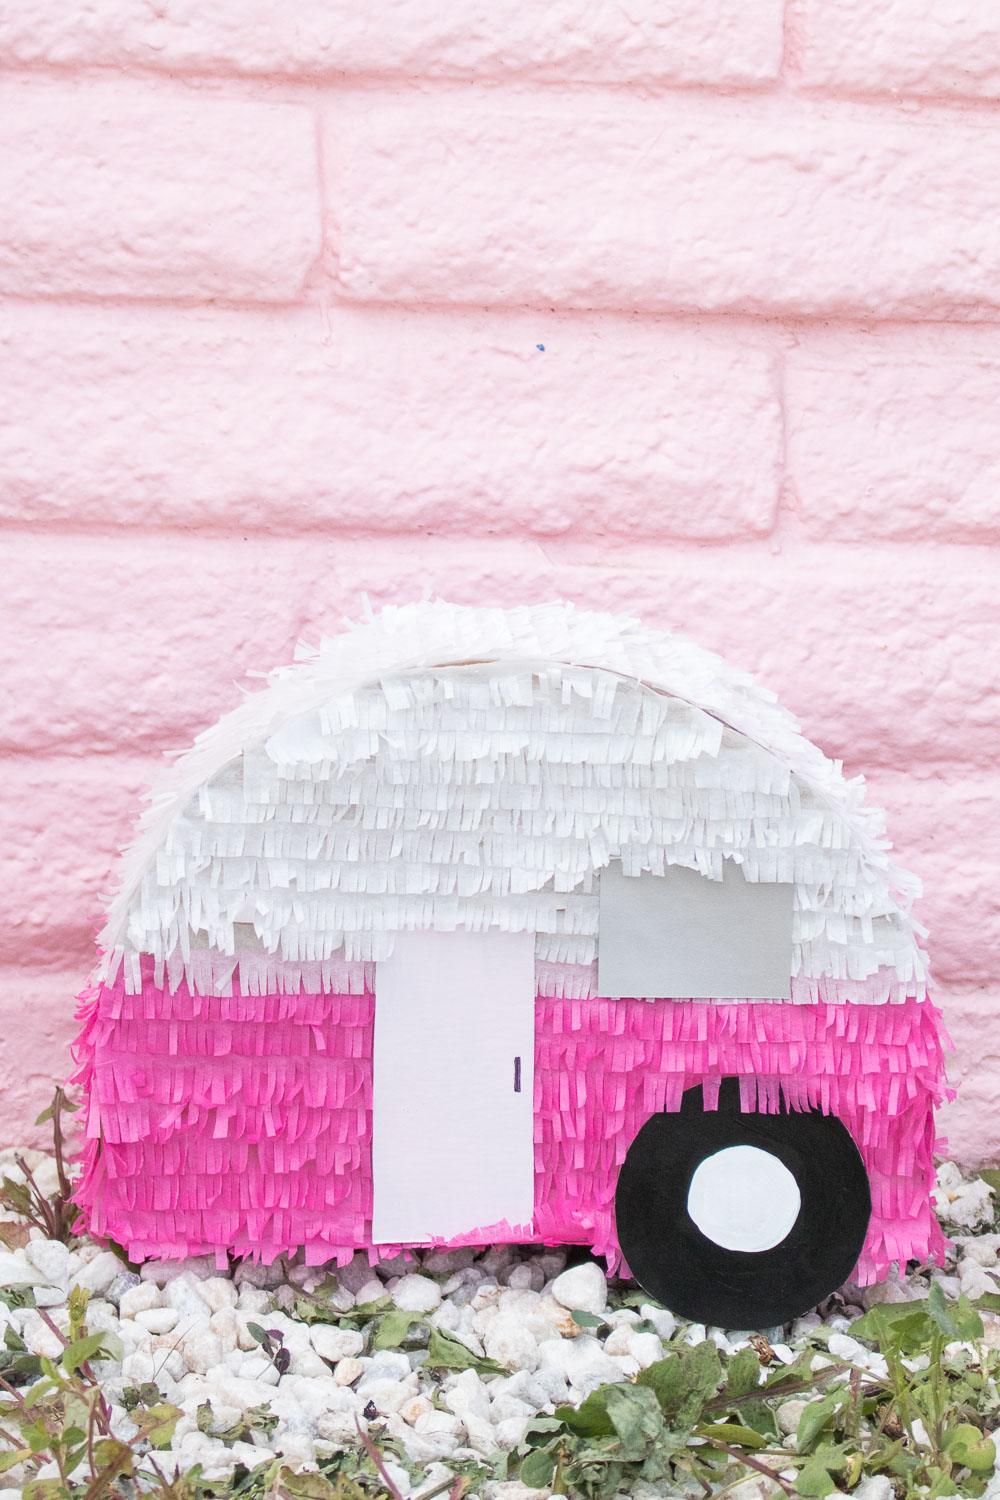
If you couldn’t tell, I’m really excited to share today’s DIY…a retro camper piñata! I’m really into the “retro” look lately, and I dream of one day fixing up a vintage camper to take “camping” (I’m more of glamping kind of girl). Piñatas are a lot of fun for celebrating any occasion, but they’re also pretty easy to make with any cardboard you have lying around. The most time consuming part is fringing the tissue paper, but trust me, you’ll feel incredibly accomplished once it all comes together into a cute retro camper design. Use your favorite color to accent the bottom and the door of the camper piñata, fill it with candy and start celebrating!
 Time: 1 hour
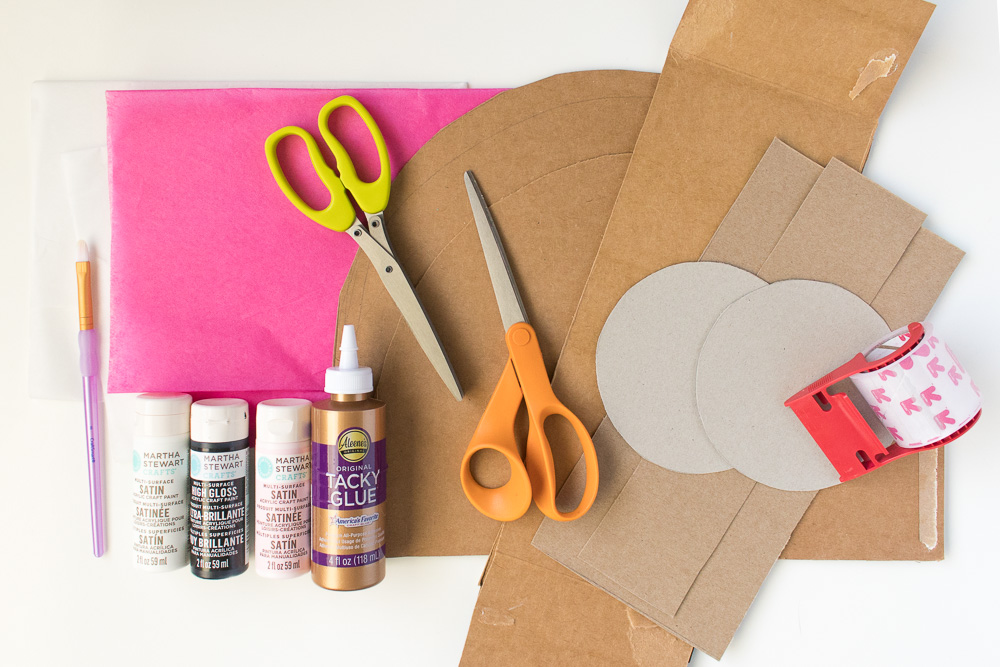
Supplies:
- Cardboard
- Packing tape
- Scissors
- Herb scissors
- White tissue paper
- Pink or colored tissue paper
- Glue
- White paint
- Black paint
- Pink or colored paint
- Paint brush
- Rope/string for hanging
Step 1: Cut two equal half circles, making the bottom a little long to create the shape of a vintage camper. Cut 3-inch strips of cardboard for the sides.
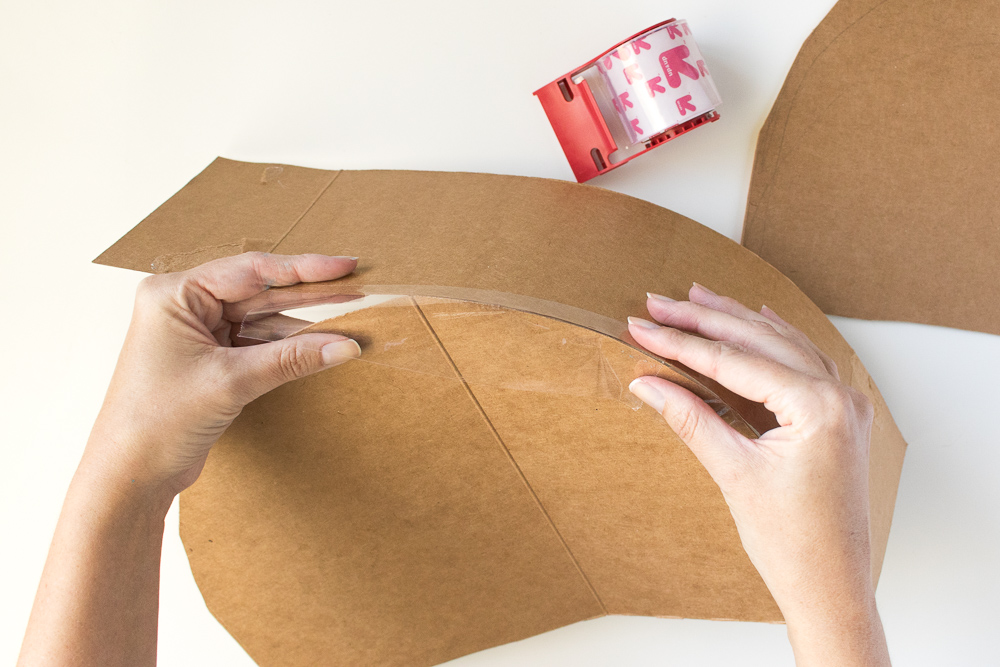
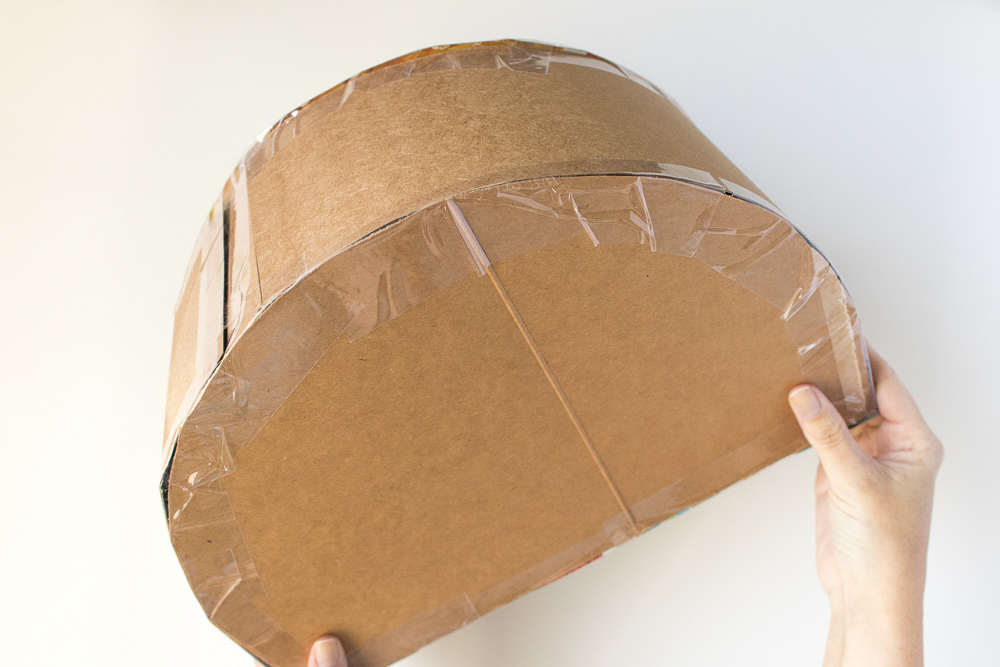 Step 2: Tape the side pieces around the edge of one half circle. Then place the other half circle on top and tape again to create one piece.
Note, insert candy now, BEFORE finishing taping the piñata.
Step 3: To hang the piñata, attach string or rope to the top now.
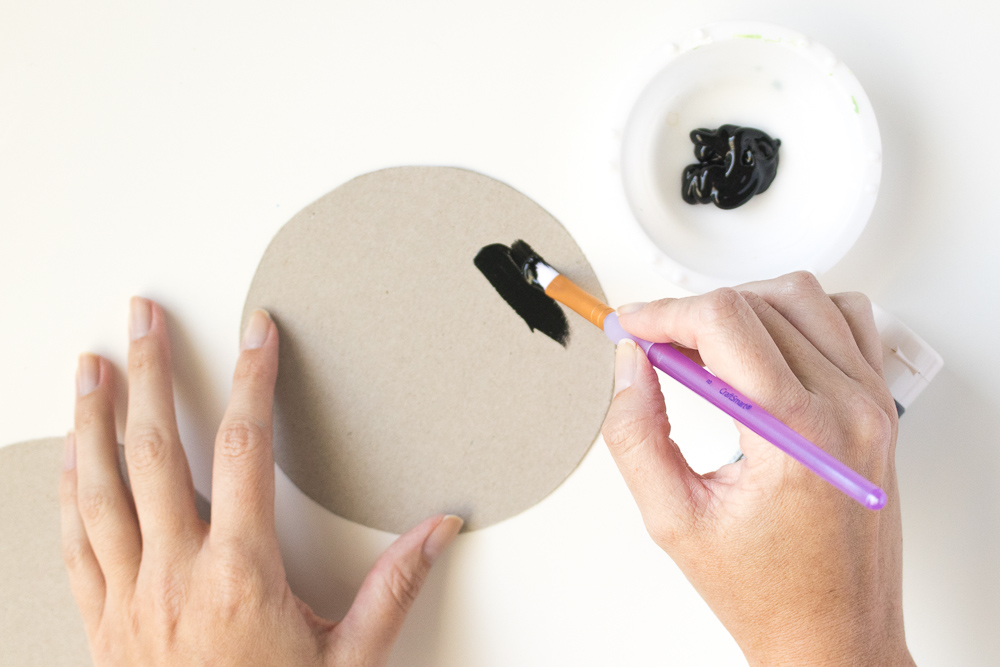 Step 4: Cut two large circles out of cardboard, about 3 inches wide. Paint black on the outside with a smaller white circle in the middle to create tires.
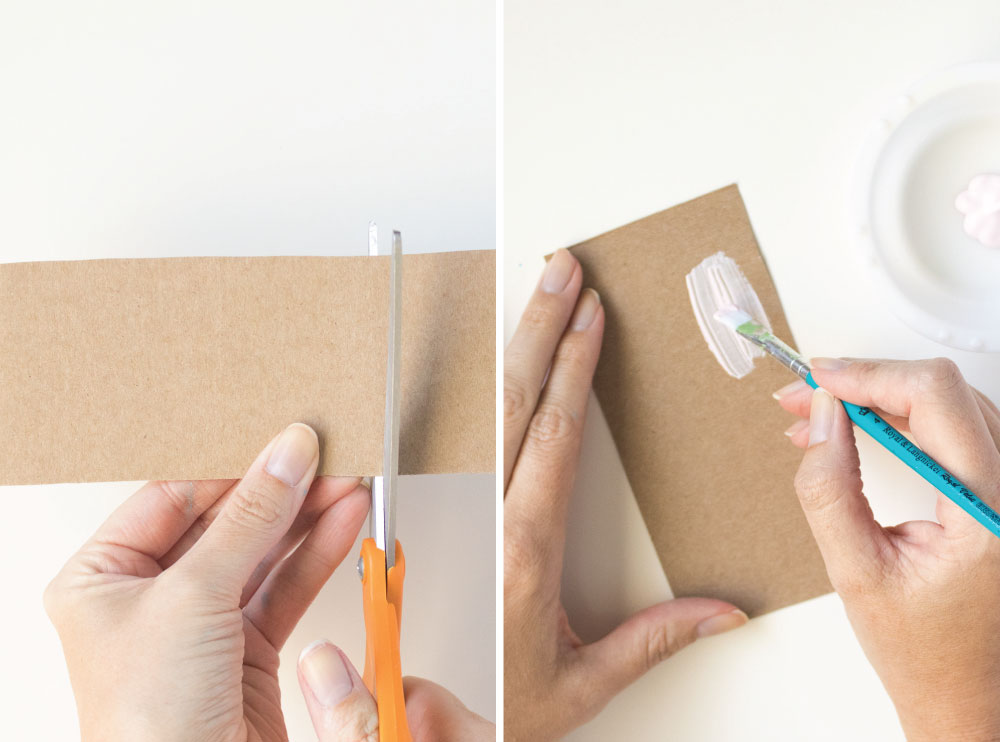 Step 5: Cut a rectangle of cardboard about 4-5 inches tall to make a door. Paint desired color and set aside.
If desired, cut another, smaller rectangle and paint silver for a window.
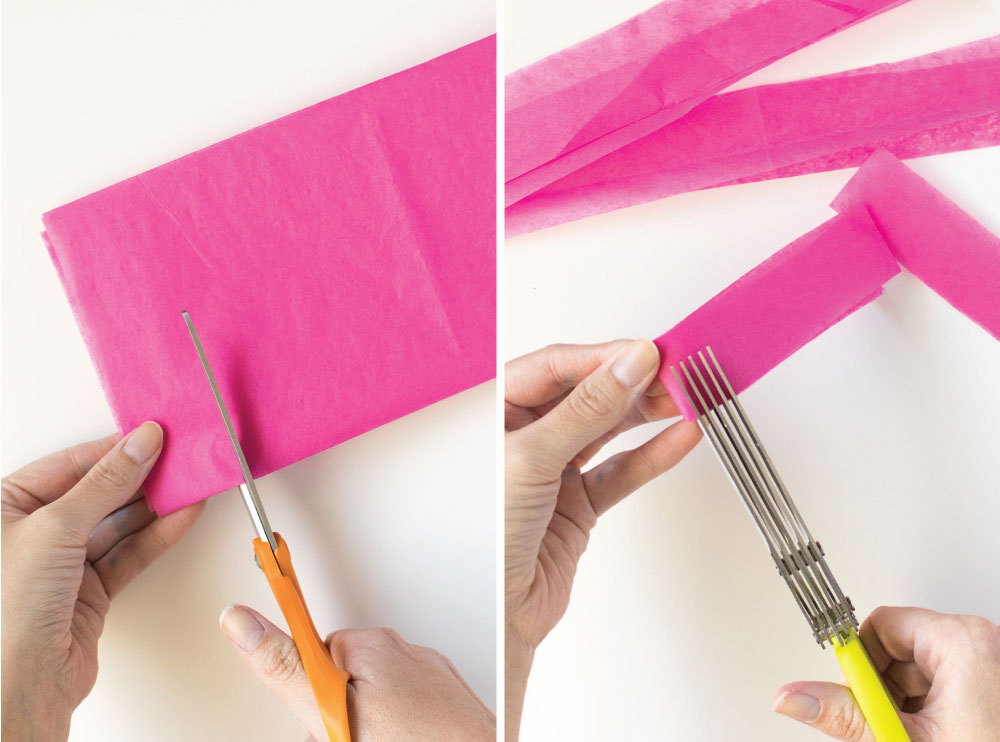 Step 6: Fold up a piece of pink/colored tissue paper and cut 1.5-inch wide strips. You will need to cut up at least two pieces of tissue paper.
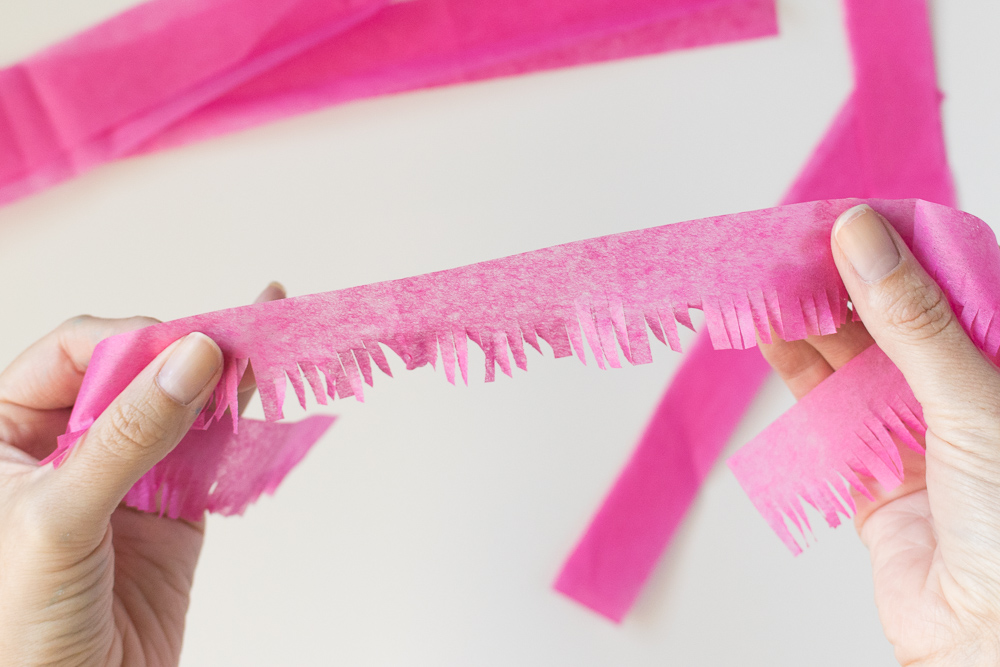 Step 7: Use the herb scissors to fringe along the bottom. When you unfold it, the entire length should be fringed.
Step 8: Repeat with the white tissue paper.
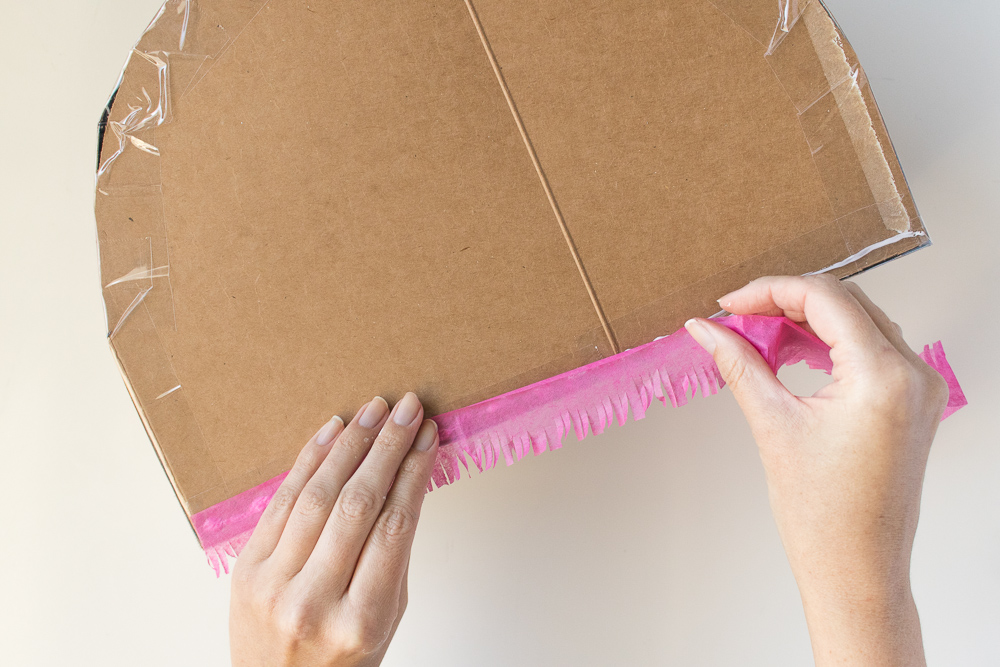 Step 9: Apply a thin line of glue across the bottom front of the piñata and place a piece of colored tissue on top. Repeat, going about halfway up the piñata and overlapping the pieces of tissue paper.
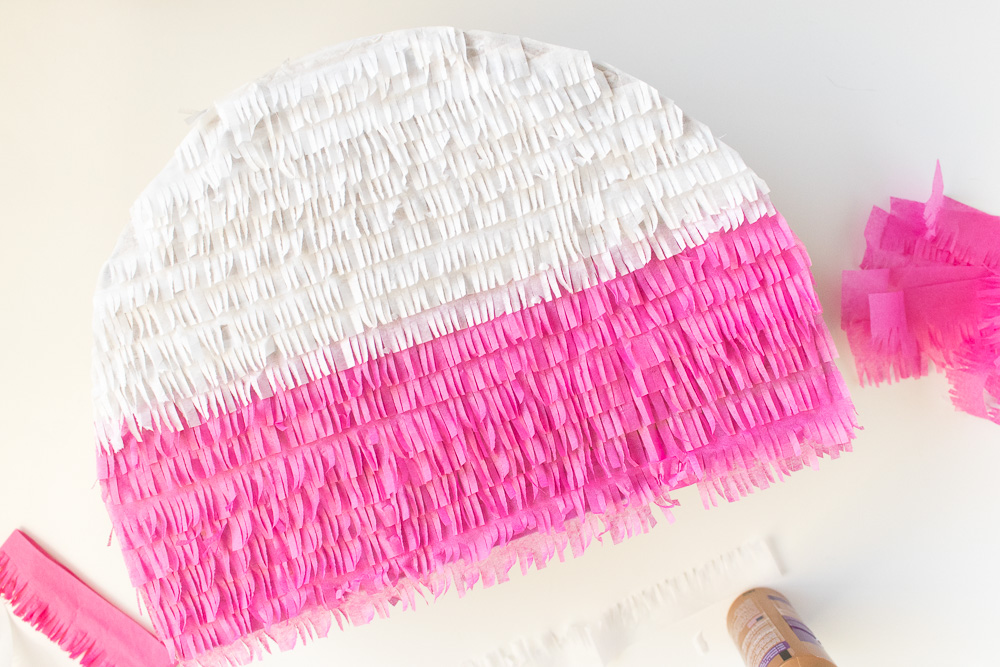 Step 10: At the halfway point, switch to white tissue and continue to the top.
Repeat this pattern on the opposite side and on the sides, meeting in the middle at the top of the piñata. Then add colored fringe on the bottom. Trim excess tissue so that the outline of the shape is clear.
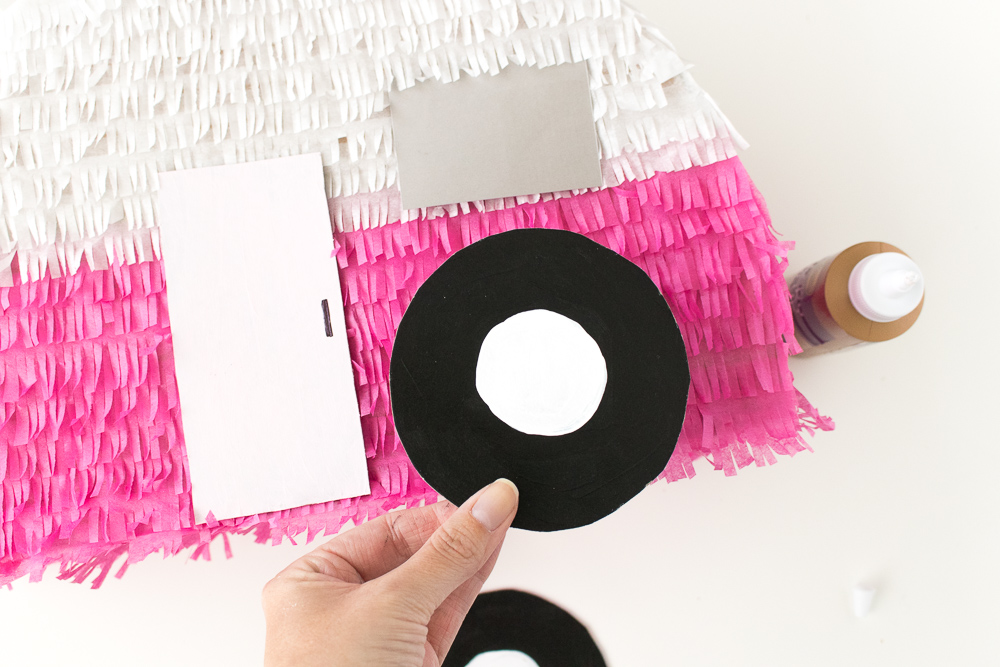 Step 11: Once entirely fringed, glue the tires to either side as well as the door and a window.
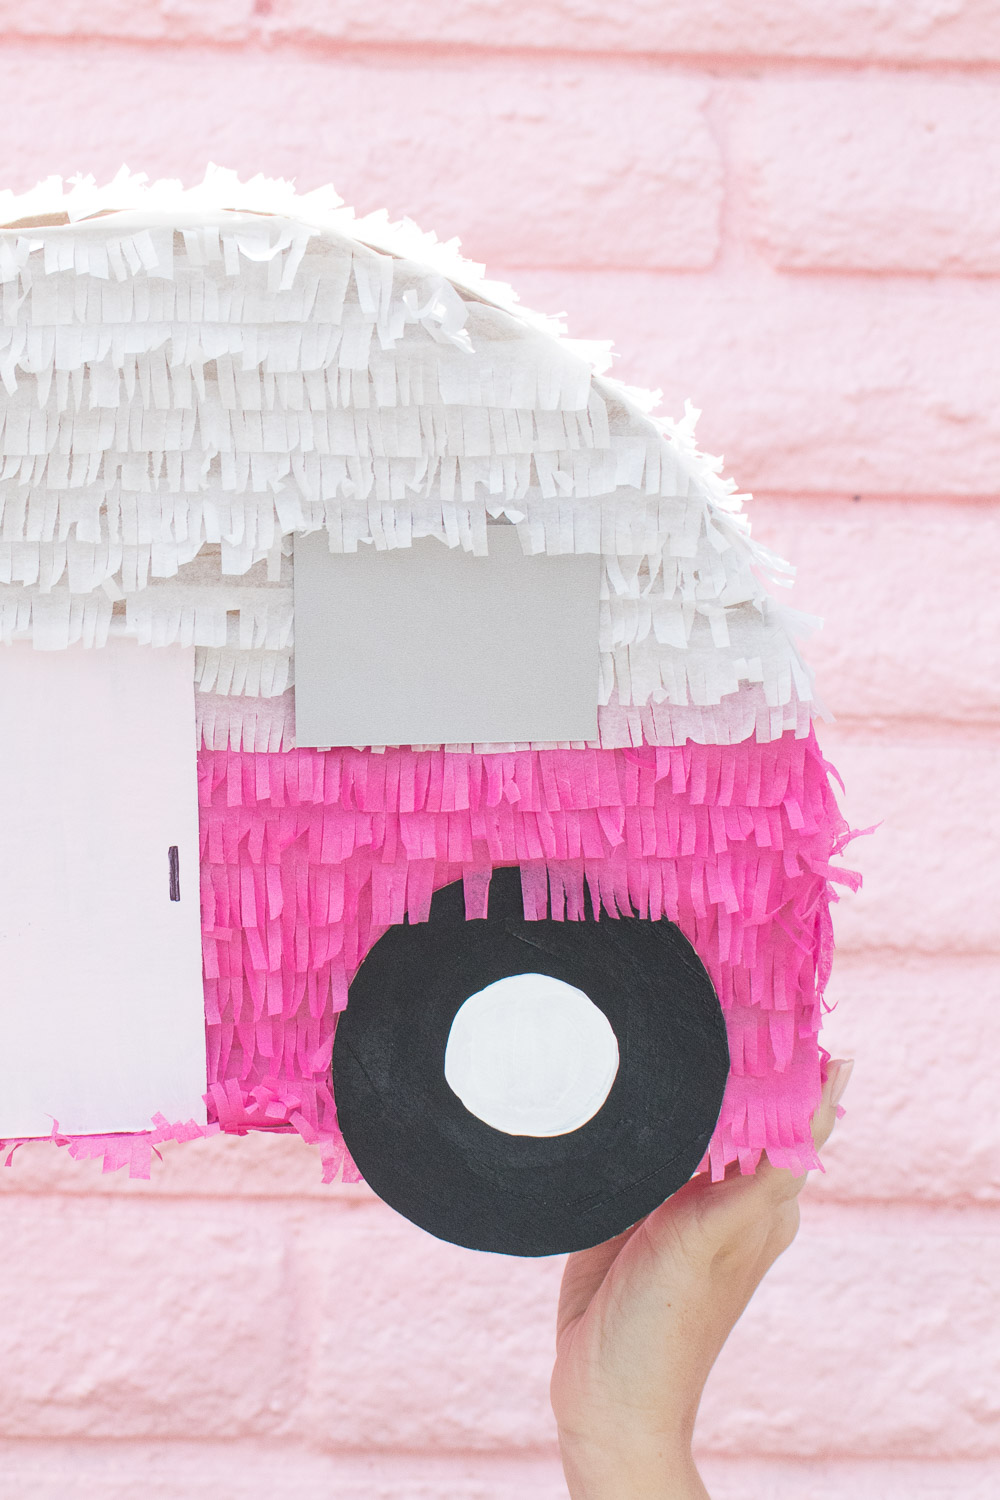 Now your retro camper piñata is ready to enjoy! Get out there and whip one up to celebrate!