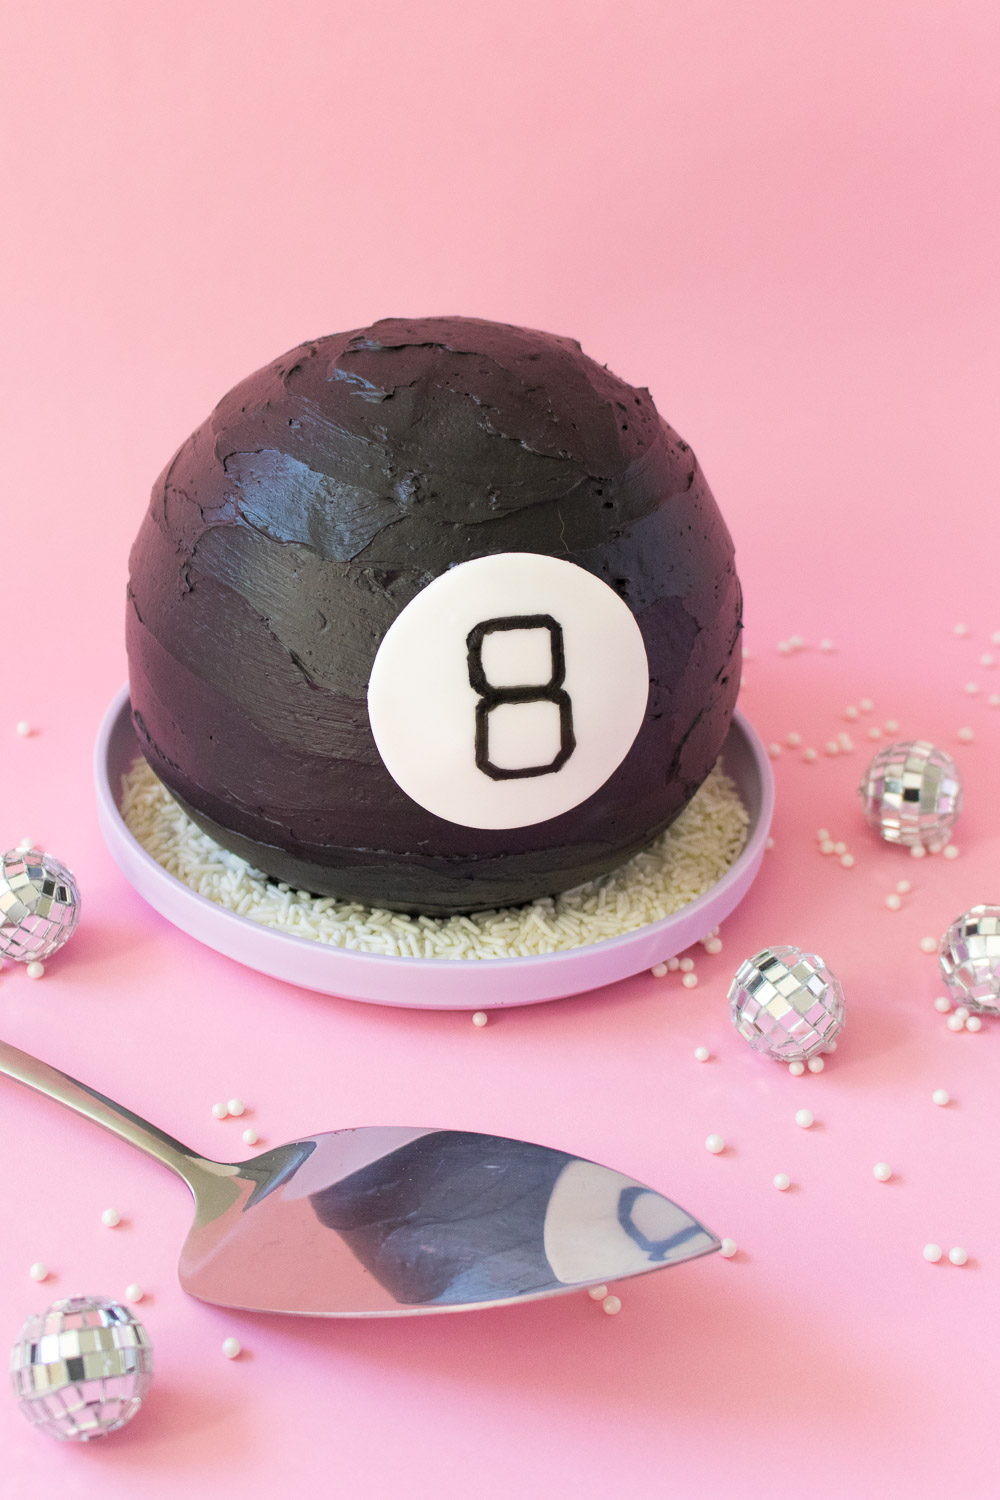
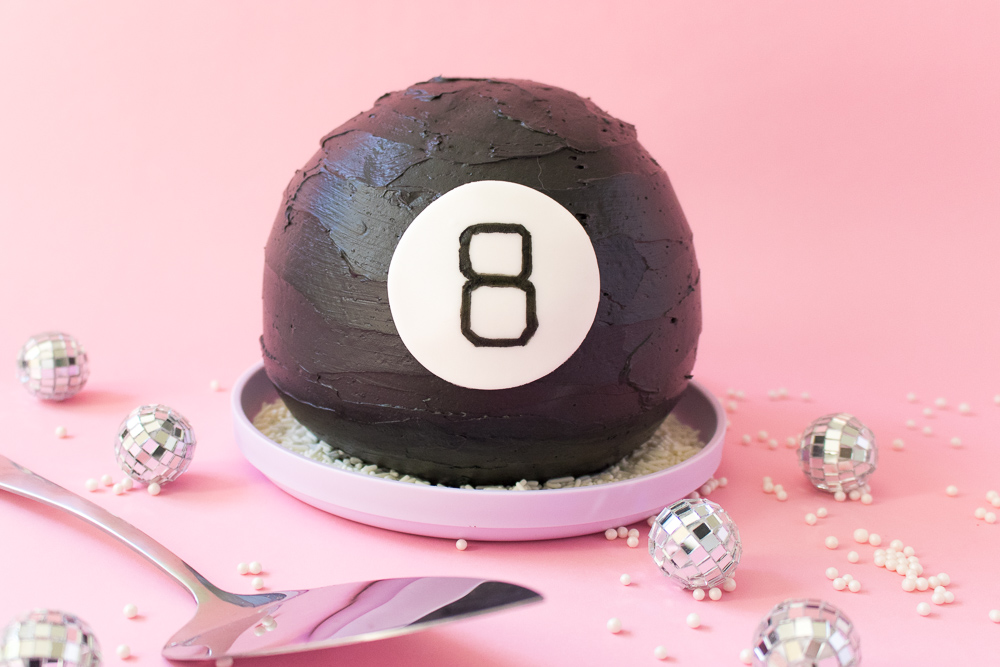
Did you and your friends ever ask a Magic 8 Ball important life questions? And did you get seemingly useless responses like “try again later?” Well, I can tell you exactly what this Magic 8 Ball is saying…it says EAT ME! This circular Magic 8 Ball cake is extra chocolatey, and I personally find that chocolate is a good answer to many haunting questions one might ask a Magic 8 Ball. Making 3D circular cakes isn’t as difficult as you’d think, and this particular cake has only a few key decorations to create!
 I’m going to tell you something that might make you gasp…I don’t normally like chocolate frosting. I know, it’s crazy, but I’m just a vanilla cake with vanilla frosting kind of girl. That being said, I would choose this dark chocolate cake and fudgy chocolate frosting over most things. It’s the best and most moist chocolate cake that I have had the pleasure of making, and the frosting is smooth and chocolatey without tasting overly artificial, since that is my complaint about many other chocolate frostings.
Scroll down for the full recipe card! 👇🏼
I may not need a Magic 8 Ball to answer my questions (I have a Google Home, after all!) but I’m sure there is chocolate cake in my future 😋

- 1 3/4 cups all purpose flour
- 2 cups sugar
- 3/4 cup dark unsweetened cocoa powder, sifted
- 2 tsp baking soda
- 1 tsp baking powder
- 1 tsp salt
- 1 cup milk
- 2 large eggs
- 1/2 cup vegetable oil
- 1 1/2 tsp vanilla extract
- 1 tbsp ground coffee or espresso powder
- 1 cup hot water
- 2 cups butter, room temperature
- 3 cups powdered sugar
- 1/2 cup semi-sweet chocolate chips, melted and cooled
- 1/4 cup natural unsweetened cocoa powder, sifted
- 1 tbsp vanilla extract
- Black food coloring
- White fondant
- Black food marker
- Rolling pin
- Round cutter
- Preheat oven to 350 degrees F and spray two halves of 3D spherical pans with cooking spray. Place on silicone rounds on a baking sheet to keep pans upright
- Whisk together the flour, sugar, cocoa powder, baking soda, baking powder and salt in large bowl
- Whisk together the milk, eggs, vegetable oil and vanilla extract in a separate bowl until combined
- Mix the wet ingredients to the dry ingredients and beat with a whisk attachment until well combined. Scrape the bowl as needed
- In a separate bowl, mix together boiling water and ground coffee. Slowly add the hot coffee mixture to the batter and mix on low speed until batter is smooth
- Pour the batter into the prepared spherical pans and bake for 30-35 minutes, or until a toothpick comes out free of liquid batter
- Allow the cakes to cool completely before removing from the pans
- In a large bowl with a paddle attachment, beat the butter for several minutes until light and fluffy
- Add the powdered sugar in batches, scraping the bowl occasionally
- Mix in the sifted cocoa powder, followed by cooled melted chocolate
- Scrape the bowl well, add vanilla extract and beat for several minutes until smooth
- Beat in a large amount of black food coloring until desired color is reached
- Level the spherical cakes while still in the pans for best results as they will be easier to work with
- Use a small amount of frosting the place the round side of one on a cake board. Be carefully with it at first - it will eventually sink slightly and feel sturdier
- Spread the frosting on top and carefully place the other rounded cake on top. Use a knife to level out any areas where the layers meet
- Then apply a crumb coat and chill the cake for at least 30 minutes
- Remove from the fridge and frost a thick layer of frosting, smoothing it out as best as you can to keep the circular shape of the cake. Refrigerate while you create the decoration
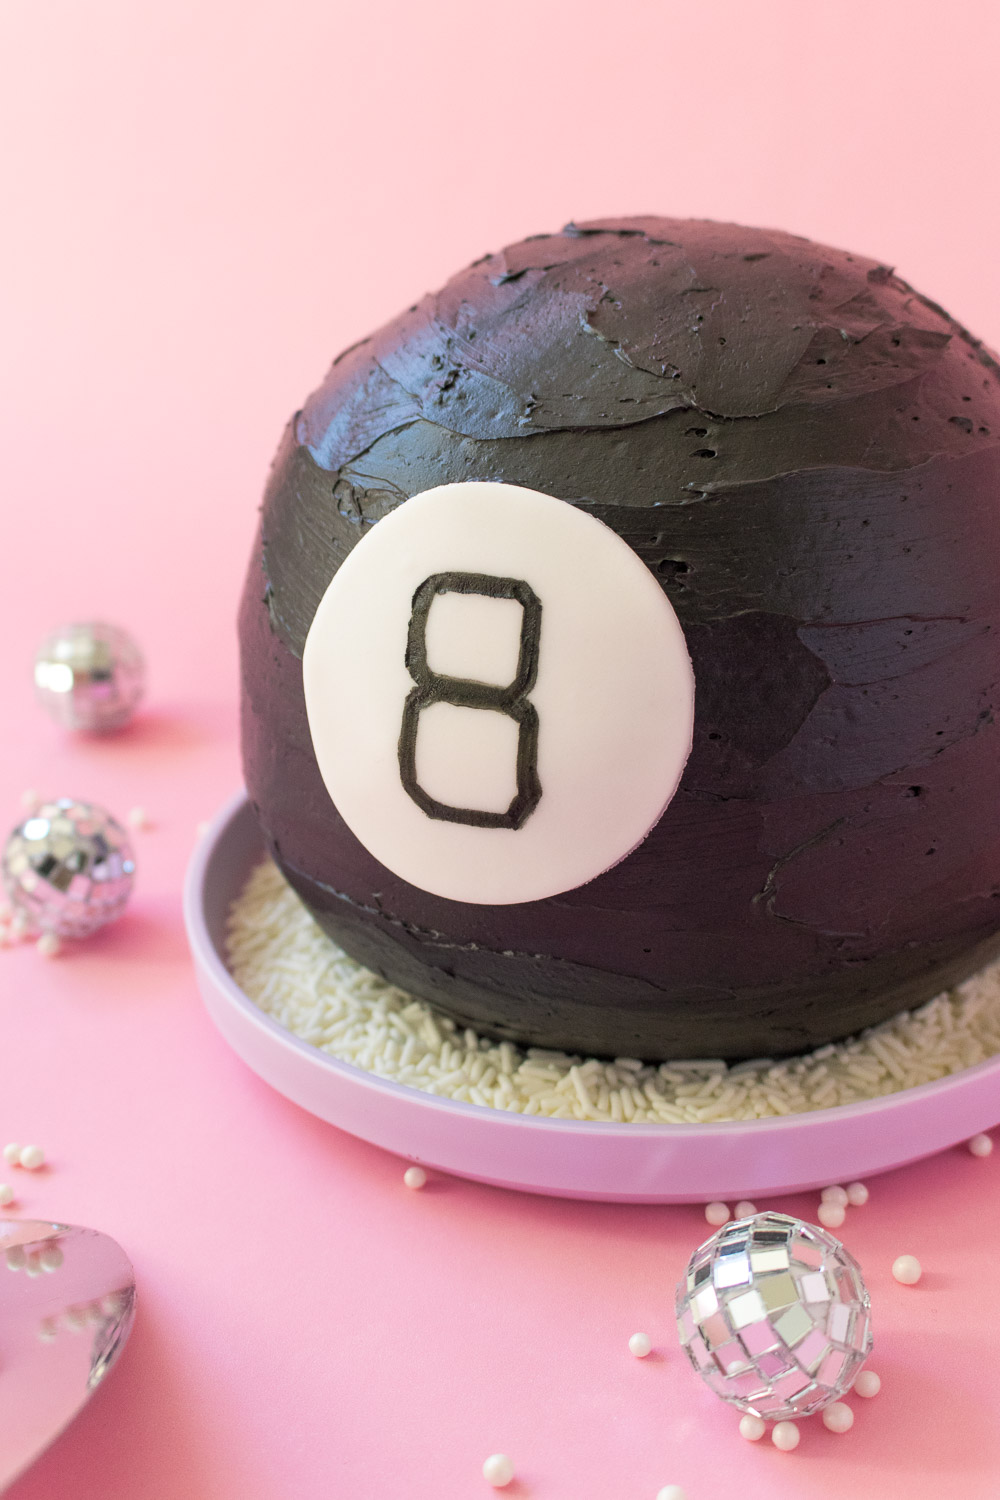
- Roll out the fondant until about 1/8-inch thick and cut into approx a 3-inch circle
- Use a food-safe marker to draw a large "8" with square edges
- Apply a little water to the backside of the fondant with a brush and carefully smooth onto the front of the black circular cake
- Refrigerate until about 15 minutes before serving
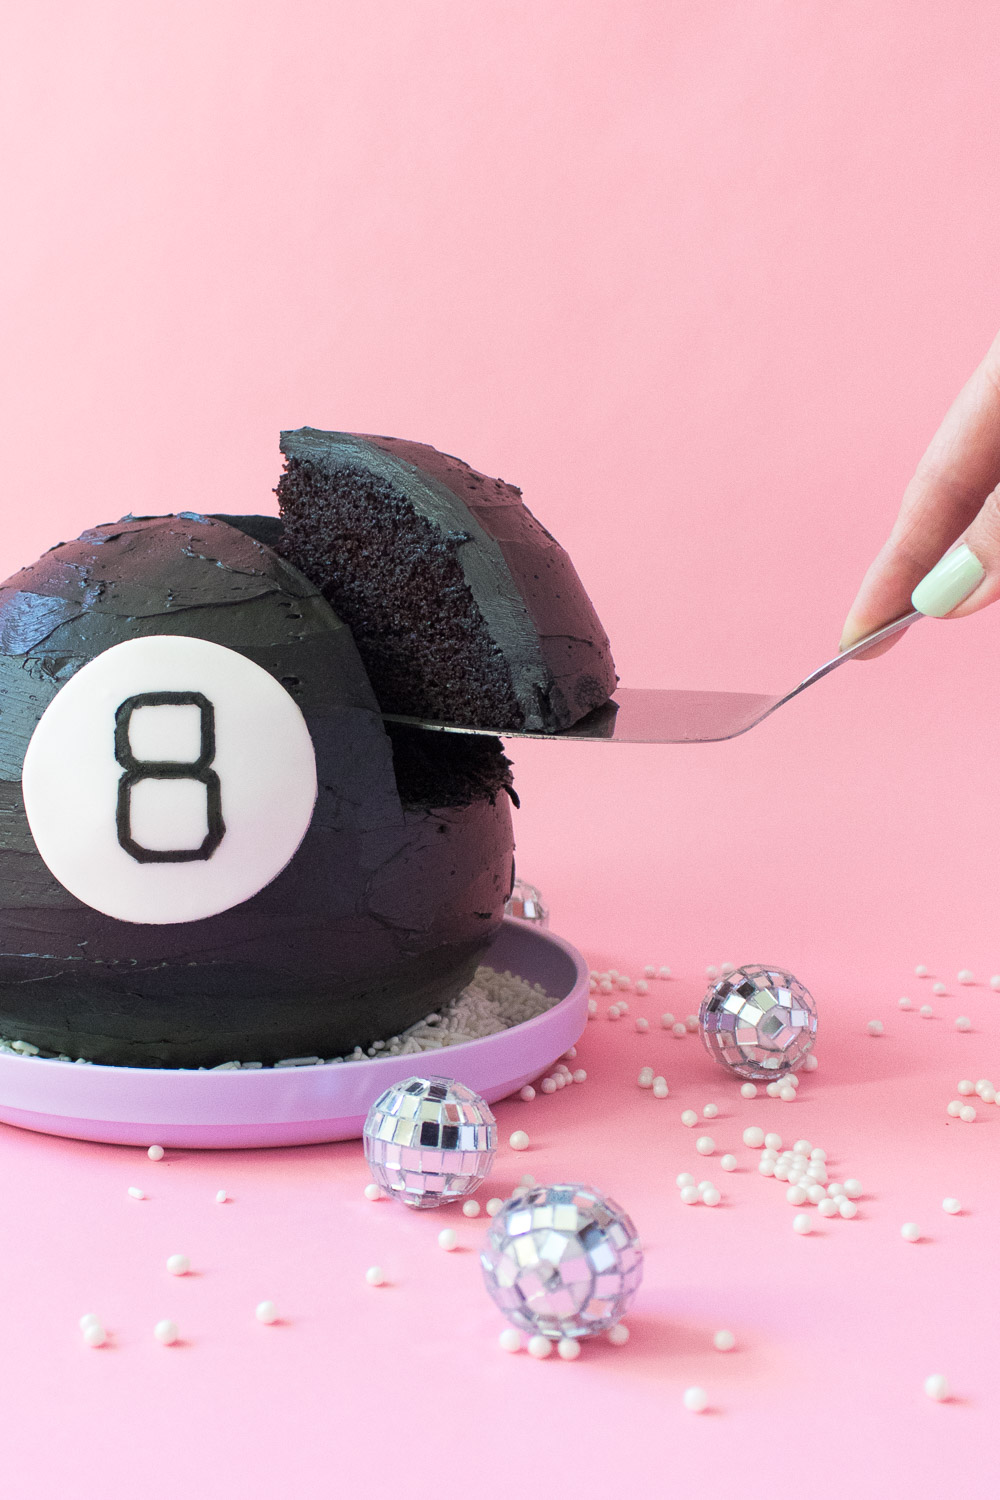
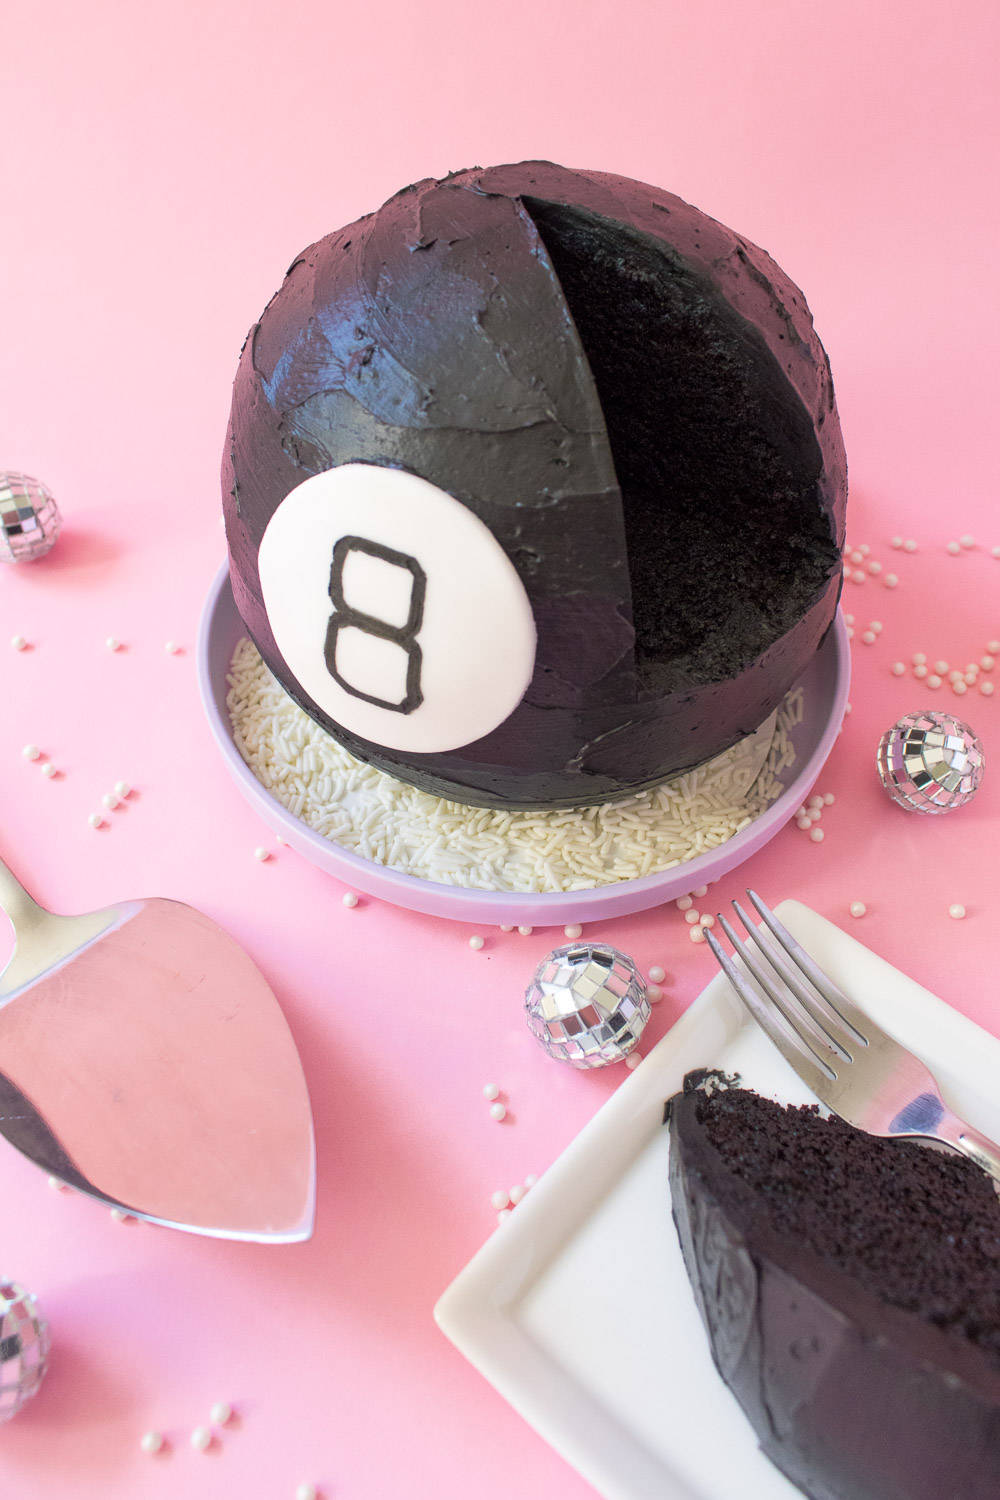
- To cut a round cake, I recommend slicing only through the top layer and serving the bottom layer separately