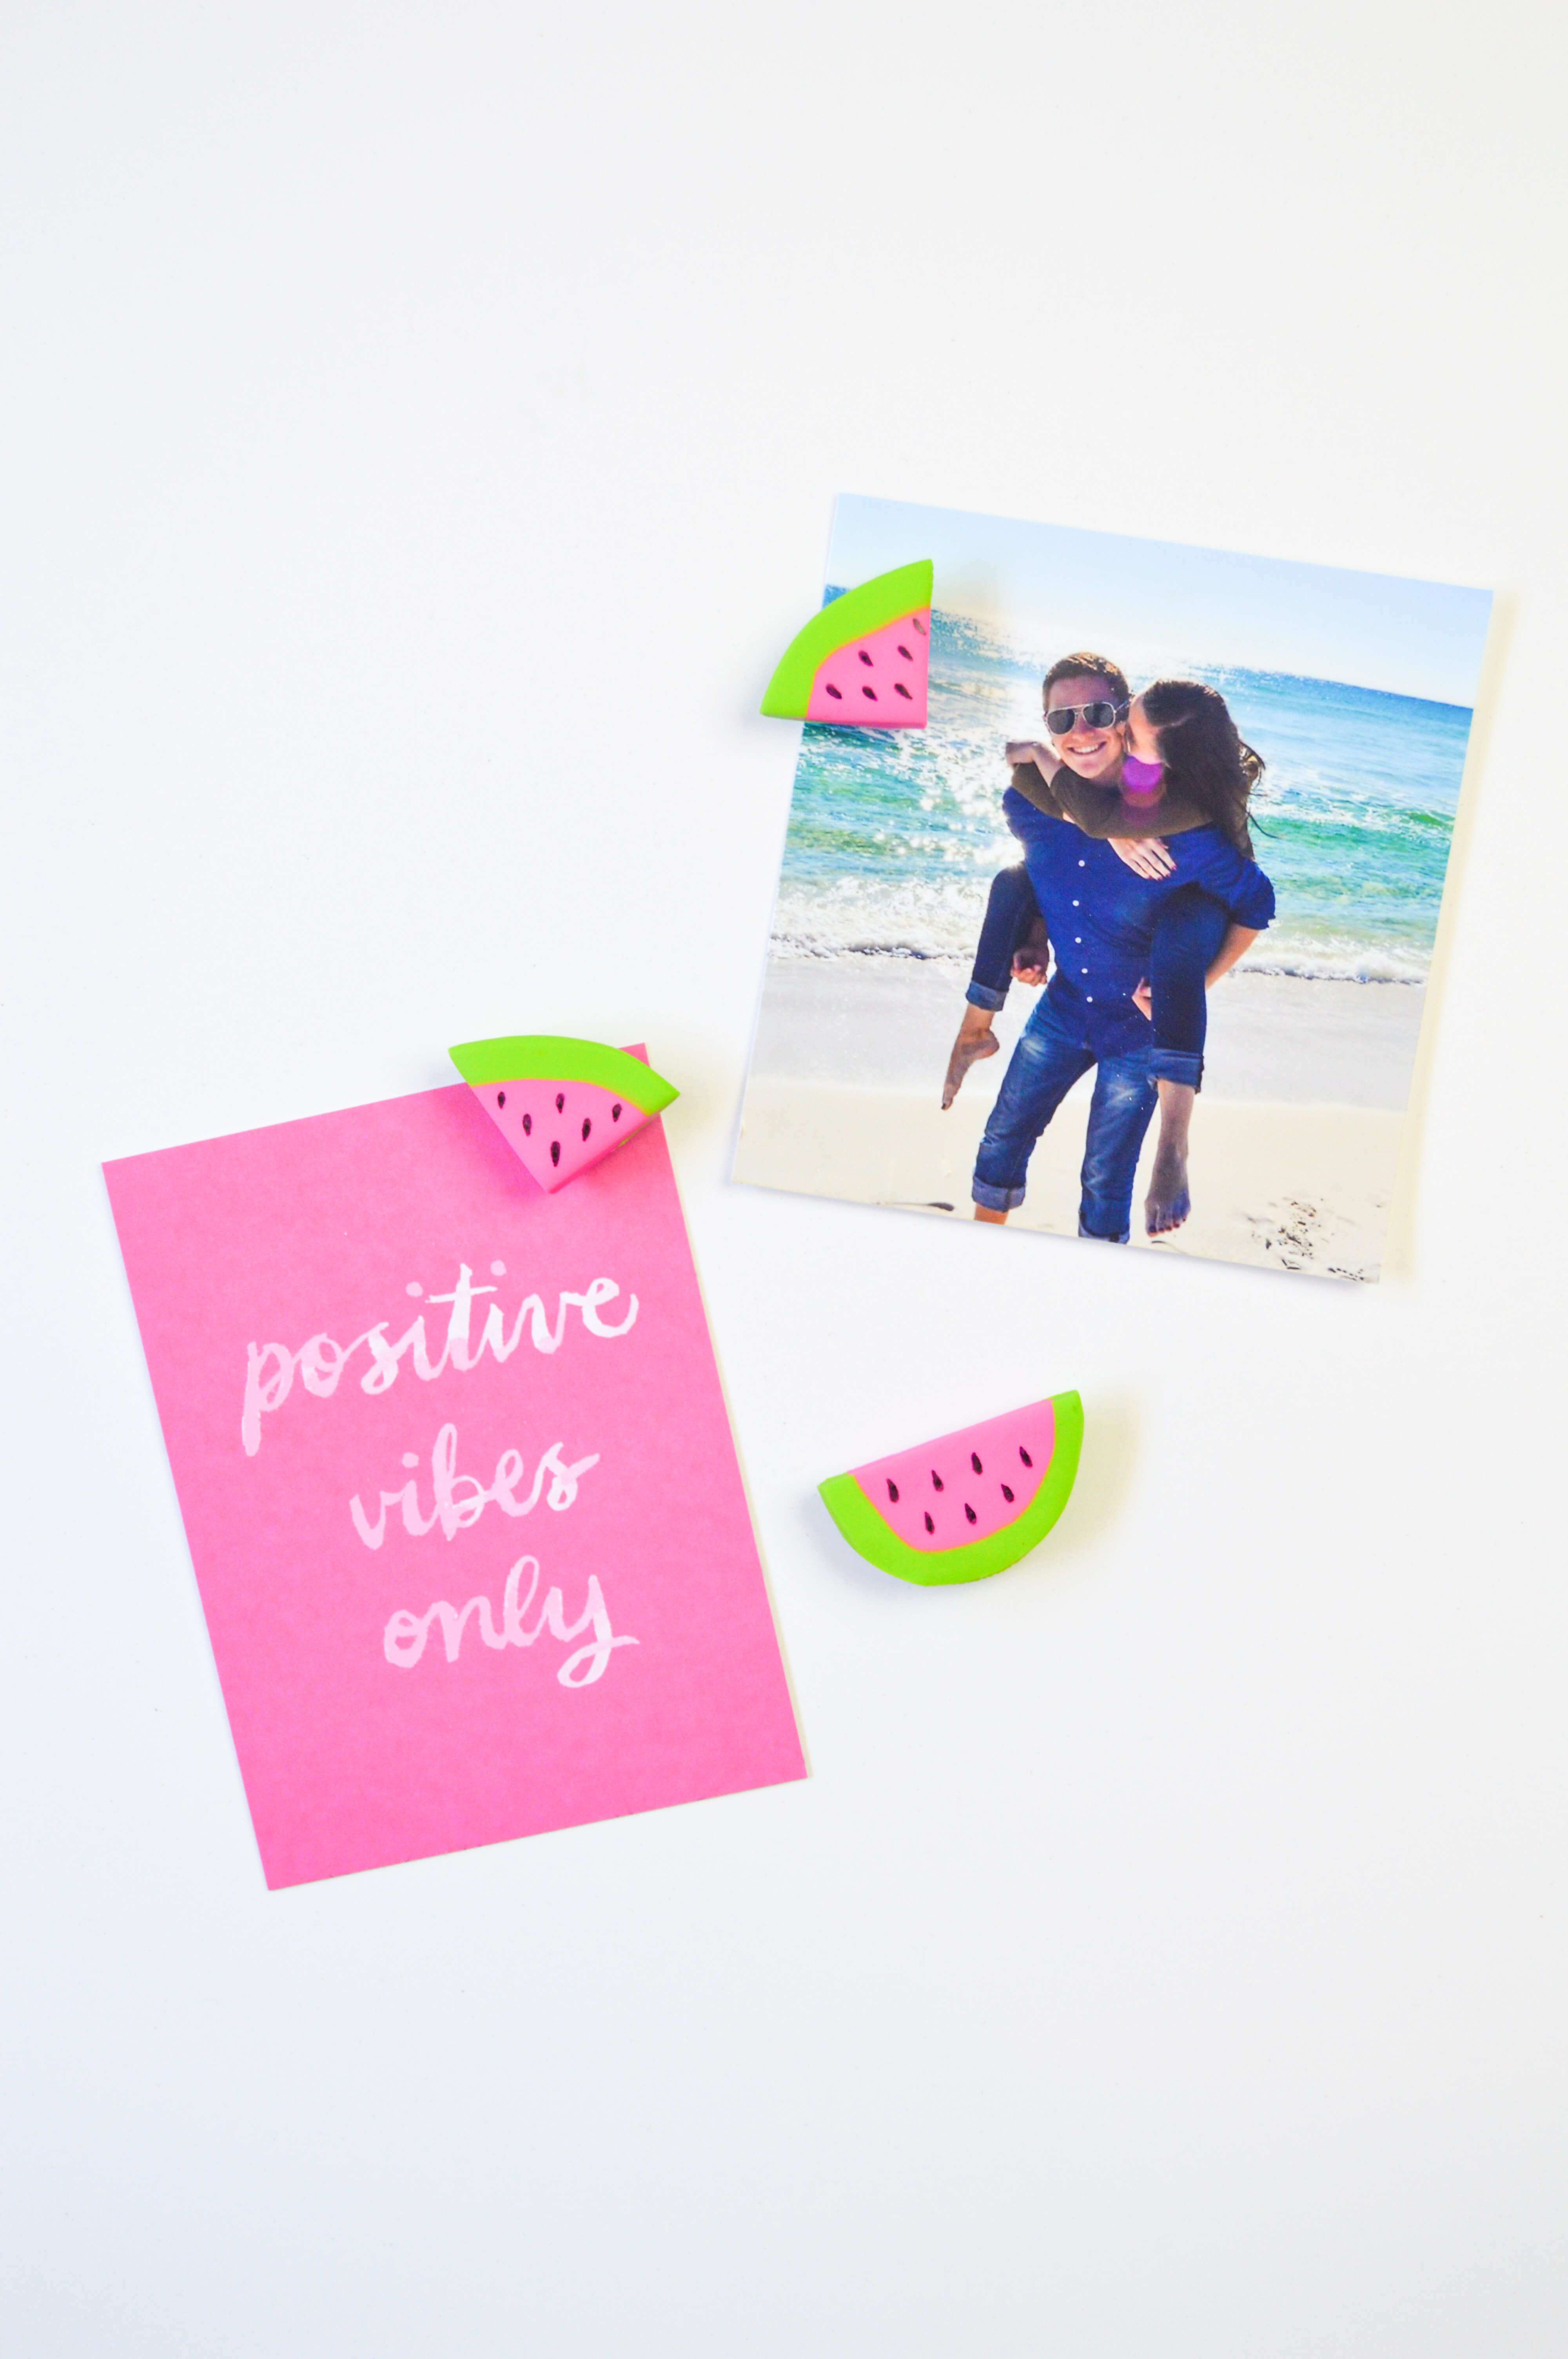

I’ve been on a watermelon kick, or even just a fruit kick. I mean, I like to eat it too, but in this case I’m talking about making, buying and wearing fruit-inspired things. Something about summertime makes me want to make fruit everything, so I’m really excited to share these simple DIY watermelon magnets!
They’re made out of clay and incredibly easy to whip up. You just roll up a log of colored clay and cut! It’s kind of like cutting up a log of pre-made cookie dough to bake cookies, you know?
Anyway, they’re adorable and the supplies are really cheap – my favorite kind of DIYs! Make them in bulk, bag them up, and they also make a cute gift for friends. These watermelon magnets all currently have a place on the side of my fridge holding up my 94612836 to do lists, and I love how much they brighten up my kitchen!
Time: 15 minutes + bake time
Supplies:
- Pink polymer clay
- Green polymer clay
- Cutting tool or small knife
- Black marker (I recommend a fine tip Sharpie)
- Small round magnets
- E6000 glue or equivalent
How to Make Watermelon Magnets:
- Preheat your oven to 275 degrees (or according to clay package directions) and line a small baking tray with parchment paper
- Take the pink polymer clay and roll it in your hands to soften it. Then roll it into a log about 1 inch around
- Using a rolling pin or a cup, roll the green clay out flat, about 2-3 centimeter thick. It is supposed to be quite thin. Then wrap it around the pink log, trim and pinch edges together as needed.
- Continue to roll the clay lightly to blend together. You want the log to be one piece with no visible seams, so that it will look nice when cut.
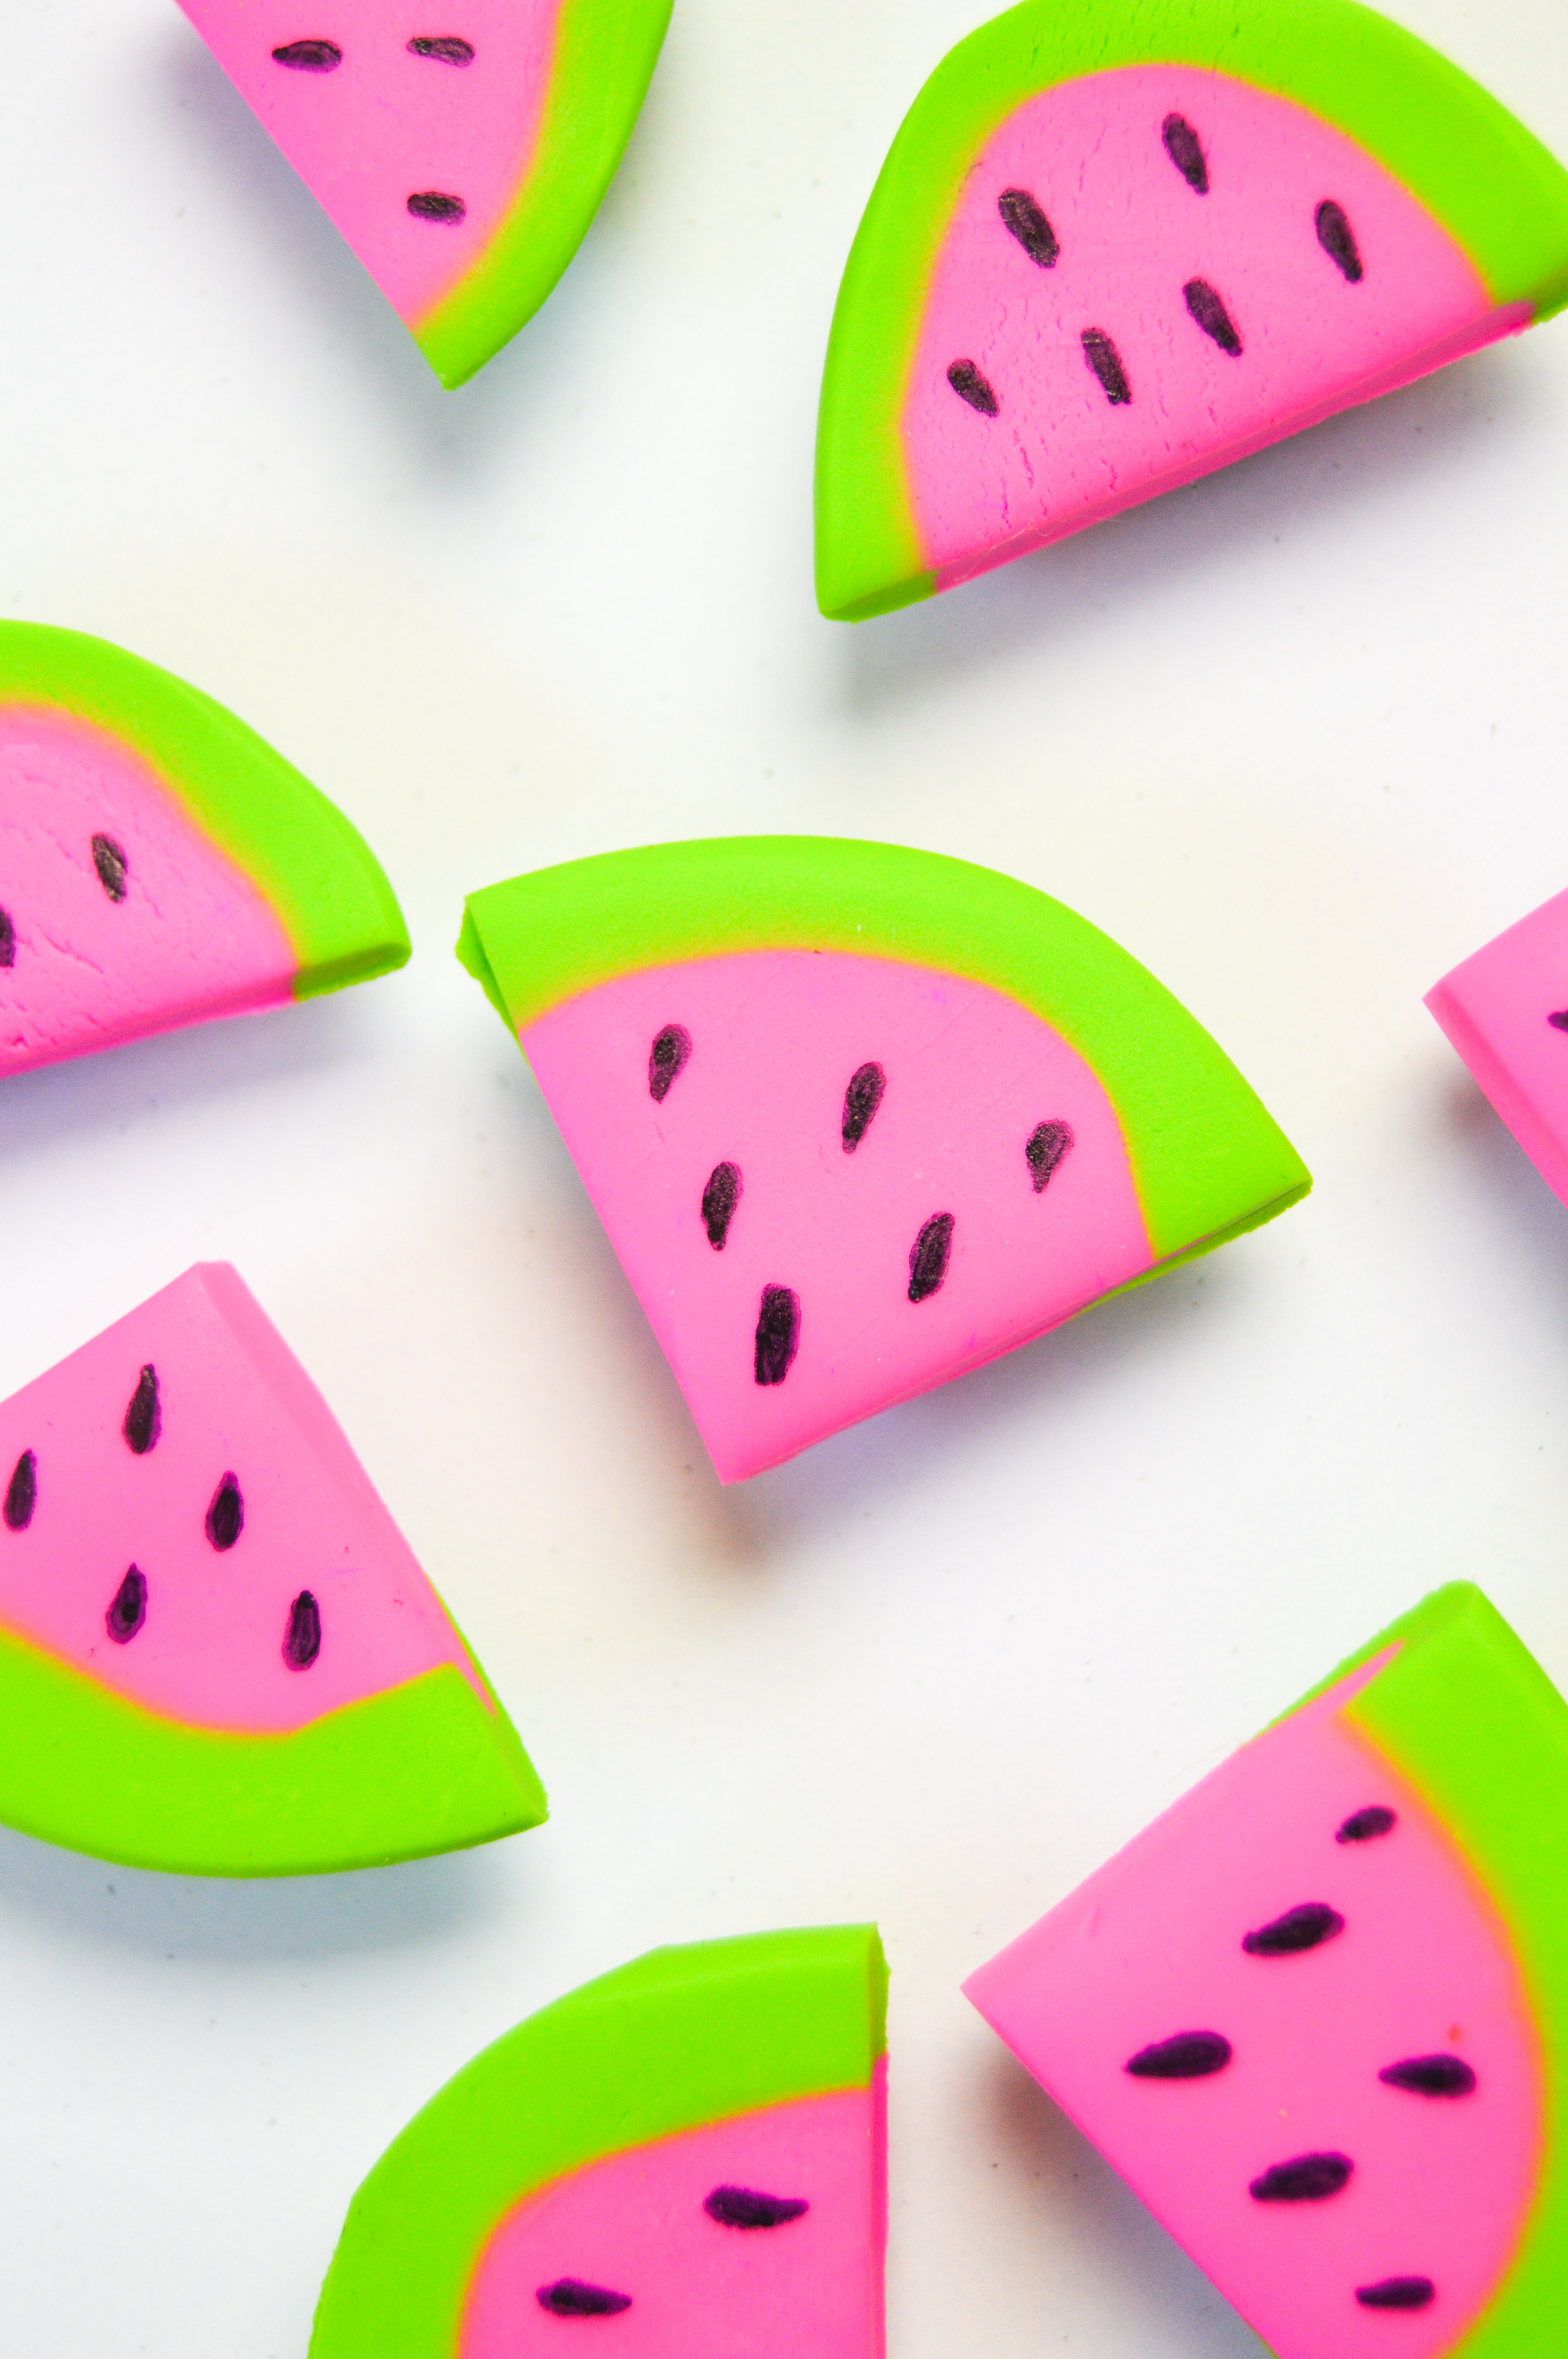
- Using your cutting tool (a regular knife will work), cut off 1/4 inch pieces at the end of the log as if you’re cutting a vegetable. Make cuts as clean as possible – you should have disks of watermelon-like clay. Reshape as needed.
- Then cut each disk in half and/or in quarters and place on the lined baking sheet
- Bake according to package instructions, about 15 minutes. Let cool.
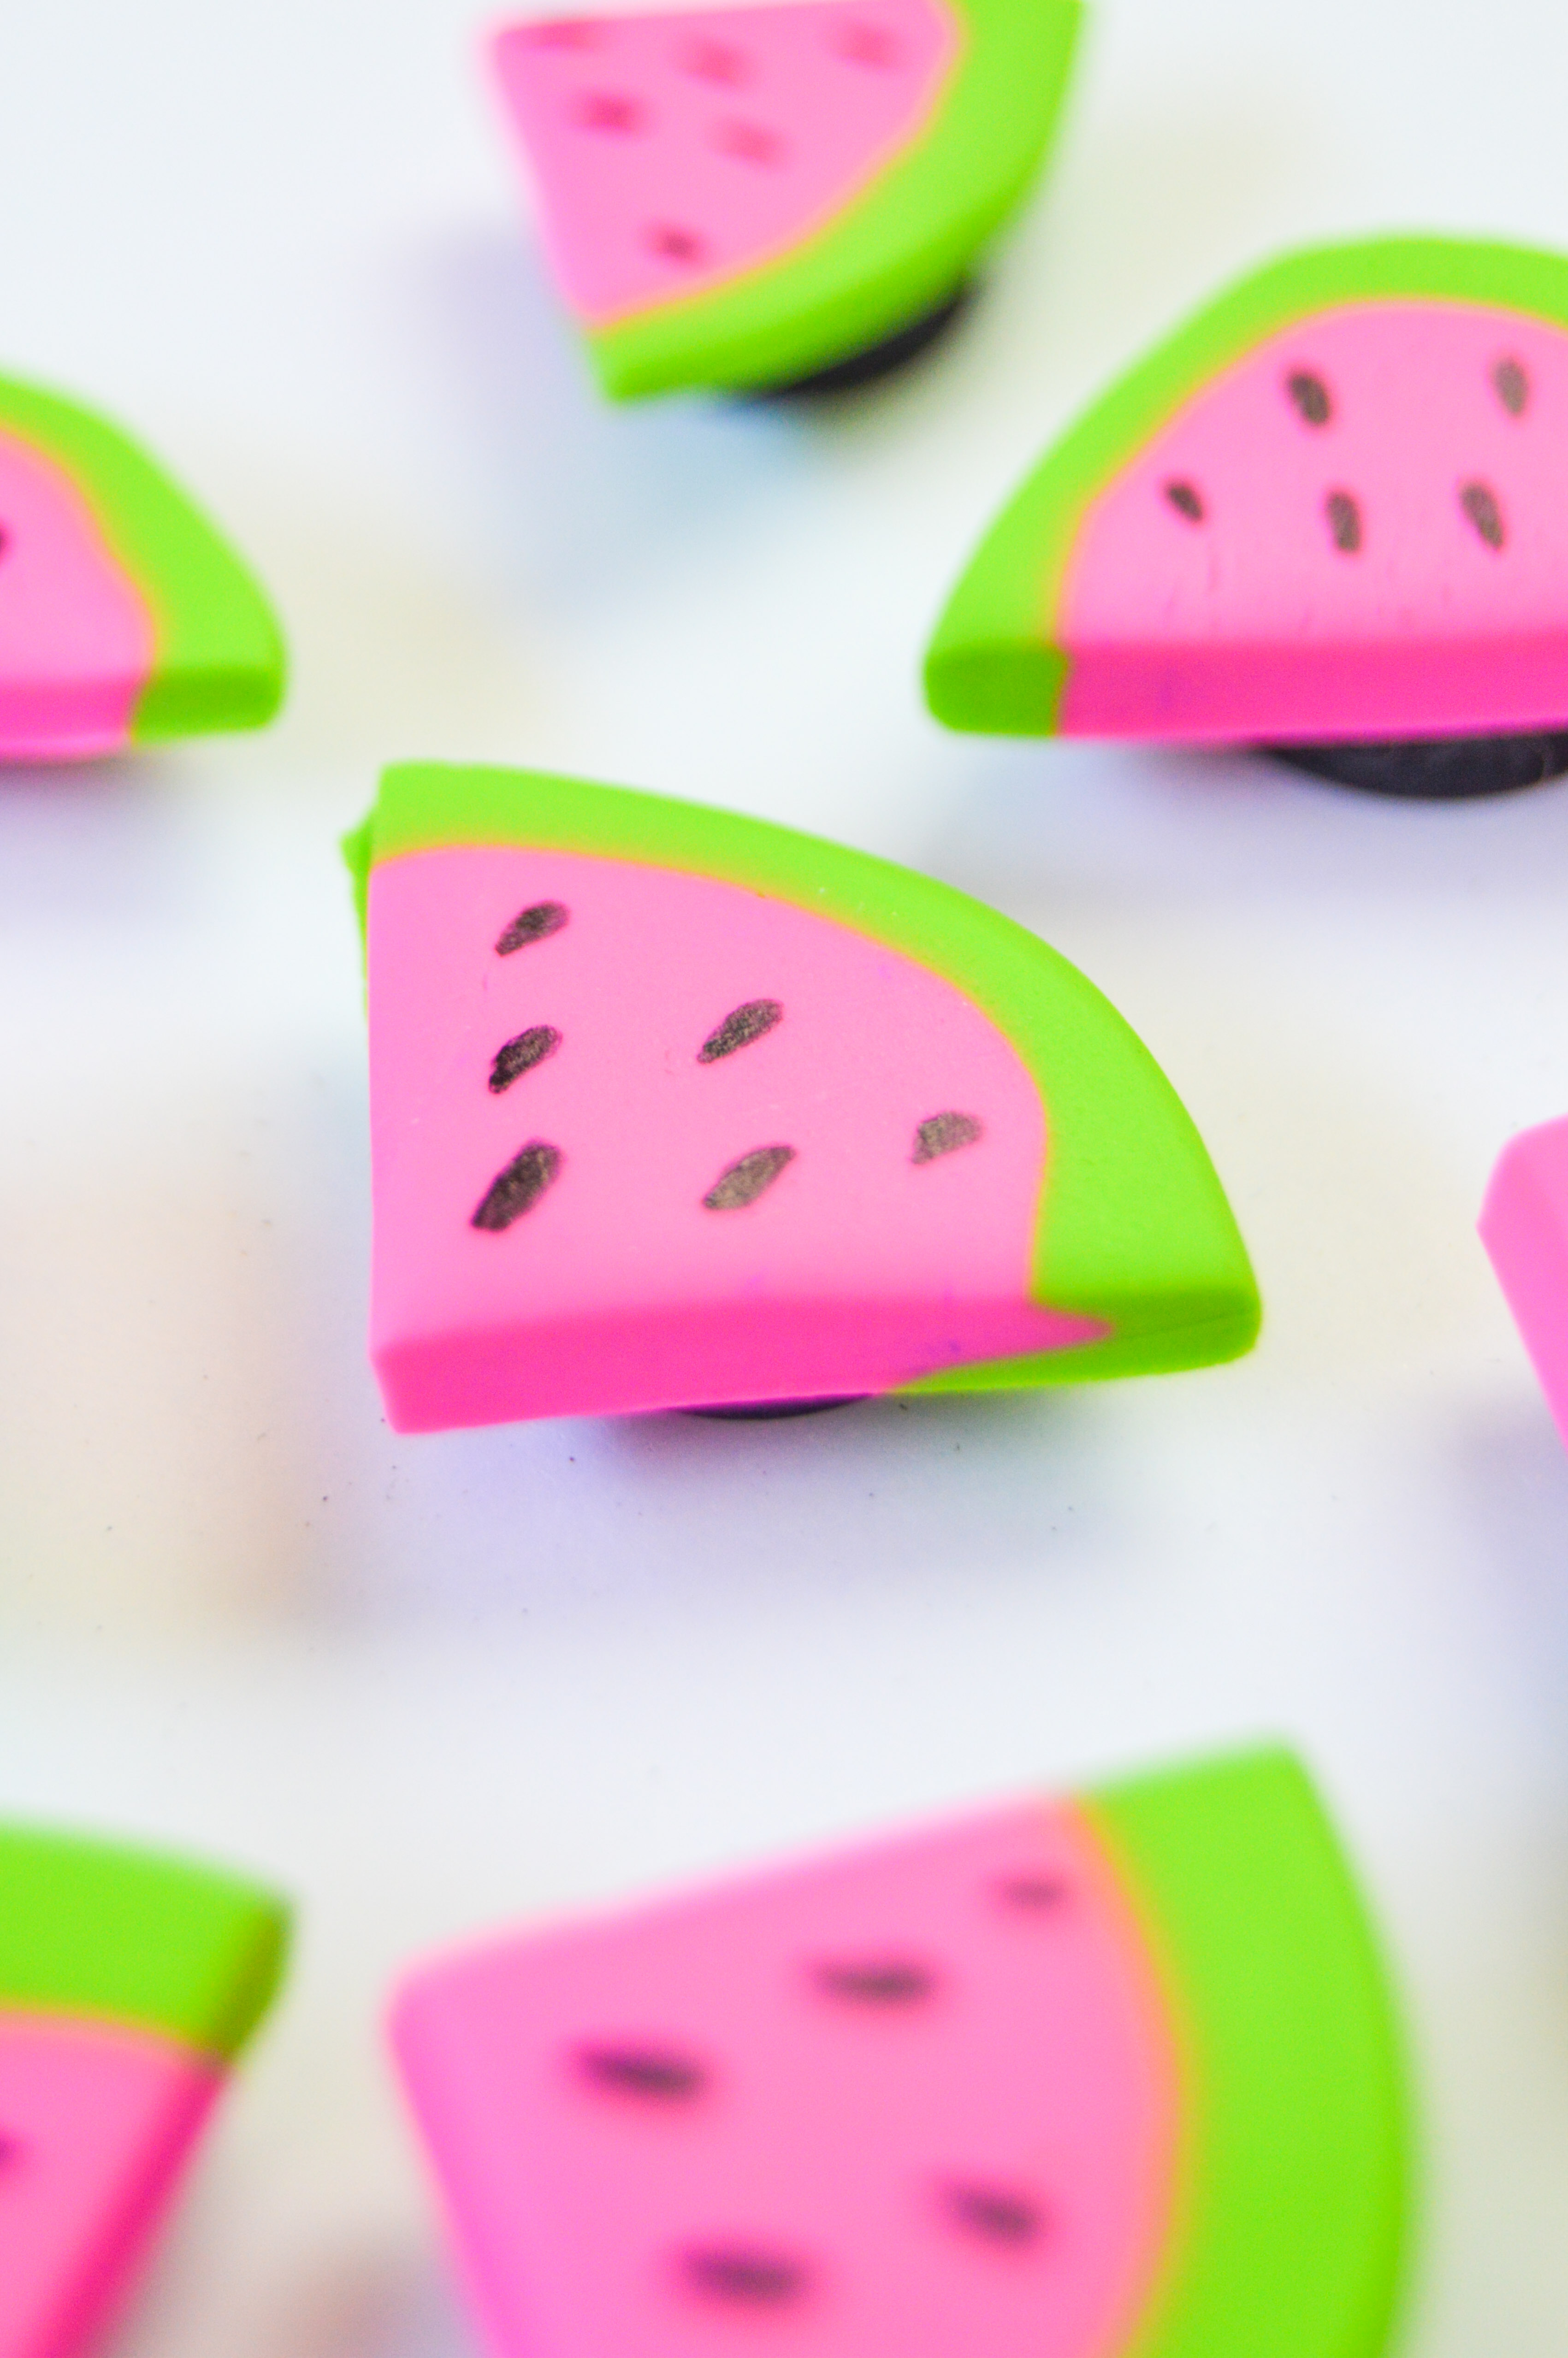
- Use the black marker to draw small seeds on the watermelon.
- Glue small magnets to the back and let the glue dry before using to hang items on your fridge or other magnetic surface.
And there you have it – watermelon magnets! Summer, please don’t leave me!