Happy Tuesday, loves! I’m getting excited (and nervous) because my birthday is in less than a week! I’ll be 25, so I’m sort of in denial and have decided that I will be 23 for at least another 5 years. I’m hoping for a relaxing weekend filled with a ton of junk food, so I’ve got a busy week ahead, trying to pump out a few ideas before the weekend.
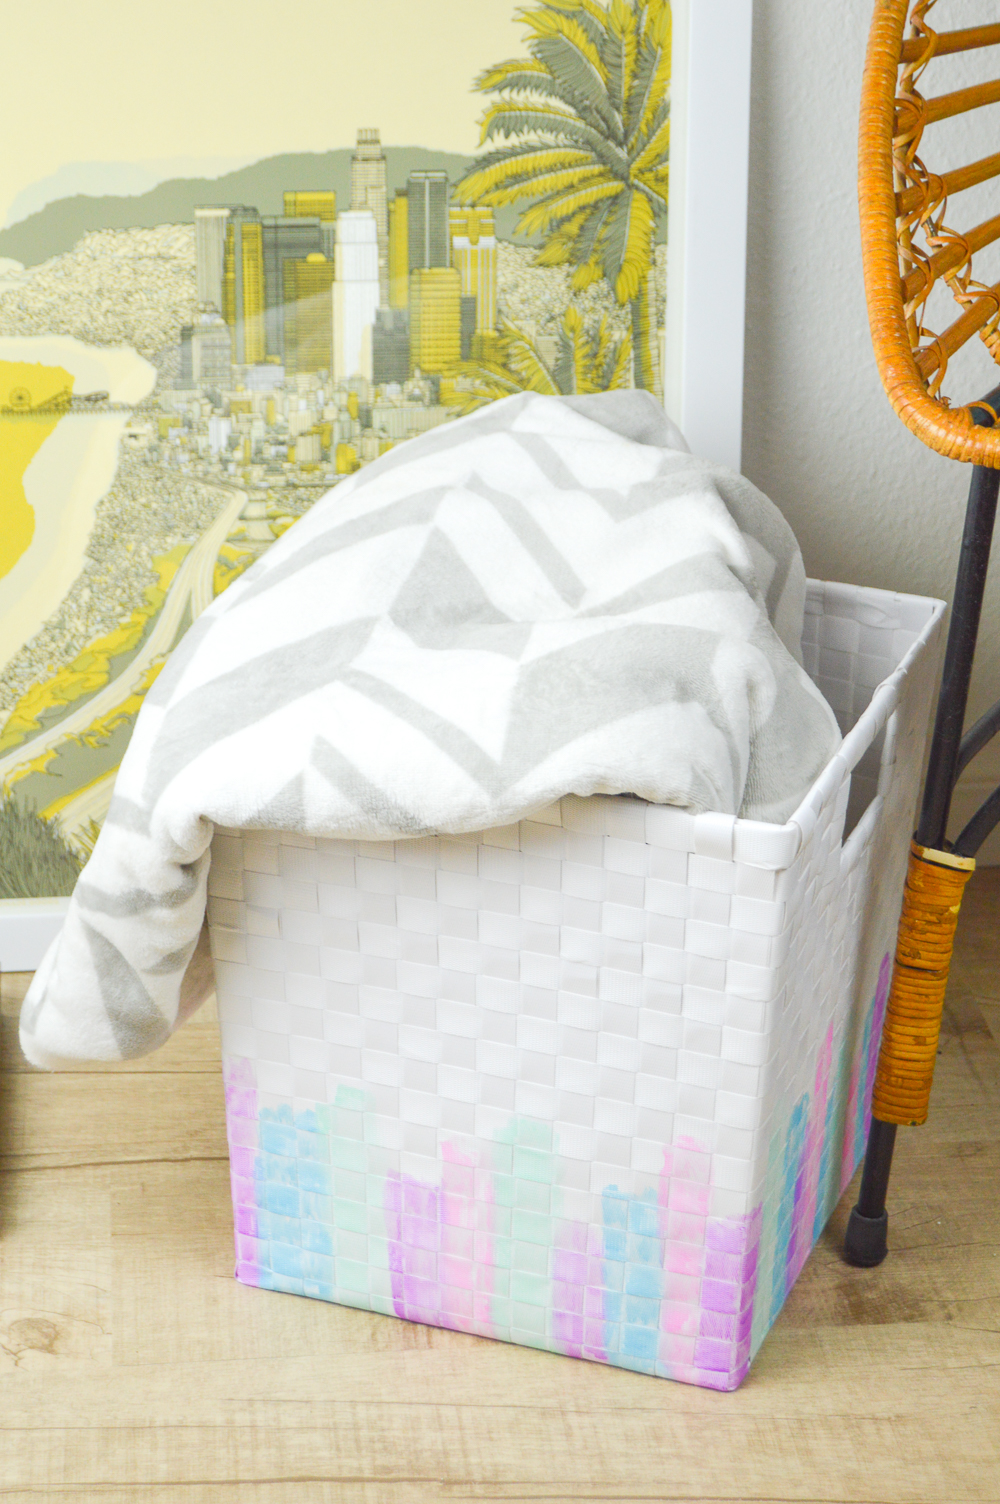
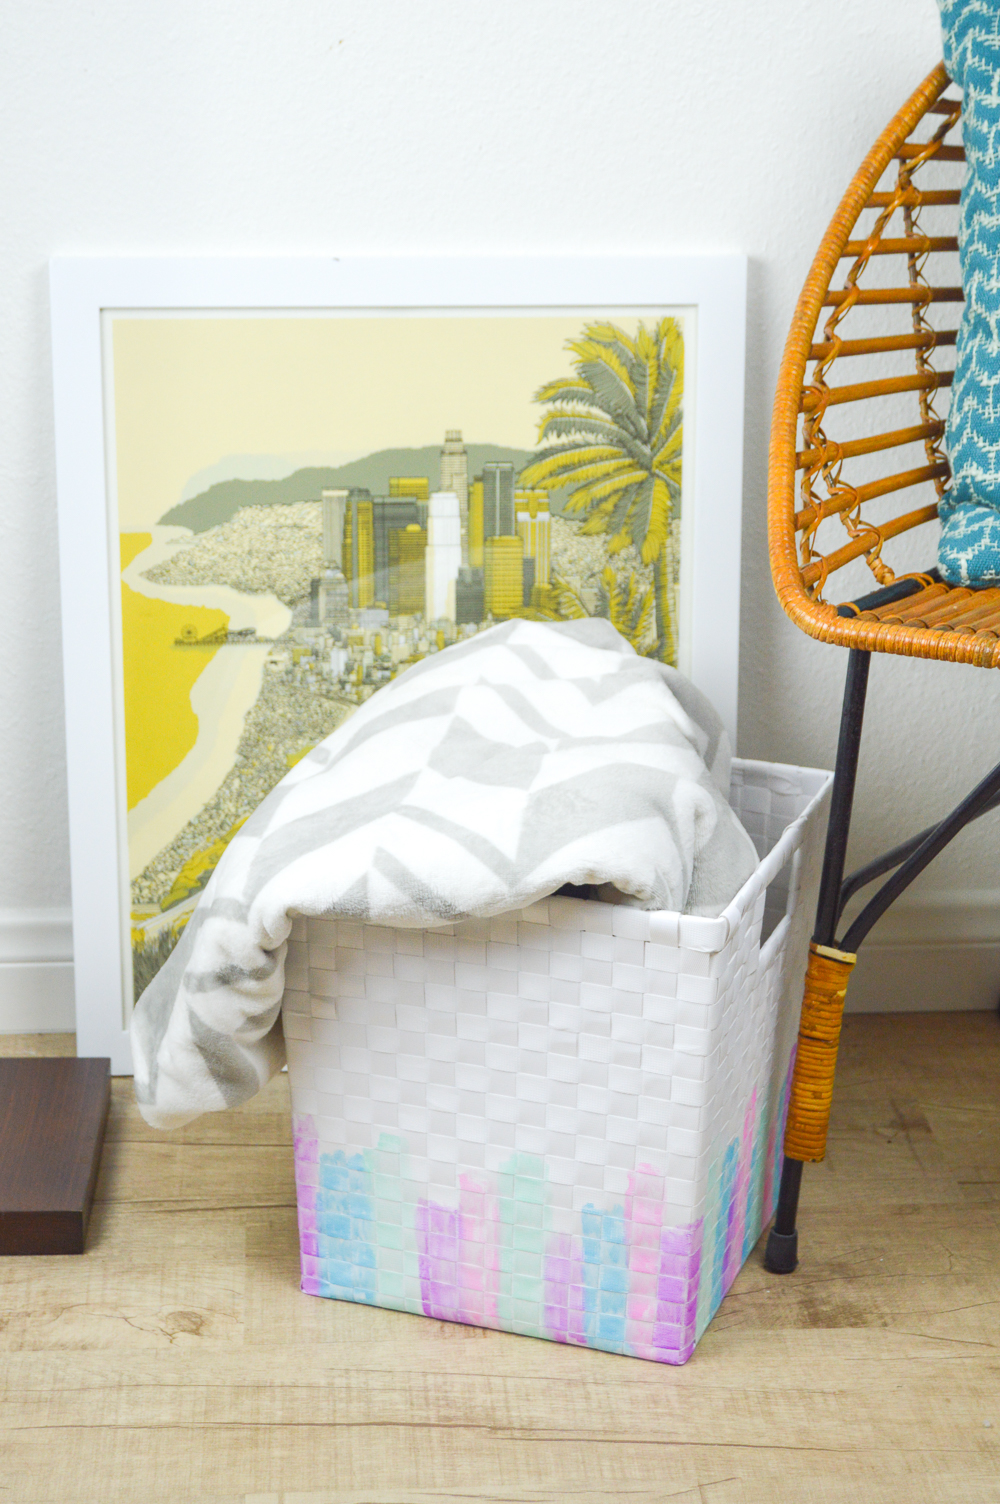
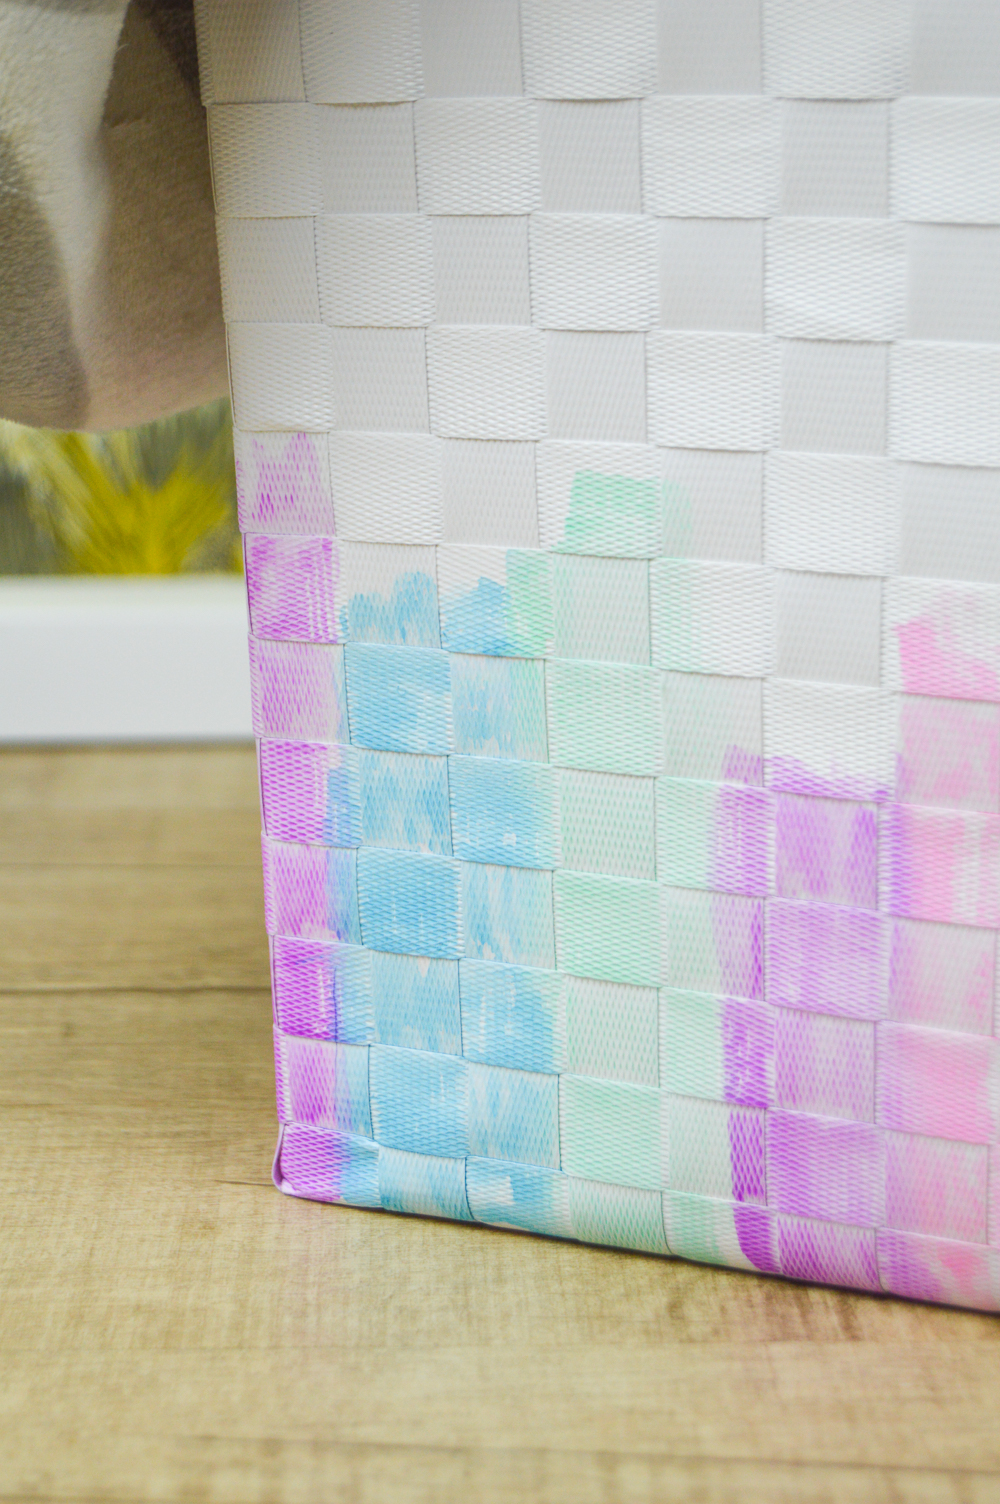
I’m sort of obsessed with the watercolor look and have been looking for ways to incorporate it into new projects, so I decided to try making over a white woven basket with a little watered down paint and created this really simple DIY watercolor basket that is currently home to several blankets and pillows in our living room. Rather than using actual watercolors (because they wouldn’t have shown up), I simply added a tiny bit of water to regular craft paint in a few of my favorite bright colors and made brush strokes along the bottom of the basket and let the paint dry. It gives it that brushed watercolor appearance without any effort at all, so the project takes less than 30 minutes and you can customize it however you want!
 Time: 20 minutes
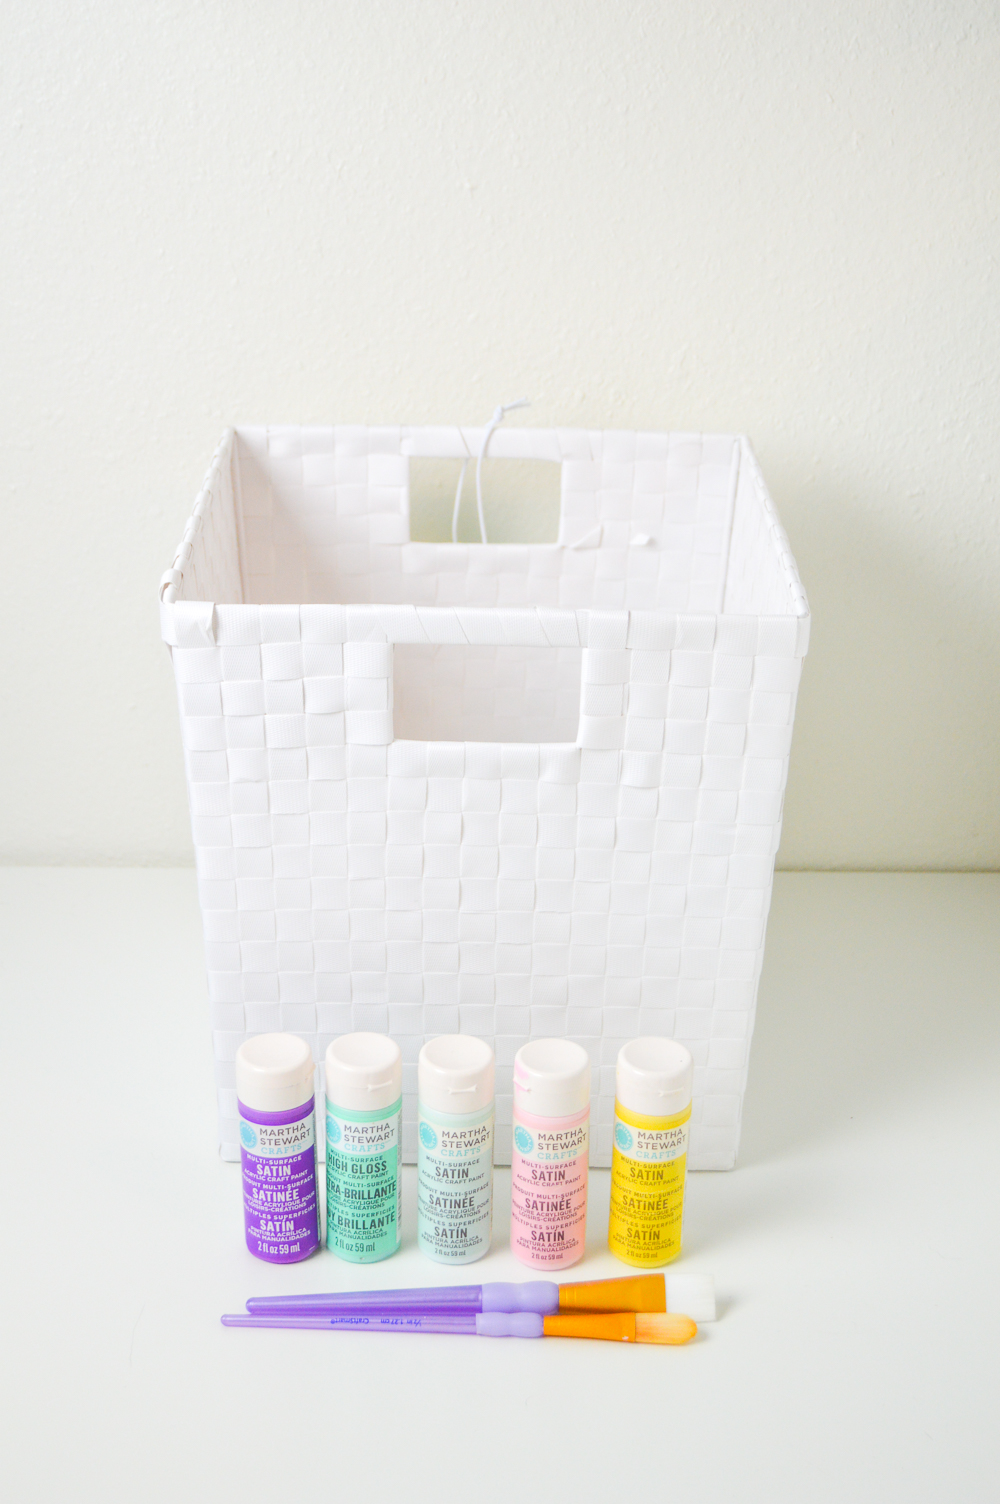
Supplies:
- White woven basket (I purchased mine at Target; it feels like a thick plastic-like fabric)
- 3-5 colors acrylic craft paint
- Paint brushes
- Disposable cups
How to:
- Add several drops of paint to disposable cups (about 1/2 tbsp of paint)
- Add several drop of water to each cup and mix with a paint brush until smooth
- Test the colors on the bottom of the basket to determine how well it shows up (darker/brighter colors will show up better) and add more paint or water until you reach your desired color
- Cover your work area with plastic, foil or parchment to avoid staining
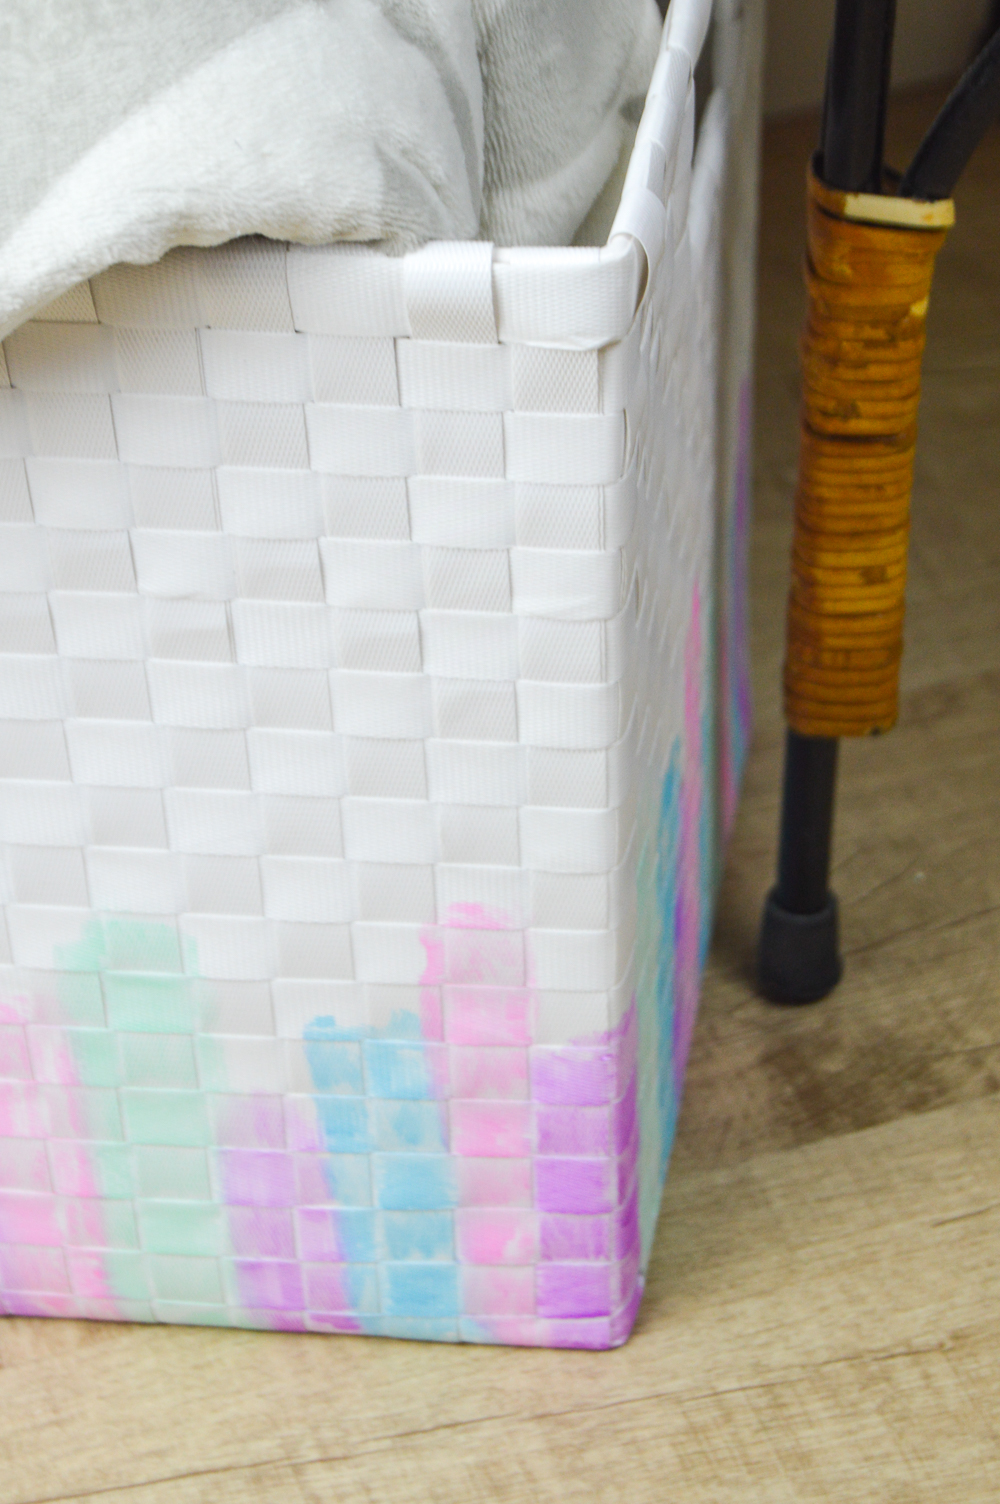
- Paint strokes up the sides of the basket in varying colors (as you can see, I did not follow a pattern and some colors overlapped) and go over several times if needed to reach your desired color richness and cover
- Let dry completely
Note, with the particular basket I used, I was able to wipe off the paint while it was still wet if I made a mistake. This may not be possible depending on the basket you find. Once the basket is dry, fill it up with laundry or extra blankets, pillows or even toys, and it makes a nice colorful addition to your home while adding items you don’t need.
I’ve got a few more watercolor ideas up my sleeve, so I hope you like them!