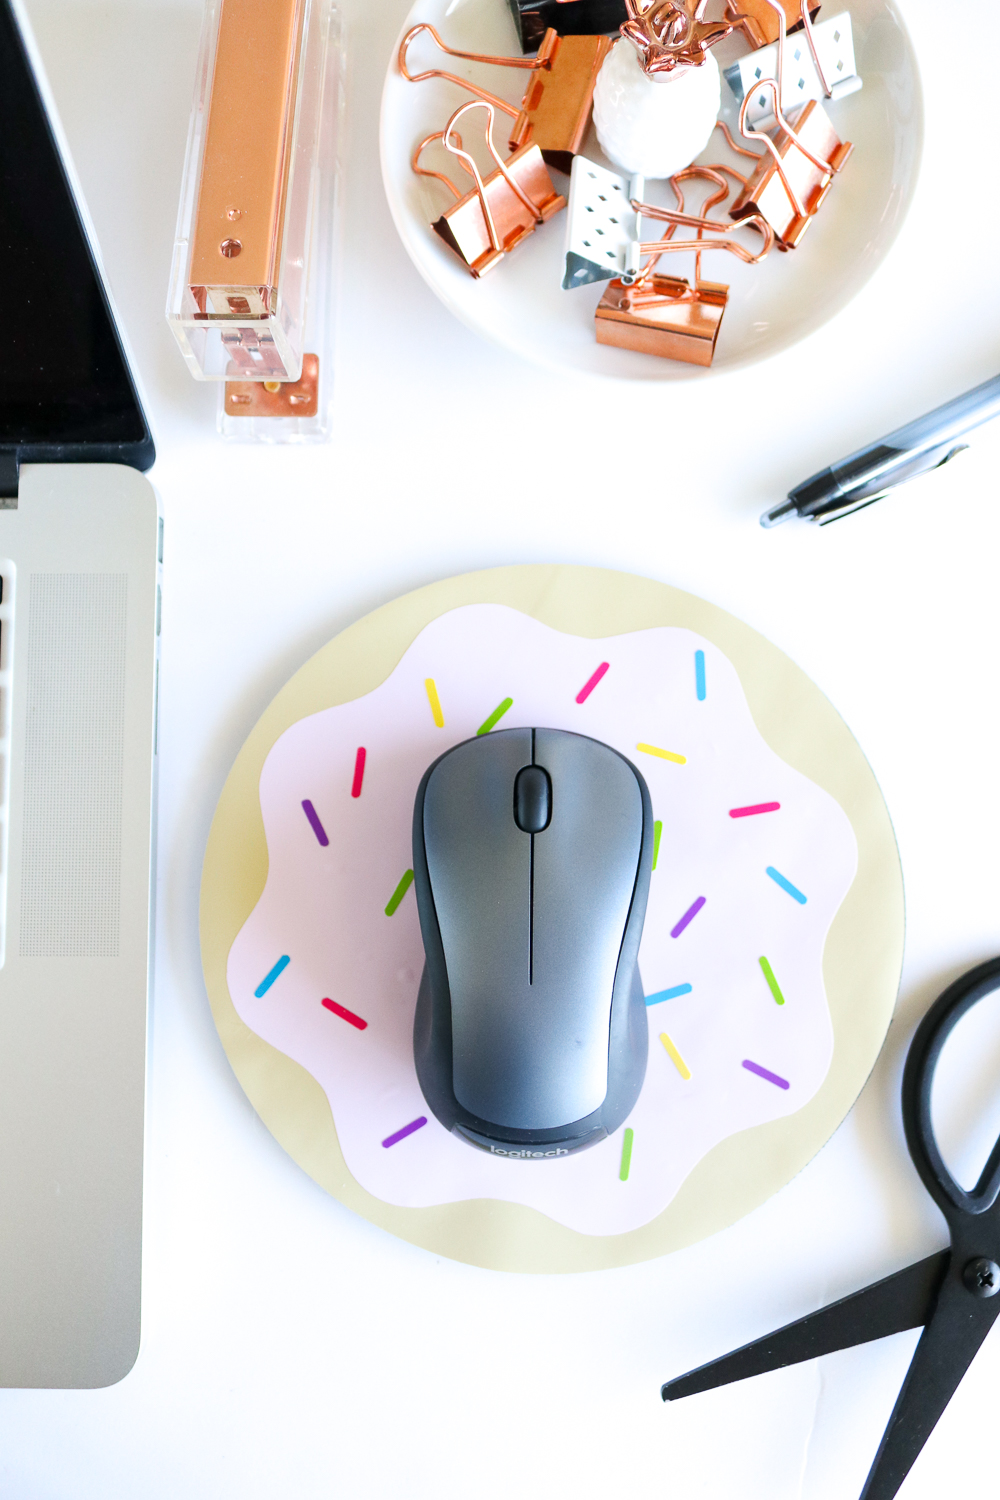
I’ve said it before and I’ll say it again: vinyl is one of the greatest craft supplies. I have a rainbow of colors on hand at all times now, which came in handy when I decided it was time to upgrade my mousepad with a more decorative look. After all, what would be desk be without a donut mousepad?! It’s clearly a must-have for every #girlboss to have on her desk.
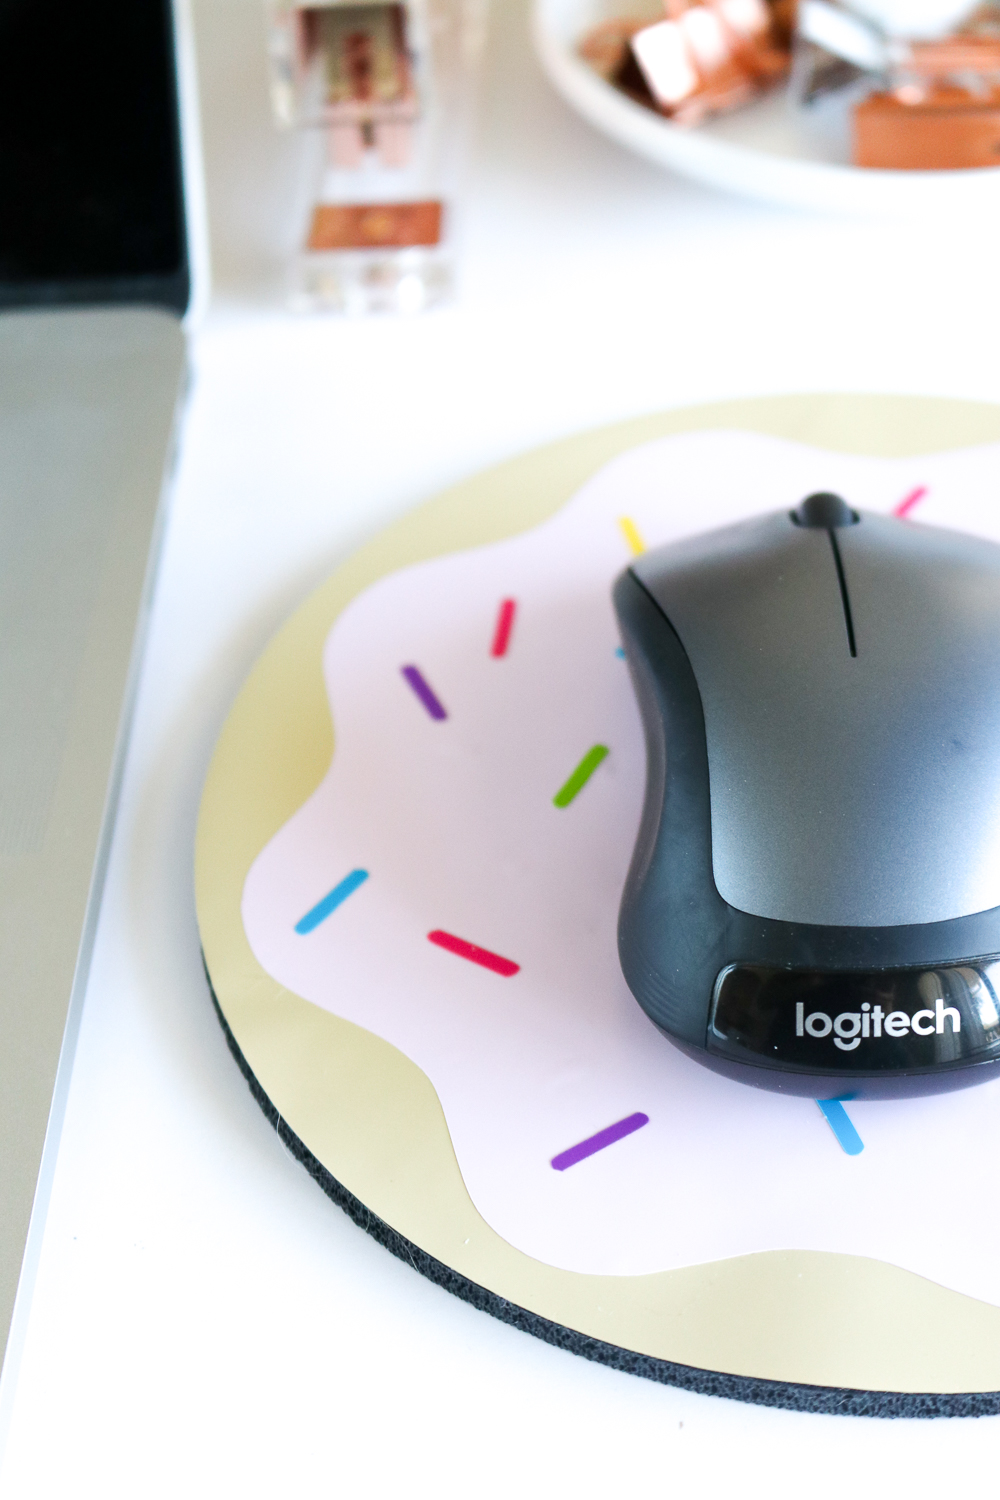
At first, I was worried that the vinyl would make it difficult for the mouse to glide on it like the original fabric, but because the vinyl has a matte finish, the mouse still works fine. Either purchase a new mousepad or upgrade an existing one with tan and light pink vinyl layered with colorful sprinkles!
 I used my Cricut Explore Air to cut my shapes, but that’s not necessary. For this project, you can simply use scissors or a craft knife to cut the vinyl to your desired shape and peel it like a sticker.
Time: 10 minutes
Supplies:
- Tan vinyl
- Light pink vinyl
- Various bright colored vinyl
- Plain round mousepad
- Cutting machine or craft knife
Step 1: Measure the size of the mousepad. Mine is 7.5 inches.
Step 2: Cut a 7.5 in round piece of tan vinyl. You can do this using a cutting machine or a craft knife, or even just scissors.
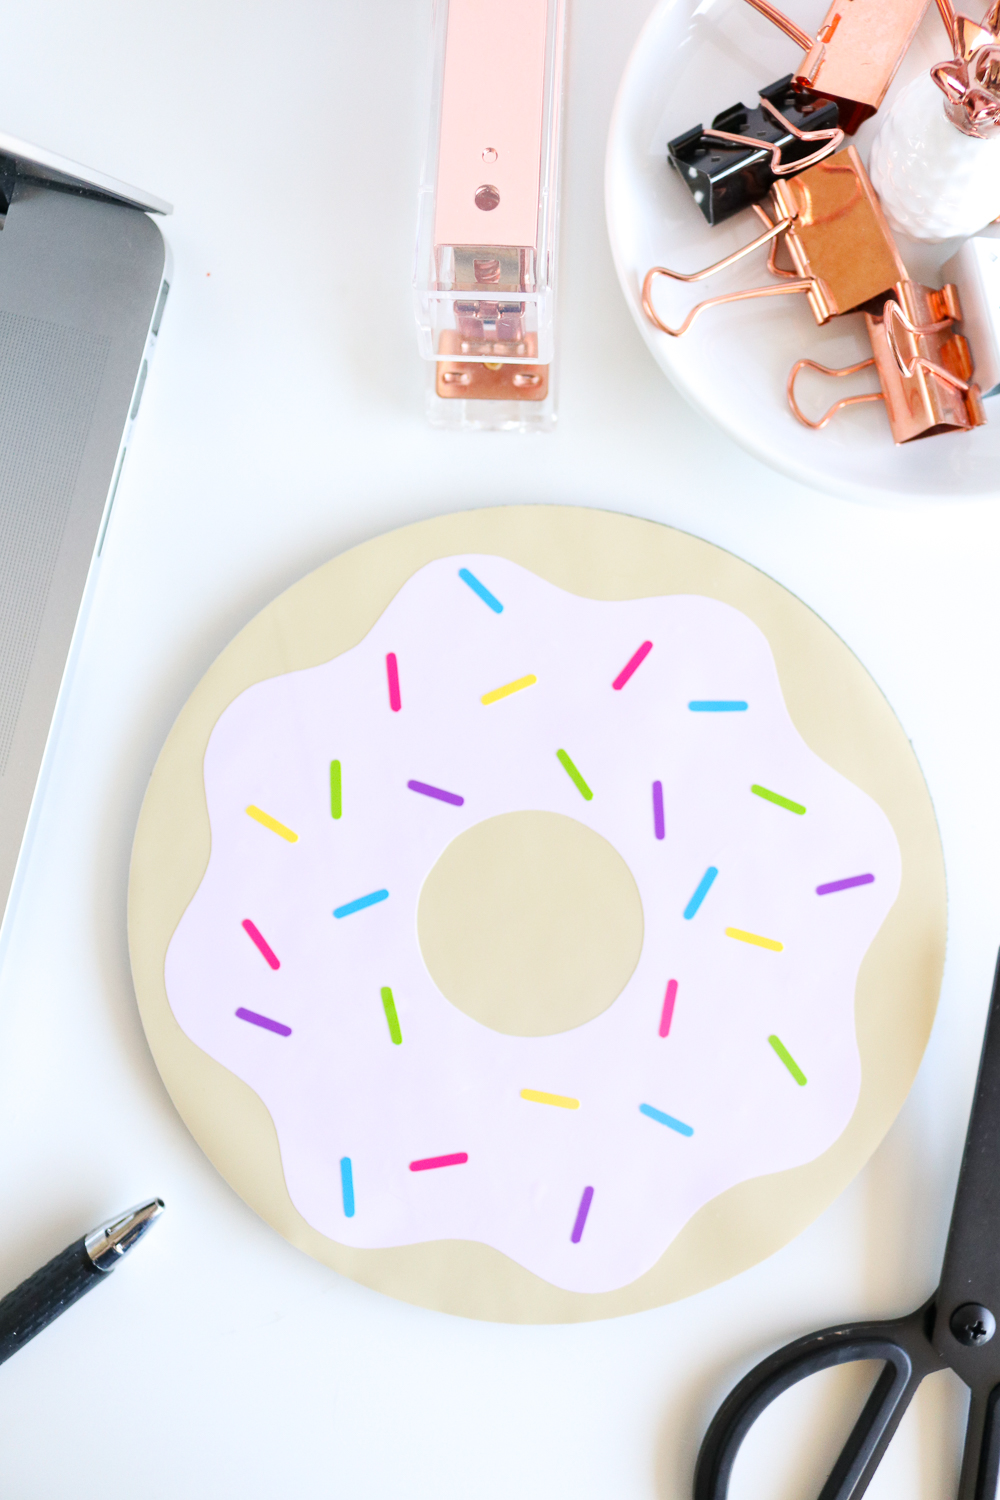
Step 3: Cut a squiggly circle that is about 1 in smaller than the circle with a 1.5 in hole in the middle (see my template here) using a light pink vinyl to create the “frosting.”
Step 4: Cut small rounded pill shaped “sprinkles” that are about .5 inches long out of various bright colored vinyl. See my template here for cutting sprinkle shapes.
 Step 5: Once all pieces are cut, begin layering them on the mousepad. First, peel off the backing and stick the tan vinyl to the mousepad so it is entirely covered. Then add the pink frosting, carefully placing it in the center. Lastly, stick the sprinkles in a random pattern around the frosting.
That’s all! It’s really just layering vinyl.
I will warn you that the vinyl may not be long lasting. Depending on your mousepad, the vinyl may peel over time, especially for fabric ones. Use with caution and take care of it to avoid peeling around the edges.
Sorry if working at your computer now makes you hungry!
Heather | Craft & Tell
This is so cute, Holly! I always get free mousepads from trade shows at work and this is the perfect way to dress a freebie up!
Holly Wade
Heather | Craft & TellThanks! I love that idea!