We’ve been working around the clock lately to make some upgrades at #MontezManor! Last night, Andrew and I ripped out the carpet in our living room and painstakingly removed multiple layered of tack board. I have been installing new vinyl plank flooring throughout the house, starting in the dining room. Even though it’s a mess now (from working in the rest of the house), it’s the most finished room so far! In it, you can find my latest DIY: this easy wall art with tissue paper! Tissue paper wall art is probably not a brand new idea, but I was inspired by a design I saw on Minted. Using a floating frame, it’s really easy to make custom, super affordable wall art with tissue paper. Keep reading for details and the quick tutorial video!
*This post was originally published on April 1, 2021
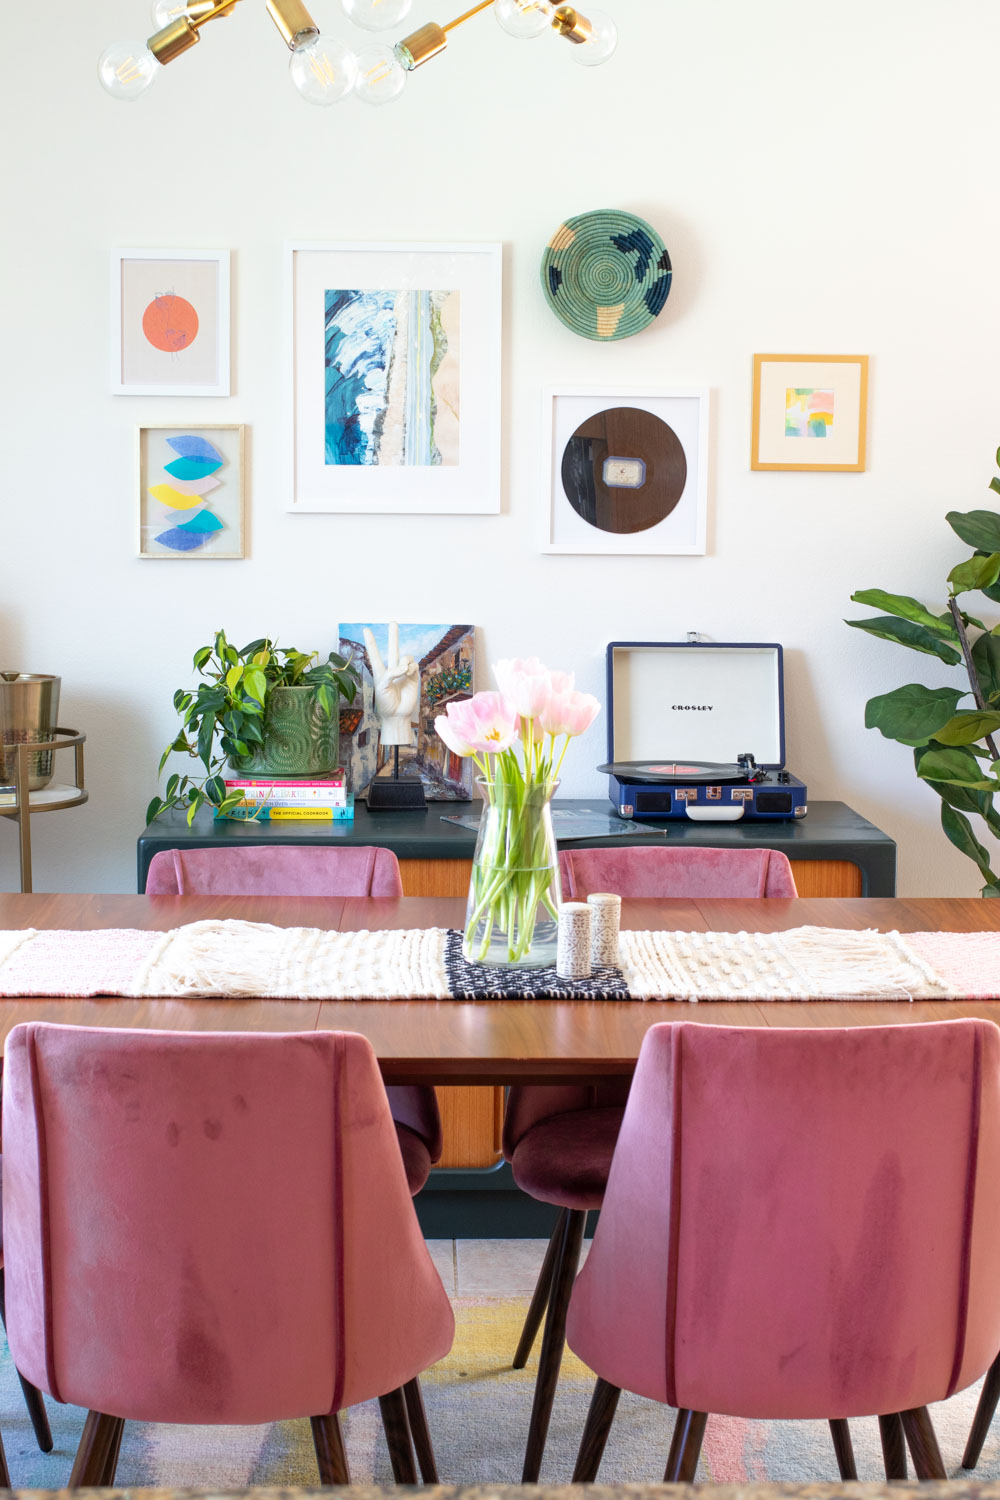
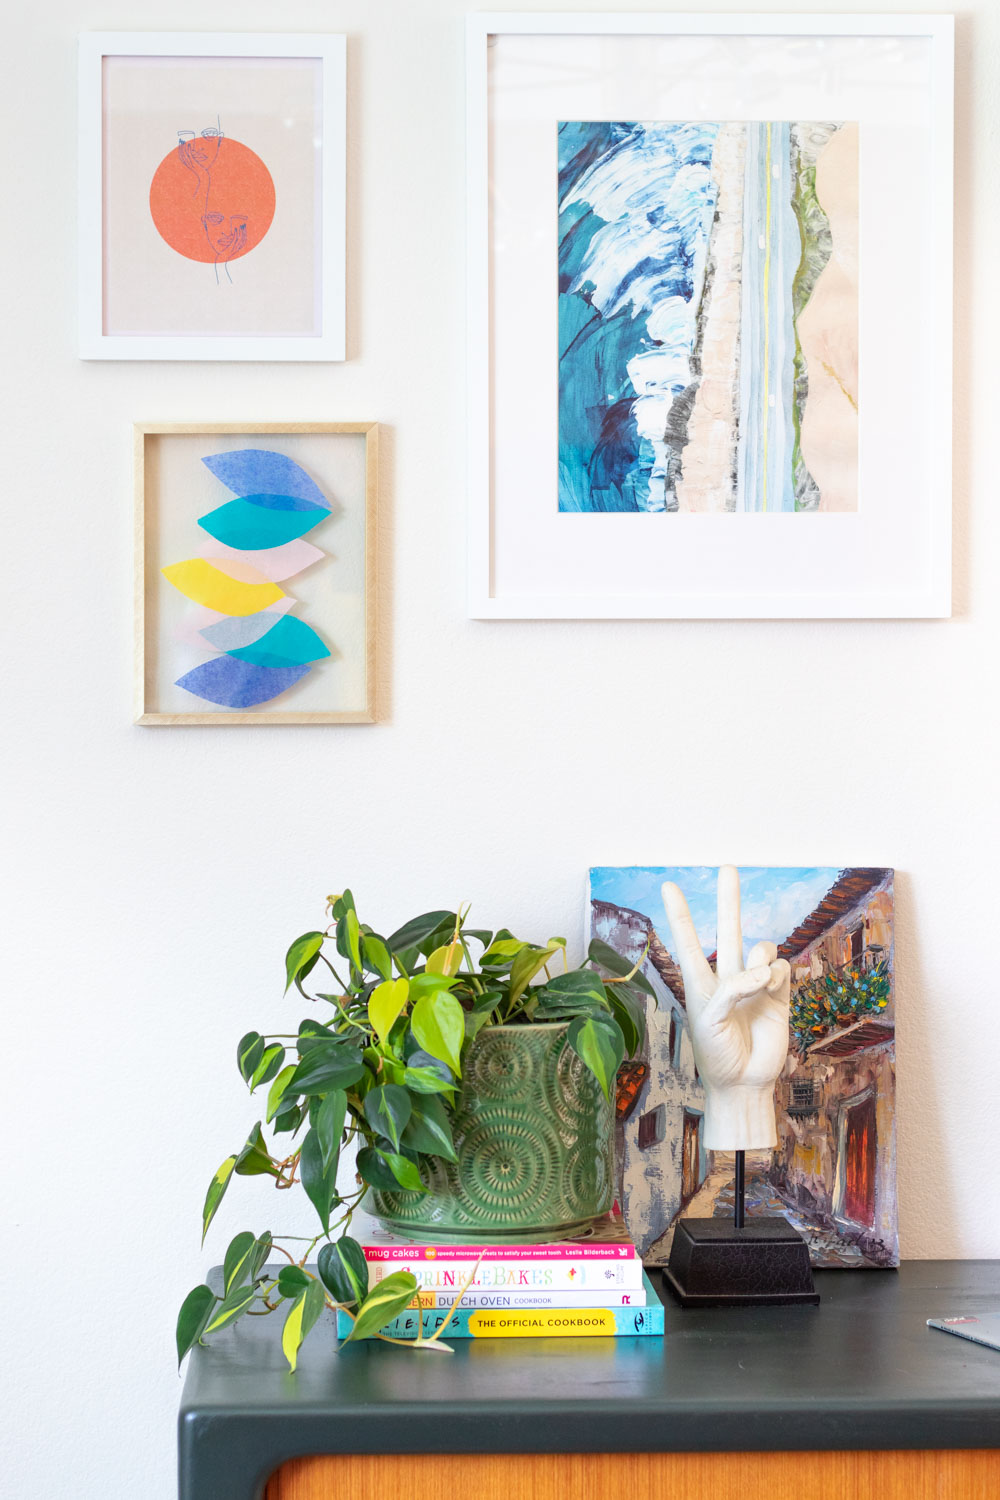
This is the most I can show of the dining room right now, but it feels like a HUGE improvement! It all started with a rug and table I was obsessed with. Then we added those dusty pink chairs. I also found that buffet in the back for a steal on Facebook Marketplace! I painted it a super dark green to contrast the rest of the room. Finally, we needed some art on the walls! Since our budget was limited, I was excited to try this DIY wall art with tissue paper using the general color scheme of our home. I love it! In this gold floating frame, I think the colors pop. Surrounded by a gallery of mostly white frames, it feels like ME.
How to Make Affordable Art with Tissue Paper
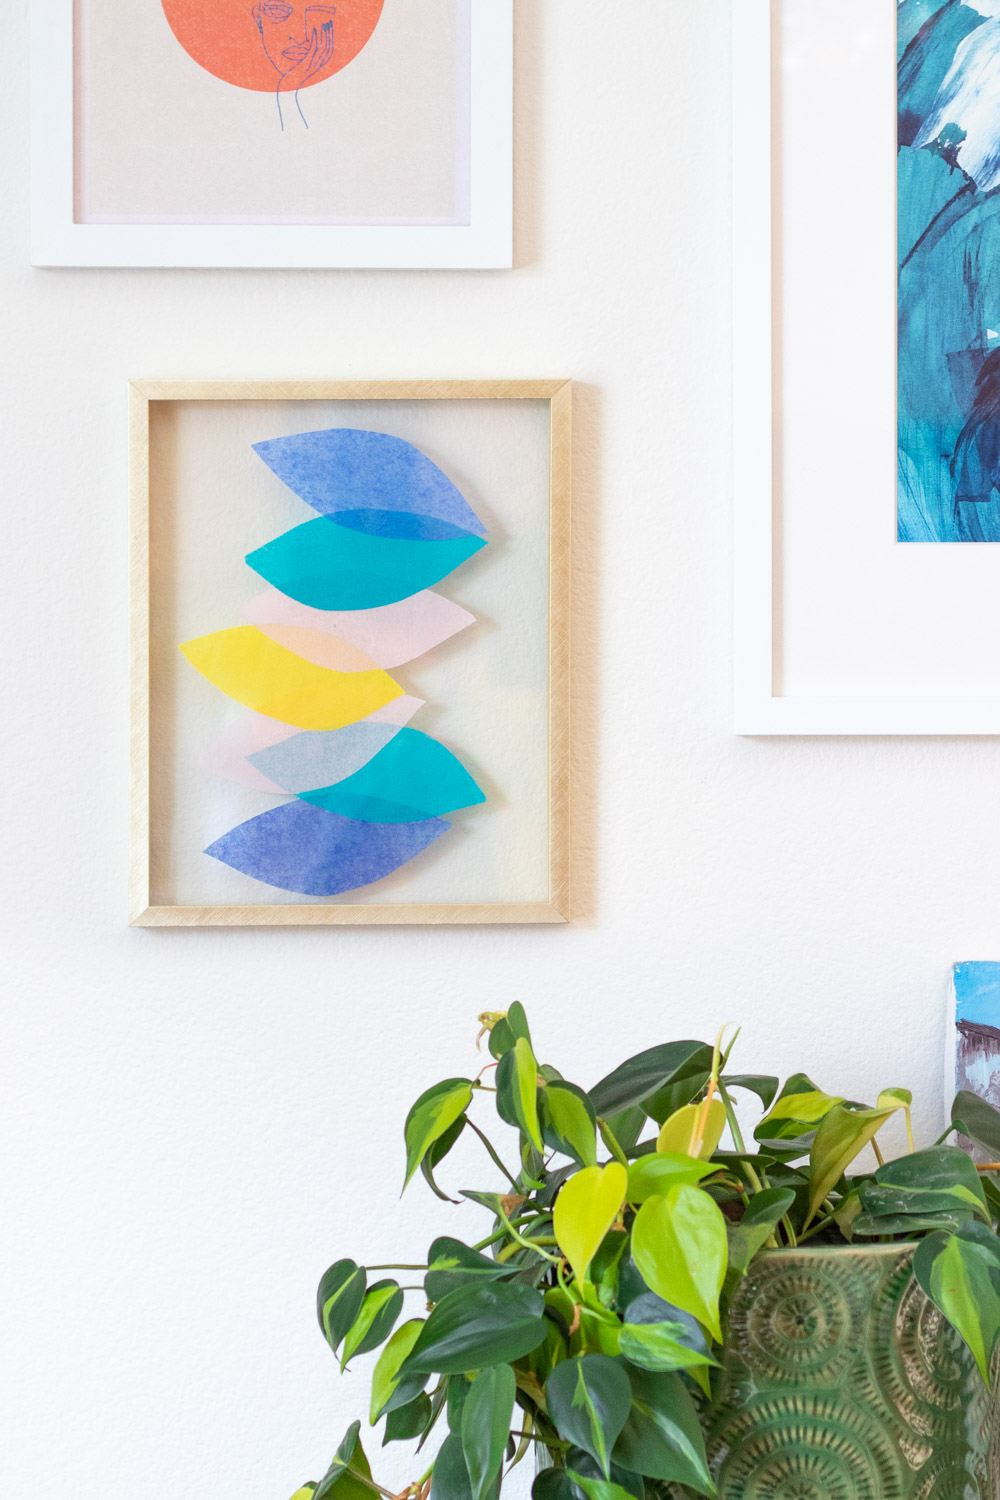
I guess you could say this tissue paper wall art was inspired by leaves. That’s the idea behind these shapes. The floating frame sandwiches the tissue together in a way that looks like colorful falling leaves. Now, here’s how to make your own DIY wall art with tissue paper in just a few minutes!
Supplies:
- Floating frame (two glass panes)
- Tissue paper, multiple colors
- Scissors
You can watch the tutorial video here, and head to Instagram to follow along with more Reels videos like this one!
Step 1: Open the tissue so that you have two layers. Then cut a general leaf shape or other shape with the scissors.
Step 2: Repeat with multiple colors. You can also mix up shapes.
Step 3: Open up the floating frame. Remove the back pane, leaving the front in tact. Then place the frame face-down.
Step 4: Arrange the tissue pieces on the glass. Keep in mind you’re looking at it backwards! Overlapping a little is what really shows off the transparency of the tissue paper!
Step 5: When you’re finished, replace the back glass pane. Turn it over and check it out!
Now your tissue paper wall art is ready to hang! I love how it looks in the dining room, and it only cost me a few dollars to make. When trying to decorate a whole house, it helps to mix the splurge items with the low-cost DIYs. Maybe I’ll make more wall art with tissue paper for other parts of the house!
I can’t wait to share more photos of the house with you all soon, especially when we finish up our new floors!