I always loved back to school season for the new school supplies. I mean, is there anything better than a fresh notebook? Even now, I consider myself an office supply geek. In honor of back to school season, why not celebrate with a treat based on childhood favorites, combining crayons and Hostess Twinkies to make these crayon Twinkies treats everyone can enjoy!
For the record, Andrew made fun of me for several days while working on these because apparently I pronounce “crayon” wrong…and then his whole family proceeded to tease me about it as well. Apparently I pronounce it “cran.” Please tell me I’m not alone. How do you pronounce crayon?!
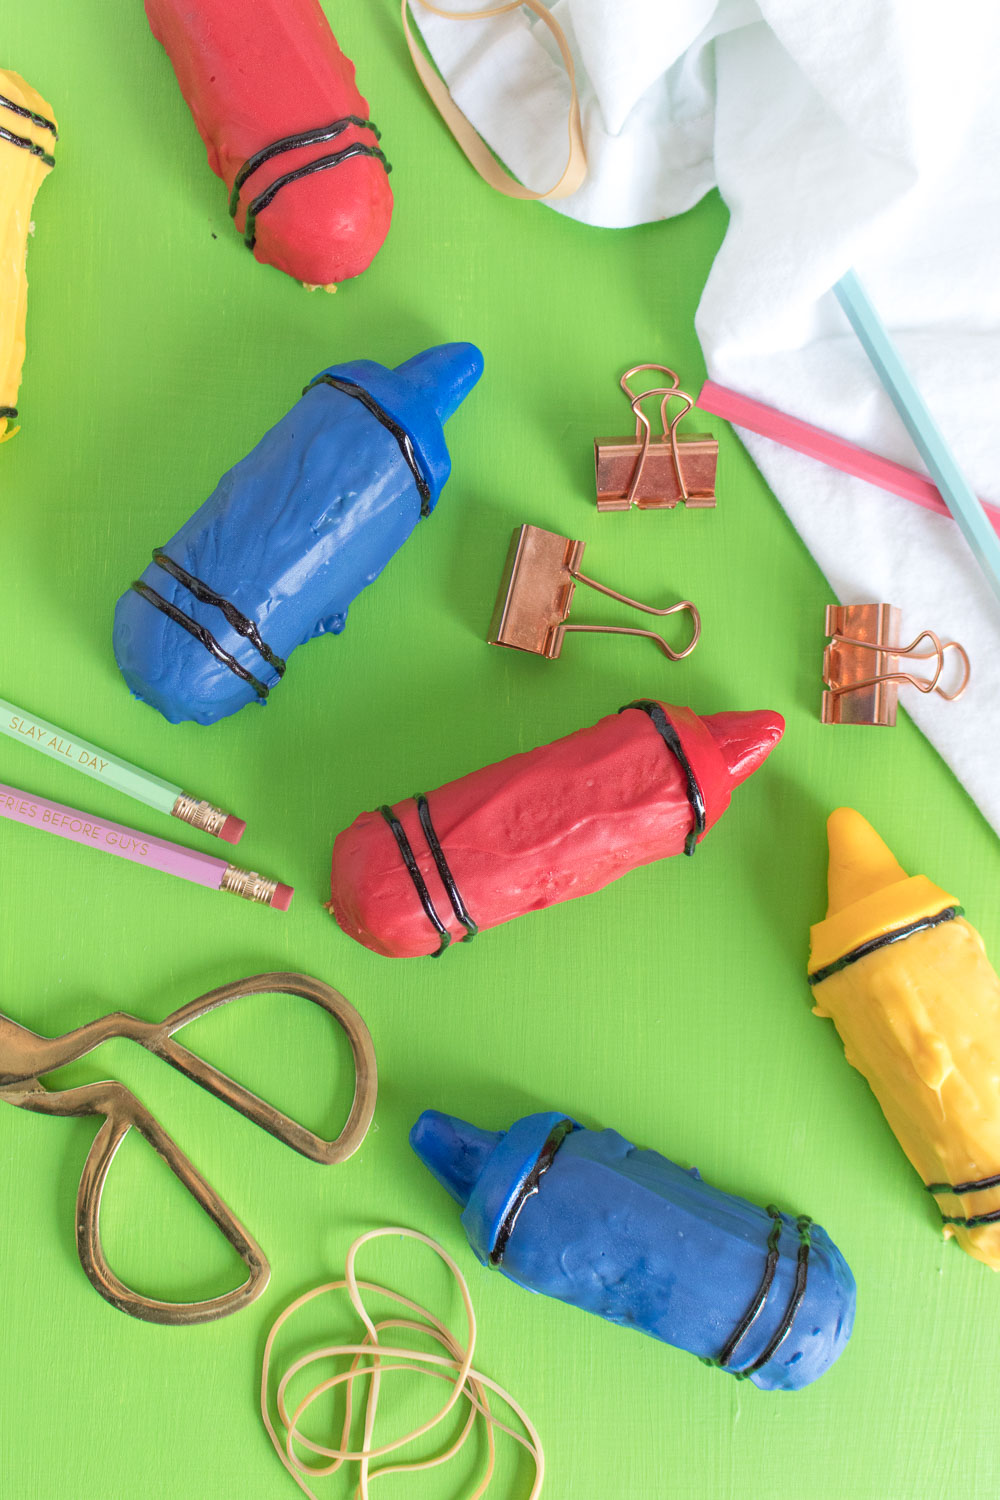
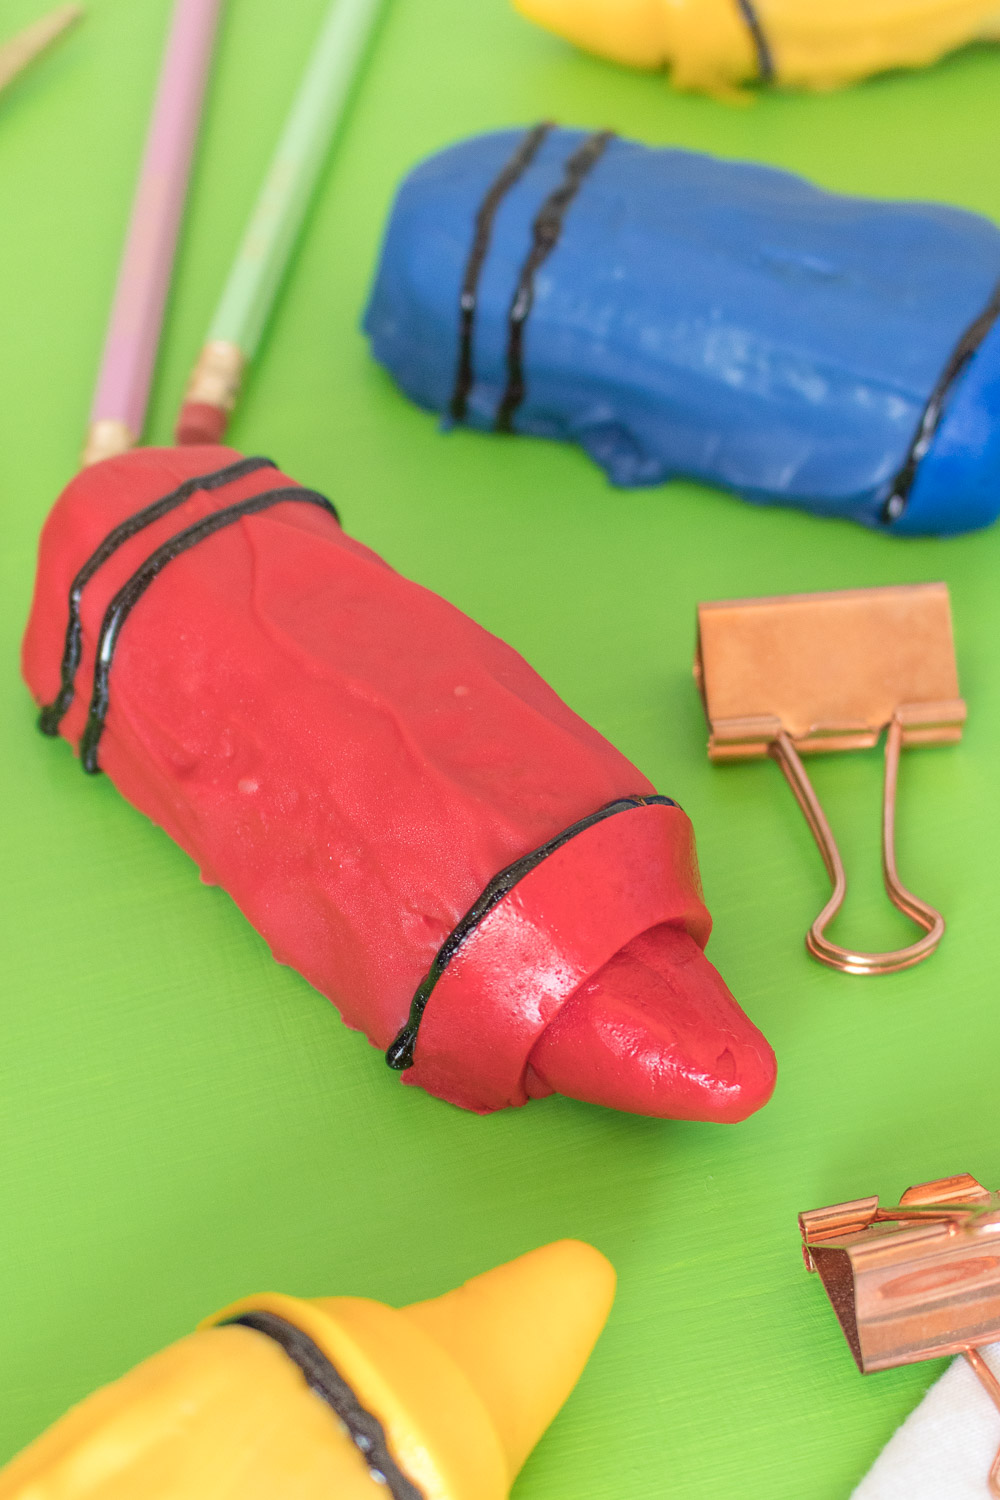
 You don’t need to be a baker or cake decorator to transform regular Twinkies into Crayola-inspired crayons in your favorite colors. Adults and kids can enjoy celebrating back to school with these treats! Simply purchase the colors of candy melts with corresponding colors of fondant, and you won’t have to dye any of it yourself.
Supplies:
- Twinkies
- Candy melts
- Vegetable oil
- Parchment paper
- Fondant in coordinating colors
- Black gel icing
- Bowls
- Rolling pin
- Knife
 Step 1: Melt candy melts in multiple bowls according to color. Melt in the microwave in 30-second increments, stirring in between. Add vegetable oil and stir to thin the chocolate to an easy pouring consistency.
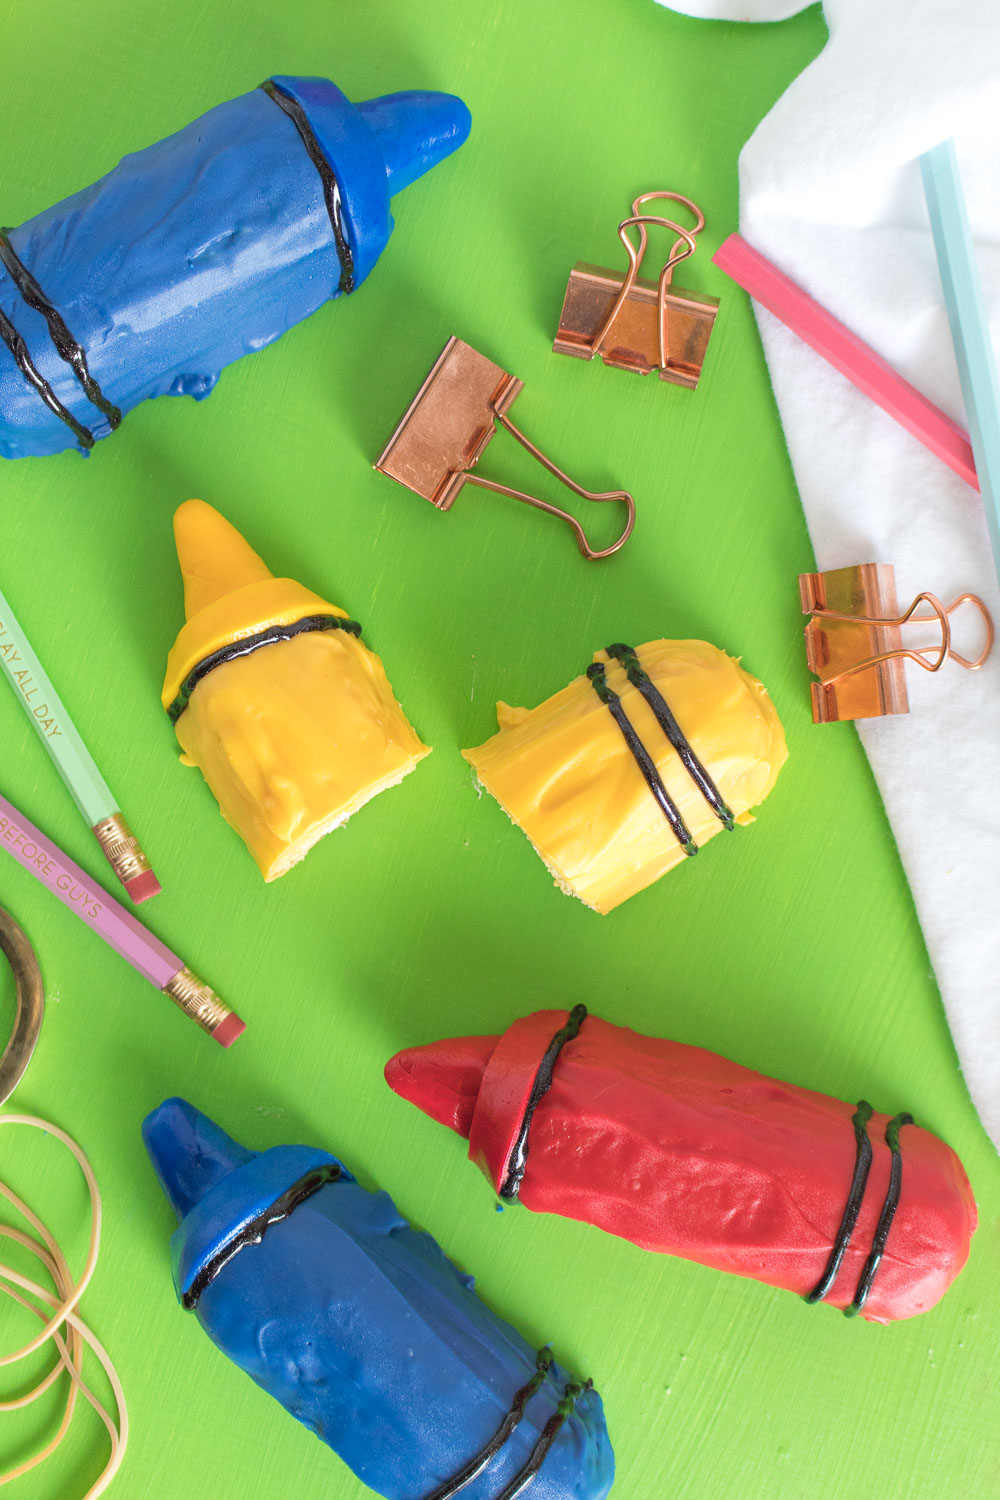
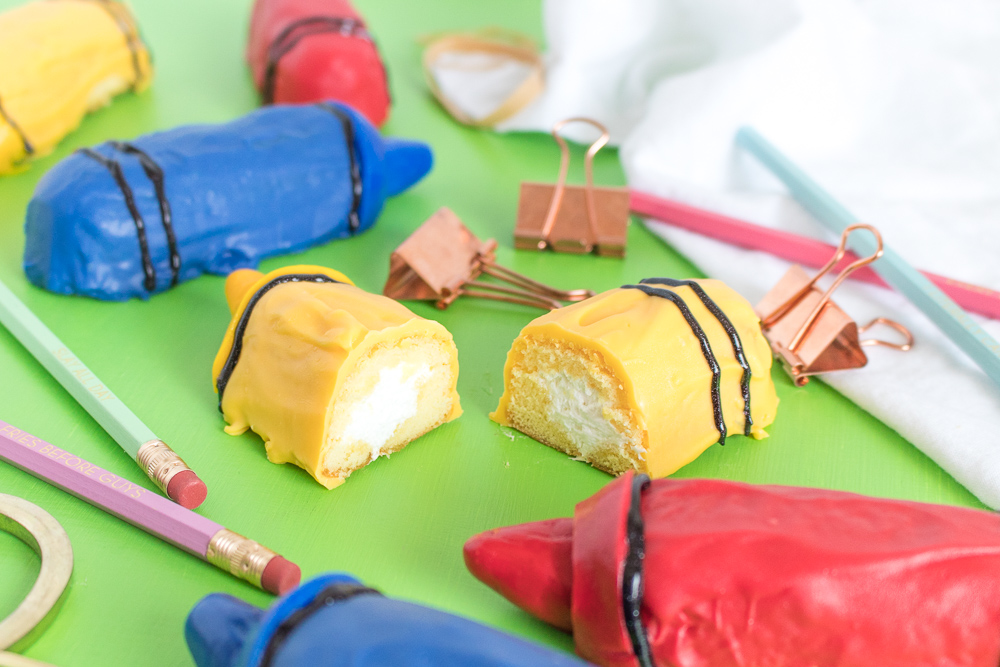
Step 2: Place Twinkies on a piece of parchment or on a cooling rack over a piece of parchment. Slowly pour the melted candy over the Twinkies and use a spoon to spread evenly so that the entire Twinkies are coated. Repeat with desired colors and move to the fridge to set.
Step 3: Roll out the corresponding colors of fondant using a rolling pin until it is about ¼ inch thick. Cut ½ inch strips with a knife – one strip per Twinkie.
Step 4: Roll fondant into a ball and form into a cone shape to become the tip of the crayons. Cut with a knife so that you have a small pointed tip.
Note, fondant dries out quickly, so keep materials covered while working to remain soft.
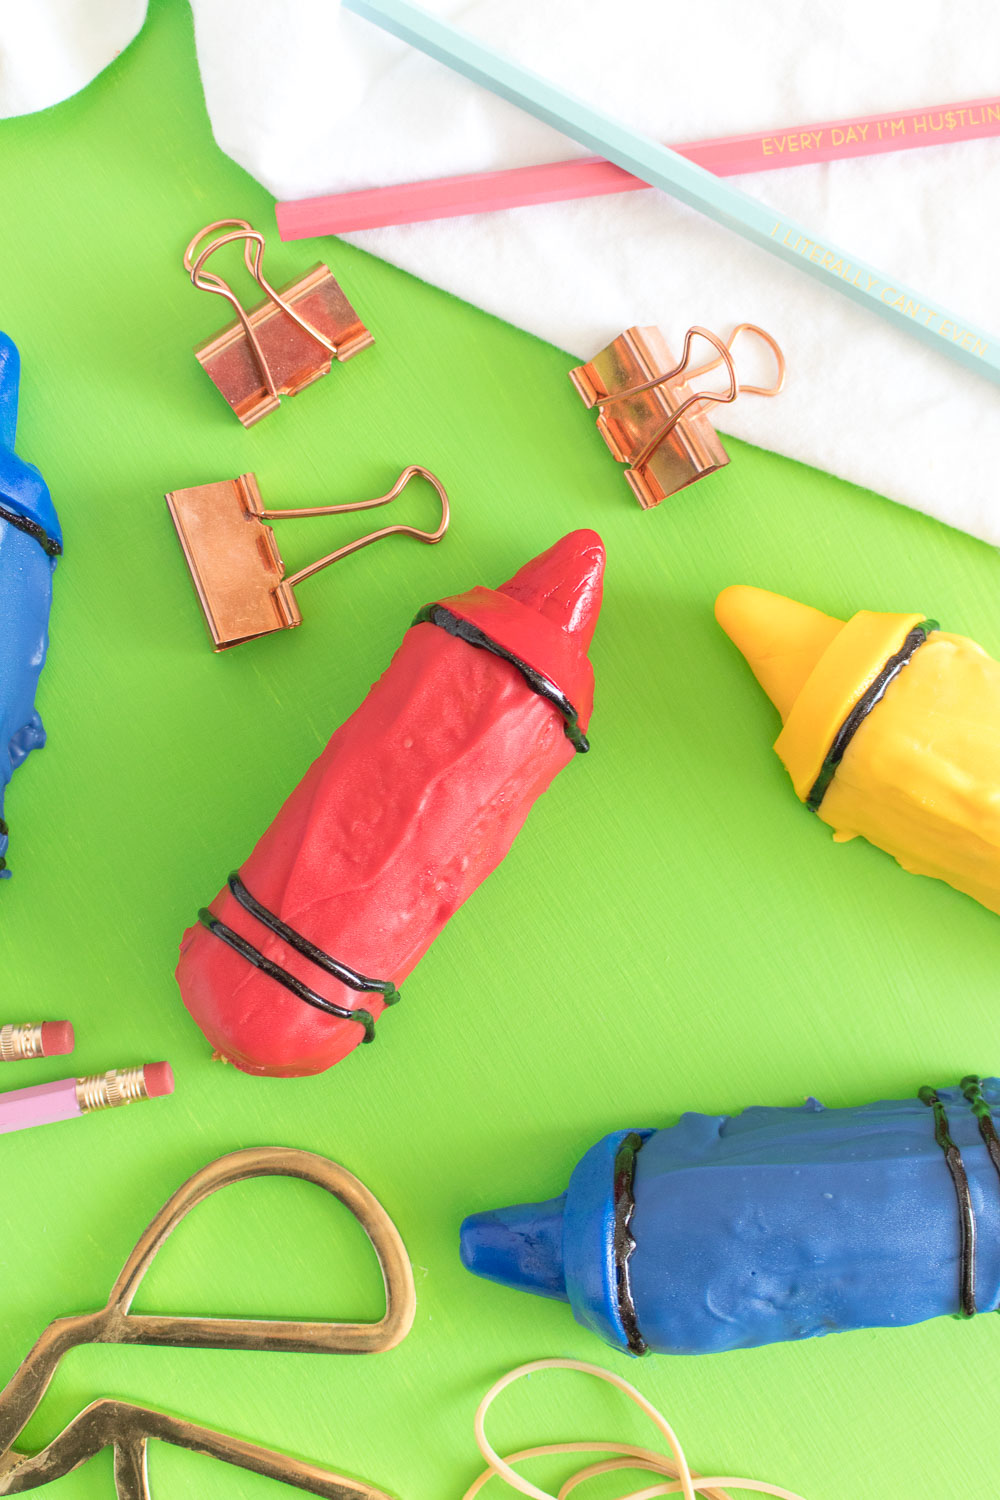
Step 5: Remove the Twinkies from the refrigerator once candy coating has hardened. Gently press the fondant crayon tip to one end and smooth edges with your fingers to attach. Place the thin strip of fondant over the edge of the Twinkie and use a knife to trim excess fondant at the base.
Step 6: Lastly, finish the crayons by drawing one line along the edge of the of the fondant strip with black icing. Then draw two lines at the other end of the Twinkie.
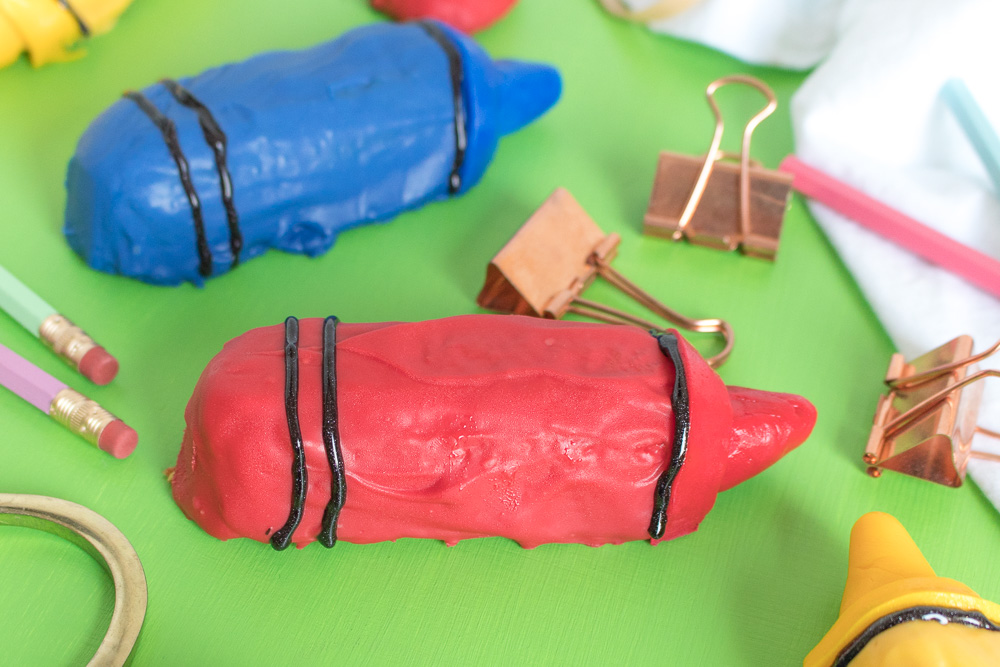 Store the crayon Twinkies in the fridge until ready to eat! They should store well for 2-3 days.
I can’t think of a better way to spend back to school season than with a childhood favorite dressed up like crayons! Now, I’m off to eat what’s left of the Twinkies and relive my childhood.