
The following post is sponsored by Tulip
As you prepare for summer (and hopefully some summer traveling), start thinking about your favorite outfits. I know I can always use more color in my wardrobe, so I partnered with Tulip again to make this colorful tie dye kimono! Wear it as a swimsuit cover or with a t-shirt and jeans. These bright pops of color in a bullseye-like pattern all over the kimono make it stand out. Keep reading to see how to make your own colorful kimono with tie dye!

Tulip Tie Dye Kits are the perfect supply for upgrading your wardrobe this summer. Lucky for color-lovers like me, tie dye is IN! Choose your favorite colors from the new Vibrant One-Step Tie Dye Kit to make this ultra colorful tie dye kimono. Honestly, I love all of these colors. It’s my ideal color palette. What else could you possibly need this summer?!
PS, be sure check out my Two-Minute Tie Dye tutorial for making a tie dye blanket too!
Supplies:
- White kimono, pre-washed natural fiber material
- Tulip One-Step Tie Dye Kit, Vibrant
- Wire rack
- Plastic for covering work surface
- Plastic wrap / cling wrap
You can tie dye most fabrics wet or dry. Most of the time, as with this tie dye kimono, I make sure the fabric is damp first so that the dye absorbs better. You should always use pre-washed fabric, so dye them fresh from the wash or wet them when you’re ready. This is totally up to you!
How to Tie Dye a Kimono IN MINUTES
Step 1: If tie dyeing wet fabric, submerge the pre-washed kimono in water until damp. Wring out excess water. You can do this before rubber banding your pattern or after.
Step 2: Then mix your dyes! Eight colors come in the Vibrant tie dye kit. I used six of them to make my kimono. Add water to the fill line on the bottles and shake vigorously until the dye is completely absorbed.
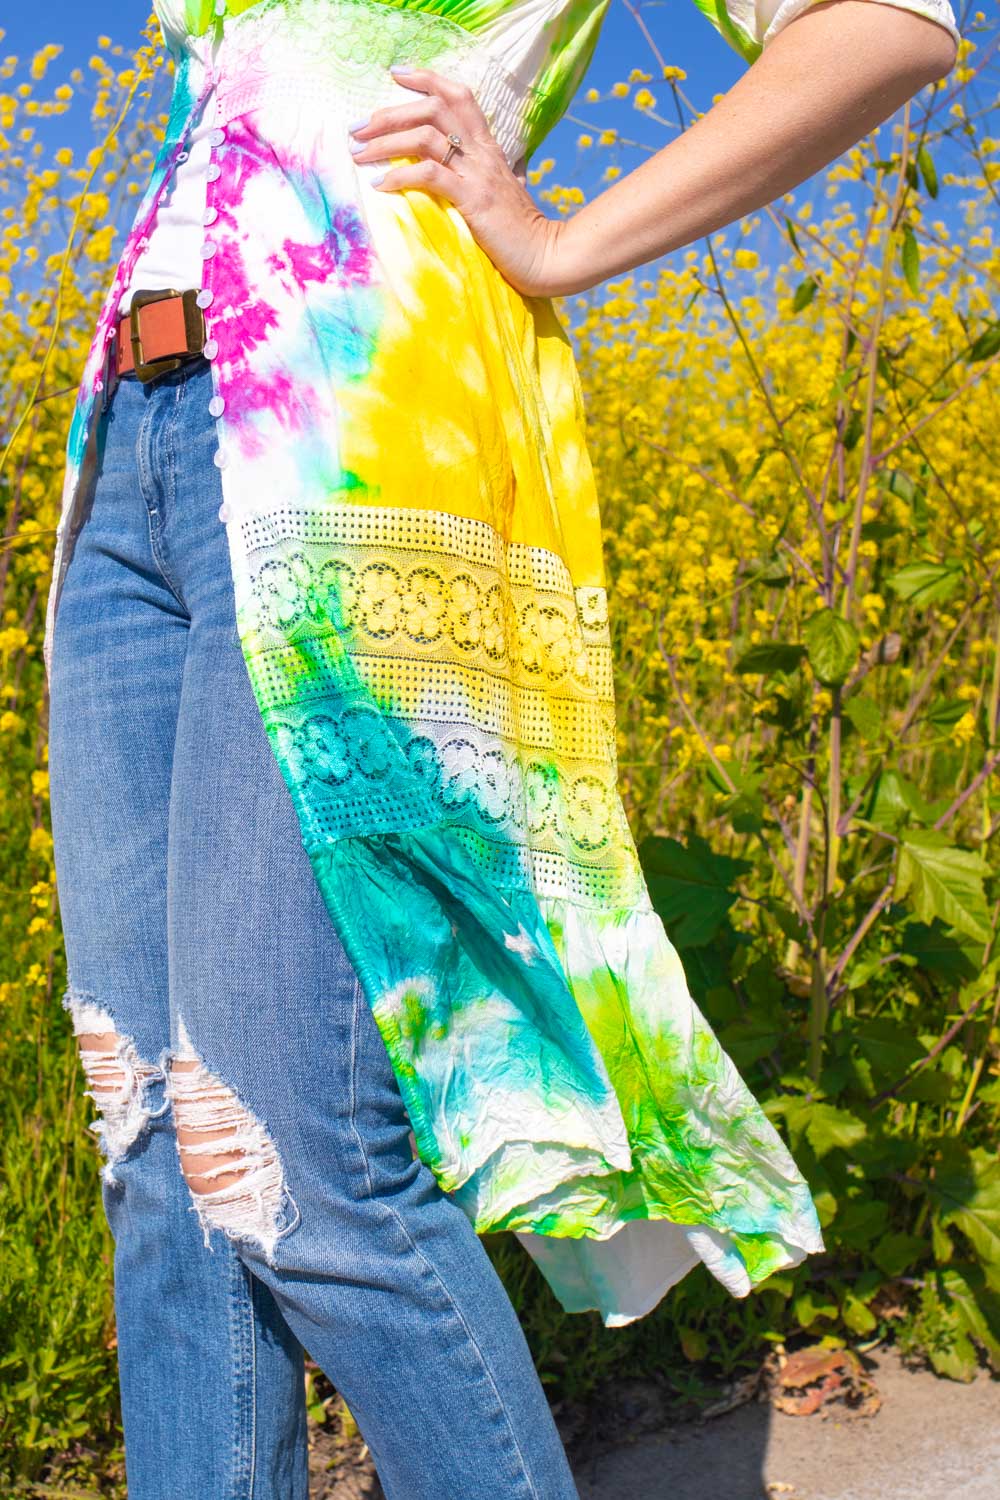
Step 3: Cover your work surface to protect it from dye. Then rubber band random sections of fabric all over the kimono. Add 2 layers of bands about 2 inches apart if desired. This creates a bullseye-like tie dye pattern.
Step 4: Arrange the damp kimono on top of a wire rack to prevent dye from pooling. It’s OK if it’s just scrunched up into a pile. Then apply a different color of dye to each bullseye on the kimono, letting the dye go around it.
Note, I did NOT dye the backside of the fabric. For the tie dye kimono, it was OK for the front to have the most pattern. Flipping it risks adding color in unwanted places.
Step 5: Wrap the entire rack in plastic or place inside a large plastic bag. Set aside for 6+ hours for the dye to set.
Step 6: Carefully unwrap the tie dye and trim away the rubber bands. Then open up the fabric to reveal the pattern on your new tie dye kimono!
Step 7: Rinse the fabric in cool water until it runs clear. Then wash separately and dry normally.
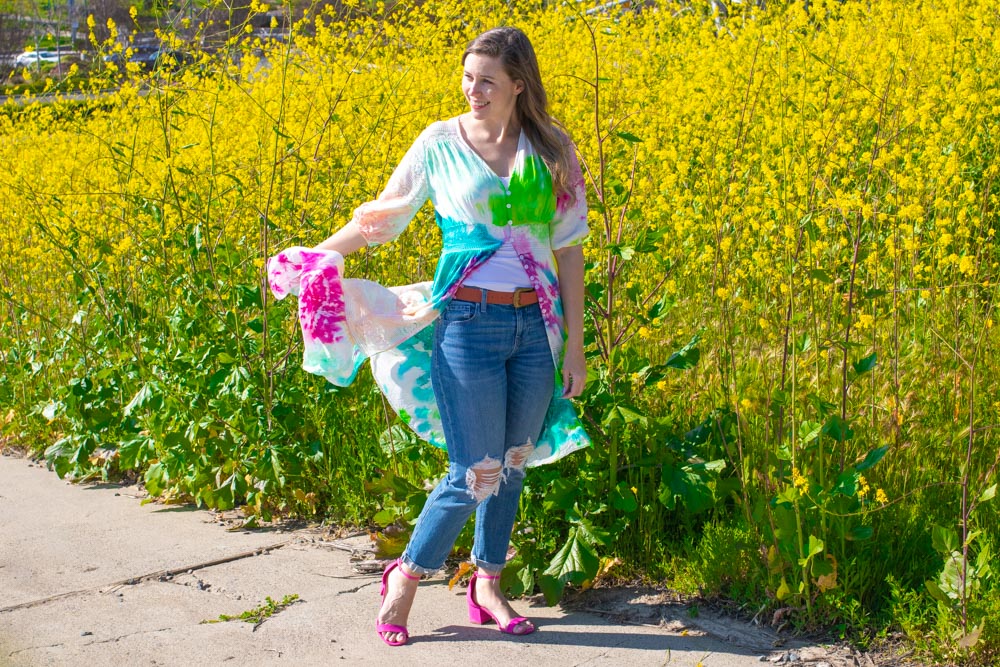
Add this tie dye kimono to a variety of your summer outfits, or wear it by the pool! It’s the perfect summer color palette.
Thank you to Tulip for generously sponsoring this post. All opinions are my own. Please note this post contains affiliate links from which I may collect a small profit should you choose to make a purchase. I only link to products I personally use or recommend. Thanks for supporting the brands that keep Club Crafted sharing!