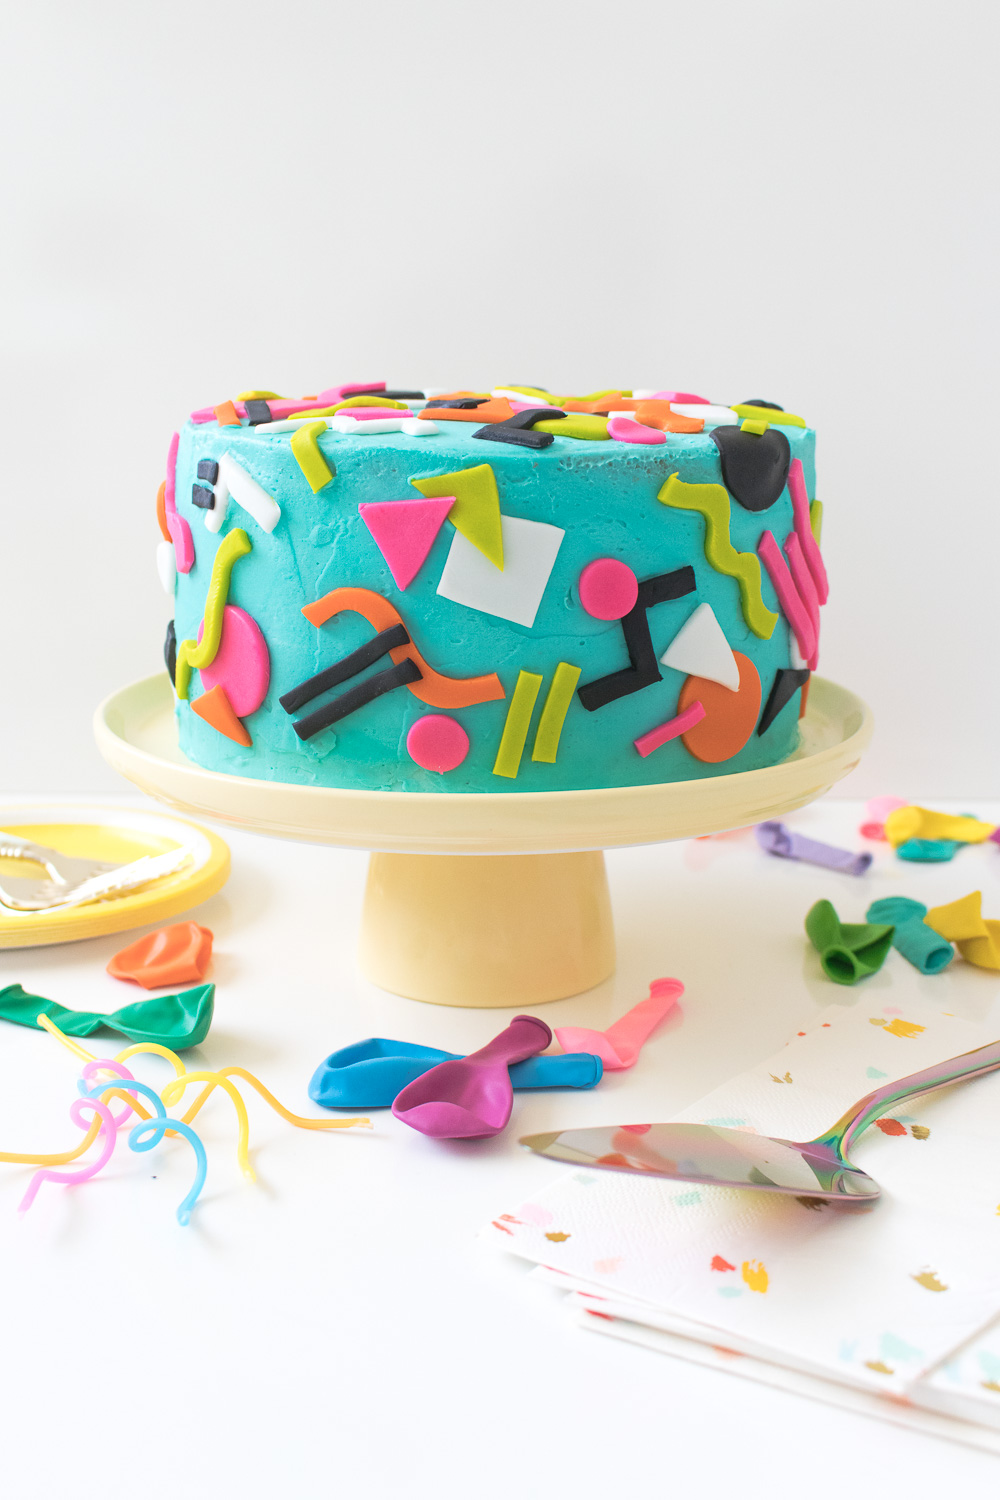
If you grew up in the 90s like I did, or if you simply lived through them, I’m pretty sure you’ll identify with today’s project! This 90s-inspired cake is a throwback to the abstract, colorful patterns of the 1980s and 1990s, and it immediately makes me think of shows like Saved by the Bell and Fresh Prince of Bel-Air. With lots of bright colors and funky tie dye layers, this cake takes me right back to childhood. I’ve noticed these crazy abstract patterns are coming back, and let me just say, I’M LOVING IT. It’s kind of cool to see things from my childhood come back in style…or maybe that just makes me old.
 This was one of the more fun cakes I’ve worked on. Others tend to stress me out if they’re complicated or have a lot of pieces, but this one was just fun. It really felt like art!
Scroll down for the full recipe and how-to! ??
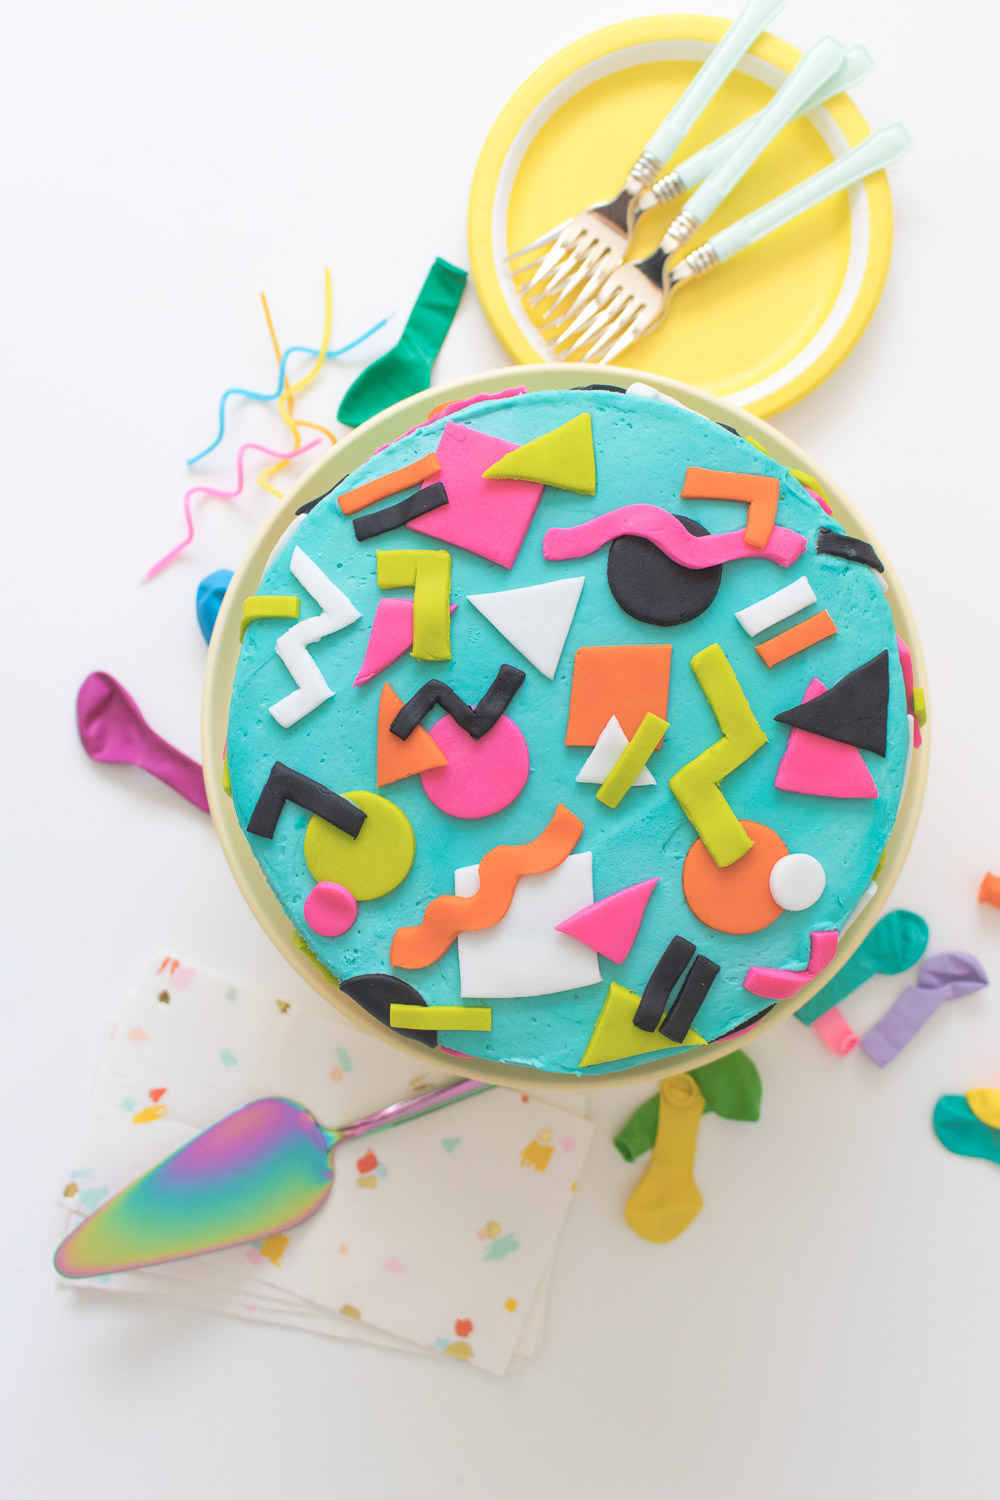
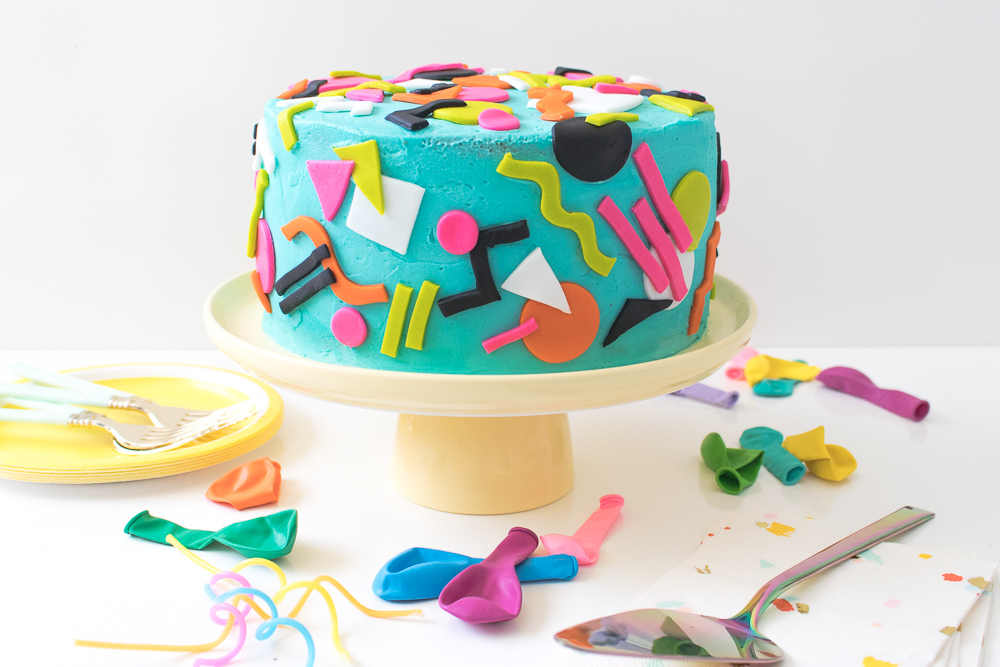
First, let’s talk about the outside of the cake because that’s my favorite part. I coated it with classic vanilla buttercream dyed a bright teal color. On top of that, you’ll see all of those fun abstract patterns, which are made out of fondant. Like most people, I don’t like the taste of fondant, which is why I choose to avoid covering my cakes in it, but it’s ideal for these types of decorations. I simply rolled out several colors on a pastry board and used a pairing knife to cut out a variety of shapes, like zig zags, squiggly lines, circles, triangles, squares, etc. Once I got to layer all of those colorful shapes on top of each other, it began to feel like a cake worthy of the 90s.
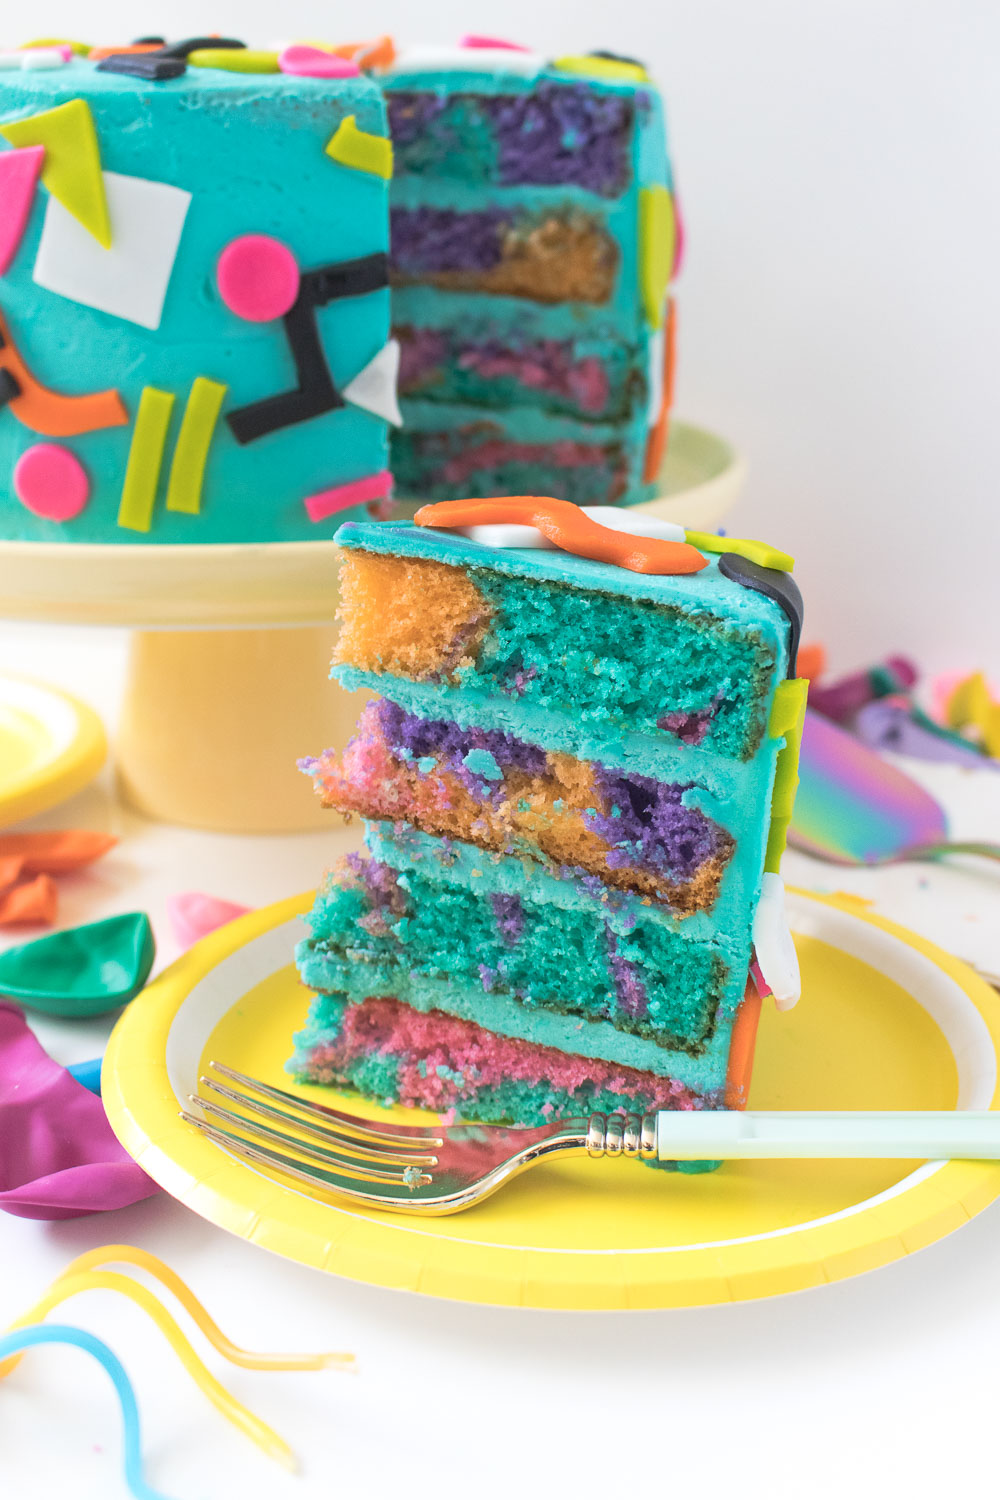

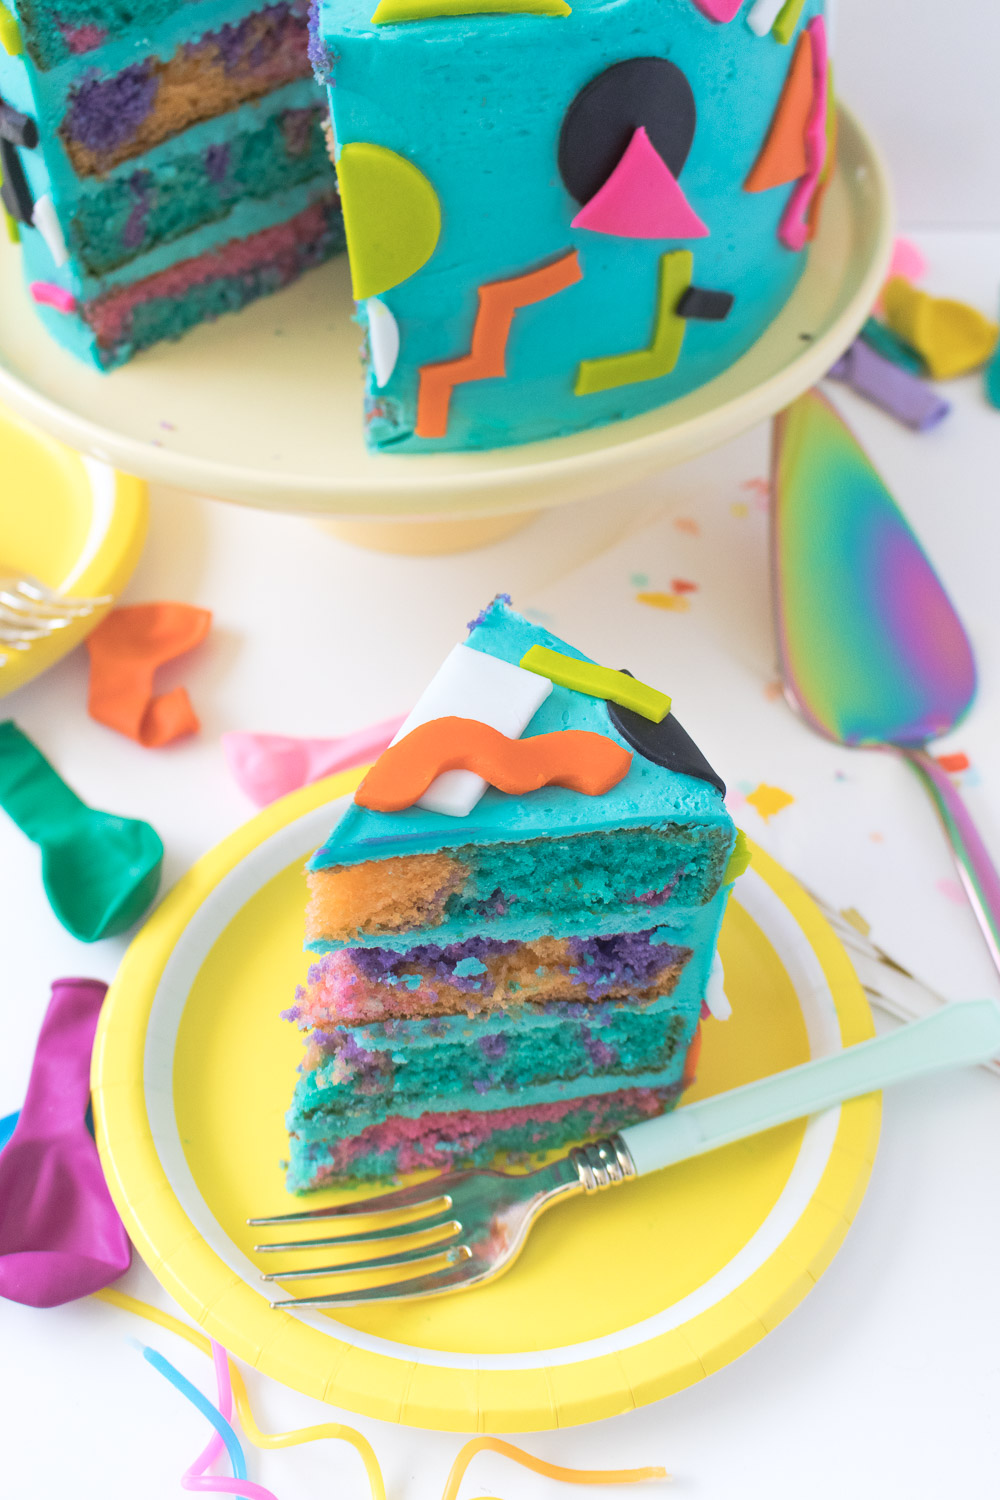
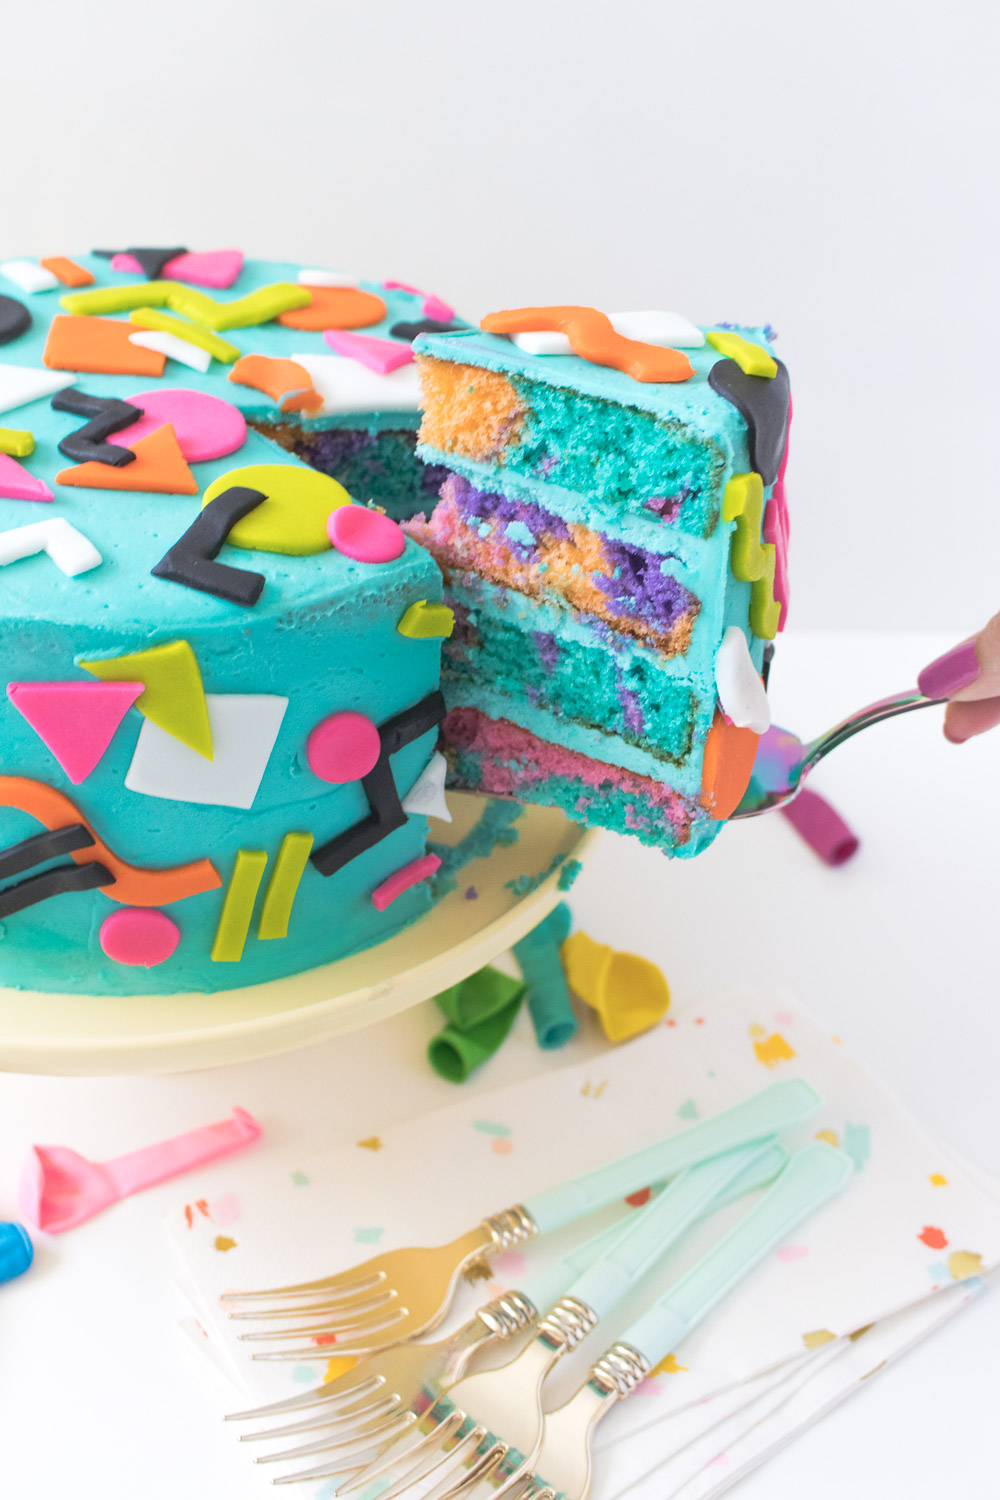
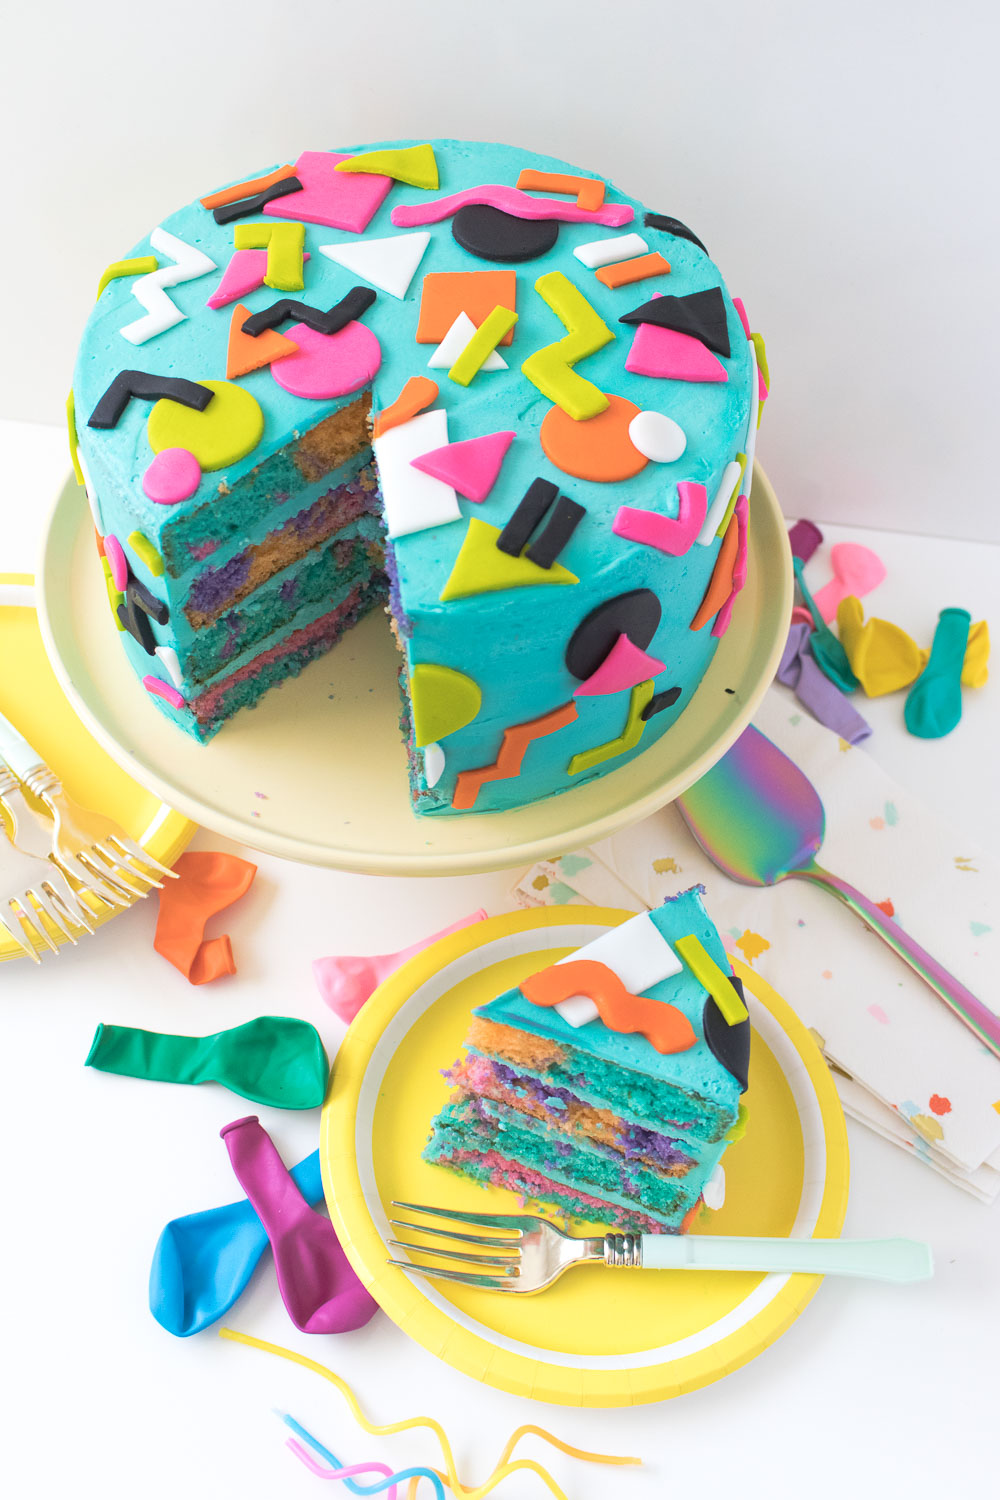 For the inside, I used my favorite vanilla cake recipe, which came out light and fluffy. I gave it a fun tie dye look with four different colors. After all, it seemed like a shame to have a crazy outside and a boring inside! Some of the colors coordinated with those on the outside, so it seemed to all fit together.
I think this cake just reaffirmed how much I want to have a 90s themed party…let’s make it happen!
- 3 cups all-purpose flour
- 5 tsp baking powder
- 2 cup granulated sugar
- 1 teaspoon salt
- 1 1/3 cup milk, room temperature
- 8 egg whites, at room temperature
- 4 tsp vanilla extract
- 1 cup butter, room temperature
- Food coloring, 4-5 colors
- 3 cups butter, room temperature
- 4-5 cups powdered sugar
- 2 tsp pure vanilla extract
- Food coloring, optional
- Fondant, 5-6 colors
- Rolling pin
- Pairing knife
- Preheat the oven to 350 degrees and spray two 9-inch round cake pans with cooking spray and set aside
- In the bowl of your mixer fitted with a paddle attachment, beat the butter until smooth and fluffy, about one minute
- Add the sugar, flour, baking powder and salt and mix on low until it forms a crumbly mixture
- In another bowl or a measuring cup, whisk together the milk, vanilla and egg whites until fully combined
- Slowly add the wet mixture to the dry ingredients, mixing on low speed. Scrape the bowl and continue to mixing for about 30 seconds until batter is smooth
- Distribute the batter into 4-5 separate bowls. Stir food coloring into each until you reach desired color.
- Add large dollops of batter like spots in each prepared pan. Once each pan is filled, swirl the colors together with a knife.
- Bake for about 30-35 minutes until an inserted toothpick comes out clean. Let cool completely in the pans.
- In your mixing bowl fitted with a paddle attachment, beat the butter until smooth and fluffy (about 3 minutes)
- Add powdered sugar one cup at a time and scrape the bowl as you go
- Mix in the vanilla and continue beating for another minute until the frosting is smooth and fluffy
- If desired, add food coloring until bright color is reached
- Level each cake layer and assemble with layers of buttercream
- Apply a crumb coat and chill the cake. Remove and apply another layer, smoothing as much as possible
- Roll out the colored fondant on a pastry board or protected surface until about 1/8 inch thick. Use a knife, cookie cutters or household objects to cut out abstract shapes like triangles, zig zags, lines, circles, etc.
- Use a pastry brush or your fingers to apply a small amount of leftover frosting to the back of the fondant pieces and place on the cake. Overlap shapes as desired to fill the entire cake with patterns
- Chill until about 30 minutes before serving
- I used multiple packets of pre-made 4 oz. fondant
Karen
Holly,
What do you mean by apply a crumb coat of the frosting? I am going to try and make this cake for my sons 30th birthday this Friday. We are having a 90’s theme party
Holly Wade
KarenHi Karen,
A crumb coat is just the first layer of frosting 😊 It helps seal in the crumbs before the next layer of frosting. Apply the first layer of frosting and smooth it out, then refrigerate, then add more frosting and decorate. I hope you enjoy the cake!
Katherine
Hi Holly! I am planning on making this cake as directed but then also with another tier of maybe 6 inch pans. Do you have any suggestions on baking time?
Holly Wade
KatherineHi Katherine! I usually try to play it really safe on timing, so I’d start at 20 minutes for a 6-inch and check it frequently. Because they’ll be thicker layers, it may still take 30 minutes to bake. Hope you like the cake!
Andrea
Hi Holly 🙂
I absolutely LOVE this cake. My fiancé and I are looking for a cake for our reception this year and I kind of really just want to make this as a test because it looks so fun! It looks like us. I’m wondering if you maybe have a cupcake version of this or any suggestions as to how to distribute this between our guest or even changes to some of the ingredients to kick it up a notch! Thanks so much!
– Drea
Holly Wade
AndreaHi Andrea, you can definitely make the cake as cupcakes instead and use the fondant pieces as cupcake toppers, following the same instructions for the tie dye recipe. Just adjust the baking time to about 16-20 minutes instead. Hope that helps!
Nicole
This is exactly the 90s cake inspo I was looking for! Love love love! Could you please tell me what food colors you used?
Holly Wade
NicoleHi Nicole! Thank you! I used Wilton’s Neon food coloring pack and pre-made Wilton Neon fondant
Stephanie Moore
Love this cake! I’m going to make it for my 90s party next month (and since it’s my bestie’s bday, this will be her cake!). Question – Your recipe says 2x 9″ pans, but you have four layers. I may have missed it on the assembly section, but did you actually halve each cake to make the four layers? Or did you double the cake batter recipe and bake four cakes? Thanks!
Holly Wade
Stephanie MooreHi Stephanie, so excited you’re going to make it! Yes, I split the two cakes I baked to make four layers. It’s not a necessary step, but I like thinner layers with more frosting 😊 Send photos after you make it!