The following post is sponsored by Tulip
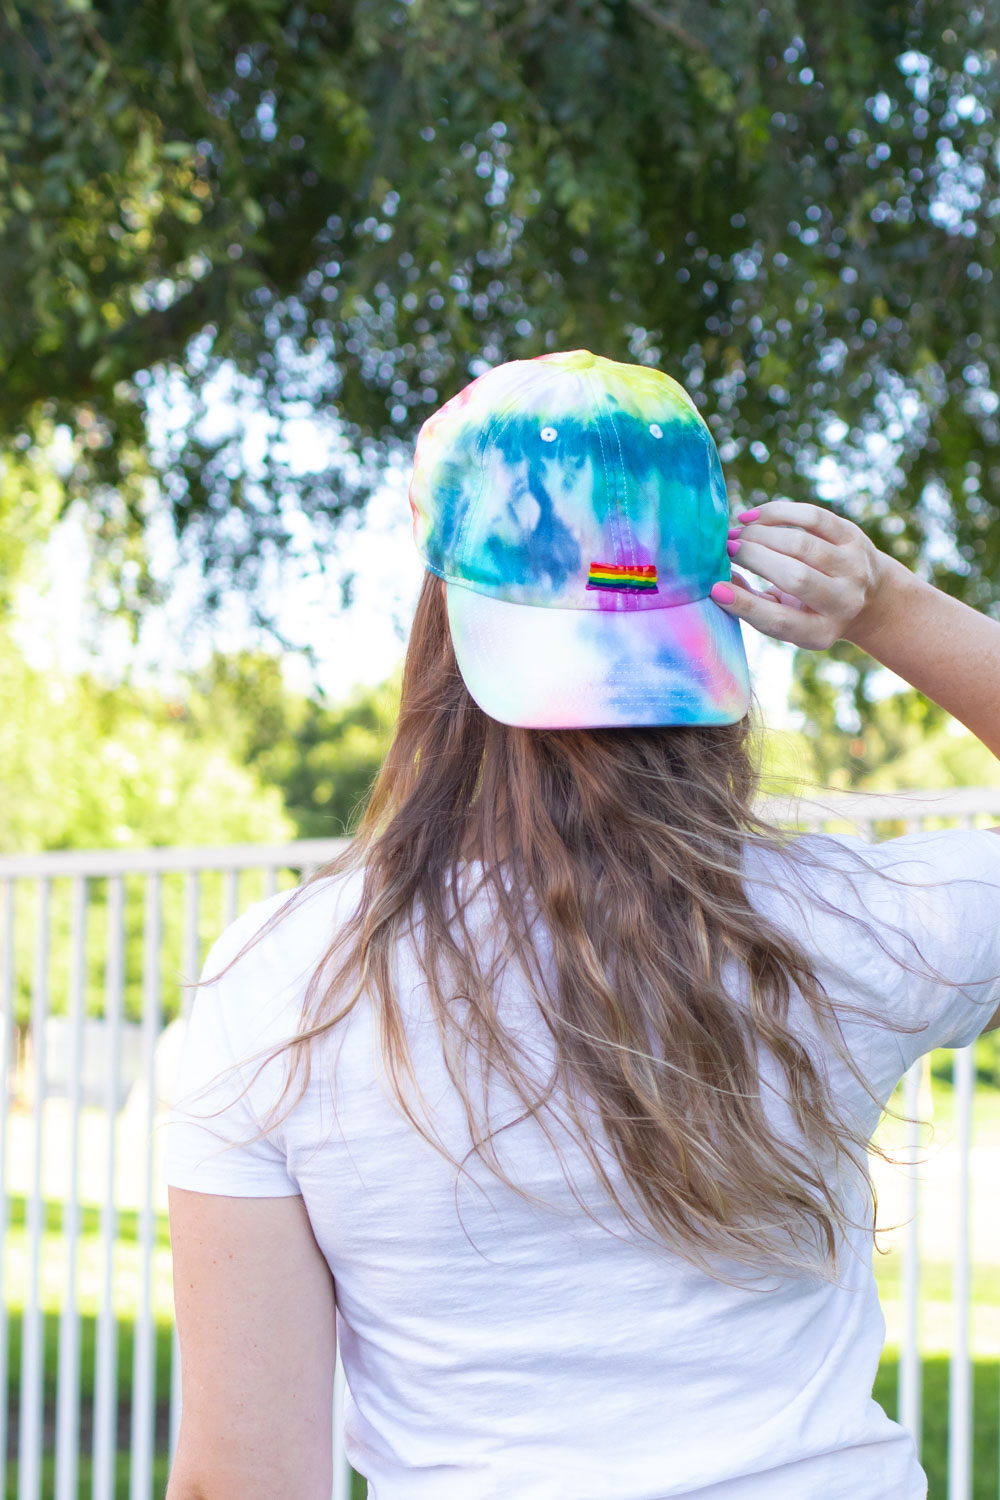
June is Pride Month! Sadly, pride parades across the country have been cancelled due to the health crisis, but there’s still always a way to celebrate, even if it means a virtual celebration. Get dressed for the occasion with a DIY rainbow tie dye hat! It’s an easy addition to your Pride Month attire and is sure to come in handy all summer long. Complete with a simple rainbow pride flag on the front, I used the classic Tulip One-Step Tie Dye Kit in Rainbow to give a plain hat a makeover. Keep reading for the simple how-to on how to tie dye a baseball hat!
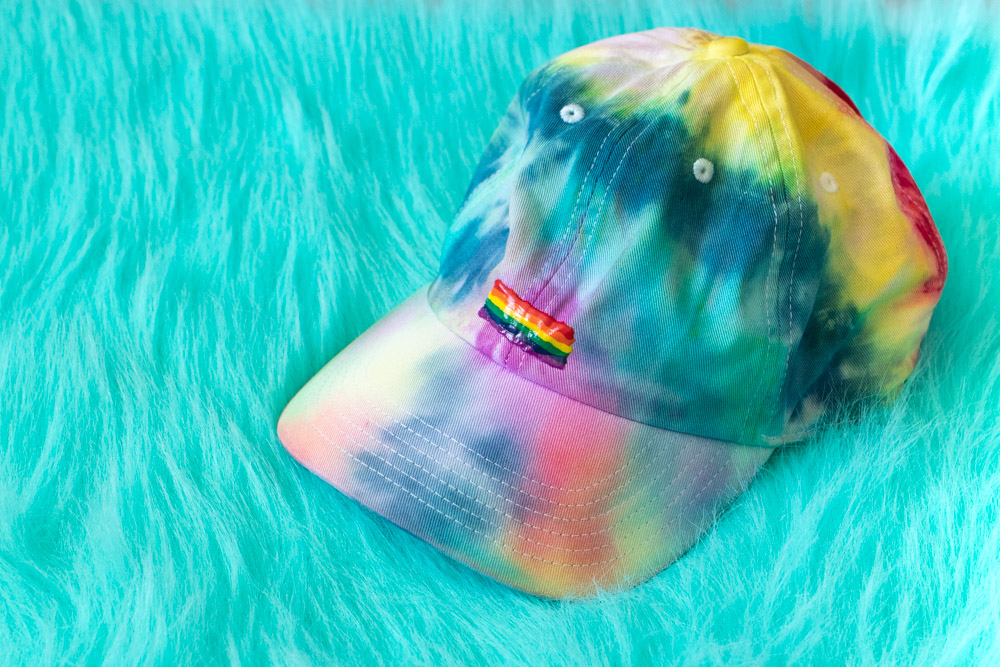
In this example, I made the rainbow tie dye hat by banding the base of the hat together like traditional tie dye. For the brim, I used a sponge brush to ensure every color of the rainbow was visible. After all, what’s a pride hat if not colorful?! Once it was all finished, I used dimensional fabric paint to make the flag. I think it would also be fun to write “pride” in rainbow letters. The precision tips of the Tulip Fabric Paint make it very easy for writing and small details.
Psst, be sure check out more tie dye ideas here!
Supplies:
- White baseball hat (cotton or natural fiber)
- Tulip One-Step Tie Dye Kit, Rainbow
- Sponge brush
- Tulip Slick Dimensional Fabric Paint, Rainbow
How to Tie Dye a Baseball Hat
Step 1: Dunk the hat in water until completely damp, including the brim. Wring out excess from the hat base.
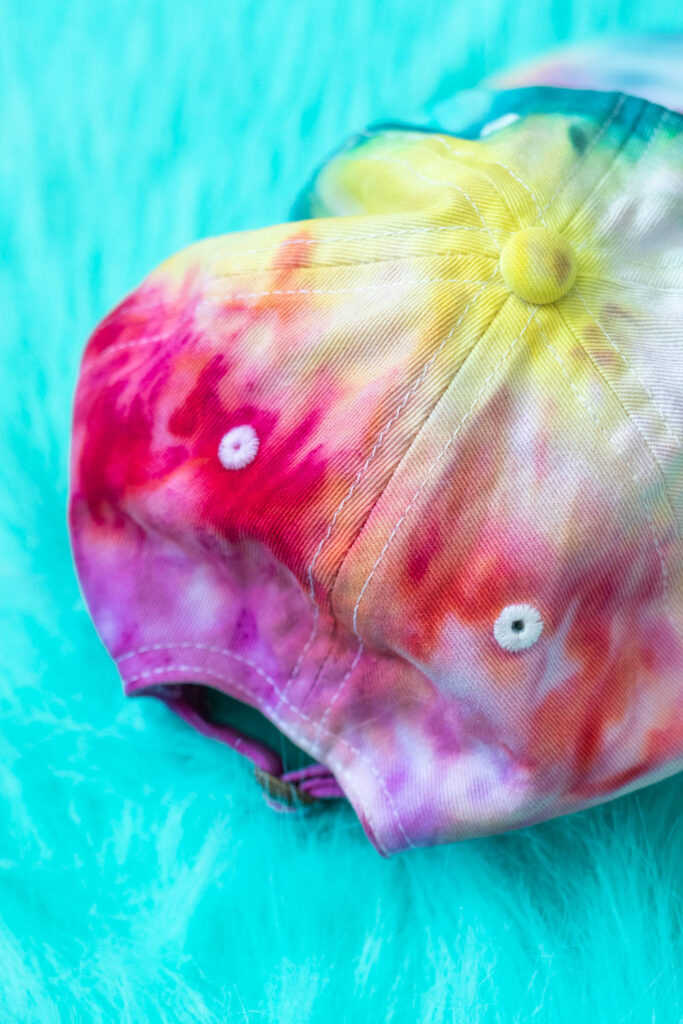
Step 2: Rubber band the base of the hat in 3-4 places. Leave the brim as is. Set aside.
Step 3: Prepare the dye. Add water to the fill line of each dye bottle and shake vigorously until the powder is completely dissolved.
Step 4: Place the damp hat on a plastic-covered surface. Carefully apply dye to the rubber banded section. Flip over to dye the other side as well.
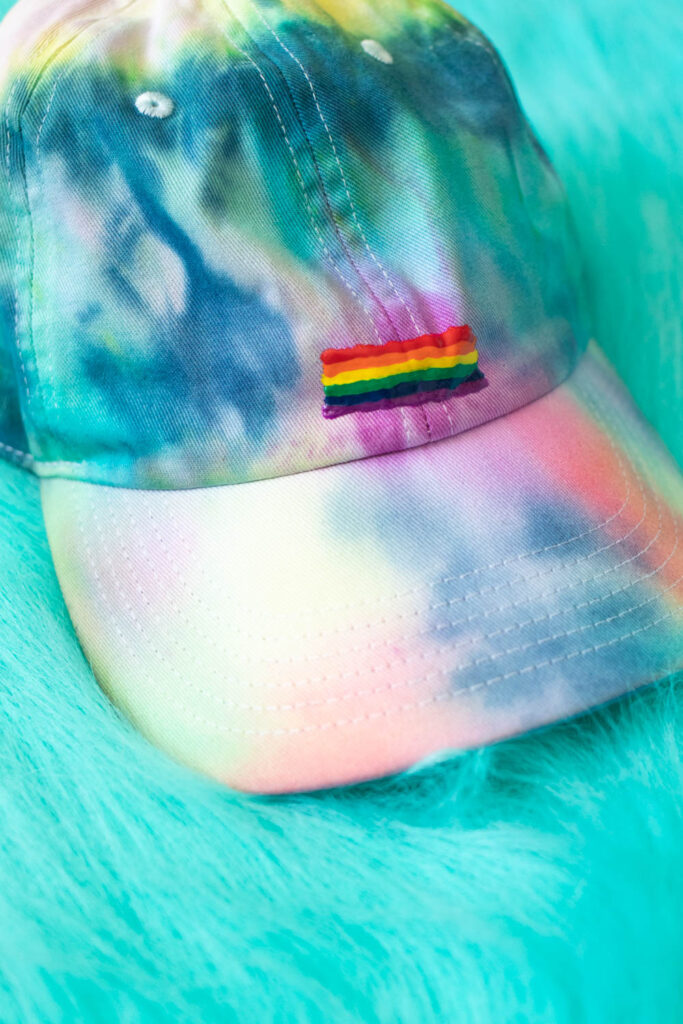
Step 5: Then add to the tie dye hat by dispensing a small amount of dye onto the plastic surface (or in a cup) and dab with a damp sponge brush. Apply dye to sections of the hat brim with the brush. Wash the brush in between colors, making them blend together. Repeat until the hat is covered.
Note, the brim lightens when washed because the dye is less saturated. If you want darker colors, be sure to apply additional dye.
Step 6: Then let the tie dye hat rest for 4-5 hours until dry or mostly dry. Trim away the rubber bands.
Step 7: Rinse the hat until the water runs clear. Then wash separately and dry normally.
Step 8: Once dry, use the dimensional paints to draw. a pride flag or other design on the front.
I hope this will be a great way to show your support of the LGBTQ+ community and join in the celebration of Pride Month! Then it’s going to be a useful addition to your summer wardrobe. We could all use a little more rainbows in our lives (especially right now), so a tie dye hat is the perfect way to go!
Thank you to Tulip for generously sponsoring this post. All opinions are my own. Thanks for supporting the brands that keep Club Crafted sharing!