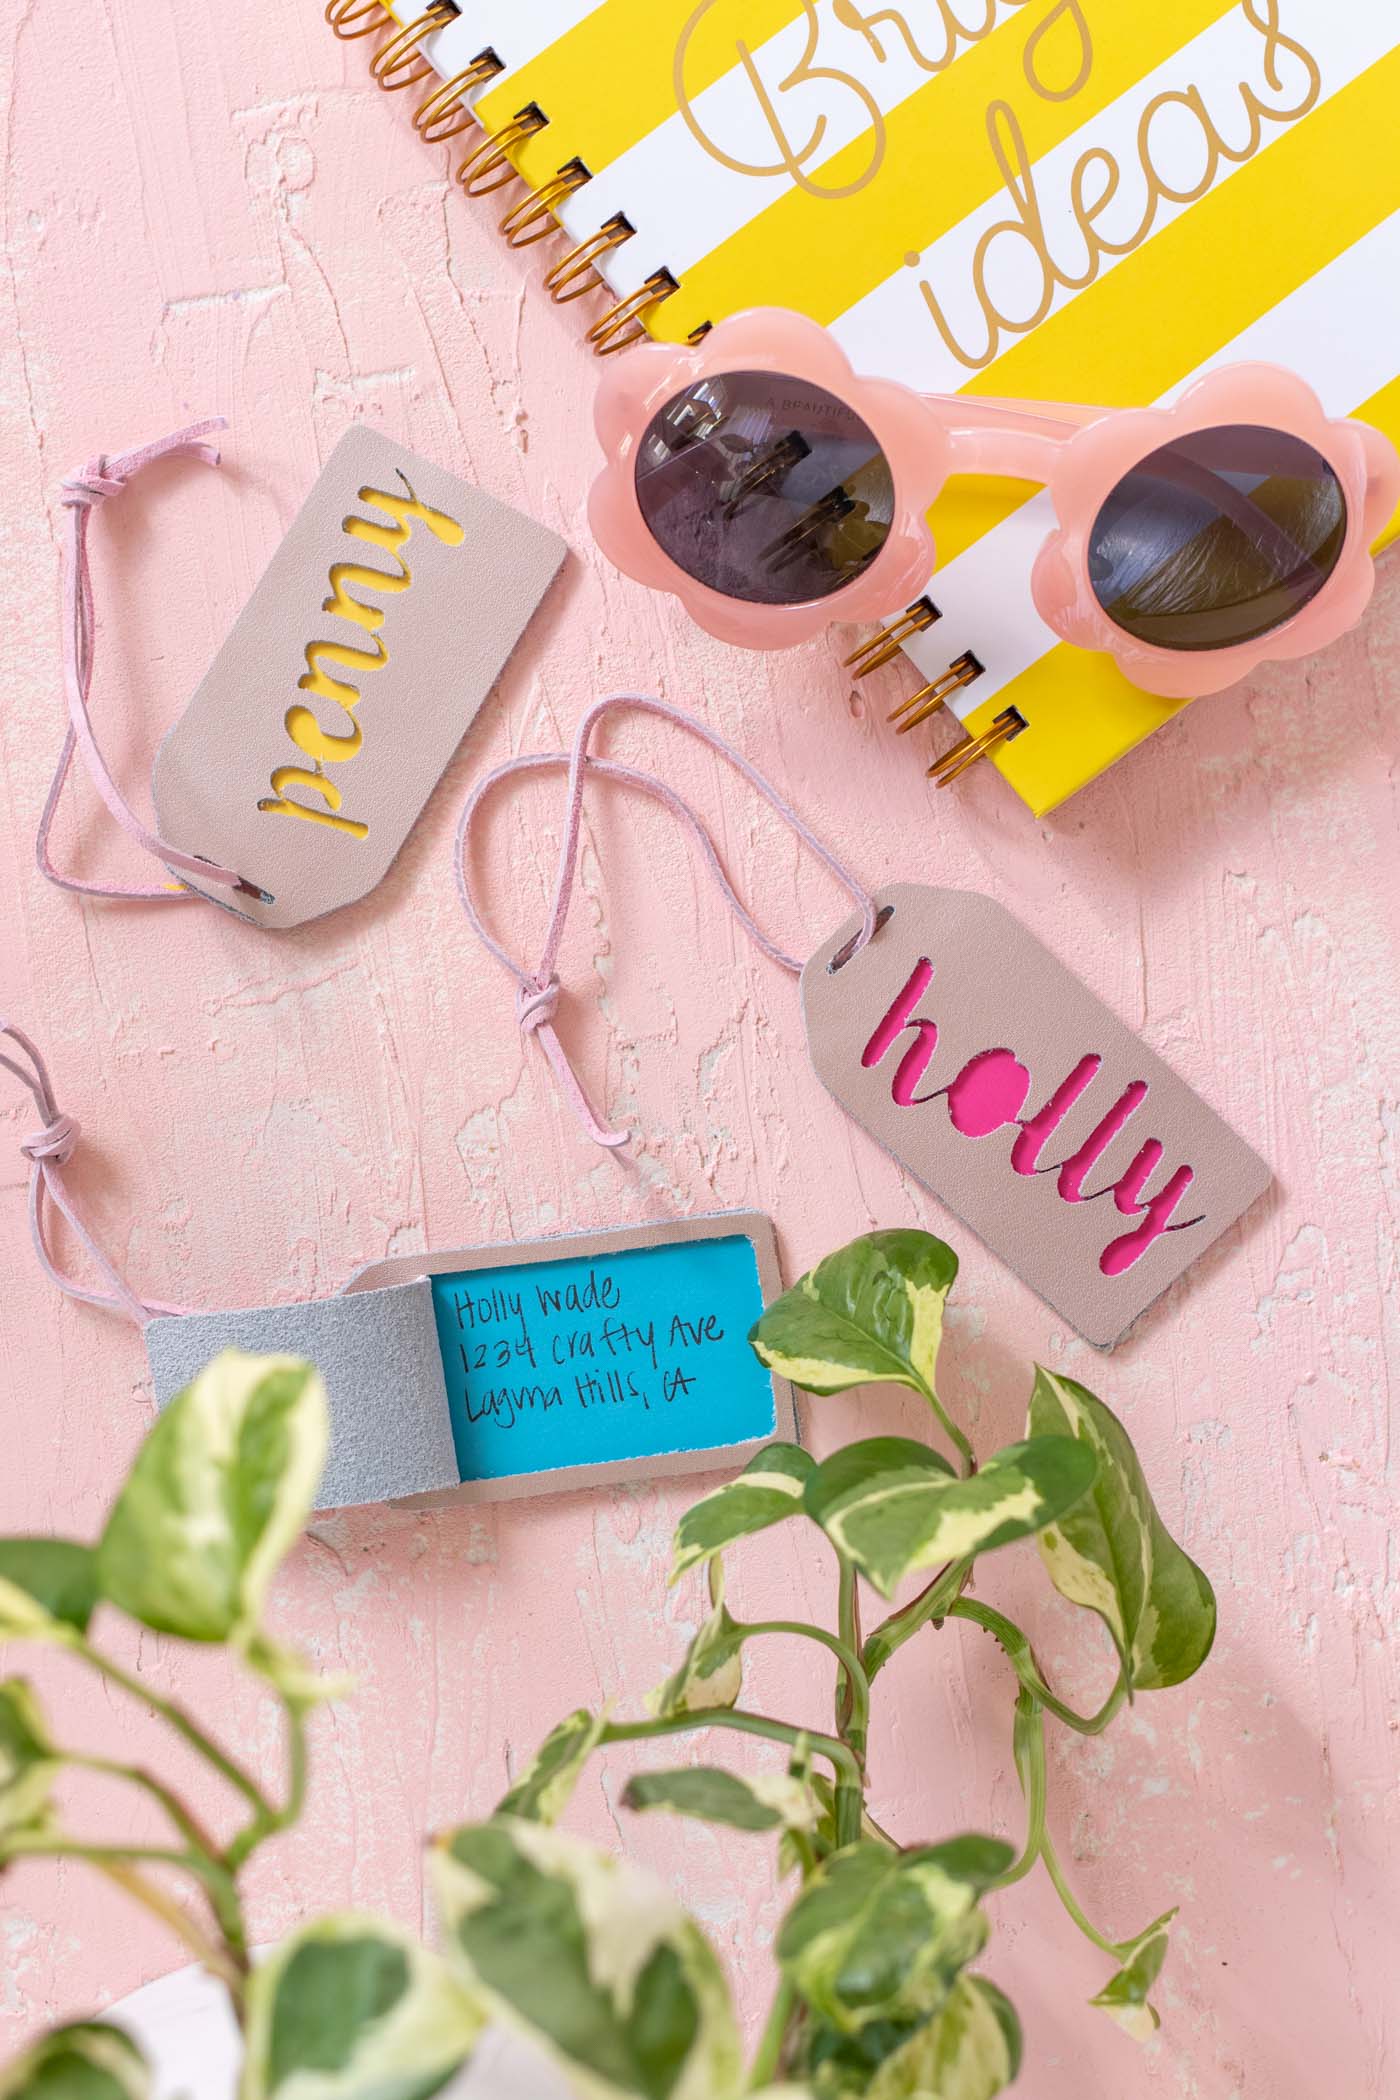
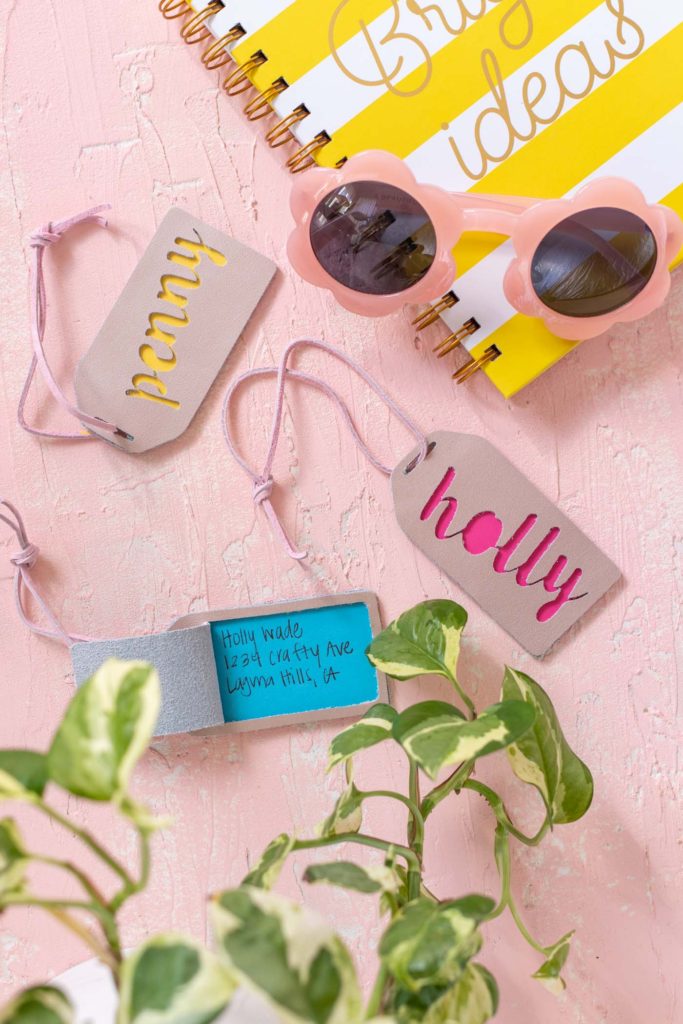
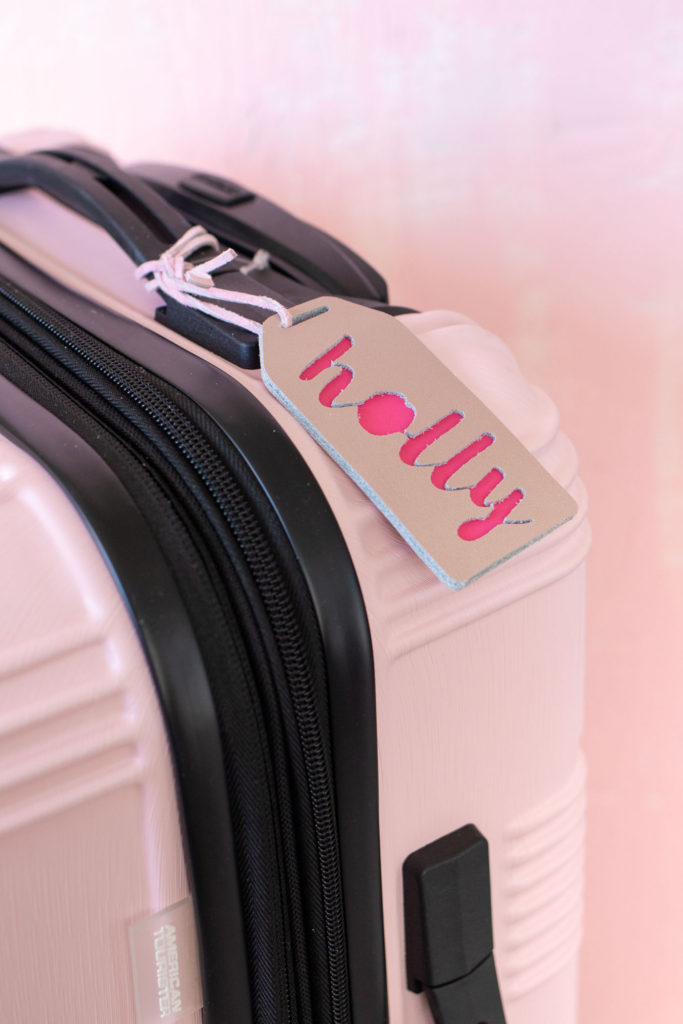
We made it home from our trip to Dallas last night, and I wanted to share this DIY no-sew personalized luggage tag I made for my suitcase! In case you haven’t tried out this feature with your Cricut Explore or Cricut Maker yet, you can cut leather! Btw, this post is not sponsored…I just love my Cricut Explore Air 2. I included a free downloadable cut file for making personalized luggage tags with your own name in any font once you upload it to the Cricut Design Center. Each leather luggage tag features a flap on the back to conceal your personal contact information unless someone is really looking for it to return your bag to you. When all plain black suitcases start to look the same, it’s great to have a personalized luggage tag like this to set yours apart on the luggage carousel!
Scroll down for the free download/free cut file and DIY tutorial! 👇🏼
First, let’s talk about how to cut leather with Cricut. It took me a little trial and error to get the best results, and I made a few of these personalized luggage tags before I found what worked best for me. Luckily, I do this so that you guys don’t have to! At first, I made these leather luggage tags with a loop made from the same thick metallic leather as the tags and found that while it was pretty, it wasn’t as easy to attach to a suitcase as I wanted, so I switched so a suede string instead.

Tips for Cutting Leather Luggage Tags with Cricut:
- Use Circut-branded leather materials for best results because the Design Center settings assume you’re using the branded materials and therefore produce the best results
- Cut the 12×12-inch leather down to 11 inches on one side before loading it onto a mat. This ensures that the rollers from the machine don’t interfere with the leather and the machine can make precise cuts (I had some issues with the leather moving because of the rollers)
- Always use a deep cut blade for cutting leather
- Place the leather right side down (metallic side down) and then invert designs for cutting
- Use the Custom Settings to choose the metallic leather option for cutting
- Avoid overly intricate detailing if you can because leather is so thick. Instead, try using thicker fonts or block letters that will be easier to cut without the leather slipping on the mat
- Use a Strong Cricut Mat to ensure maximum stickiness
Supplies:
- Free leather luggage tag template for Cricut or Silhouette (via Google Drive)
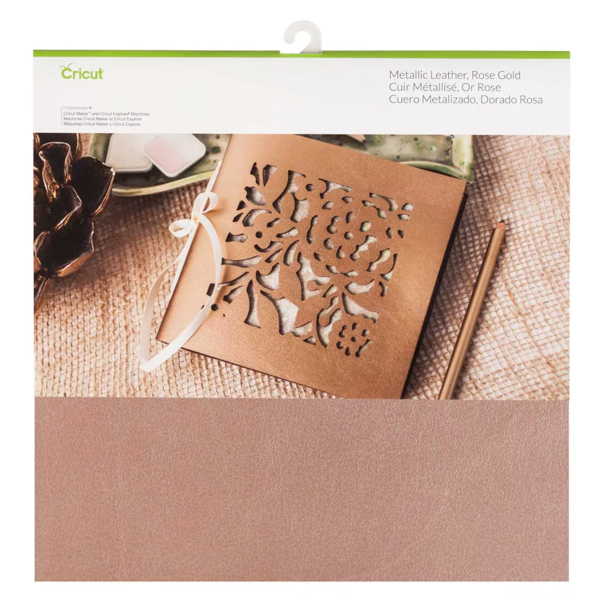
- Cricut metallic leather (rose gold)
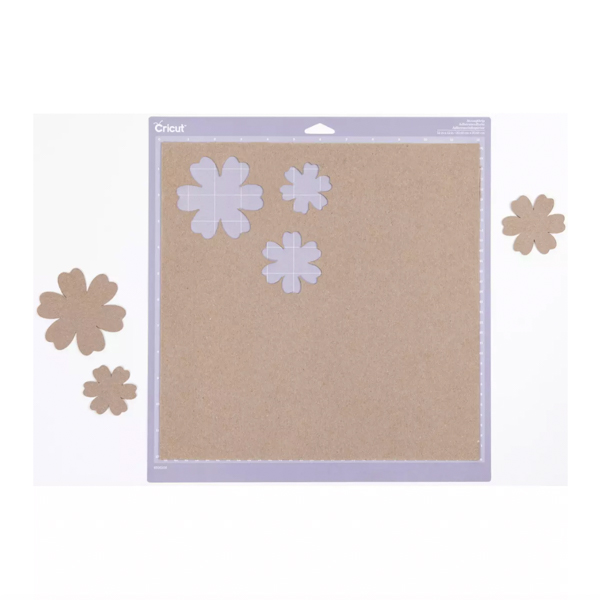
- Strong Grip Cricut mat
- Deep Cut Blade
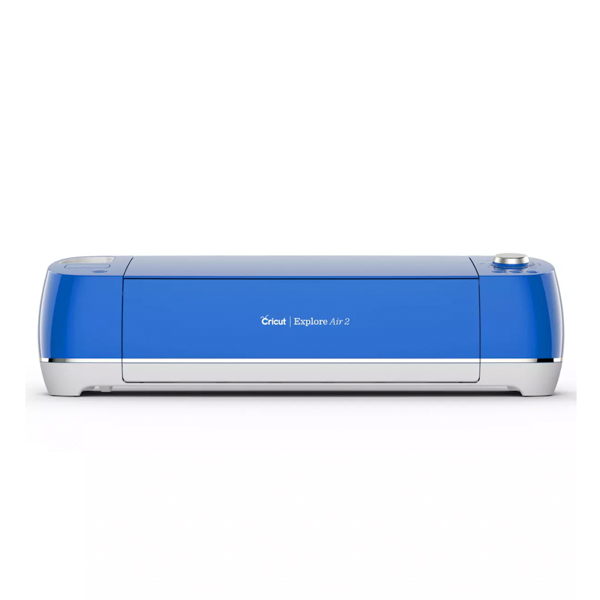
- Cricut Explore Air or Cricut Maker (or similar)
- Colored cardstock
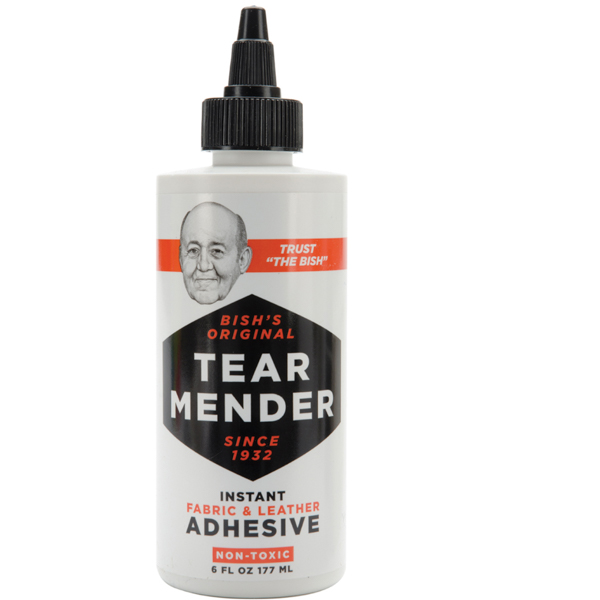
- Leather glue
- Clear packing tape
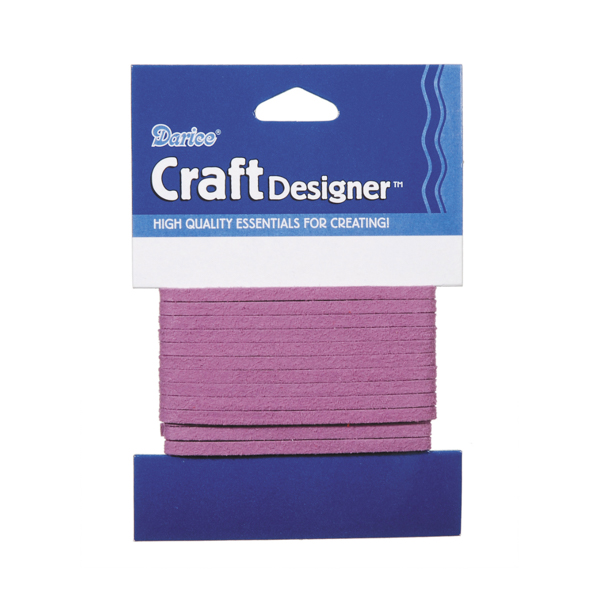
- Suede string, coordinating color
- Scissors
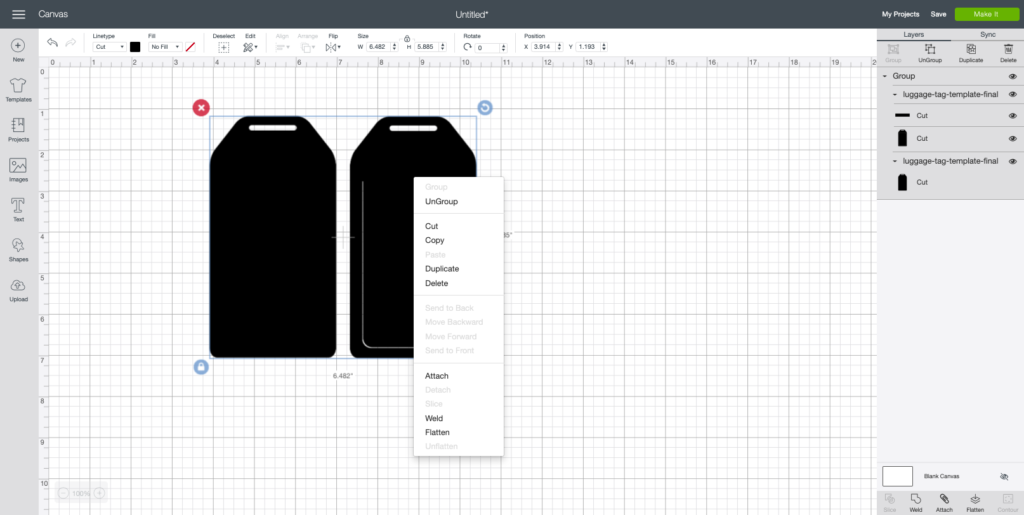
Step 1: Upload the luggage tag template to the Cricut Design Center. Ungroup the front and back from each other.
Step 2: Add text with the name you want on the tag. Choose your desired font, then adjust the letter spacing as desired (such as touching for cursive fonts).
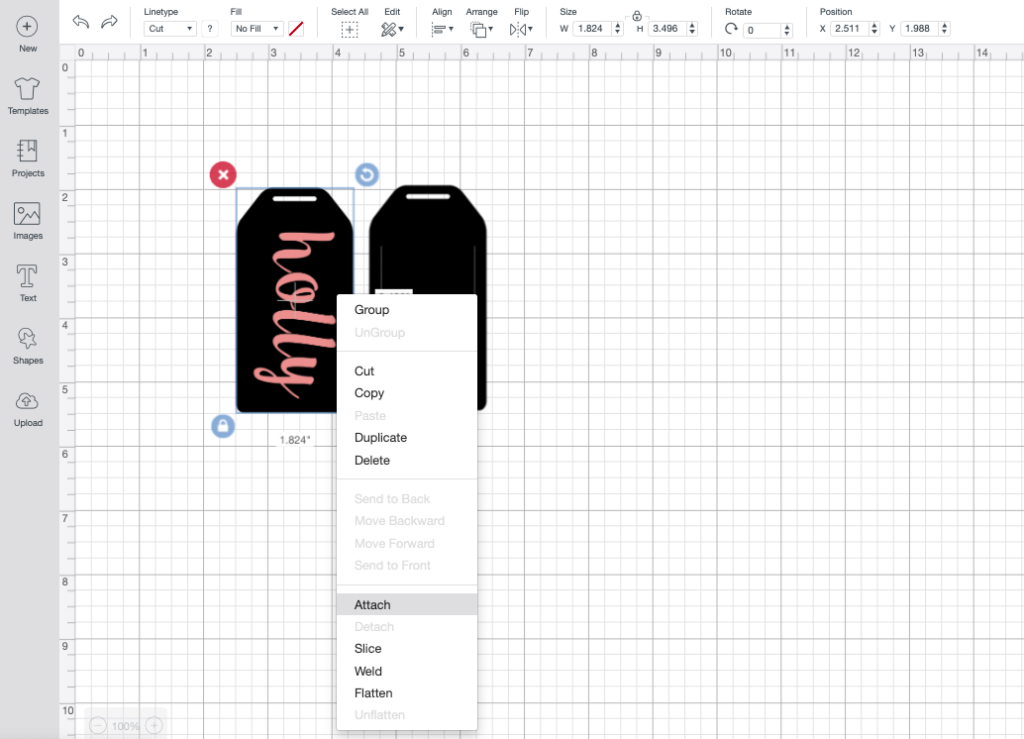
Step 3: Adjust the luggage tag size to about 3 1/2 inches long. Place the font on top of the front side of the luggage tag how you want it to cut. Select both the front side of the tag and the name, right click and select “attach.” This will ensure the name is cut from the tag.
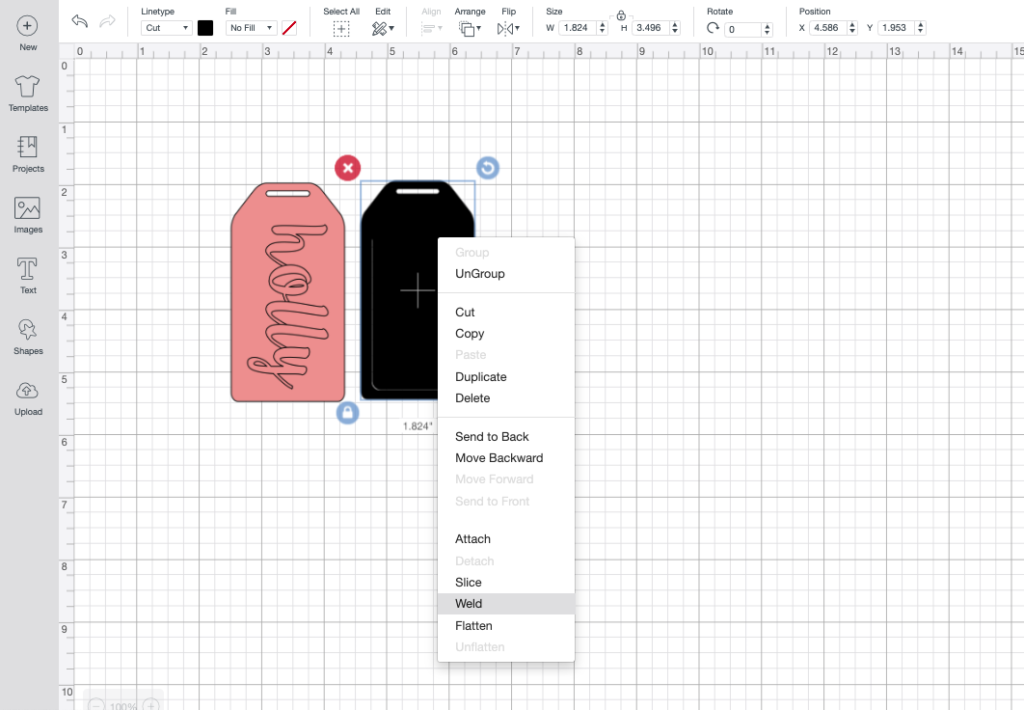
Step 4: Then right click and “weld” the two pieces from the back side of the tag.
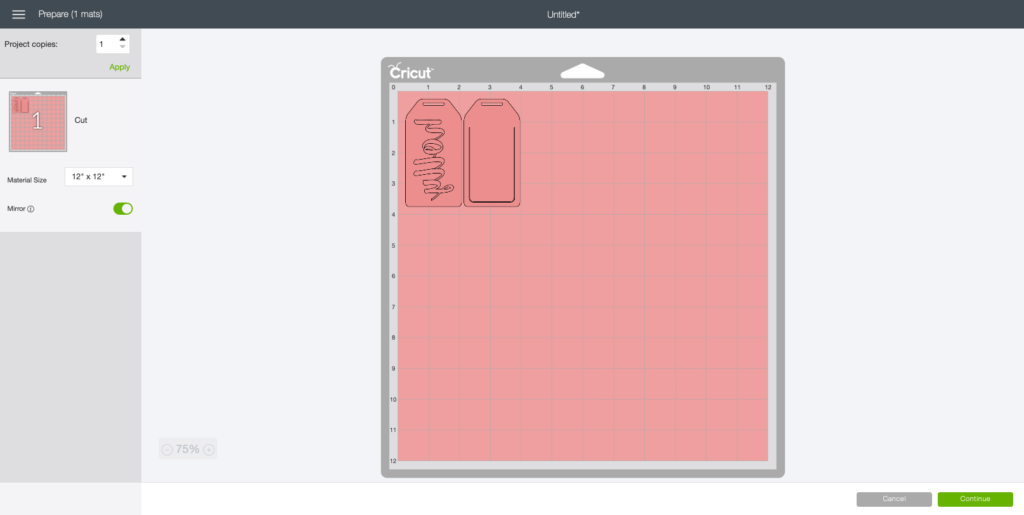
Step 5: Click “Make It” and select the “Mirror” option.
Step 6: Set your Cricut to “custom” with the dial. From the cut screen, choose “Metallic Leather” and load the deep cut blade into your machine. Place the
Step 7: Cut the leather down to 11 inches on one side (see tips above) and place right side down on your mat so that there’s space on the left and right for the wheels to move without going over the leather. Load the mat and press the cut button when ready.
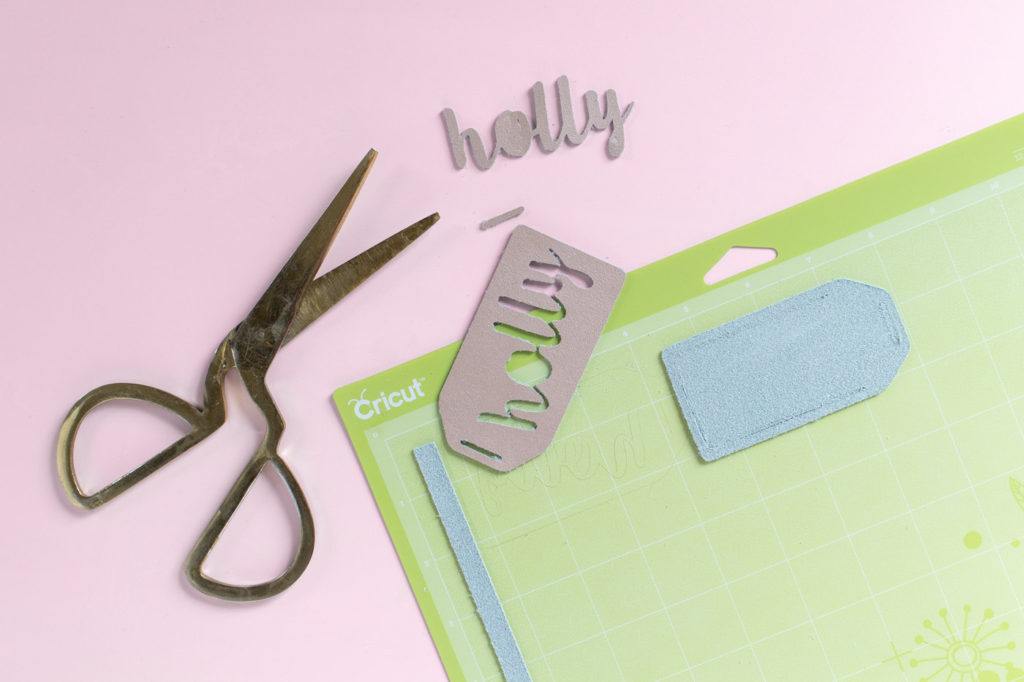
Step 8: Once all of your pieces are cut (YAY!), weed out the negative space. You should have the front side with a name cut out and a back side with a slit around the bottom that creates a flap.
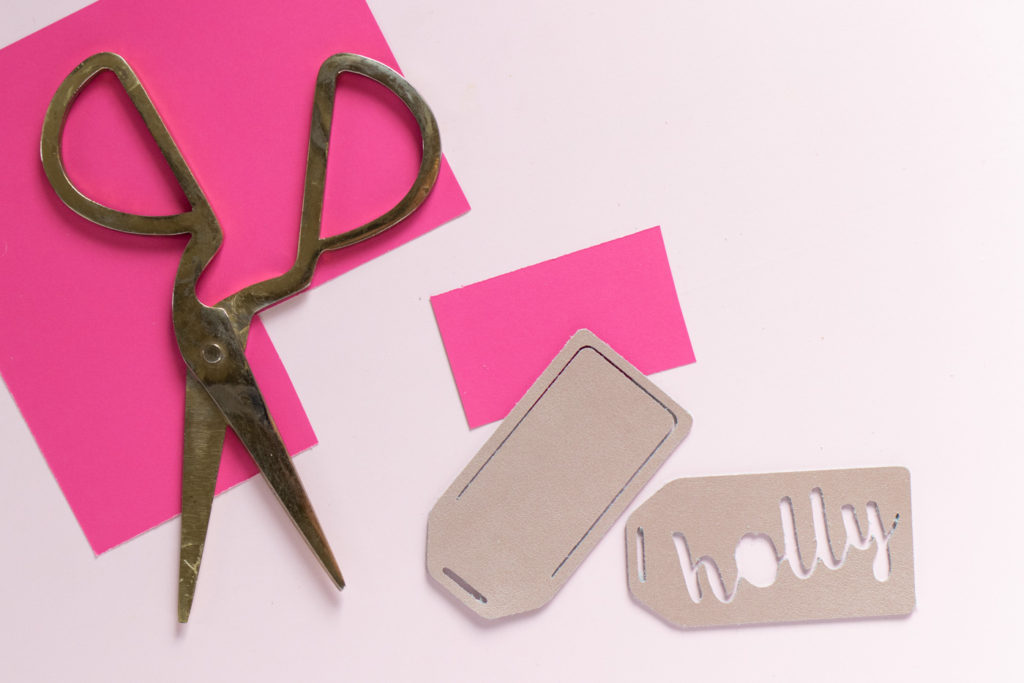
Step 9: Cut a small piece of colored paper so that it is the approximate size of the name and flap. If placed between the two pieces, the paper should be visible everywhere except for the opening at the very top.
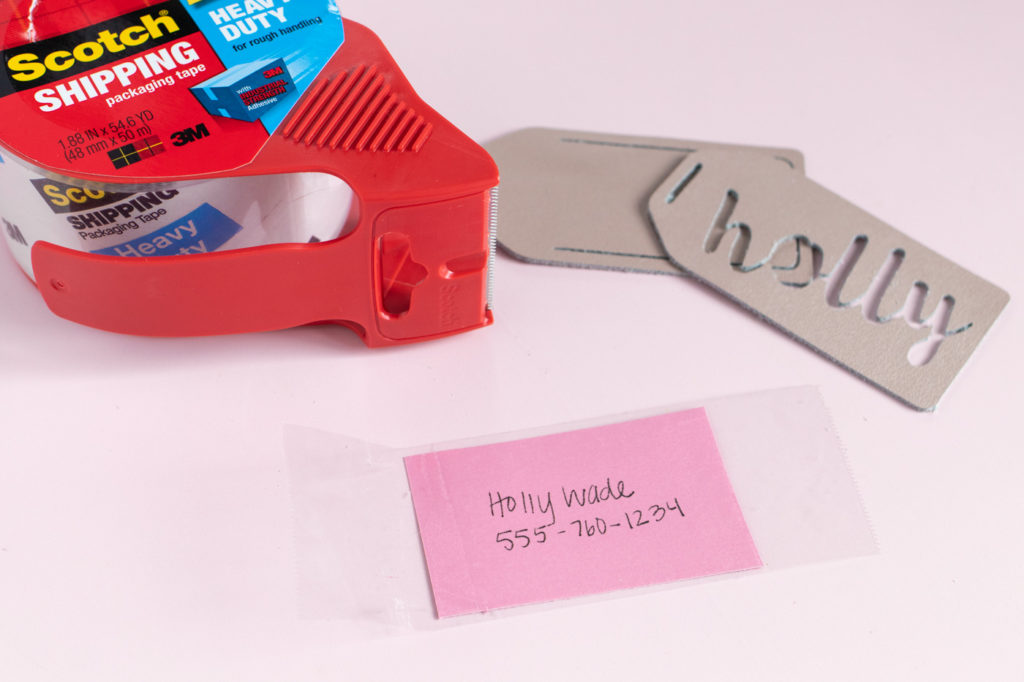
Step 10: Write your contact information on the paper, then place clear tape over it. This “seals” it.
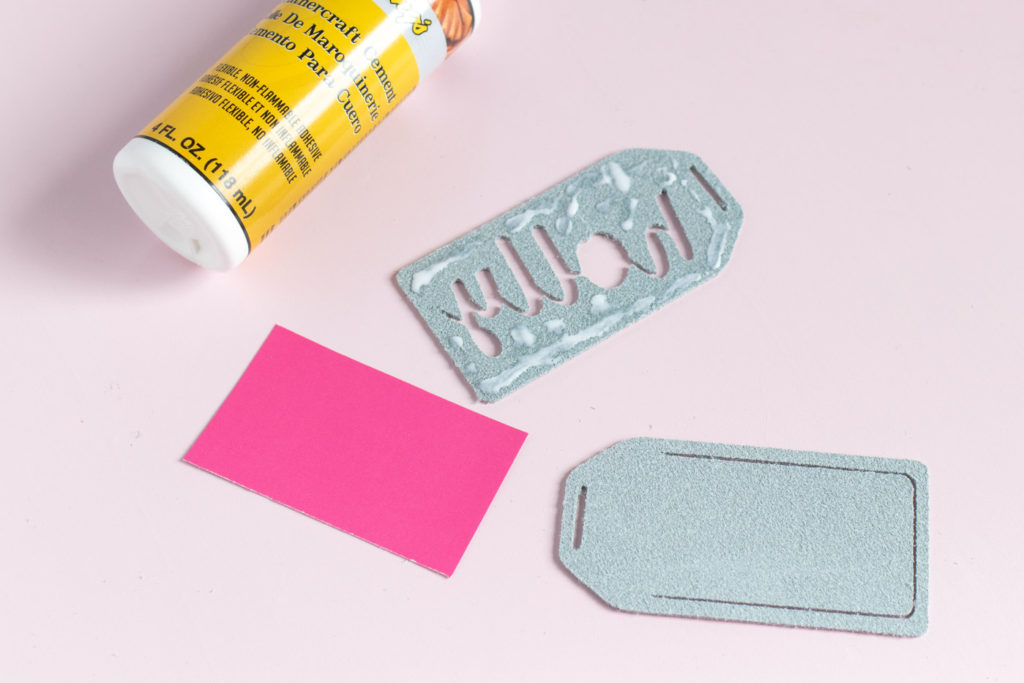
Step 11: Then use the leather glue to glue the paper between each piece of leather and sandwich them together. Make sure you DO NOT glue down the “flap” on the back, just around the edges.
Step 12: Lastly, cut a long piece of suede string. Thread it through the opening at the top of the tag and knot it together. This will allow you to easily attach your new personalized luggage tag to any bag!
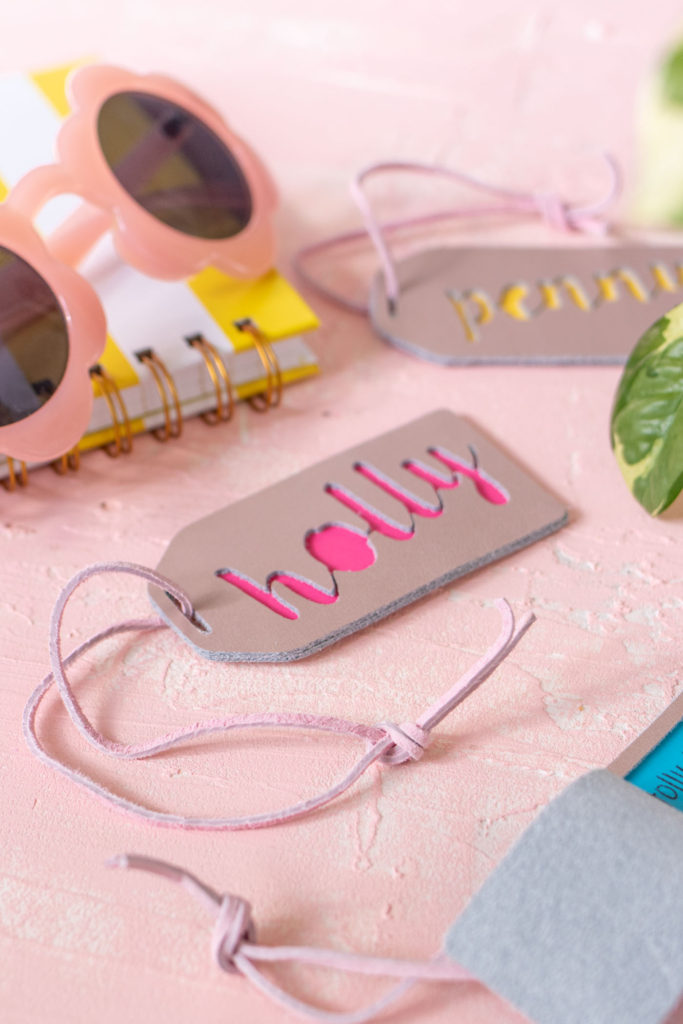
I know, I know, that was a long one. It’s not that complicated with the template though, I promise! Make personalized luggage tags for everyone you know now!
Please note that this post contains affiliate links from which I may collect a small profit should you choose to make a purchase. I only link to products I personally use or recommend.


Brandi
Which font did you use? Am I just overlooking that? Thanks!
Holly Wade
BrandiHi Brandi! I believed I used a font called Boulevard.
Lisa
Holly WadeCan I use faux leather to make these adorable luggage tags?
Holly Wade
LisaAbsolutely! I recommend the Cricut brand faux leather because it’s designed to cut with the machine. You may need to experiment with settings if trying another type.
Trinity
I want to make luggage tags as wedding favors. Can I ask did you use Cricut maker or Cricut Explore Air 2? I know Cricut Maker can cut almost everything, but not sure how the Explore Air 2 would do for luggage tags. Thank you in advance!
Holly Wade
TrinityHi Trinity! I use the Explore Air 2 and it DOES cut leather for the luggage tags. You definitely want to use the “deep cut” blade though – a standard blade will not cut through properly. I hope that helps!
Sam Baker
love your personalised luggage tags! love the font and colours you used! great idea, thank you 🙂
Holly Wade
Sam BakerThanks Sam!!