 Clearance sections are simultaneously my enemy and my favorite thing ever! On my last trip to Michaels, I picked up a bunch of alphabet pieces on clearance, and today I’m sharing how to use the wood letter blocks I bought to make your own DIY wood alphabet photo holder with a little paint and a small saw.
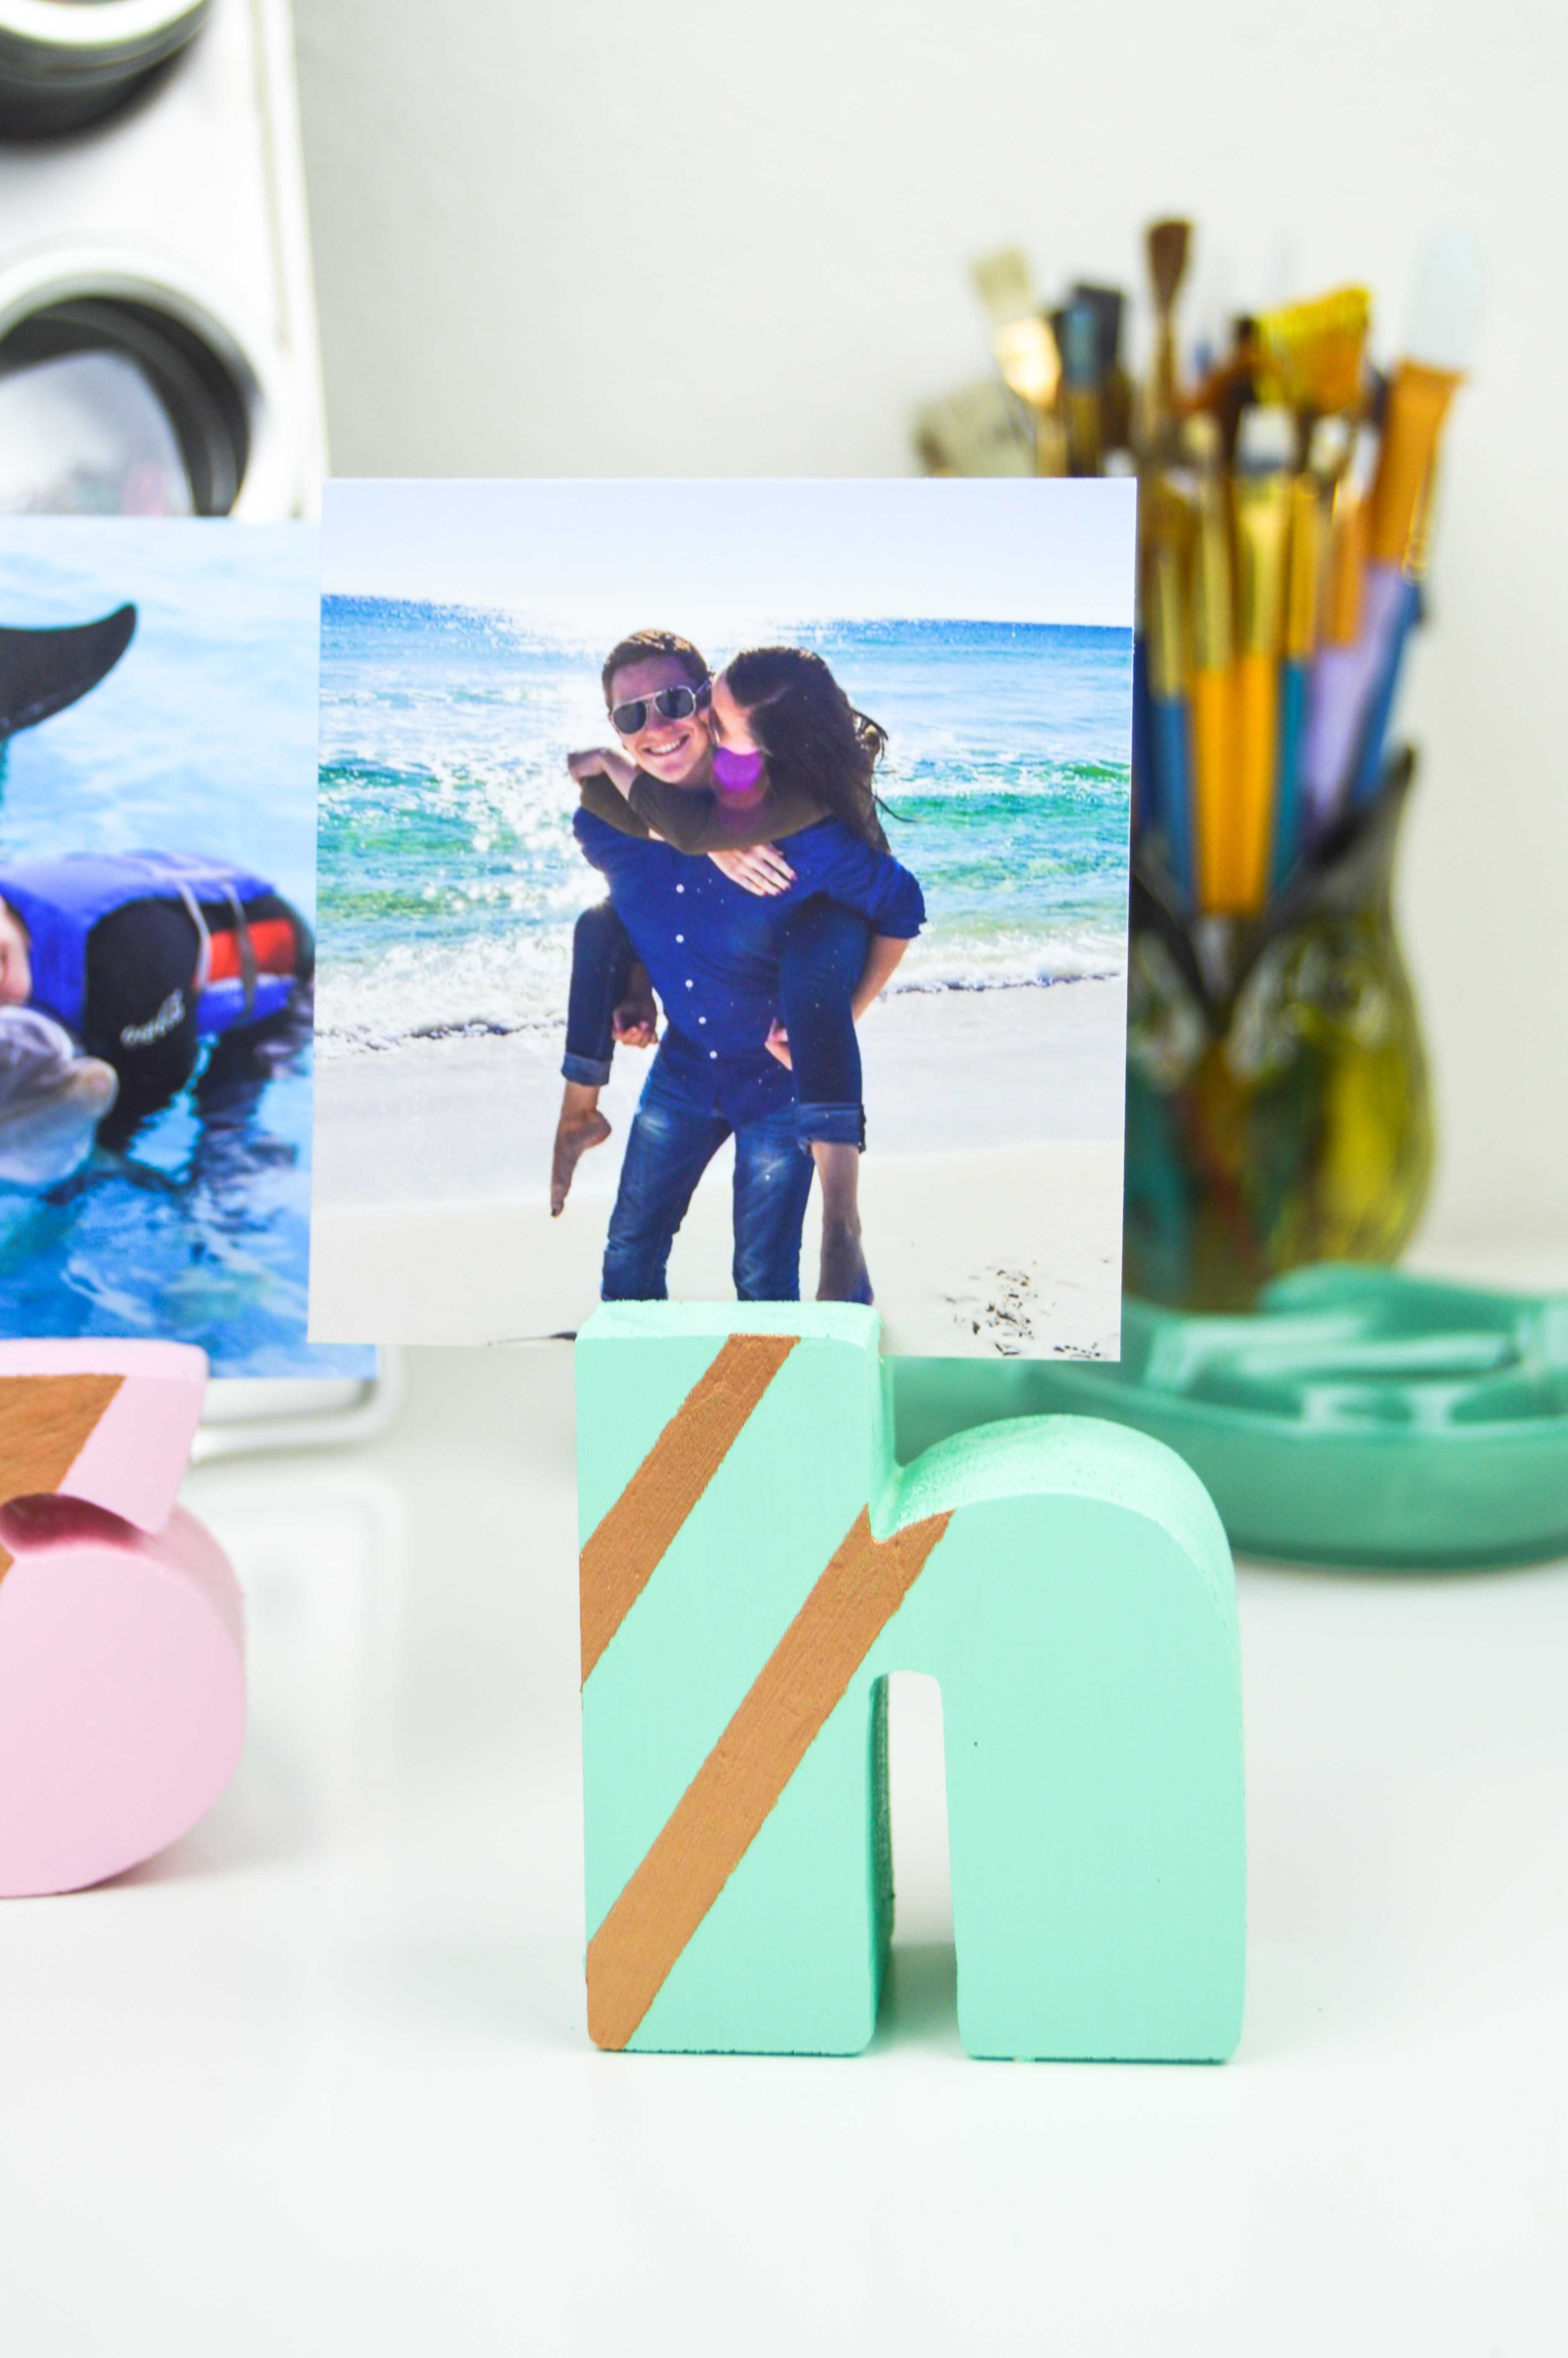
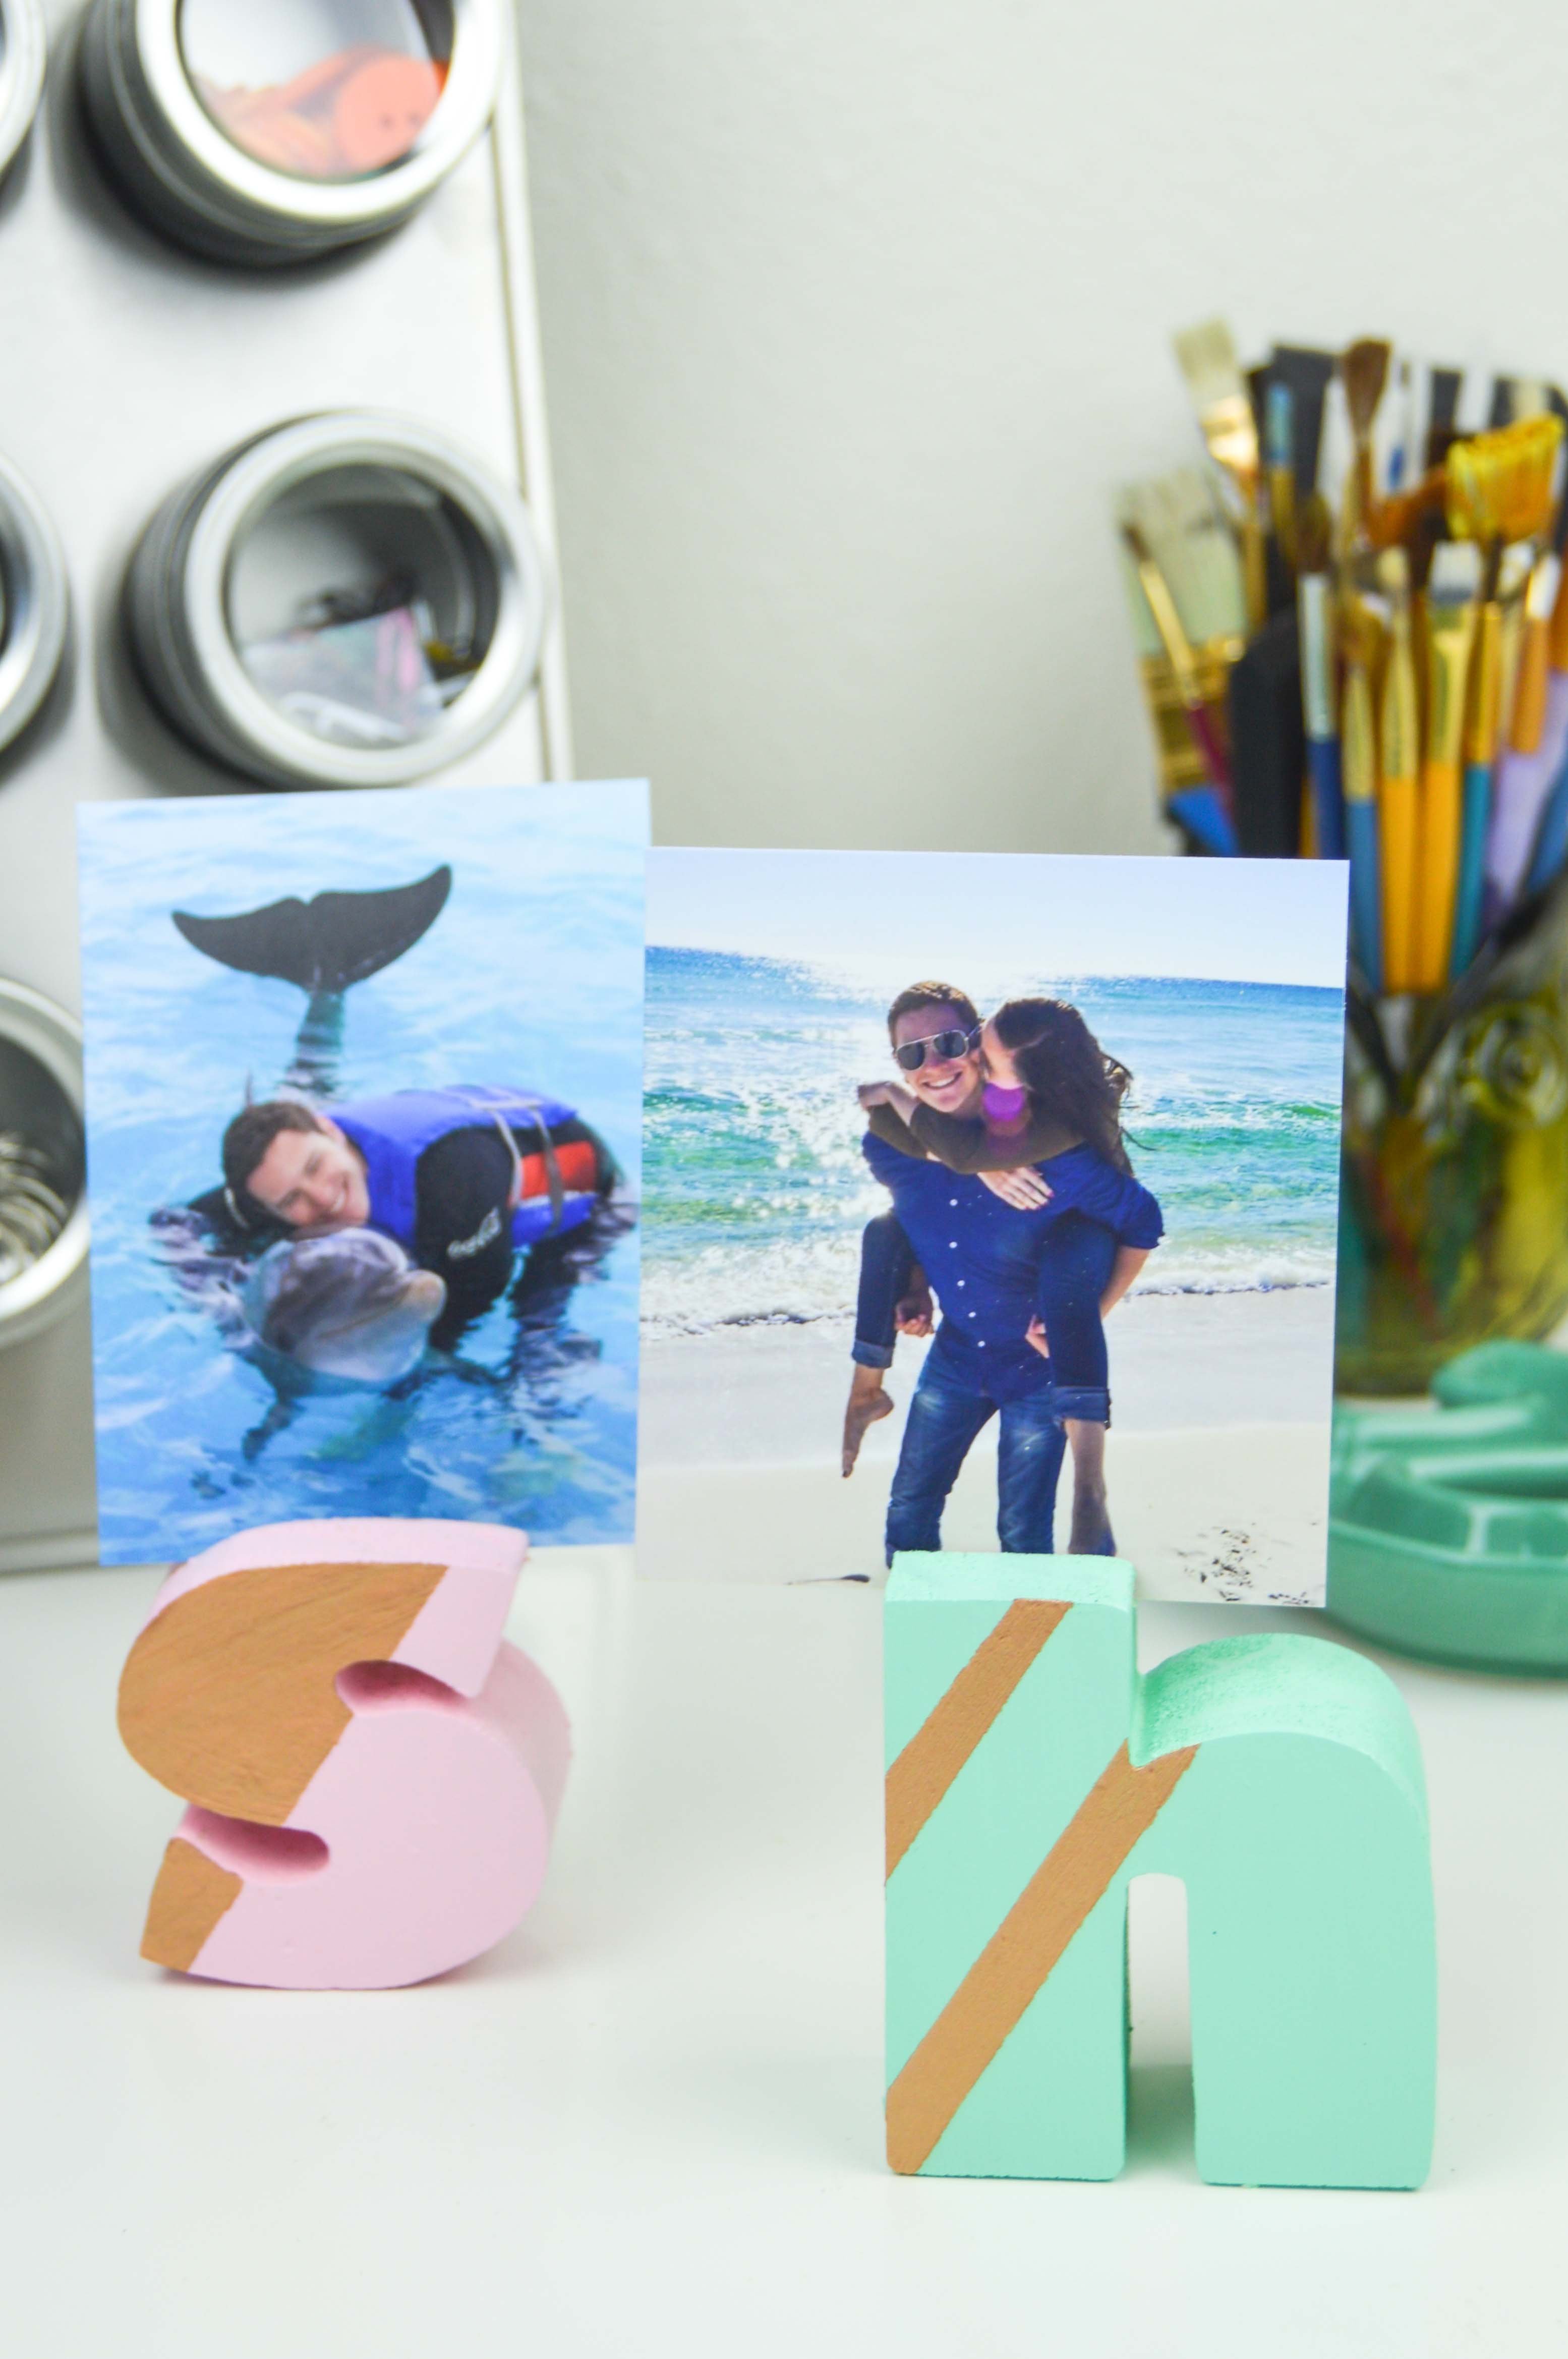
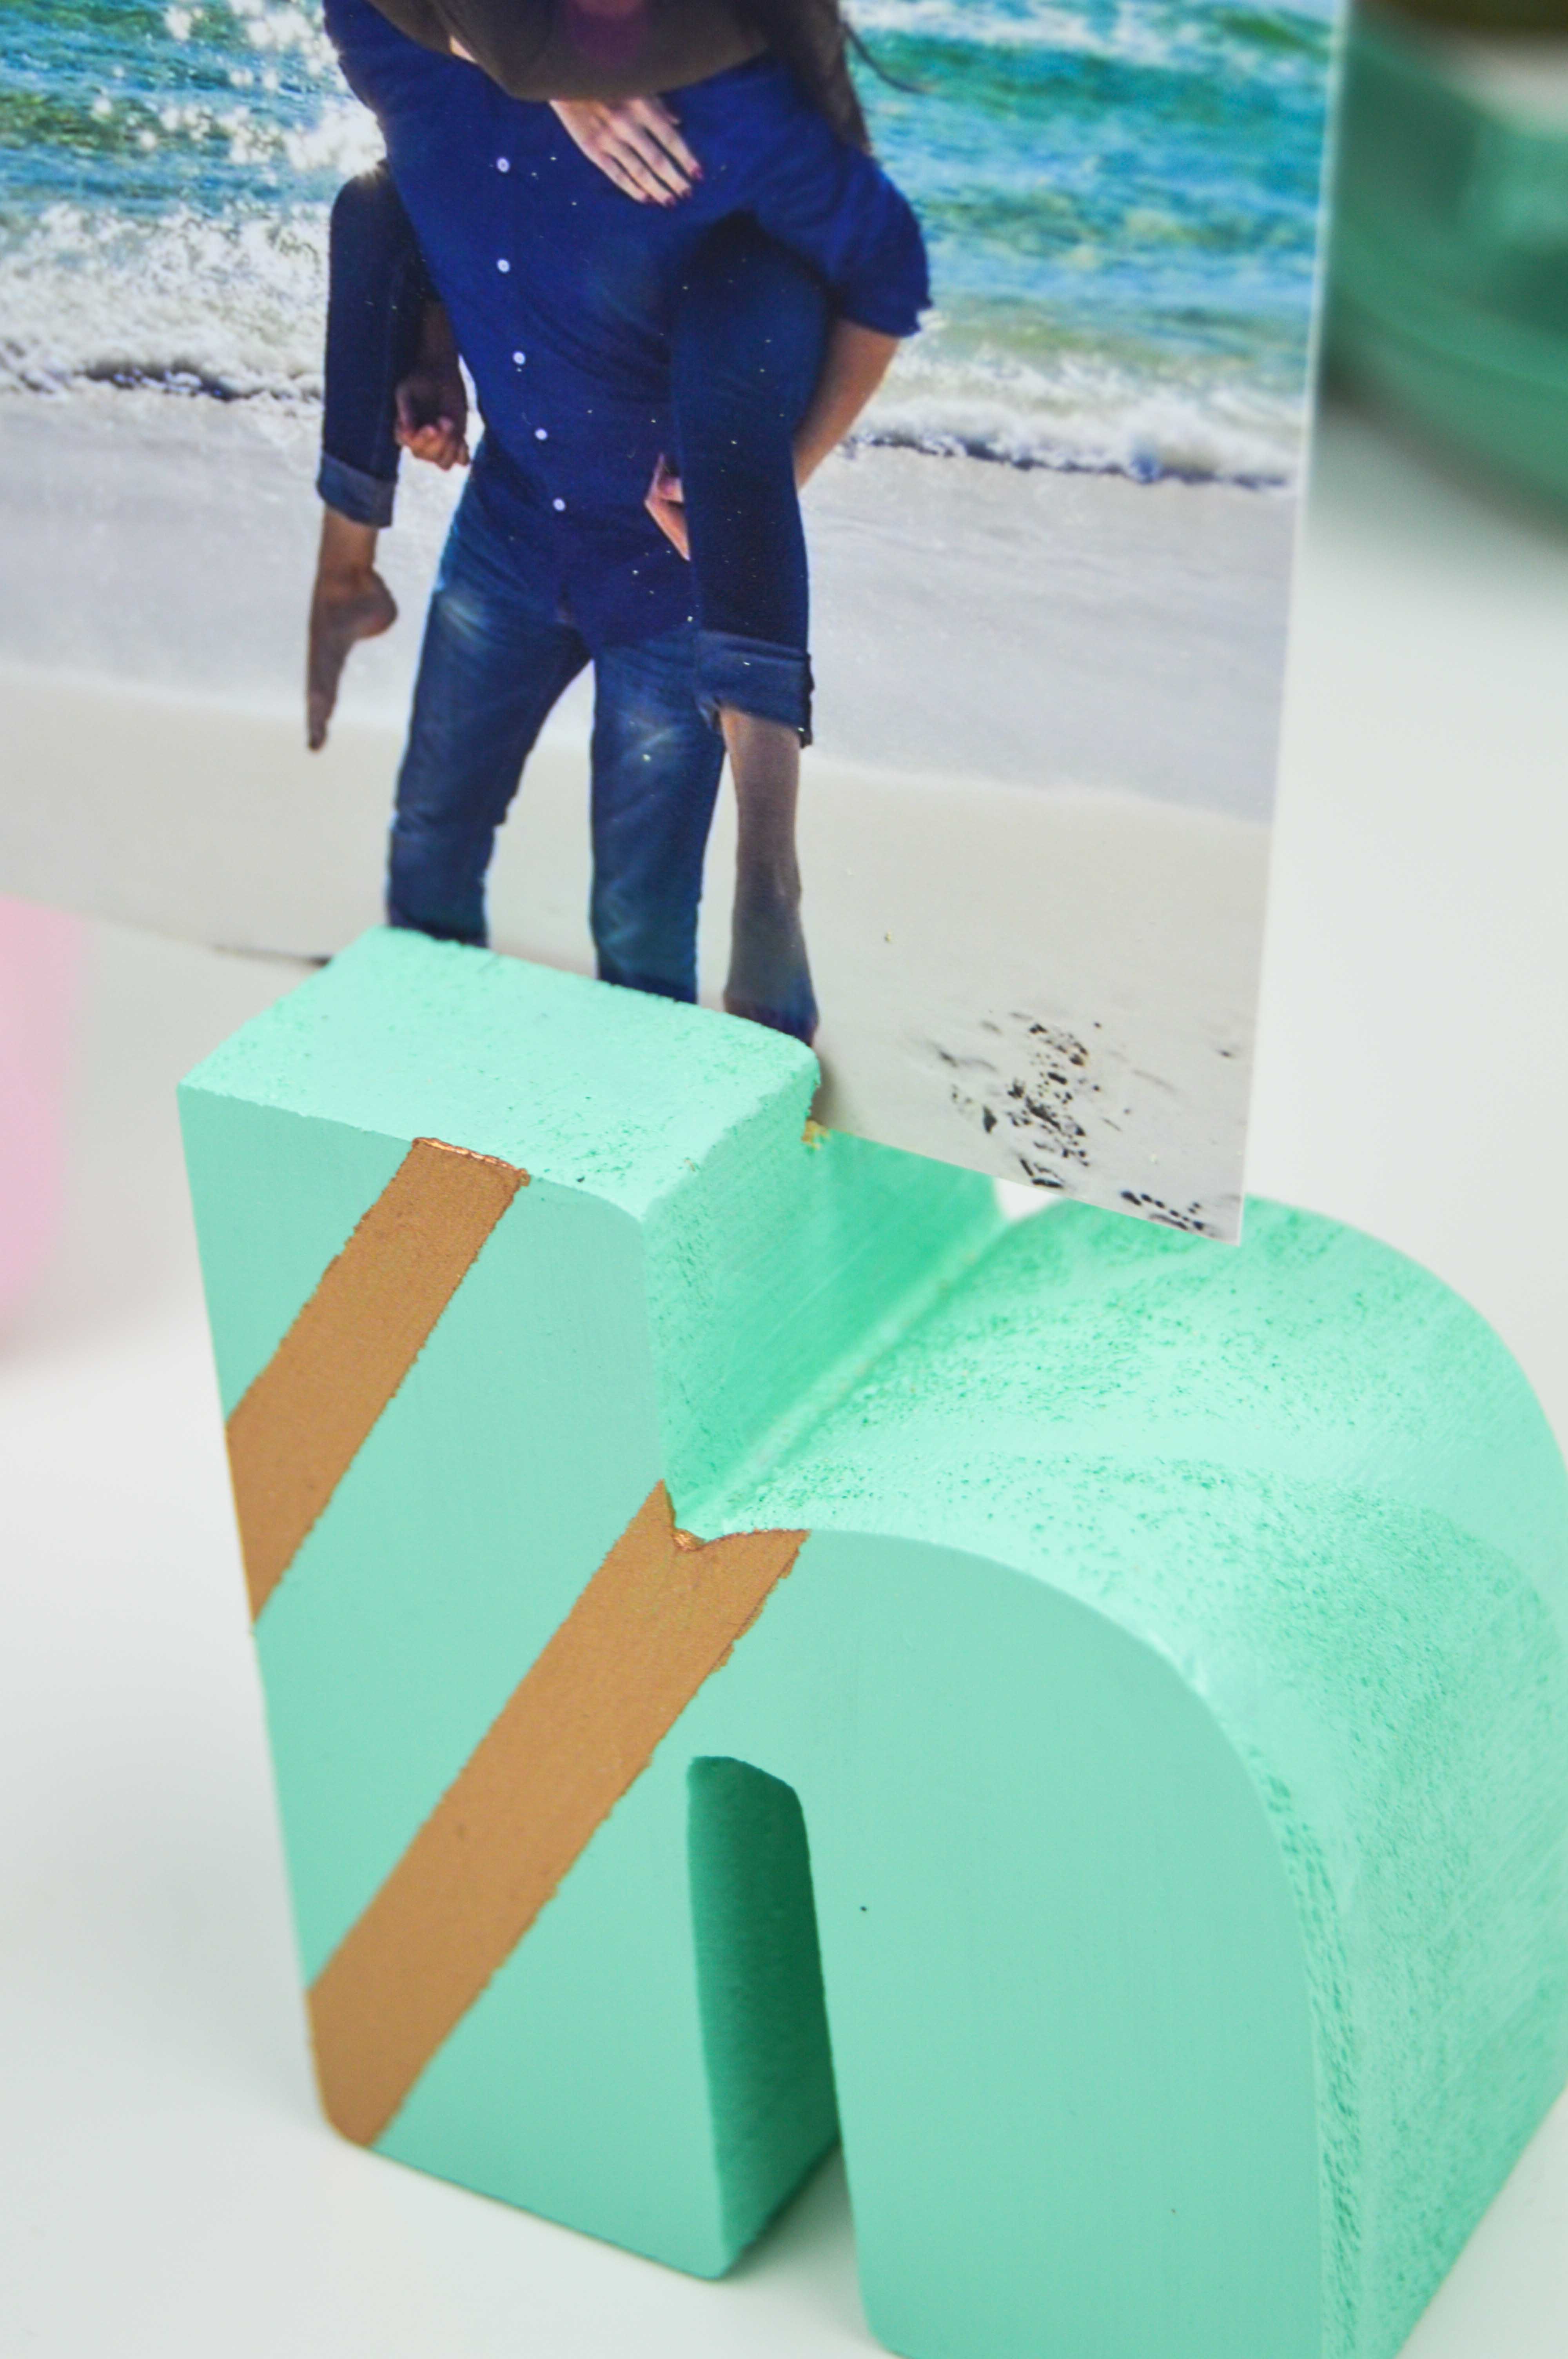
These are easy to make with any block letters you can find, but be sure to keep them small but thick. Also, this does involve using a type of hand saw to create an opening for a picture to lay, so please be careful! Granted, my boyfriend joked it would have been easier to just cut with a butter knife, but I wouldn’t recommend trying that either. (haha!) I color blocked mine with striped and metallic copper paint, but decorate however you want with your favorite colors. I made one for me with my favorite teal color and one for my coworker Shereen who loves pink, so customize them to fit you or whoever you’re giving one to!
The photo holder is a cute addition to my desk (which has lots more teal/blue colors, so this fits perfectly) and I never pass up a homemade office accessory. Here’s how to make you’re own alphabet photo holder!
 Time: 20 minutes
Supplies:
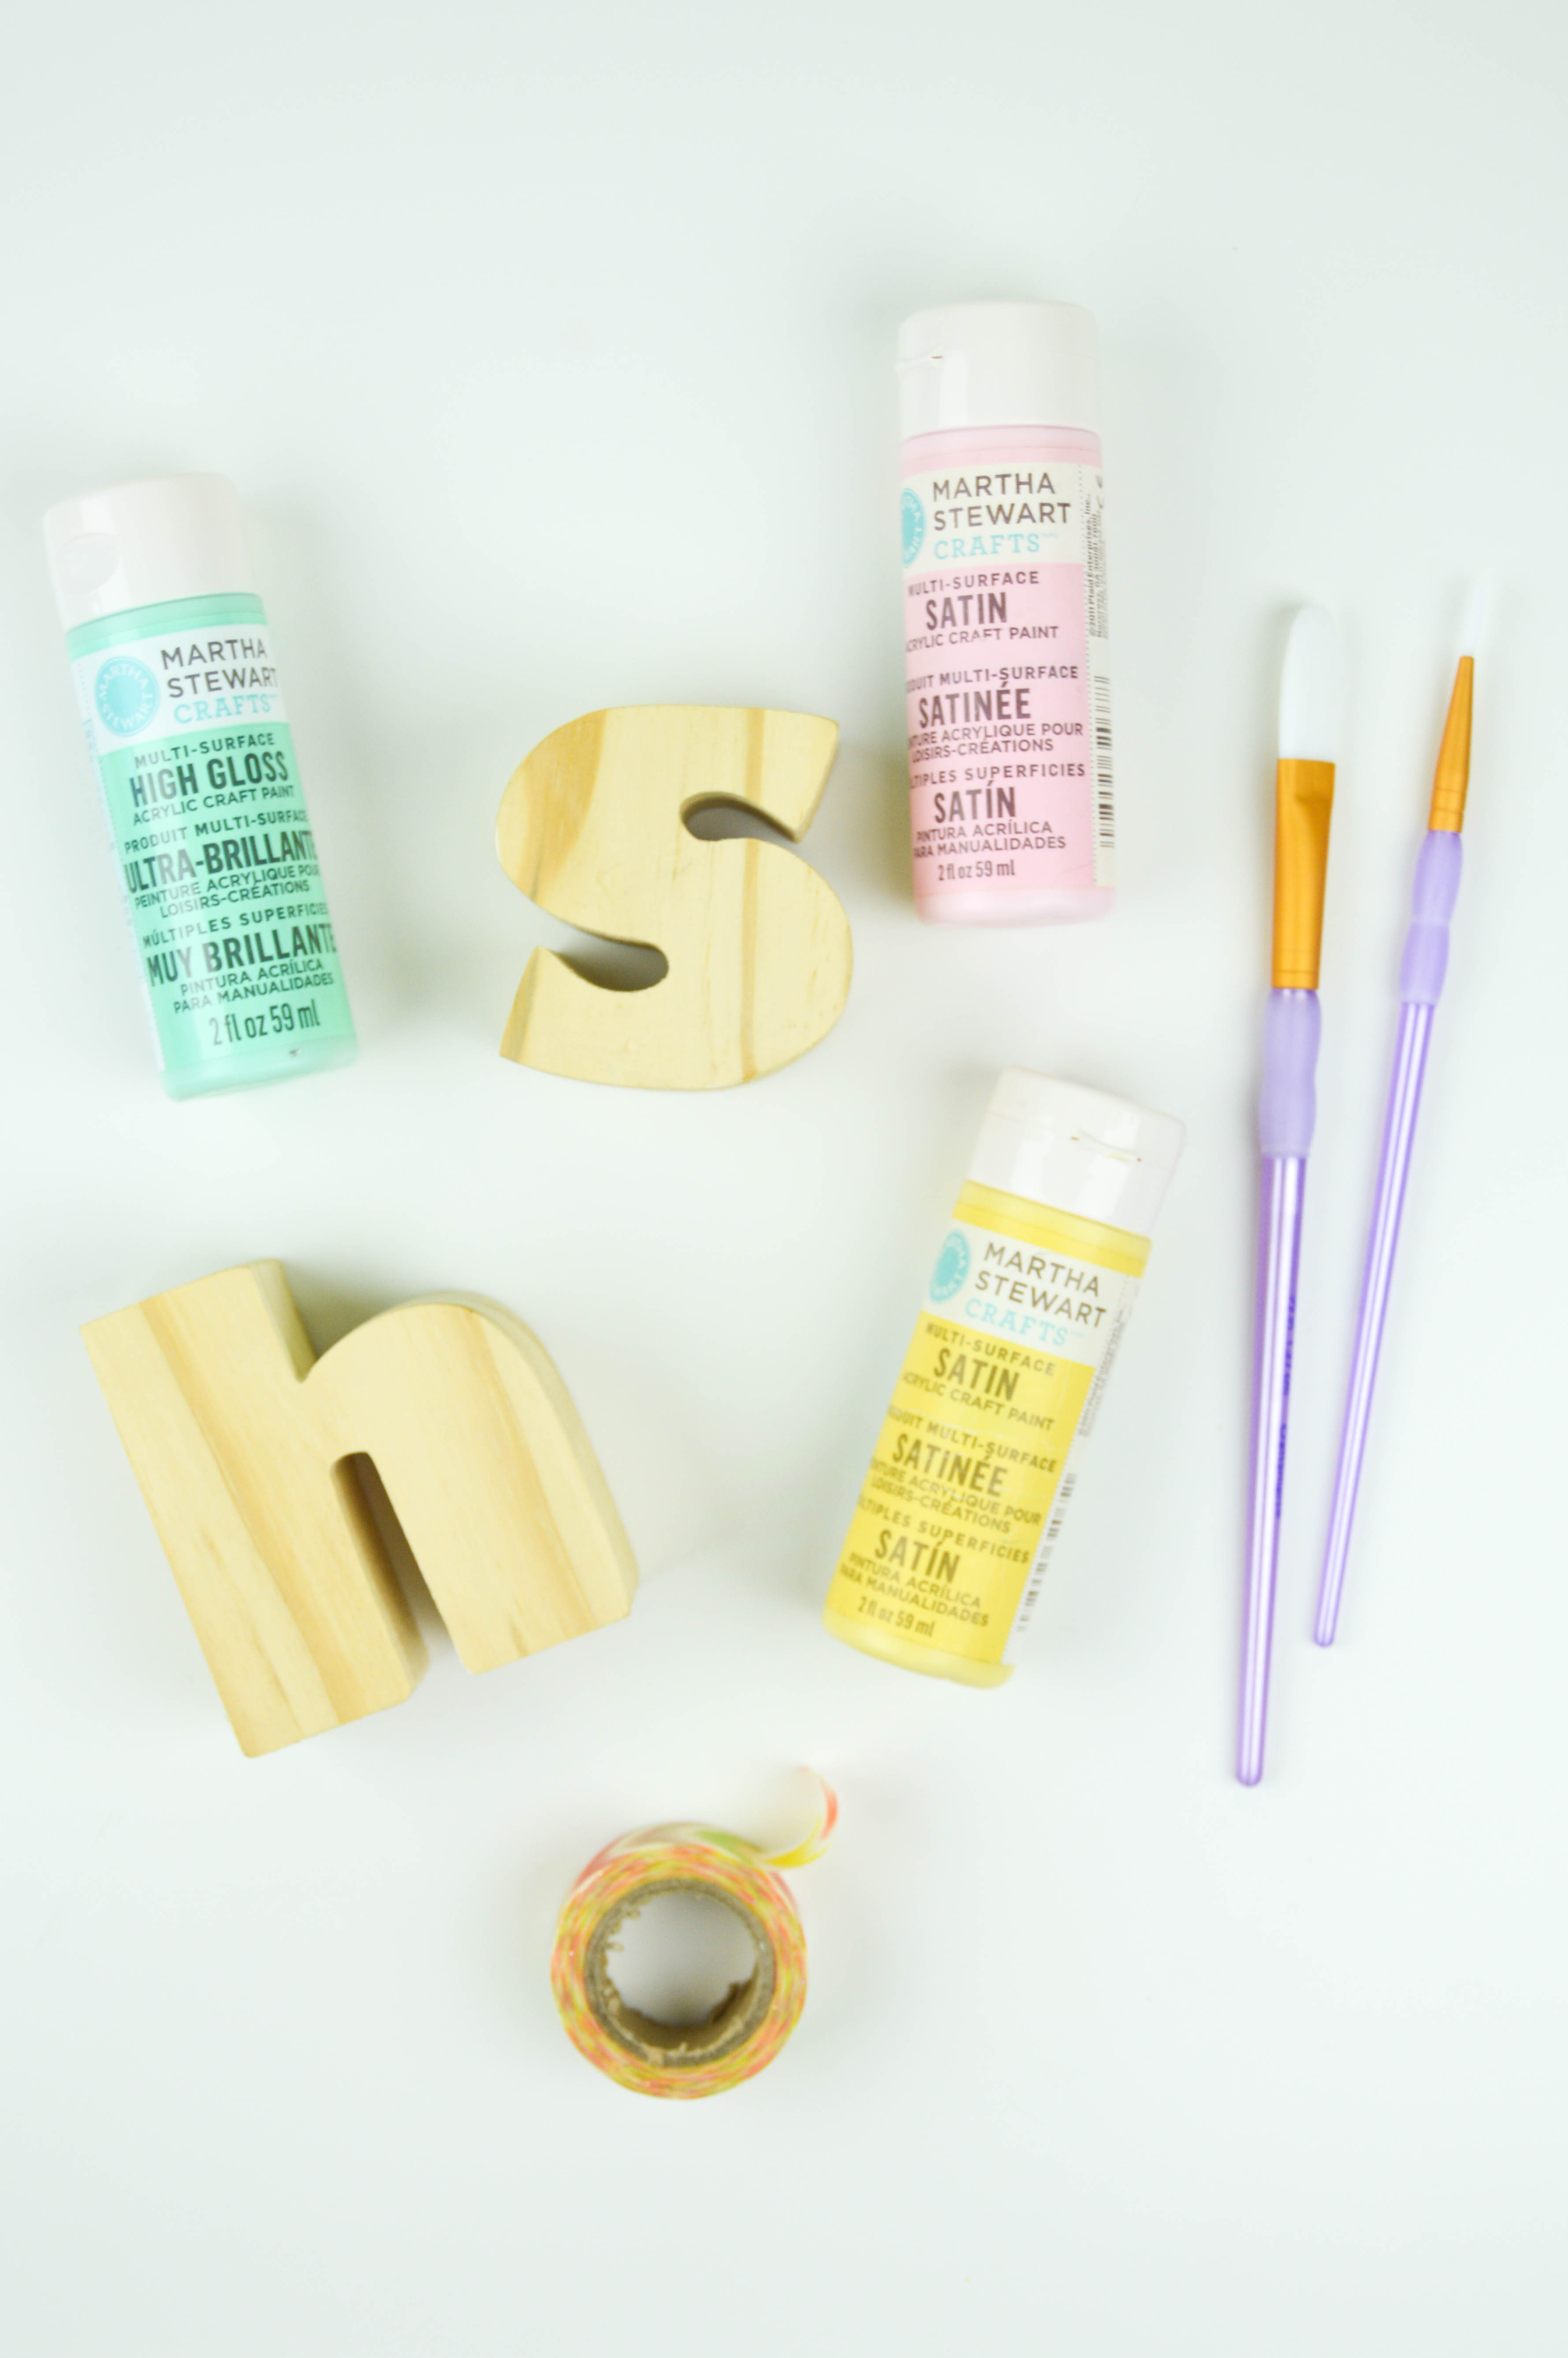
- Wood block letters, about 3-4 inches tall (must be thick and able to stand on their own)
- Paint
- Paint brushes
- Washi tape or masking tape
- Hack saw (I use this one and find it very handy to have around)
 How to:
- Paint the letters a solid color, let dry and paint a second coat if needed
- Once dry, block off pieces with washi tape to paint color blocked sections with a darker paint color
- Let dry, paint a second coat and remove tape to dry completely
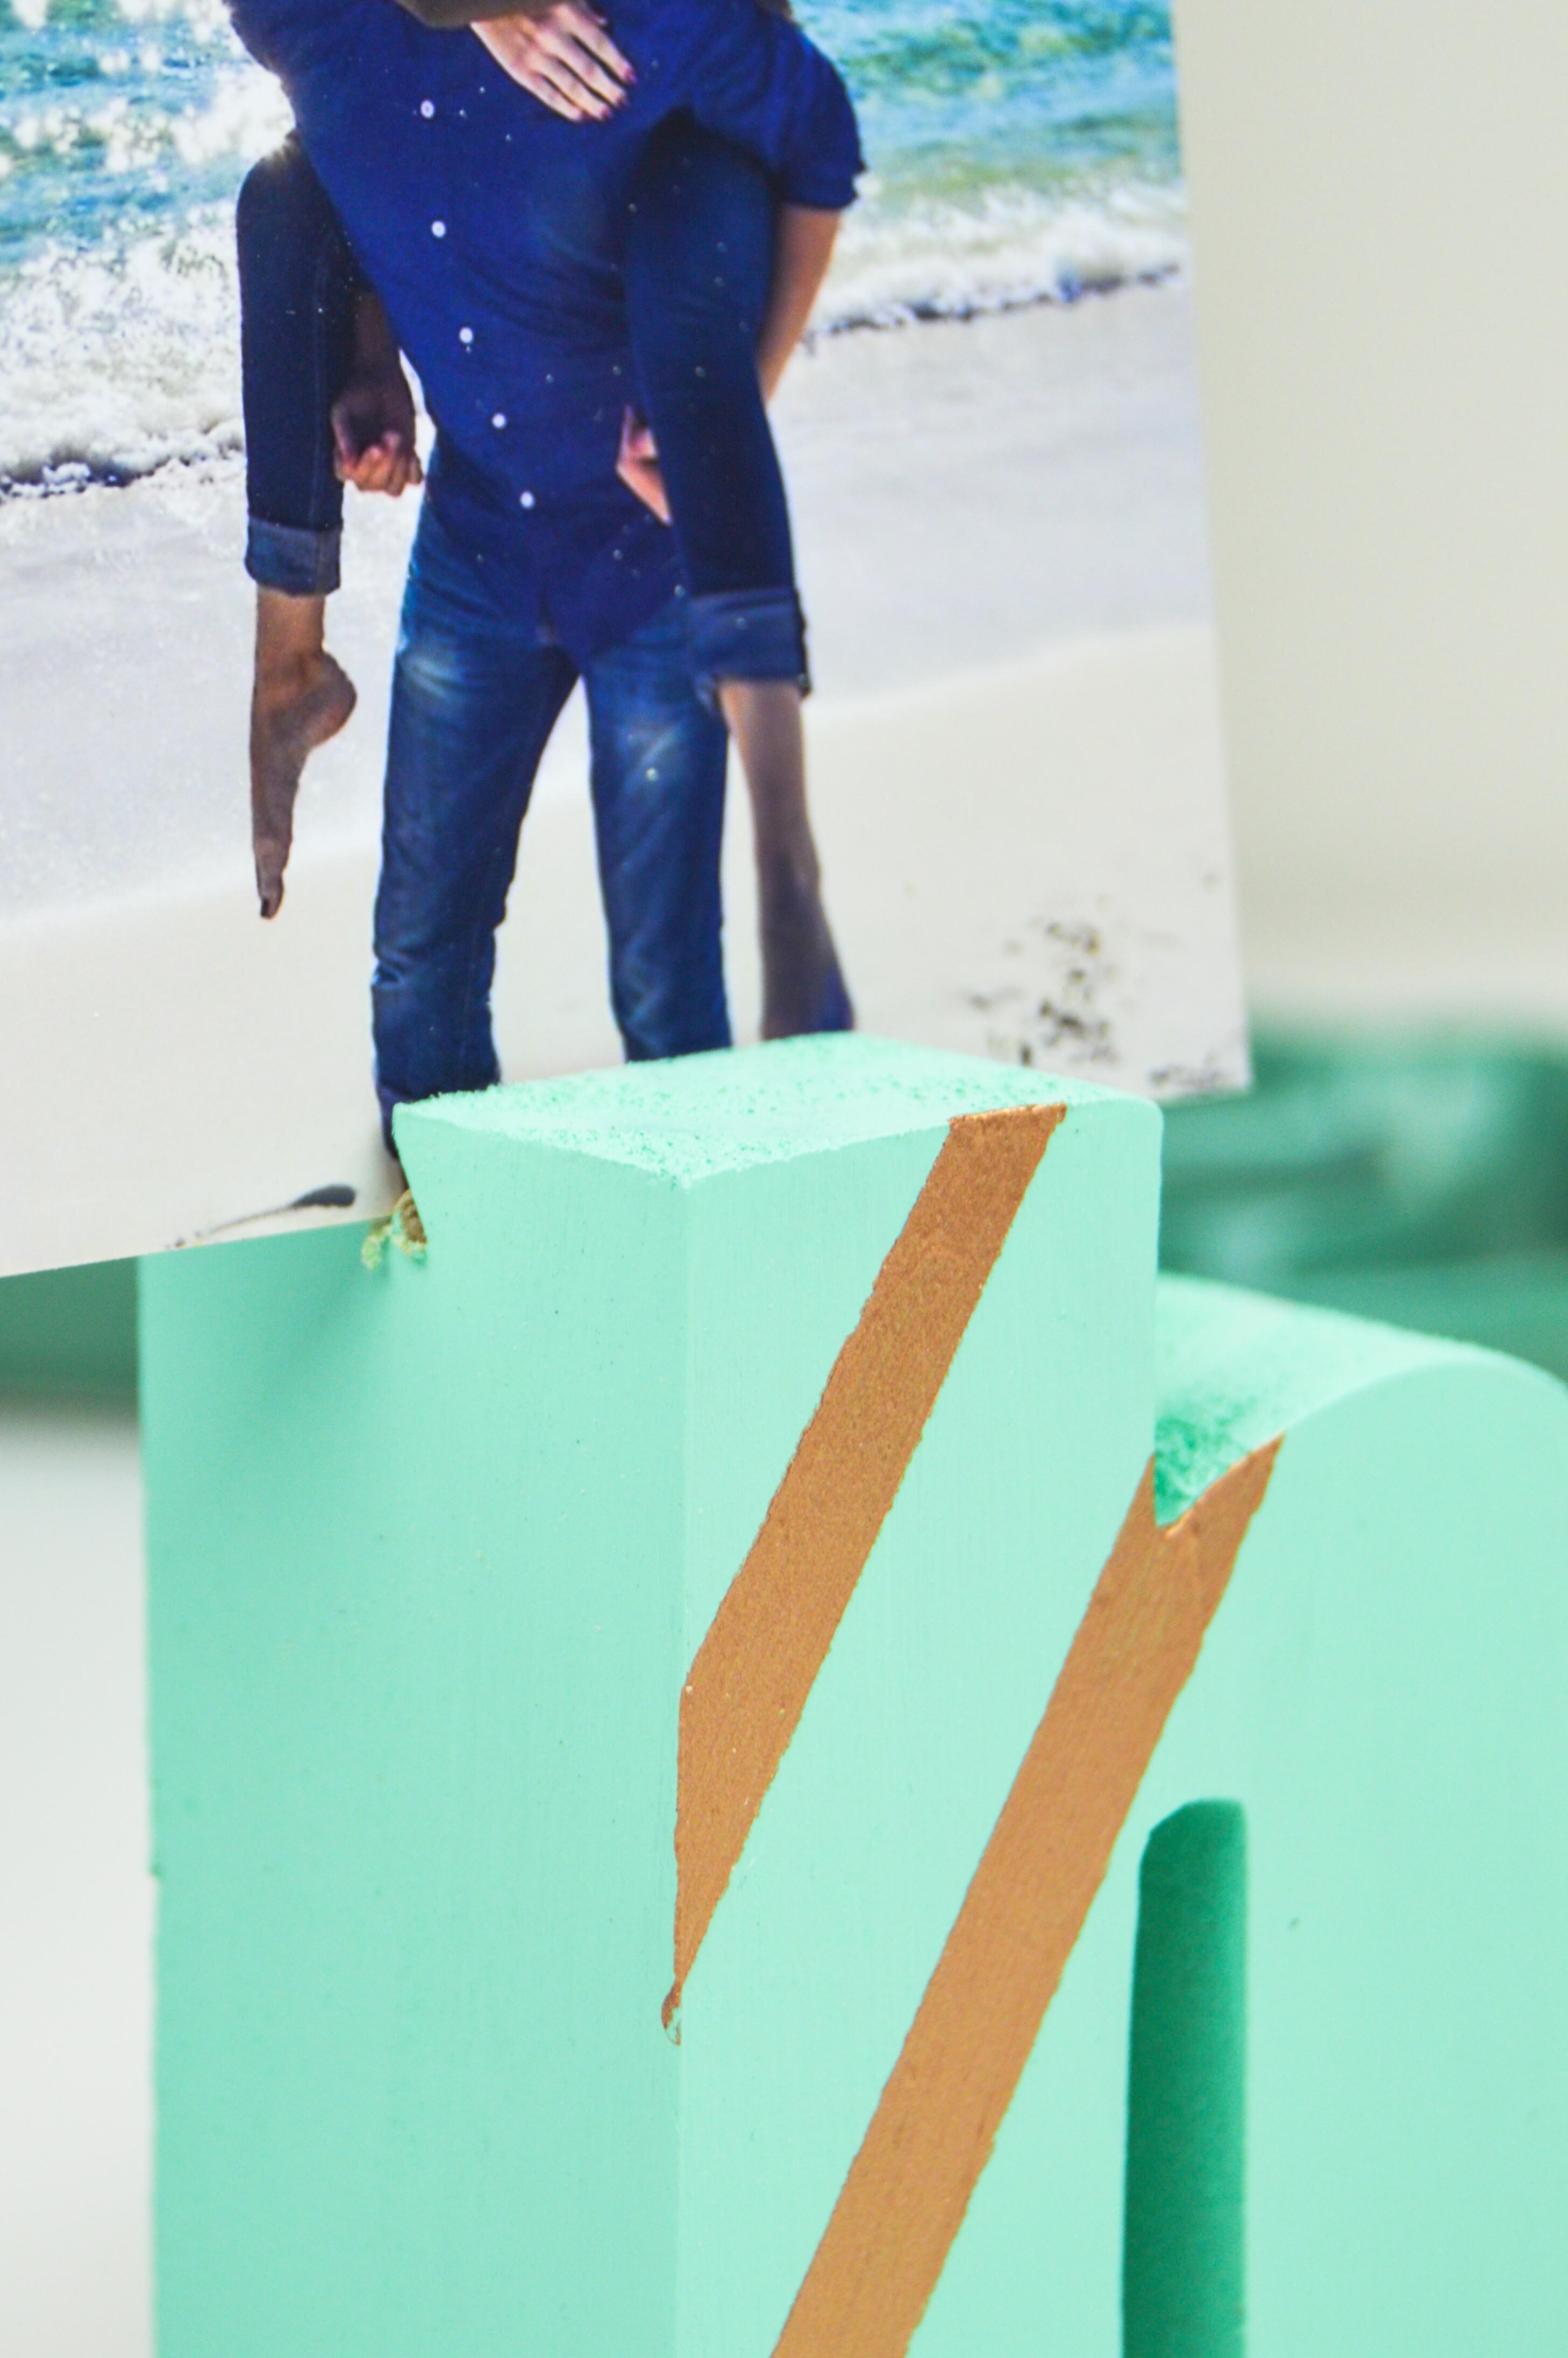
- Once dry, measure the middle of the top of the letter (of course this will vary according to letter type) and mark with a pencil
- Using a basic hack saw, carefully saw back and forth over your marking at a slight angle facing away from the front of the letter. This is important for making photos stand up inside. You can check the angle and adjust as you go. Continue sawing until your opening is about 1/8 inch thick and you’re satisfied with the angle.
- Blow off any wood dust and place a photo inside the opening to display
I have this sitting on my desk now with this picture of my boyfriend and I in Florida, and I love it! It was so simple and thanks to the clearance section it was also dirt cheap!
Happy crafting!