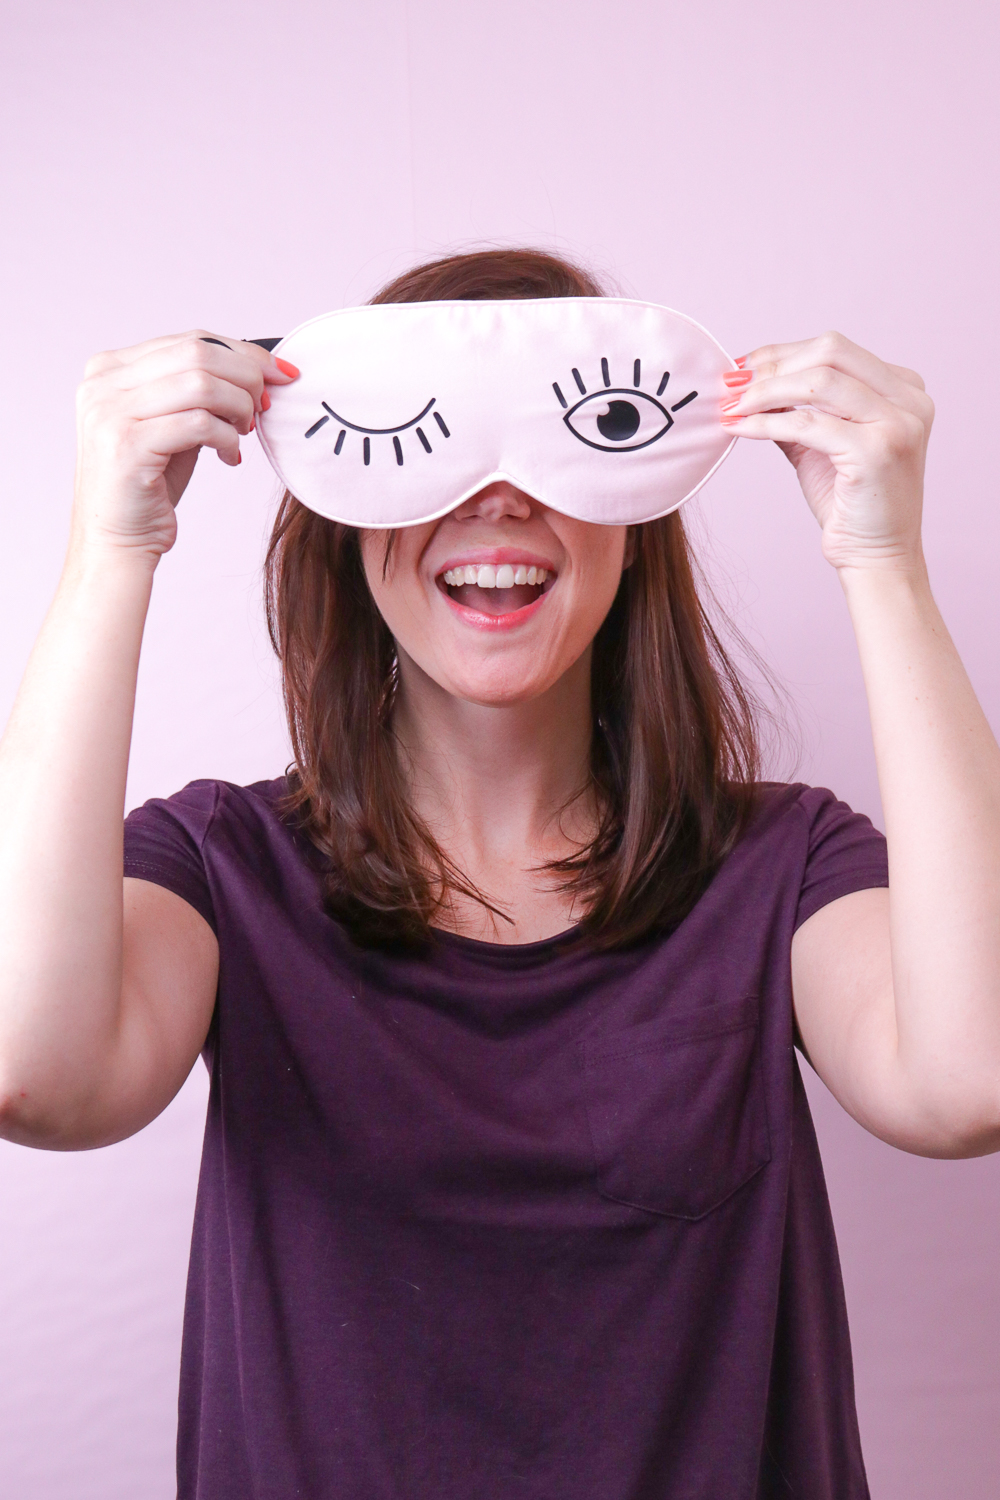
First of all, should we talk about how awkward I am in front of the camera? I swear I’m slightly less awkward in person…I think.
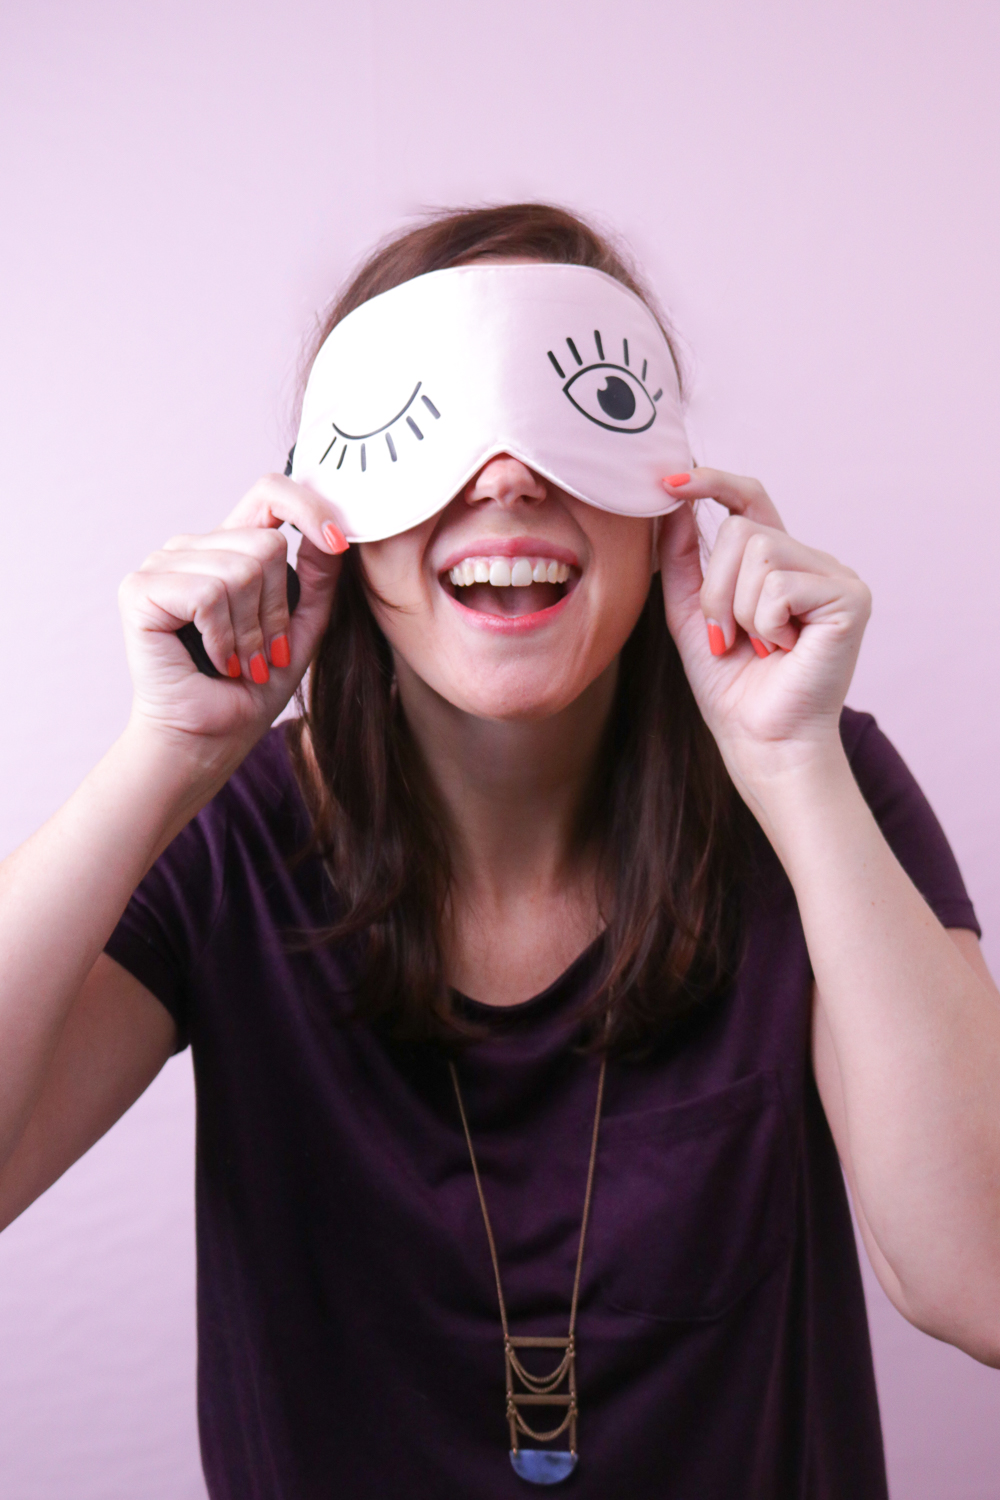
I’m one of those people who loves complete darkness when I sleep, but otherwise I like LOTS of light, which is why I refuse to hang dark curtains in my bedroom. I decided to try a sleep mask to block out light, but I couldn’t use just any sleep mask. To dress up this plain pink silk one, I added black vinyl to create a cute eyelash sleep mask that appears to be winking.
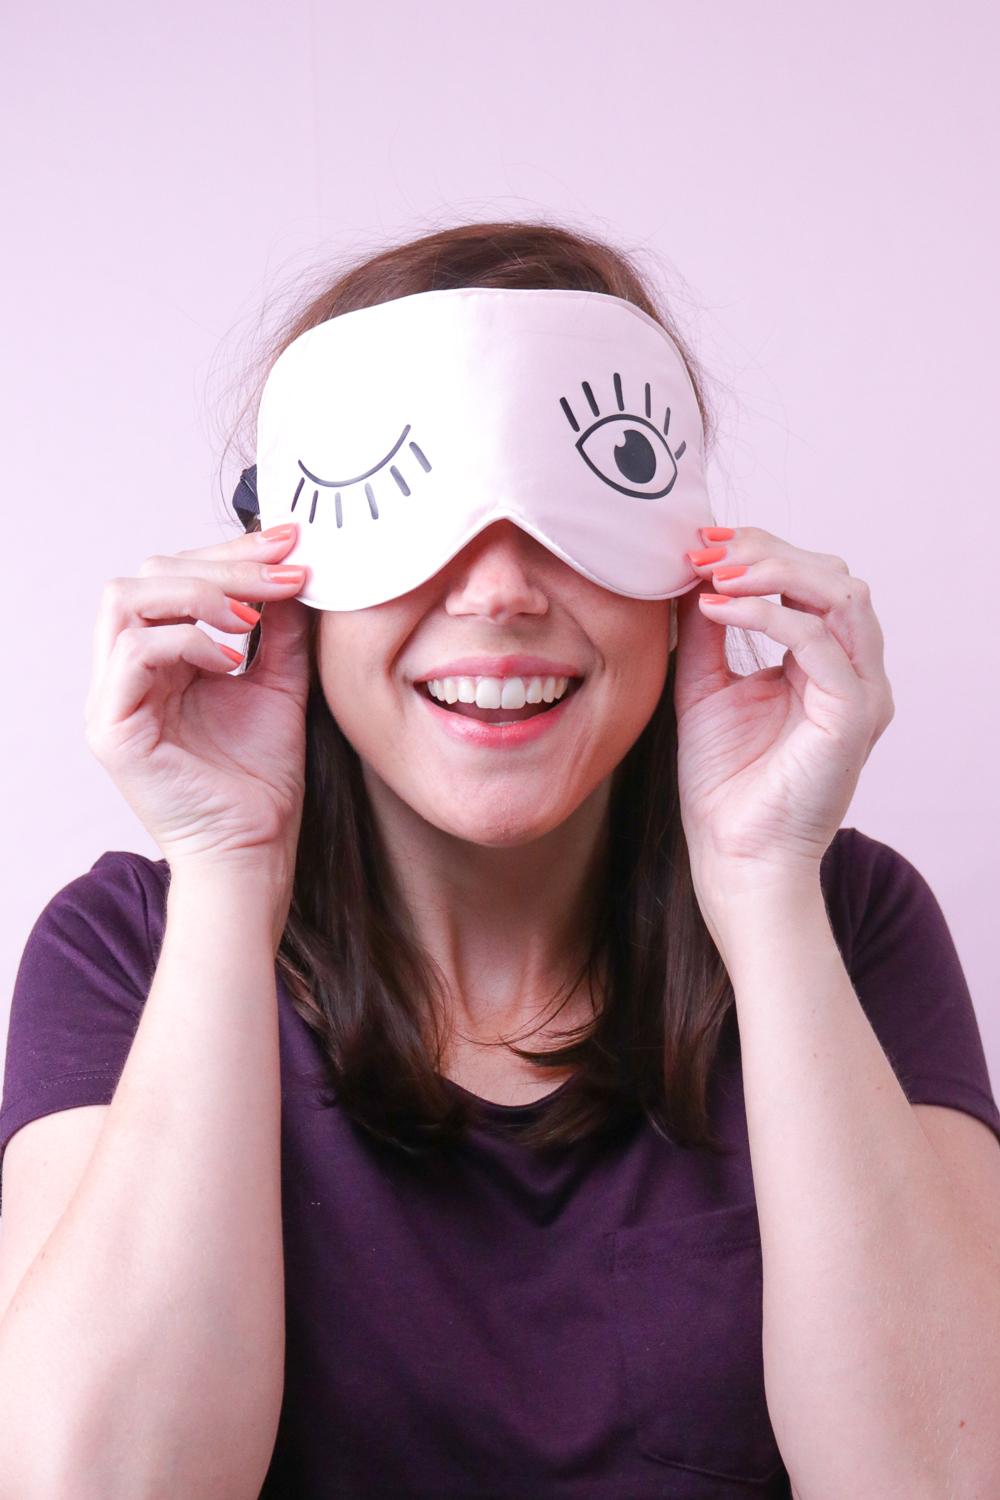 Andrew said it was creepy, so call it what you want, but I still think it’s cute.
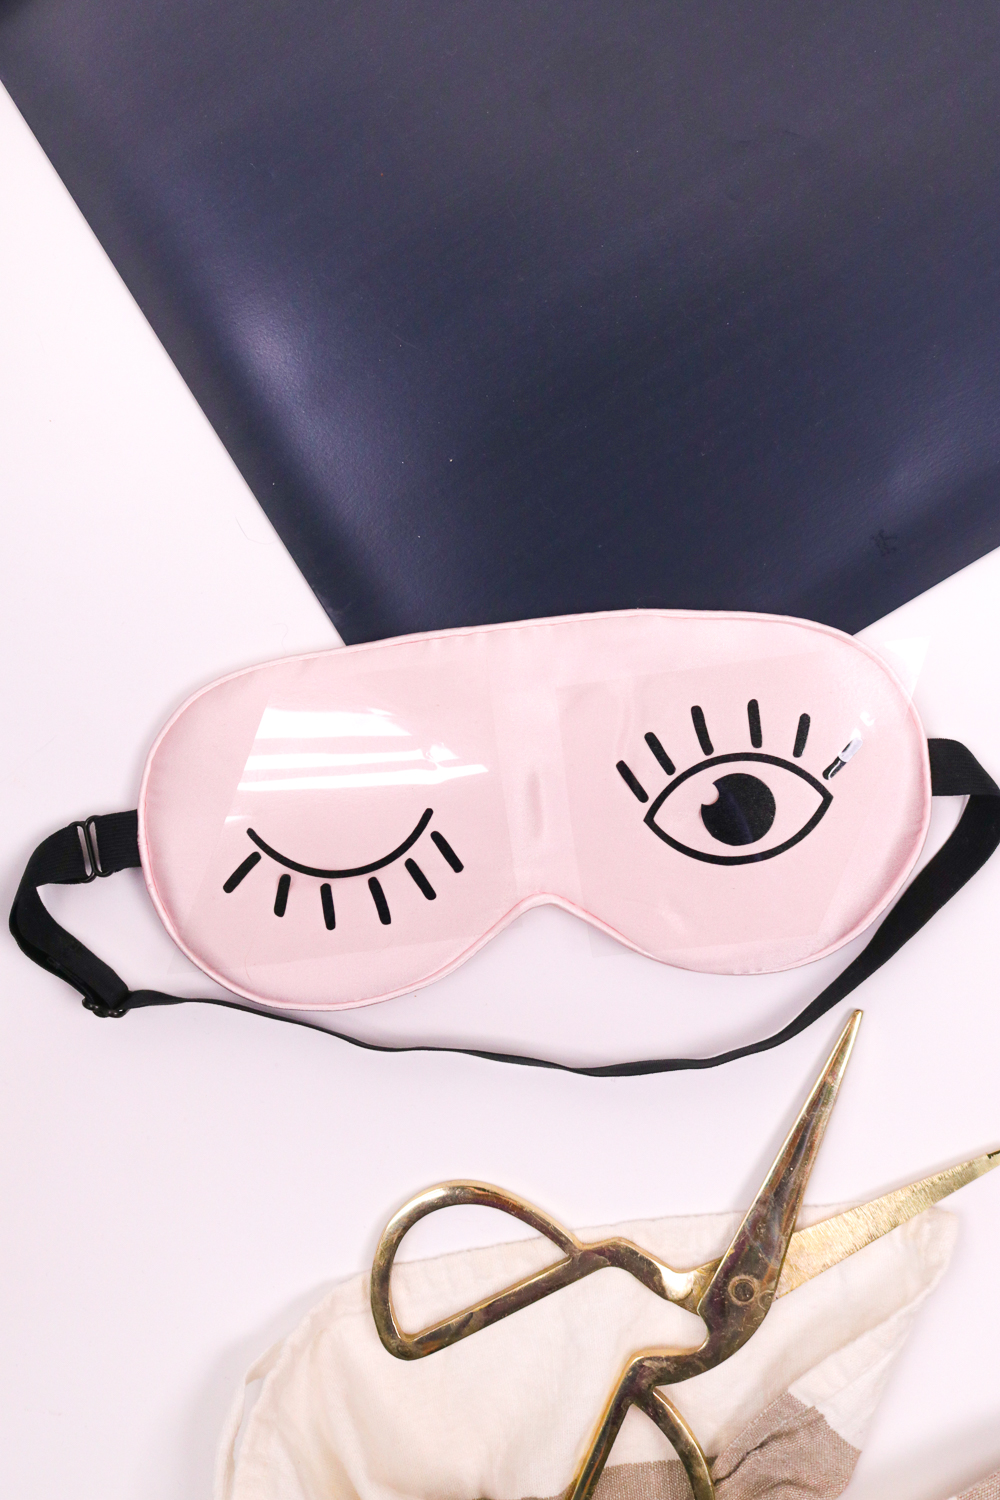
I cut the vinyl using my Cricut machine that I swear by, but you can also use a craft knife to cut the vinyl. Just be aware that it’s a much more time consuming process that requires precision. To make this project a bit easier, I’ve linked my template below for cutting the eyelash pattern. For me, it was truly as simple as cutting and ironing the vinyl on. I swear iron-on vinyl is a gift from the craft gods! Even though ironing silk isn’t normally a good idea, a silk eye mask will iron just fine, but you will need to cover the vinyl backing with a dish towel or pillowcase to protect it when ironing.
Time: 10 minutes
Supplies:
- Sleep mask
- Black iron-on vinyl
- Eyelash template
- Cutting machine or craft knife
- Iron
- Pillowcase or dish towel
Step 1: Use the template linked above to cut the vinyl on a cutting machine, such as a Cricut, after inverting the image (necessary for iron-ons but this image will look fine if not inverted). If you do not have a cutting machine, invert the image on your computer, print it and use a sharp craft knife to carefully cut the pattern out of the vinyl. When cutting vinyl, it’s important to only cut through the vinyl layer, NOT the plastic backing.
Step 2: Once cut, remove the surrounding area so only the eyelash pattern remains on the clear backing.
 Step 3: Place vinyl side down on the mask and position so that each eye is in the middle of each side of the mask. If needed, cut into two pieces to place in the correct locations.
Step 4: Lay a pillowcase or light dish towel on top to protect the fabric and press with a pre-heated iron on a cotton, no-steam setting.
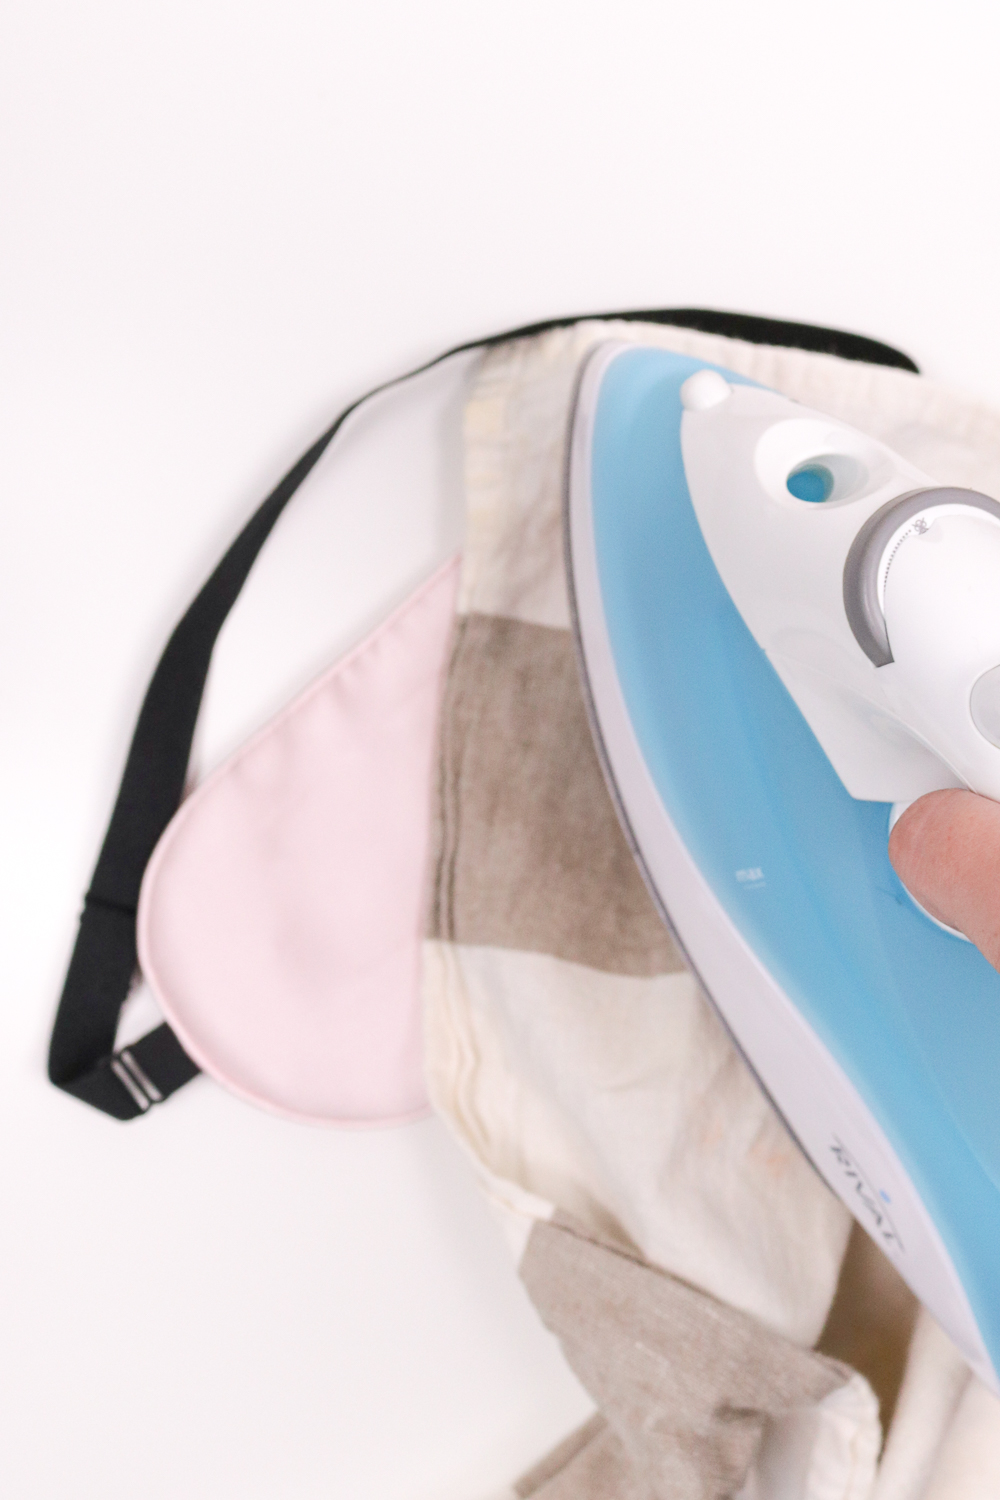 Step 5: Press for up to one-minute, ironing back and forth. Then carefully try to remove the clear backing. If the vinyl does not stick to the fabric, continue ironing. Peel off the clear backing to reveal the completed design.
 Now it’s ready to use! On smooth fabric like silk, the vinyl will hold very well, but if it ever appears to peel, press again with an iron and towel. Put on your new eyelash mask and prepare for a good night’s sleep!
Note, this post may contain affiliate links
Samantha
hahaha, I don’t think it is creepy, I think it is super adorable!! I love it, so much fun!
Ben
I made this mask and now using it. It’s my favorite sleep masks. It is a silky and comfortable eye mask. It block the light and help me for better sleep.