I’ve been going through a sequin phase. Somehow I’ve been using sequin trim in a lot of my crafts, and today I’m sharing one of them for Christmas! Since we have a small apartment, I can’t have too many Christmas decorations, so my tree is my main source of holiday cheer. In an attempt to add other, smaller holiday accents to my home I made this DIY sequin tree pillow using an IKEA cushion cover. IKEA 4ever, guys!
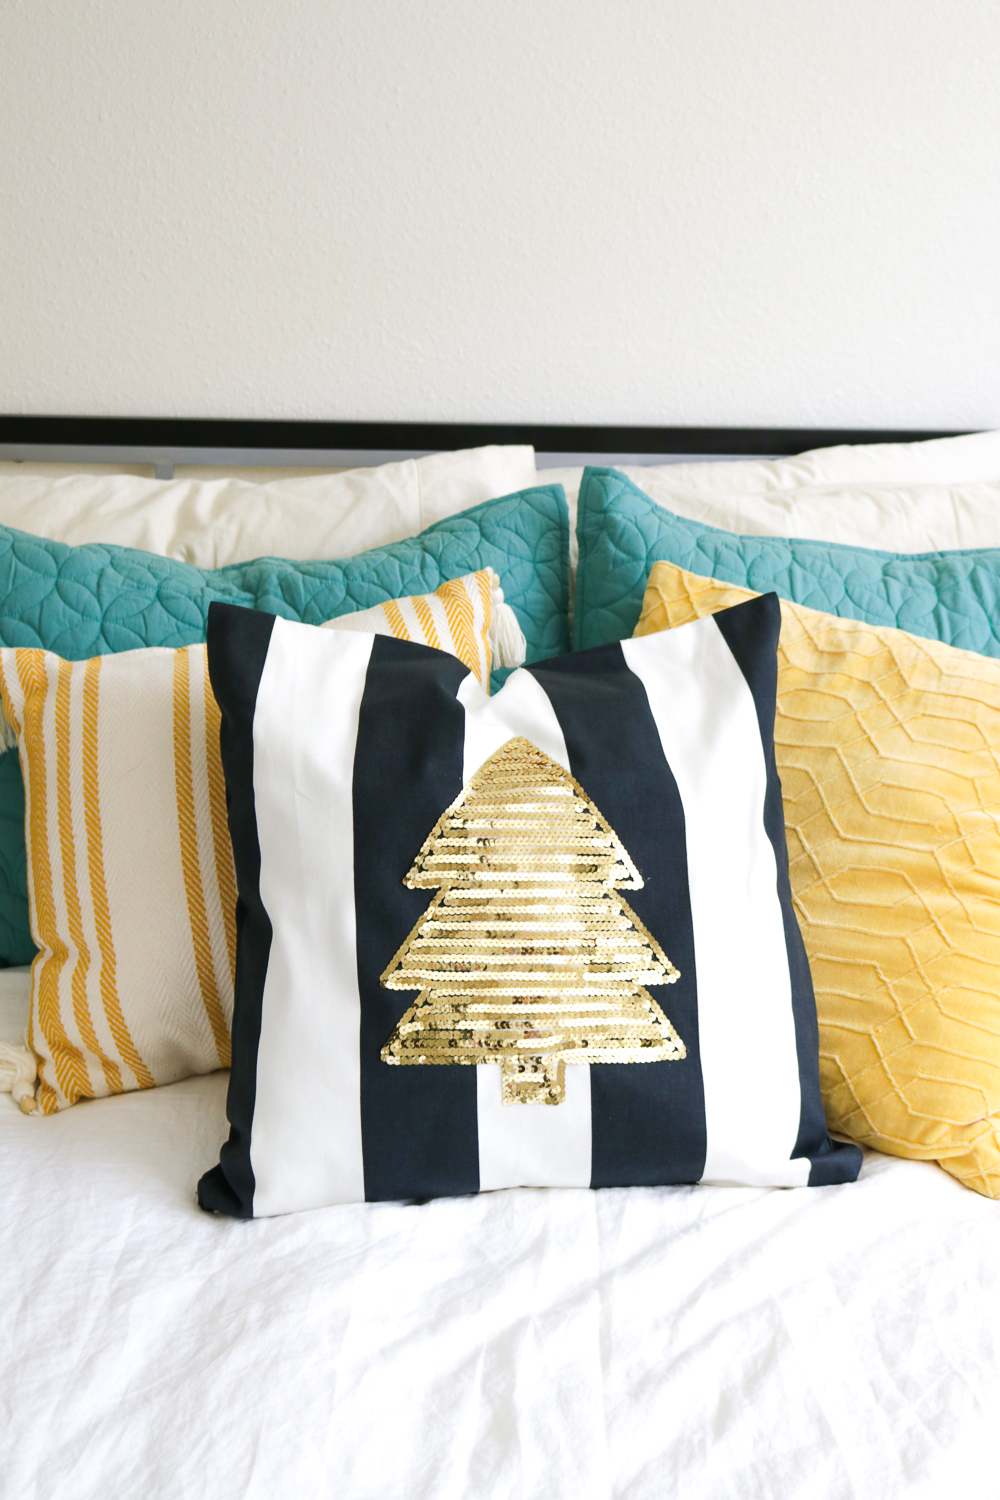
Like I said, sequins are the best and so is fabric glue. Together they make for an unstoppable combination, so I used shiny gold sequin trim to make a Christmas tree pattern on a black and white striped pillow. I love the bright cheer it adds to my couch, and I can simply swap out the pillow cover after Christmas, meaning I only have to store the cover, not the pillow, with my Christmas decor. It’s fun, it’s easy, it’s shiny. What’s not to love?
Time: 10 minutes
Supplies:
- Pillow cover (patterned or solid)
- Gold or silver sequin trim
- Fabric glue
- Scissors
- Piece of printer paper
Step 1: Iron the pillow cover flat.
Step 2: Cut out a simple tree shape with a stump from a piece of printer paper that’s proportionate to your pillow to use as a template (my pillow is 20×20 in). This step isn’t required but can help ensure your tree isn’t too big or too small
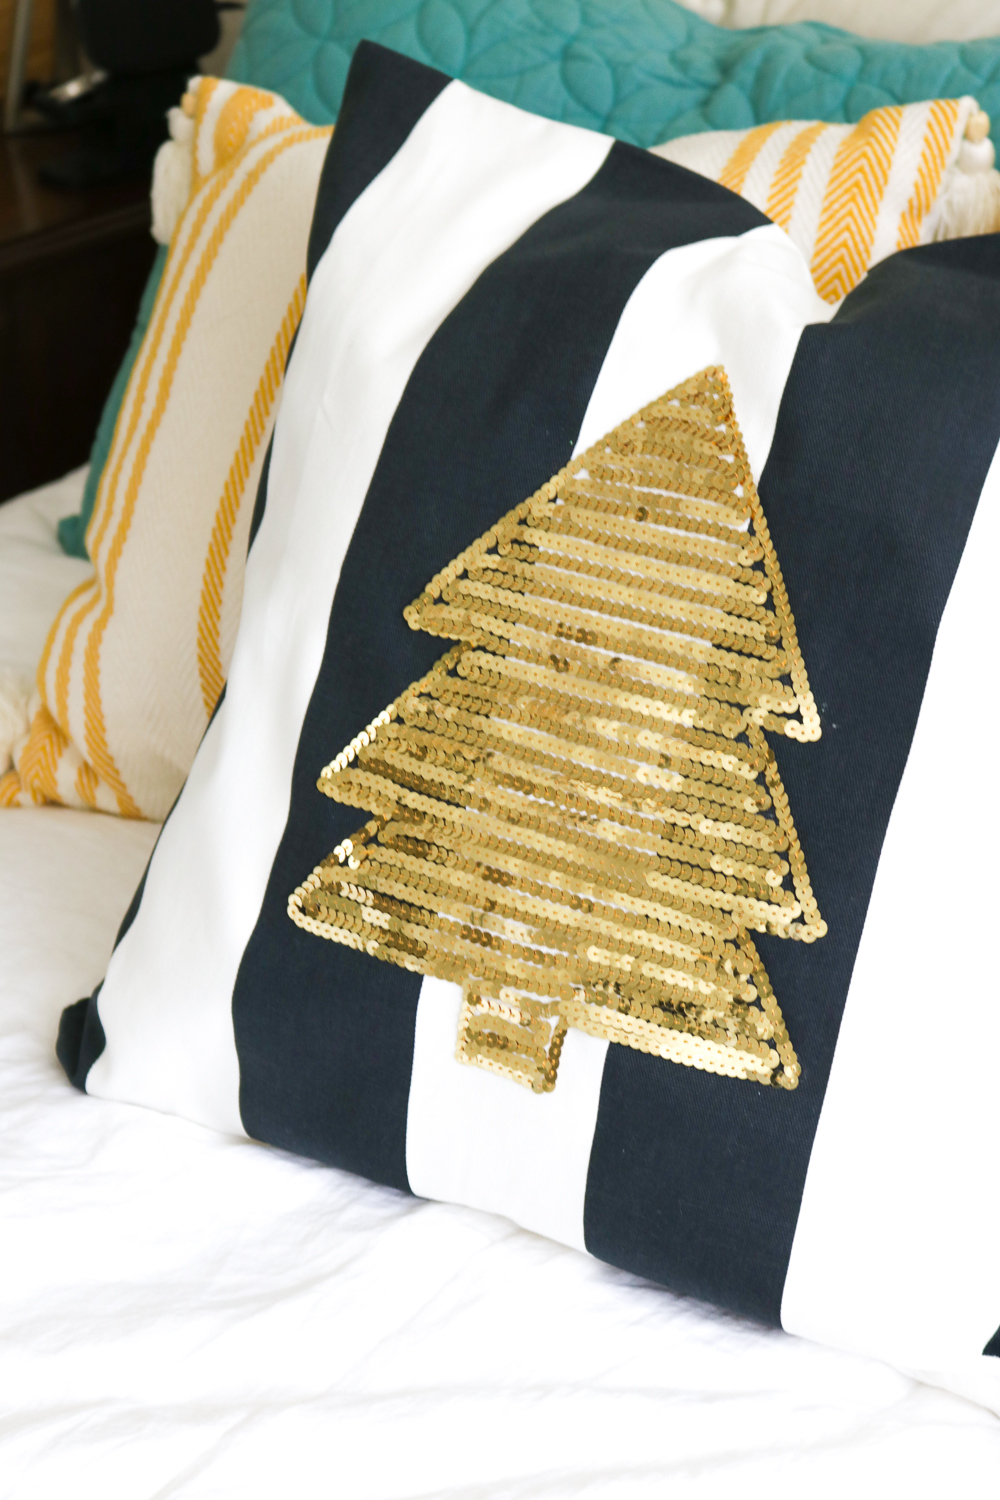
Step 3: Place the stencil in the middle of the pillow and glue around the outside of it in sections, not touching the paper. Press the sequin trim to the glue and continue all the way around the stencil. Then remove the stencil.
Step 4: Continue gluing and pressing the sequins to fill in the tree in lines, continuing up the tree until it’s completely filled in. Allow to dry for about 10 minutes before carefully inserting a pillow into the cover. Note, the glue holds very well but the sequins can still be fragile.
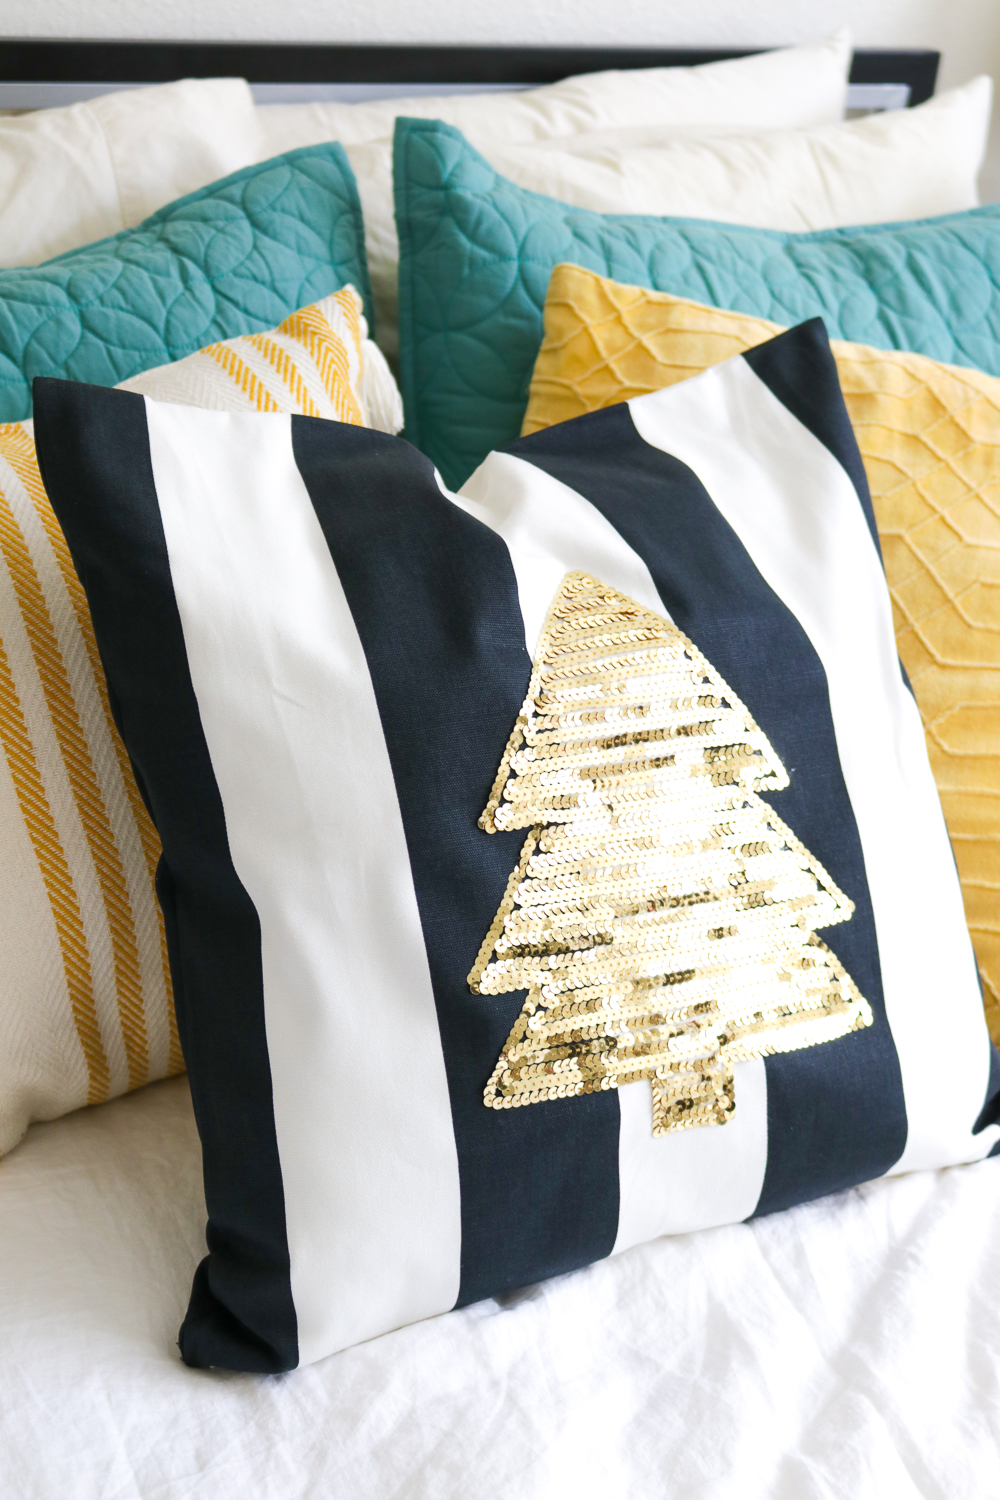
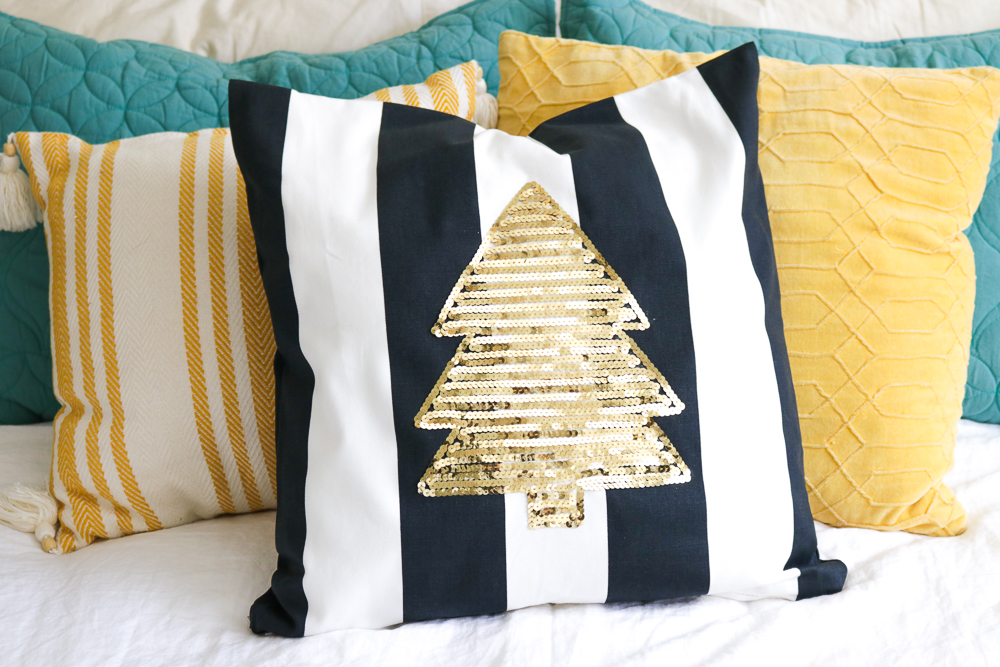
Throw it on your bed or couch! I love metallics in my Christmas decor so this gold was exactly what I need!
*Please note this post may contain affiliate links
Tet | Drawn to DIY
Oooh I can imagine it reflecting the lights from a christmas tree at night 🙂
Holly Wade
Tet | Drawn to DIYIt totally does! It’s on my couch right now and it really shines at night with the Christmas lights on