• HOME
  • SERVICES
  • PORTFOLIO
  • ABOUT
  • Club Crafted

  • CONTACT
  • BLOG
    • DIY
    • RECIPES
    • SPONSORSHIPS
  • SHOP

Club Crafted

DIY Tutorials
/
November 29, 2016

DIY Cactus Christmas Ornament

DIY Cactus Christmas Ornament | Club Crafted

DIY Cactus Christmas Ornament | Club Crafted
Guys, it’s Christmastime!! 

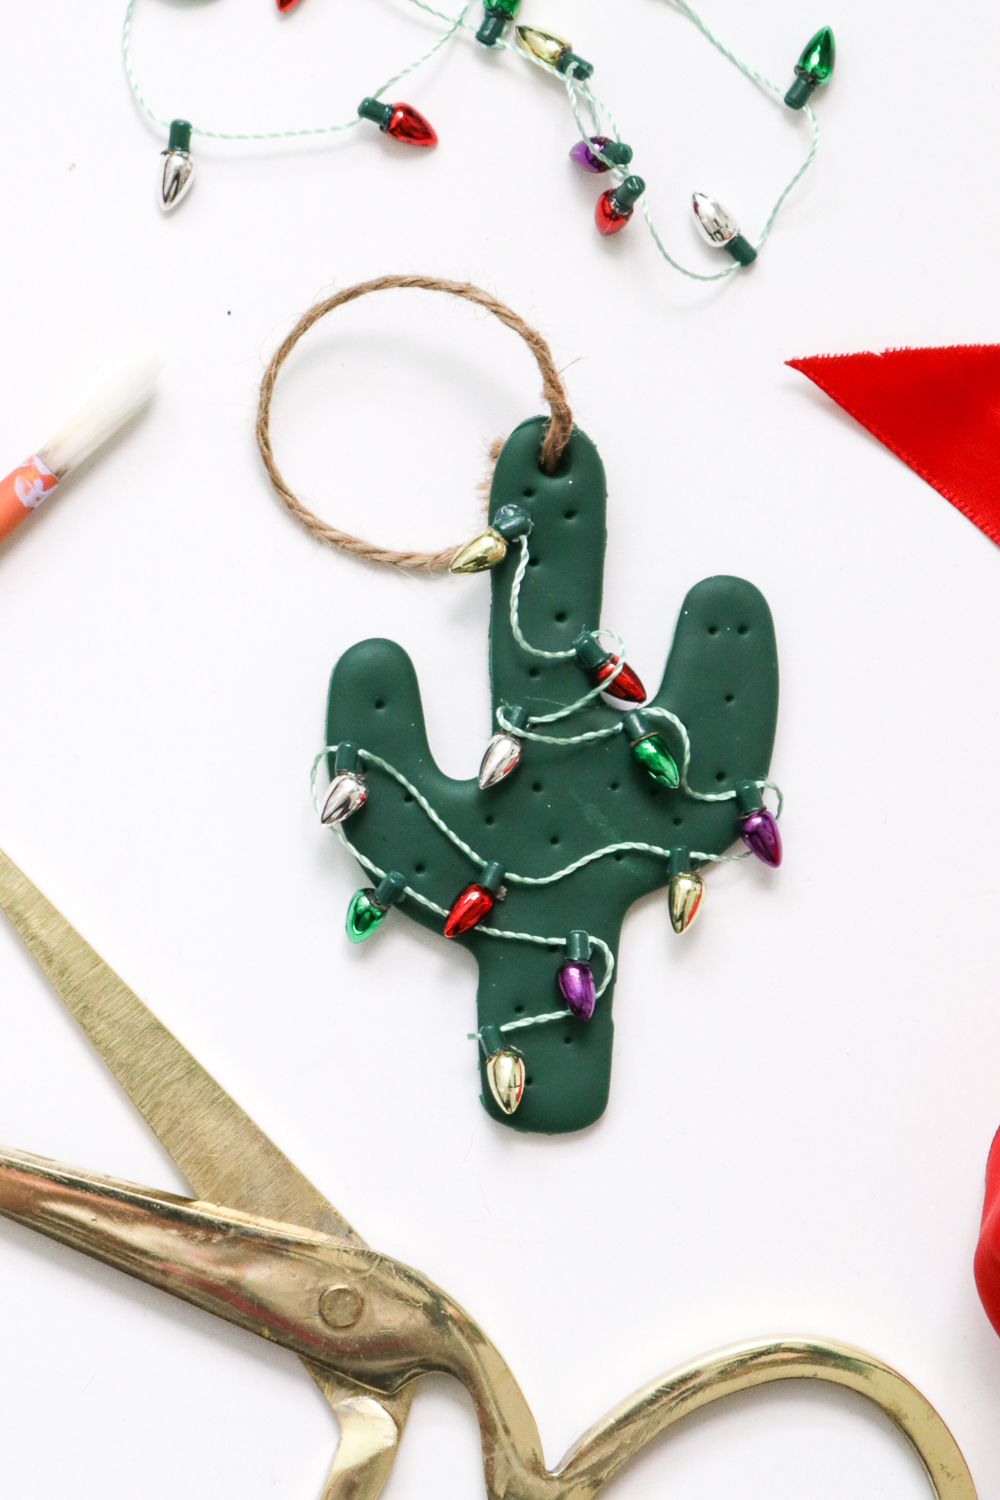
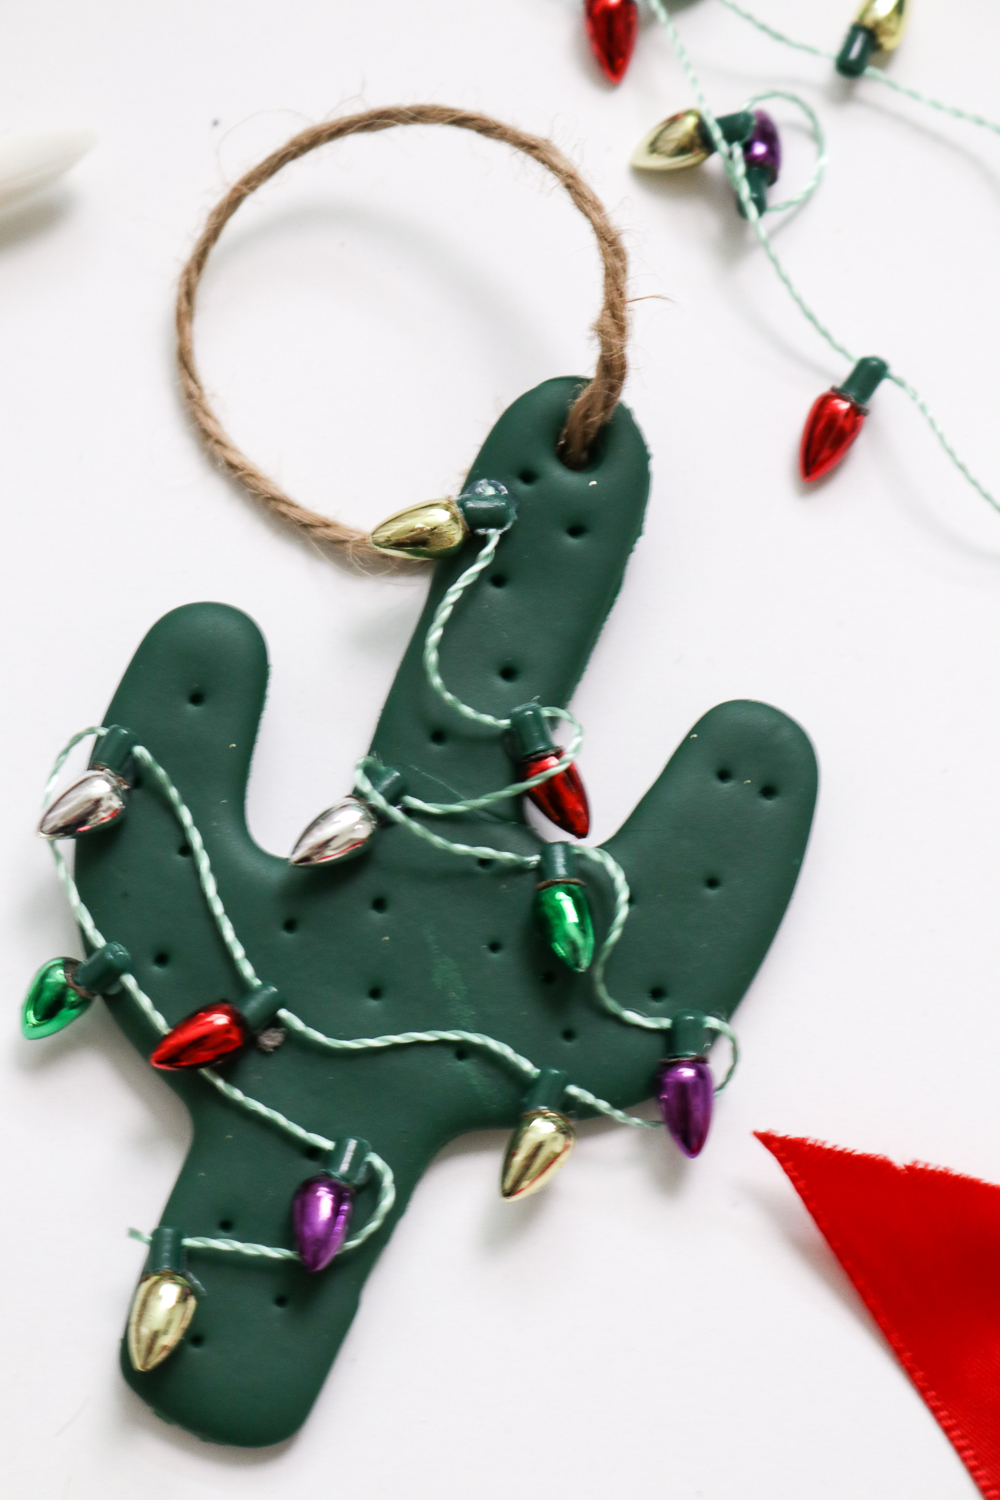
I could barely contain my excitement for the holidays this year and had my tree up and decorating several weeks ago in preparation for my absolute favorite time of year. I waited until after Thanksgiving to start my Christmas tutorials, but I’m preparing to release a ton of fun DIY and dessert ideas this year, starting with this DIY cactus Christmas ornament complete with Christmas lights! 

Being from California, I’m no stranger to the cactus and succulent trend. In fact, they’re the only plants I can keep alive (barely). What better way to decorate my tree here in SoCal than with a homemade ornament?! I mean, I honestly considered putting a large cactus on my porch to decorate with Christmas lights but decided to pass on it this year and make the ornament version instead…it’s less prickly. 

This is pretty easy to make and is also a really fun gift for friends! 

DIY Cactus Christmas Ornament | Club Crafted
Time: 20 minutes + dry time

Supplies:

  • Air dry OR polymer baking clay 
  • Dark green paint
  • Light green paint
  • Clay glaze
  • String
  • Paintbrushes 
  • Rolling pin 
  • Large cactus cookie cutter, stencil or craft knife
  • Mini Christmas light garland 
  • Hot glue gun

Step 1: Roll out a large piece of clay on a parchment covered workspace until it is about 1/2 inch thick. Note, I recommend air dry clay but polymer baking clay works just as well, especially when you’re in a hurry.

Step 2: Use a cookie cutter to cut out a large cactus from the clay, or you may use a stencil or freehand cutting the cactus with a craft knife. Use ab object like a straw or piping tip to cut a small circle at the top of the ornament where the string will hang. Allow to dry completely or bake according to the package instructions.

Step 3: Once the clay has hardened, paint a medium or dark green color, let dry and paint a second coat. Repeat with both sides of the ornament.

Step 4: Use a smaller paint brush to paint spikes on the cactus with light green paint in a somewhat random pattern and allow to dry 

Step 4: Cover the ornament in a clay glaze and allow to dry

Step 5: Cut the string to about 5 inches. Thread the string through the hole in the cactus and tie together in a tight knot for the ornament to hang from.

Step 6: Use the glue gun to attach the string lights to the front of the cactus in a zig zag pattern.

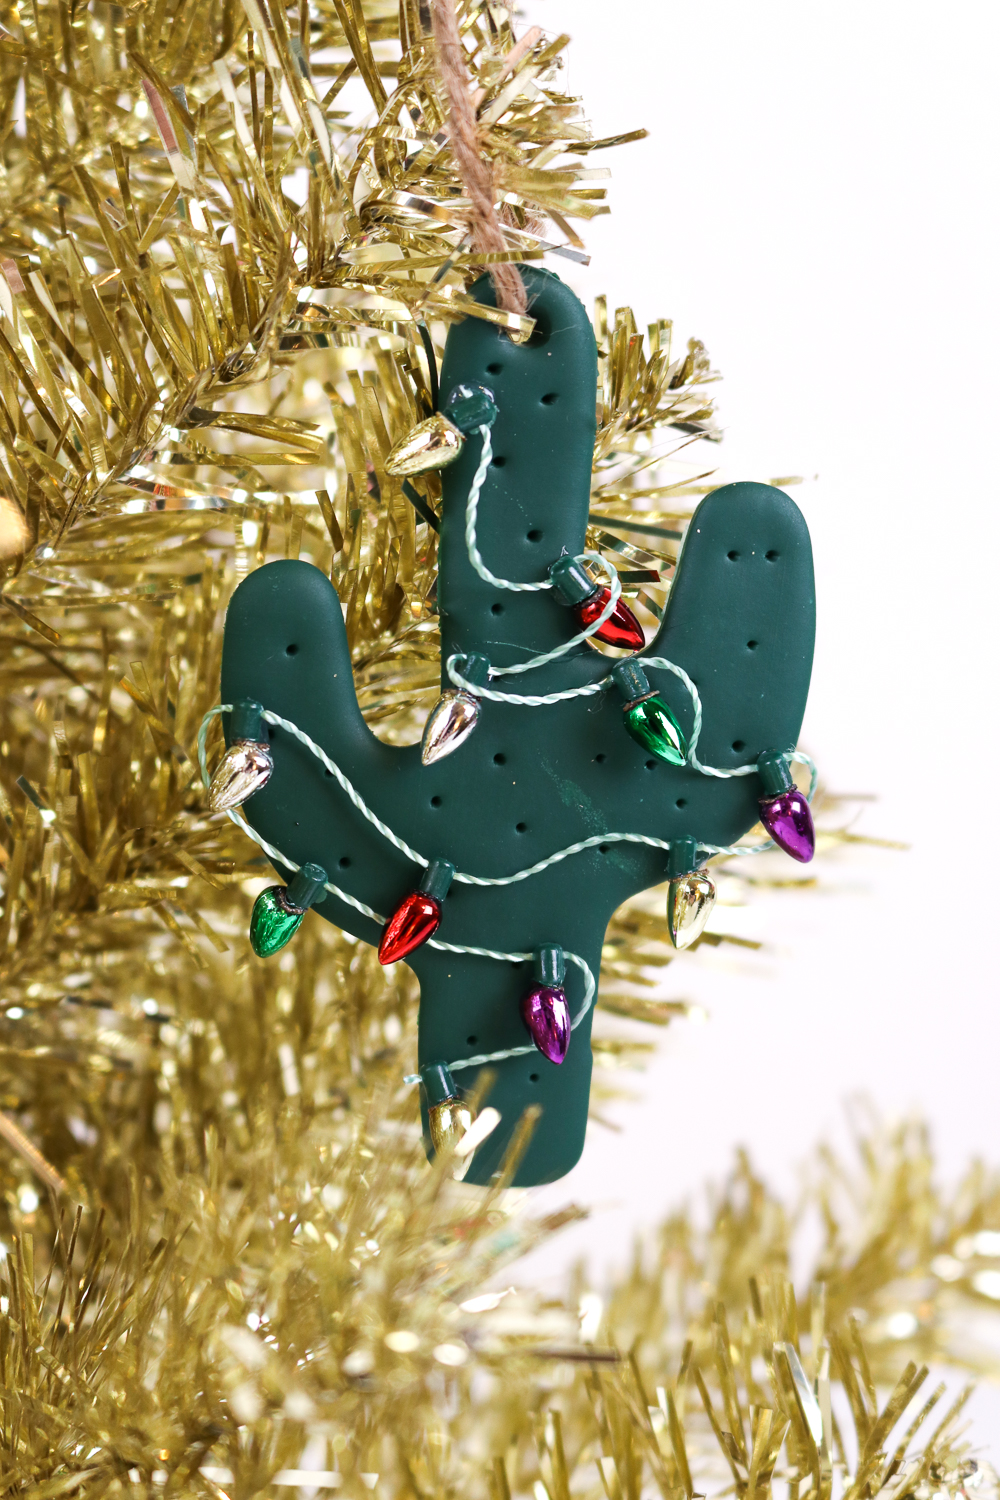
Give it as a gift or hang on your tree for a fun additional to your Christmas decor! 

*Please note this post may contain affiliate links

TAGS:cactuschristmasornament

You May Also Like...

DIY Washi Tape Lined Envelopes

March 30, 2017

Rainbow RickRack Dress // How to Sew RickRack

August 13, 2019

DIY Mud Cloth Wood Burned Frame

June 6, 2017

Leave a Reply Cancel Comment

Recipe Rating


Previous Post
Holiday Table Blog Hop: A Happy Blog
Next Post
DIY Sequin Tree Pillow for Christmas

Hey there! I'm Holly and I like to make stuff.
  • Facebook
  • Instagram
  • Pinterest
  • Twitter
  • YouTube

LOOKING FOR SOMETHING?

TRY THESE FAVORITES!


RAINBOW PLACEMAT CLUTCH


RAINBOW FRINGE BLANKET


COSMIC BROWNIE FUDGE


IRIDESCENT PARTY HATS


I've been keeping a little secret πŸ’™ I'm having I've been keeping a little secret πŸ’™ I'm having a baby boy this October!! Our little guy is currently about 2 1/2 lbs and growing every day, and we CAN'T WAIT to meet him in a couple months! Now, if anyone needs me I'll be eating my weight in pasta because that's my main craving this whole pregnancy πŸ™ƒ ⁠
⁠
⁠
#photooftheday #instagood #contentcreator #contentcreation #colorfulphotography #socalphotographer #socalphotography #photography #studiophotography #lifestylephotography #popart #pinspiration #colorlovers #brandphotography #coachellavalley #pregnancy #babyannouncement #pregnancyannouncement #ftm #firsttimemom #letterboard
When you're anxiously awaiting pumpkin season πŸ™ƒ When you're anxiously awaiting pumpkin season πŸ™ƒ Drizzled with  @maranathanutbutters almond butter!⁠
⁠
#photooftheday #instagood #colorventures #contentcreator #contentcreation #colorfulphotography #socalphotographer #socalphotography #photography #studiophotography #lifestylephotography #popart #pinspiration #colorlovers #brandphotography #coachellavalley #pumpkinpie #foodphotography #foodography #pumpkinseason #photohacks
Oh hi! πŸ‘‹ Sorry for the long absence, but I've b Oh hi! πŸ‘‹ Sorry for the long absence, but I've been working on some new projects just for fun! Loved capturing the shine on these earrings from @target ✨⁠
⁠
⁠
#photooftheday #instagood #colorventures #contentcreator #contentcreation #colorfulphotography #socalphotographer #socalphotography #thehappynow #photography #studiophotography #lifestylephotography #popart #pinspiration #colorlovers #brandphotography #coachellavalley #jewelryphotography #earrings #shadowplay #targetfinds
They’re BACK! 😻 This time, our #FIPwarrior pi They’re BACK! 😻 This time, our #FIPwarrior pin is inspired by our grey tabby, Penny! Grab a pin to support Milo’s treatment while supplies last (link in my bio). 

PS, Milo is doing SO GOOD! πŸ’—πŸ’—
Veggie corn dogs, but make β€˜em cute πŸ’β€β™€οΈπŸŒ­ I did a lot of frying for my clients this week, and these dogs were too good not to share!
A few things I made for work this week πŸ“ΈπŸ¦ #f A few things I made for work this week πŸ“ΈπŸ¦ #foodphotography #photographer #yum #productivity #beforeandafter #dayinmylife #productphotography #behindthescenes
  • ABOUT
  • SERVICES
  • CONTACT
  • BLOG

Copyright Holly Wade Β© 2019 Site Powered by Pix & Hue.