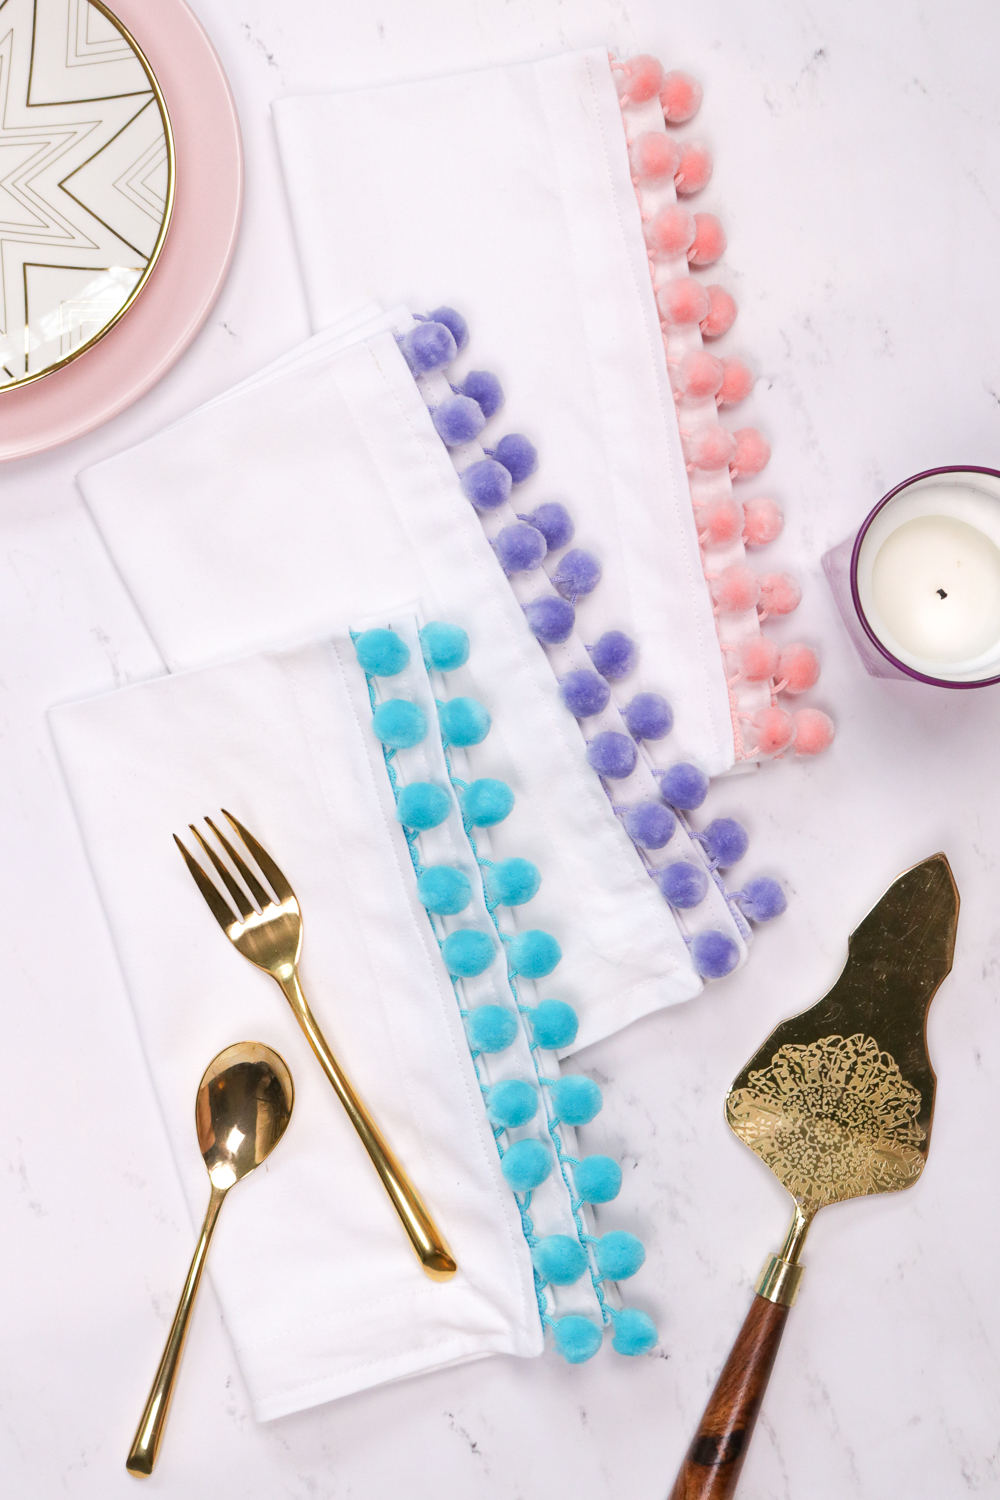
My pom pom obsession is not going away anytime soon…which I don’t mind at all. Pom poms are too perfect not to love, and they really add a pop of color and texture to plain items. In this case, I had a stack of leftover white fabric placemats from my red shibori placemats I made for Curbly, so I decided to upgrade them into pom pom edged napkins with pastel pom pom trim!
 Even though these were intended as placemats, I folded them in half to conceal the trim and they became the perfect size for napkins. Plus, I found this much easier than sewing napkins from scratch because the placemats were already finished along the edges. I’m no expert with a sewing machine, so I loved how easy these were to create. You don’t need any special sewing skills, and each napkin is literally just one long stitch.
I picked up the pom pom trim at JoAnn after failing to find what I wanted on Amazon. At JoAnn, I found a variety of colors and picked my three favorites, so I highly suggest checking here instead of Amazon, where the cost was actually much higher. I purchased one yard of each color and each napkin used about 3/4 of a yard, so consider how many napkins you want to make when purchasing. Because Easter is coming up next month, I also thought these pretty pastels were perfect for the occasion and may dress up a table for Easter brunch!
 Time: 10 minutes
Supplies:
- White fabric napkins or placemats
- Colorful pom pom trim
- Sewing machine
- Pins
- White thread
- Scissors
- Iron
Step 1: Iron each napkin/placemat to remove wrinkles. Fold in half lengthwise to create one long piece and iron flat.
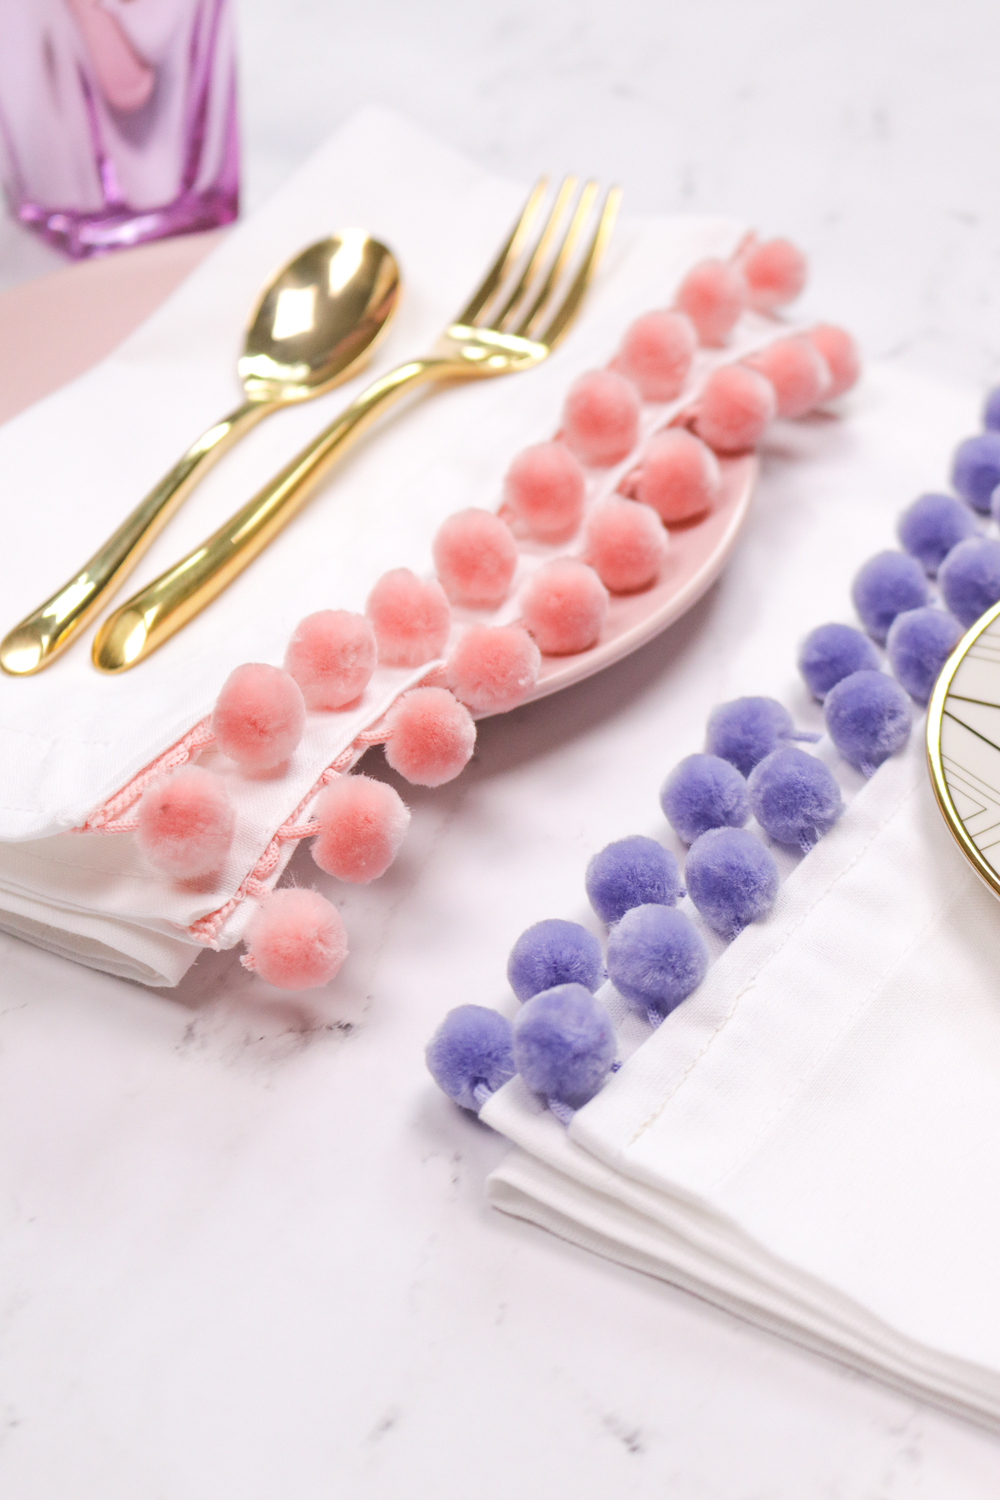
Step 2: On opposite open edges, insert the trim so that only the pom poms peak out and pin in place. Cut excess trim. Repeat on both sides.
Step 3: Thread your sewing machine and begin sewing a 1/4-inch seam over the trim (back stitch at the start), starting at the folded corner. Continue sewing all the way around the three open sides of the napkin without stopping, back stitching when you reach the end.
Note, you can continue sewing a full square along the folded edge if desired but it is not necessary.
Step 4: Cut hanging threads and iron again, and they’re ready to use!
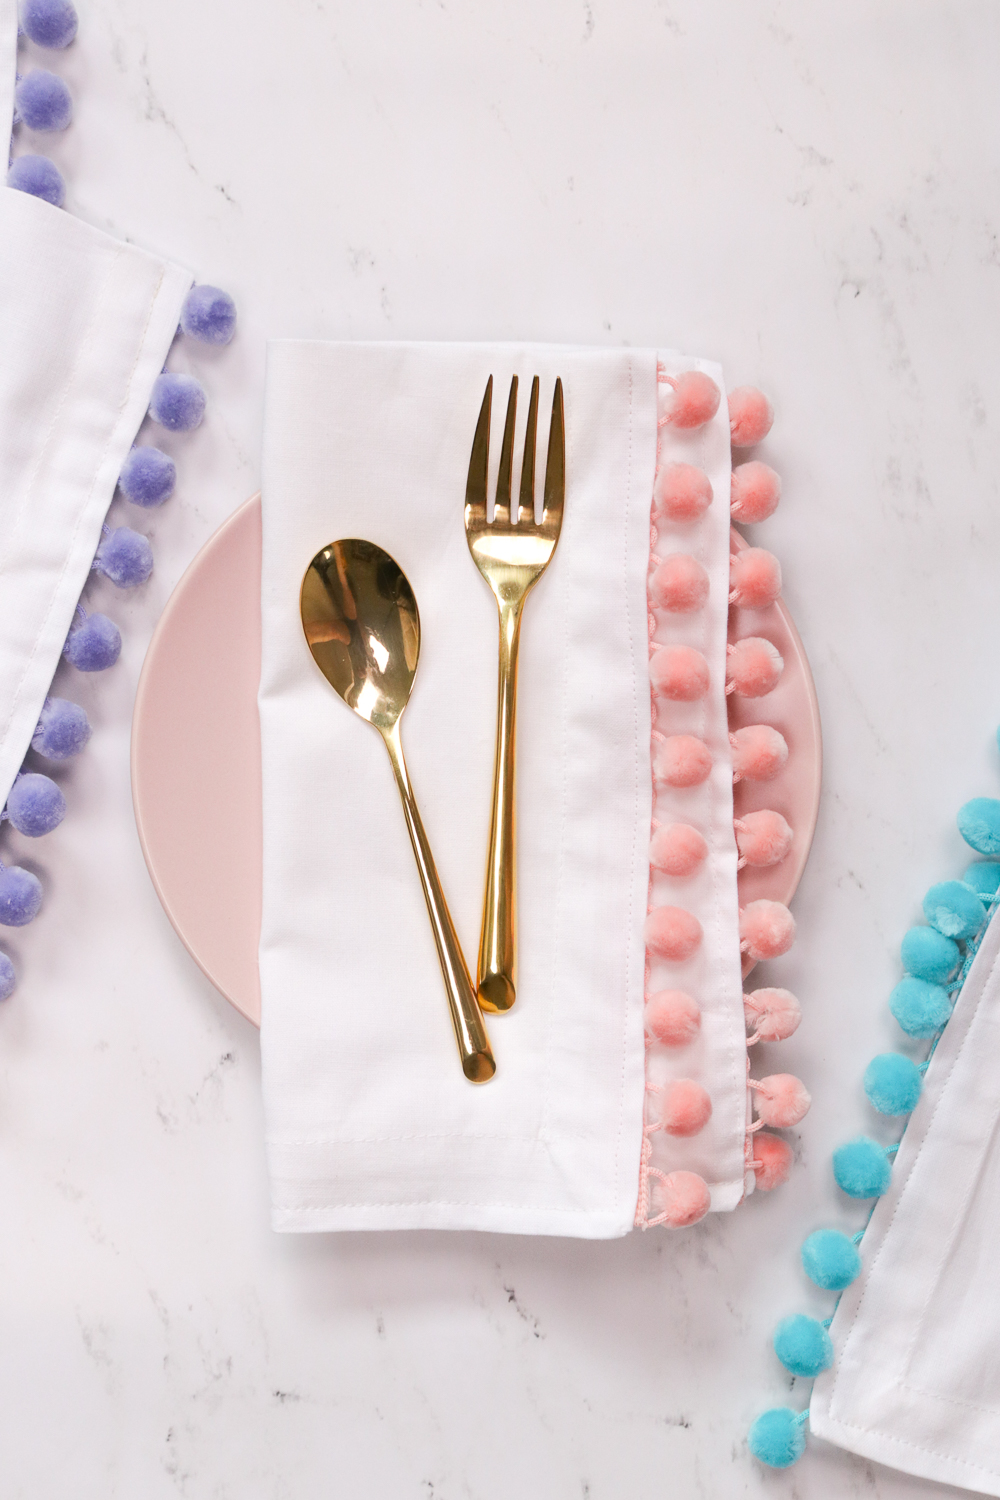
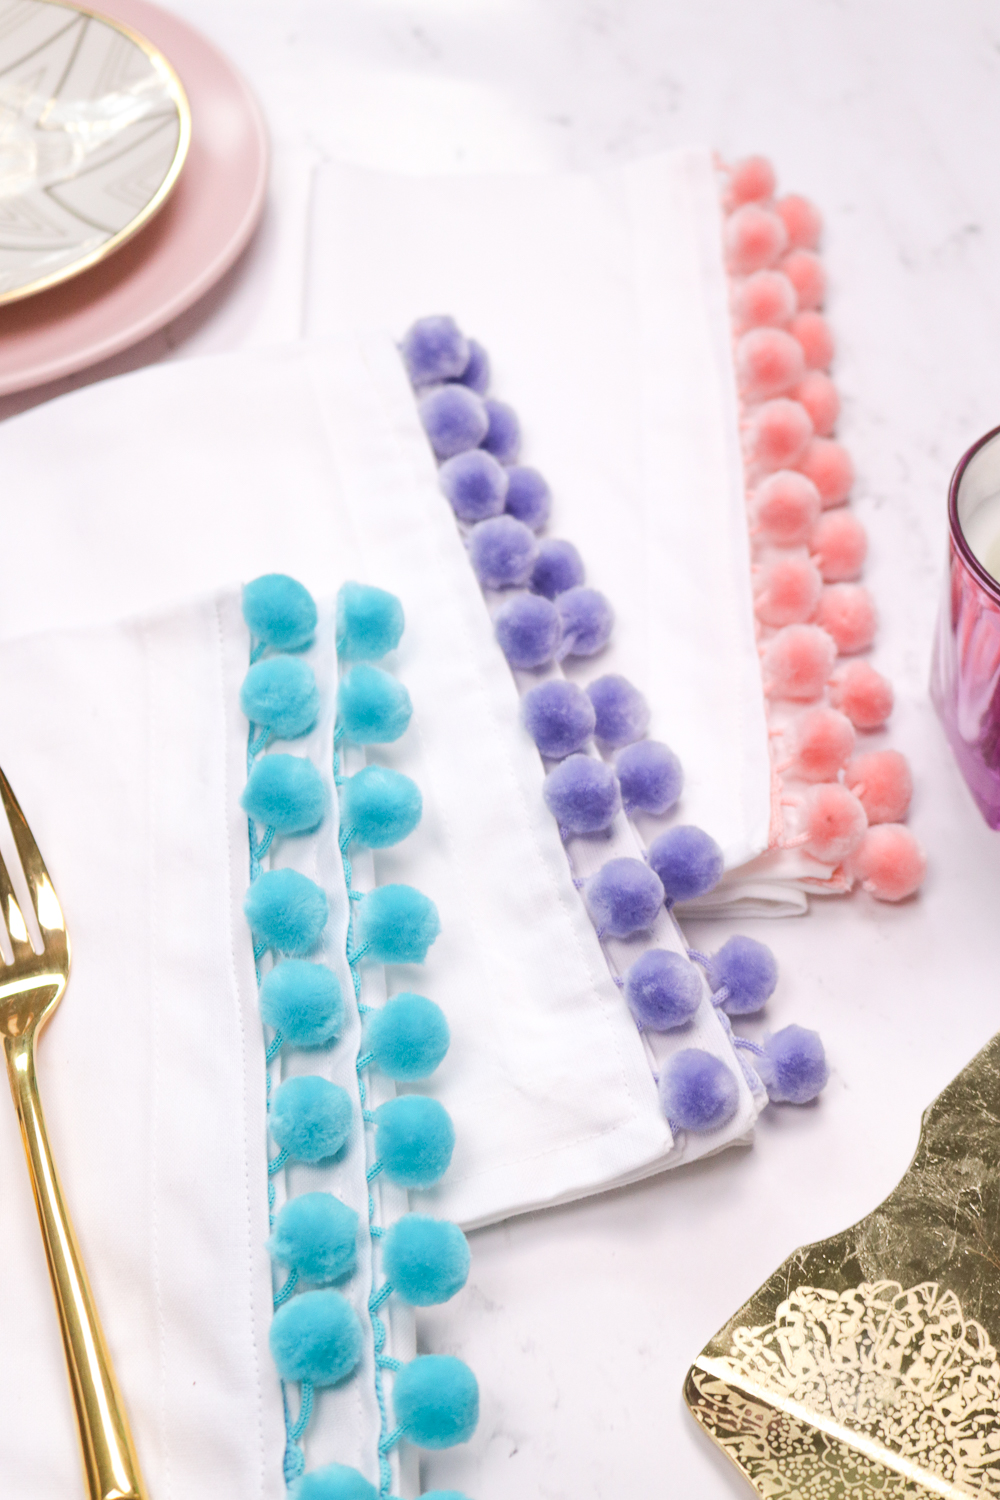 Fold ’em up and let those pom poms show! I love the color they add, and I love any excuse to play with pom poms!