
The following post is sponsored by Aleene’s
It’s hard to believe how close we are to spring again! It honestly feels like winter just started here in SoCal, and as much as I love the warm weather, I’m just not ready for 80-degree weather yet. For now, I’ll enjoy the sunshine and cool breezes though! For me, spring brings out my love for pastel color palettes, which I’m bringing to these cute little DIY mini house planters that slide neatly over a mini potted succulent to decorate your table or your shelves. I look forward to using these to fill my shelves with a little greenery!
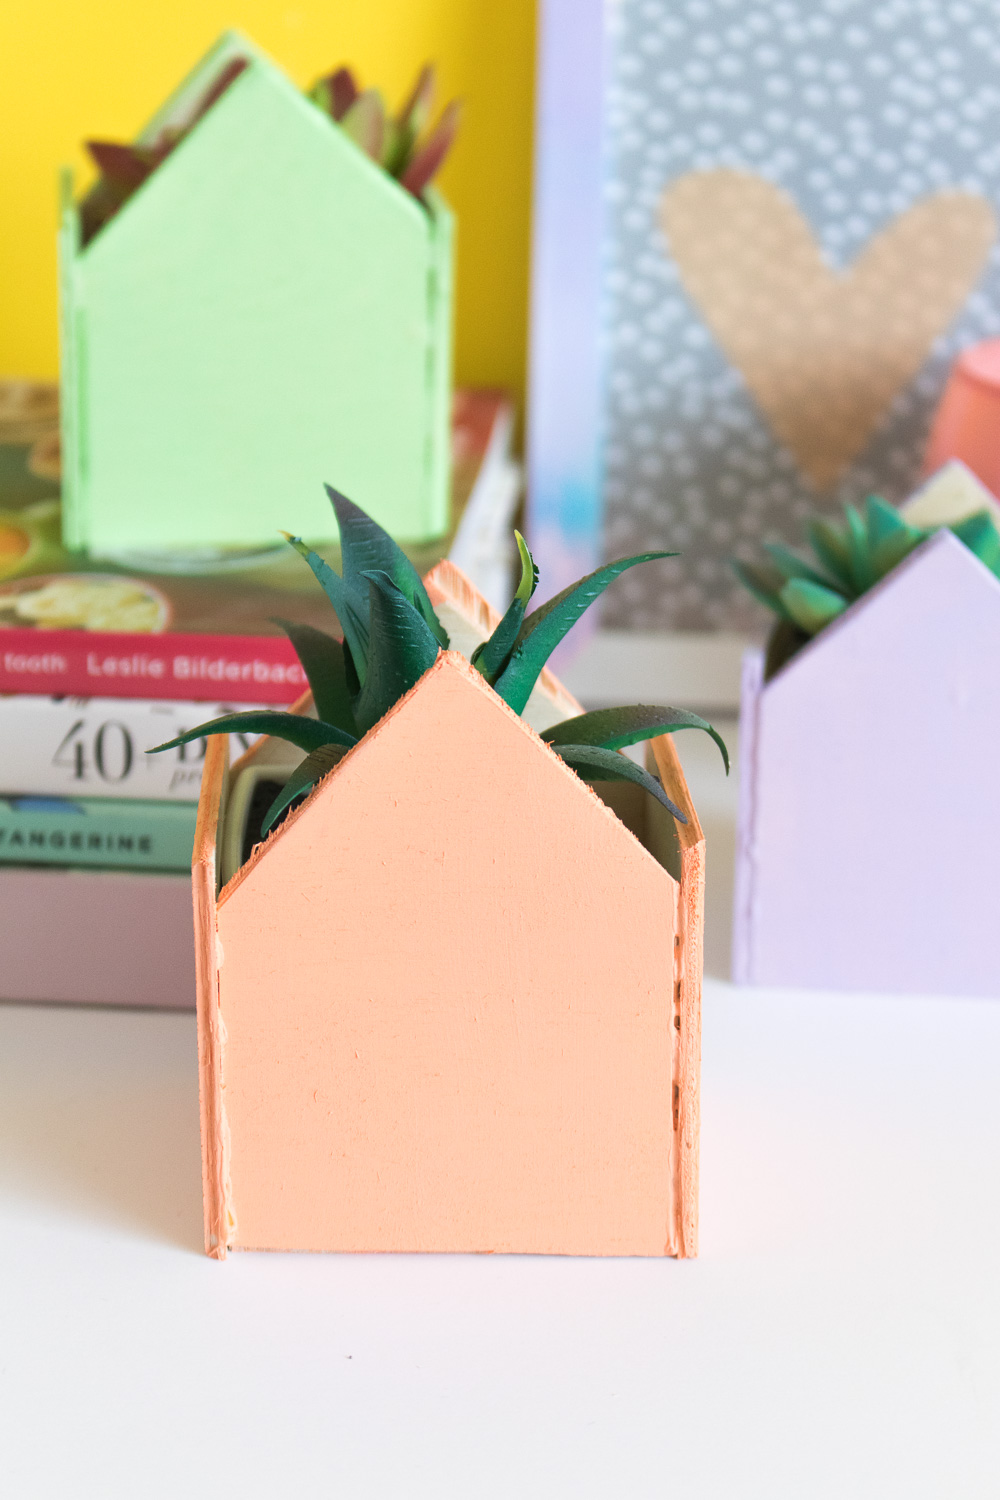 As you surely know by now, I adore plants but can’t keep them alive, so I used fake succulent (from the Dollar Store!) to create these little planters, but you can also use real mini plants in small pots.
I used my Aleene’s Wood Glue to adhere the piece of these mini pastel planters together, and they feel incredibly sturdy considering I used such a thin plywood to make them. After a simple coat of pastel paint, you wouldn’t even guess how simple and lightweight they are!
Check out the video to see how to make these mini house planters for yourself!
Time: 30 minutes
Supplies:
- 1/8-inch thick plywood, 12×12 inches wide
- Craft knife
- Aleene’s Wood Glue
- Ruler
- Pencil
- Sandpaper
- Paint (optional)
- Paintbrushes (optional)
Note, one 12×12-inch piece of wood will yield approx. 3 mini planters.
Step 1: Place a piece of plywood on a cutting-safe surface. Use a mat if needed to protect tables.
Step 2: Measure the planter. Then add at least 1/2-inch and mark width on the wood.
In this case, the planters were about 3 inches wide, so the wood measures 3 1/2 inches wide.
Step 3: Use the ruler to draw a straight line down. Follow it with the craft knife and repeat making the straight cut until the wood is weak enough to bend and break.
Step 4: Sand the cut edge well. Set aside leftover piece.
Step 5: Measure the same height as width and mark on the piece of wood. Cut straight and repeat the breaking and sanding process with another piece. You should have two square pieces to make the sides of the house.
Step 6: Use the ruler to measure the middle of the length of wood. Then mark a peaked roof for the front and back of the planter, ending at the same height as the side pieces. Cut, sand and repeat so that you have two peaked house shapes.
Step 7: Lastly, apply a small amount of Aleene’s Wood Glue to the sides of the front piece. Adhere the side pieces and carefully stand them up straight. Then glue to back piece in place and allow the planter to dry for about one hour.
Step 8: Paint if desired or leave the wood natural. Sand away any glue that may be visible.
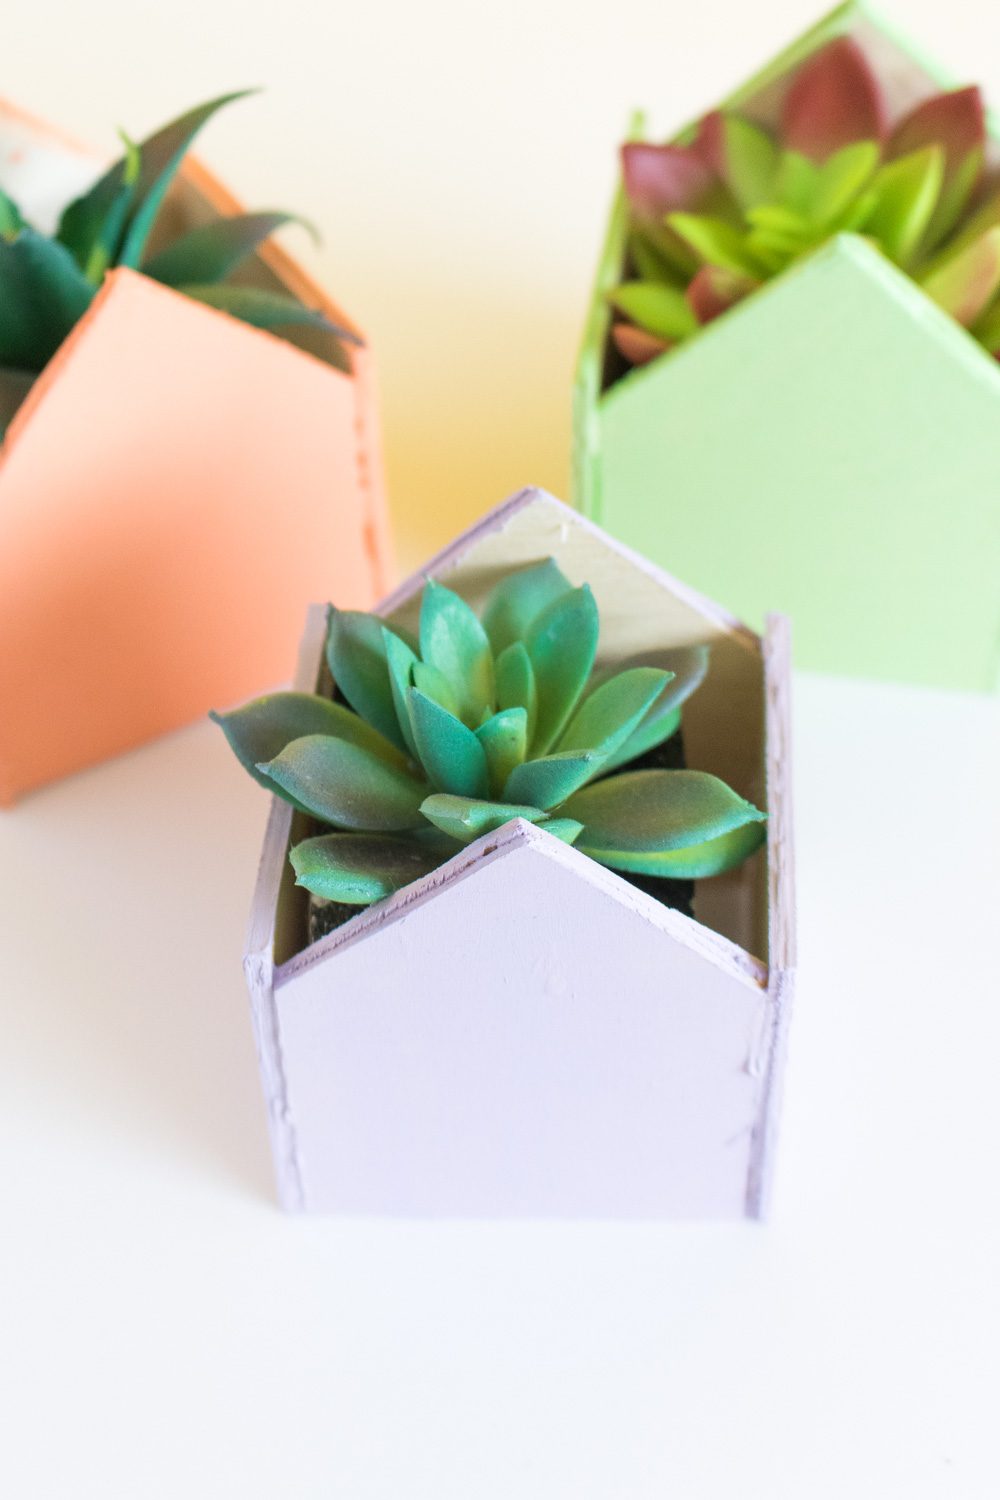 Simply slide over an existing planter to make it look instantly cuter!
Thank you to Aleene’s for generously sponsoring this post. All opinions are my own. Please note that this post contains affiliate links from which I may collect a small profit should you choose to make a purchase. Thanks for supporting the brands that allow Club Crafted to keep sharing!