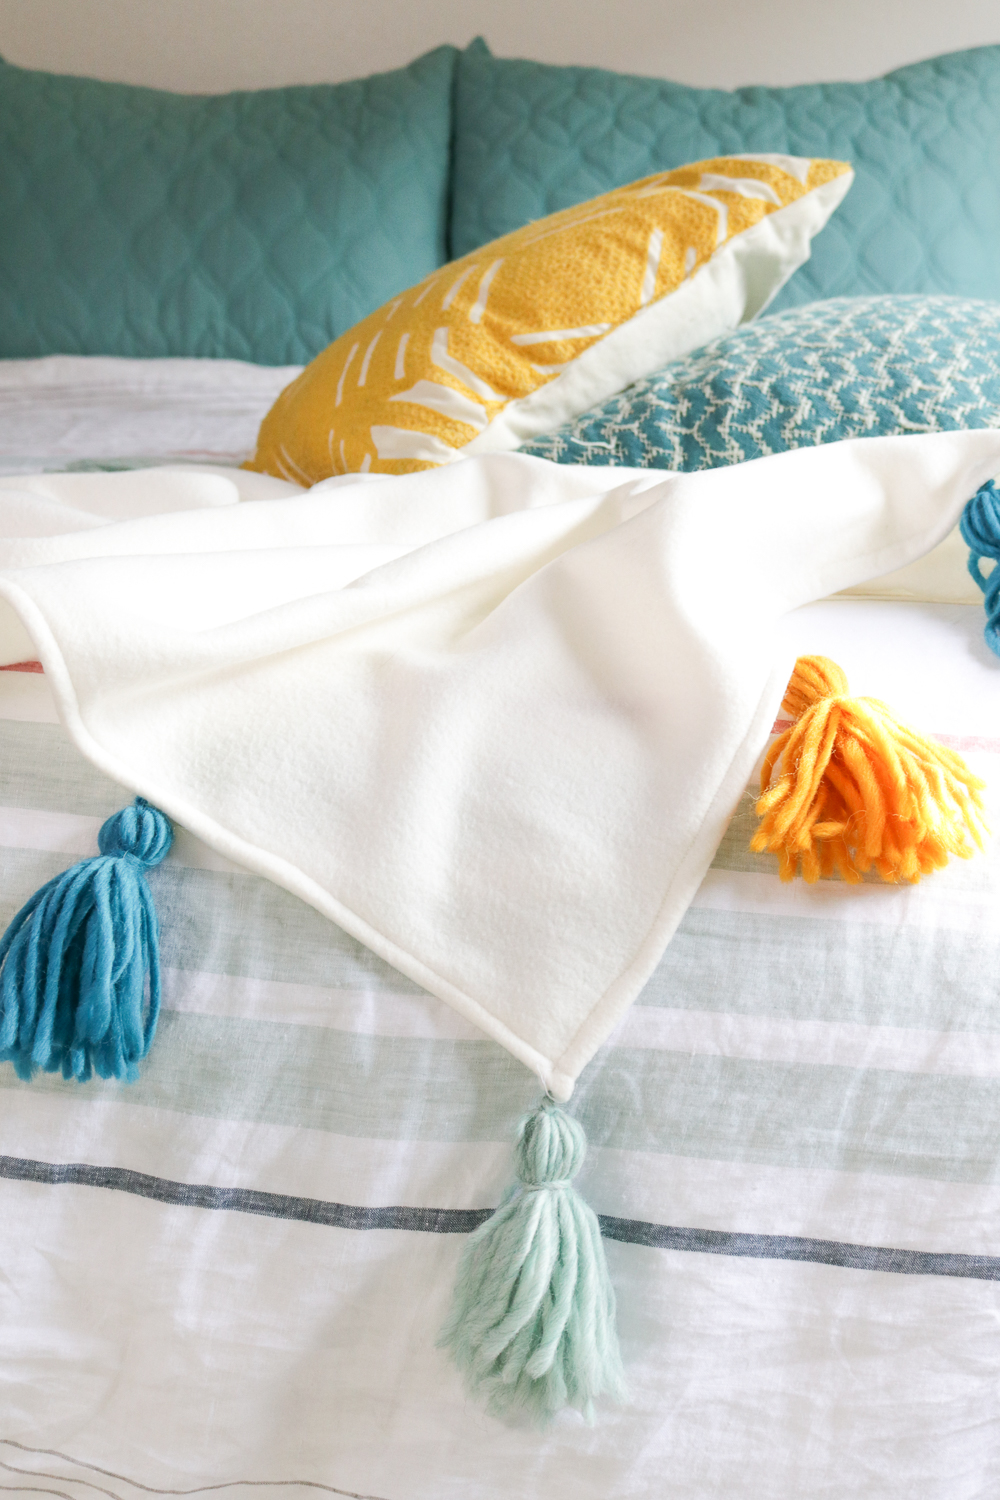
Well pom poms and tassels are all the rage right now, and I’m definitely not complaining! This DIY fleece tassel blanket has been in the back of my mind for a long time, and I’m thrilled that I finally got around to making it happen. This time of year, I want nothing more than to curl up under a blanket all day. In fact, I purposely wear shorts around the house in winter so I can be under a blanket at all times without getting too warm (I do live in SoCal after all).
I guess I put it off for so long because I’m not the best with a sewing machine, and I have a bad habit of starting sewing projects and never finishing them. One of my goals this year is to practice sewing more and not let my project ideas intimidate me, so this easy-sew blanket project was first up on the chopping block. It took me some time to determine the best method for making a blanket with tassels, but I think I found it! By poking the tassels through the fleece, tying a knot and then folding and sewing over it, the blanket has a finished look and the tassels remain secure without having visible knots.
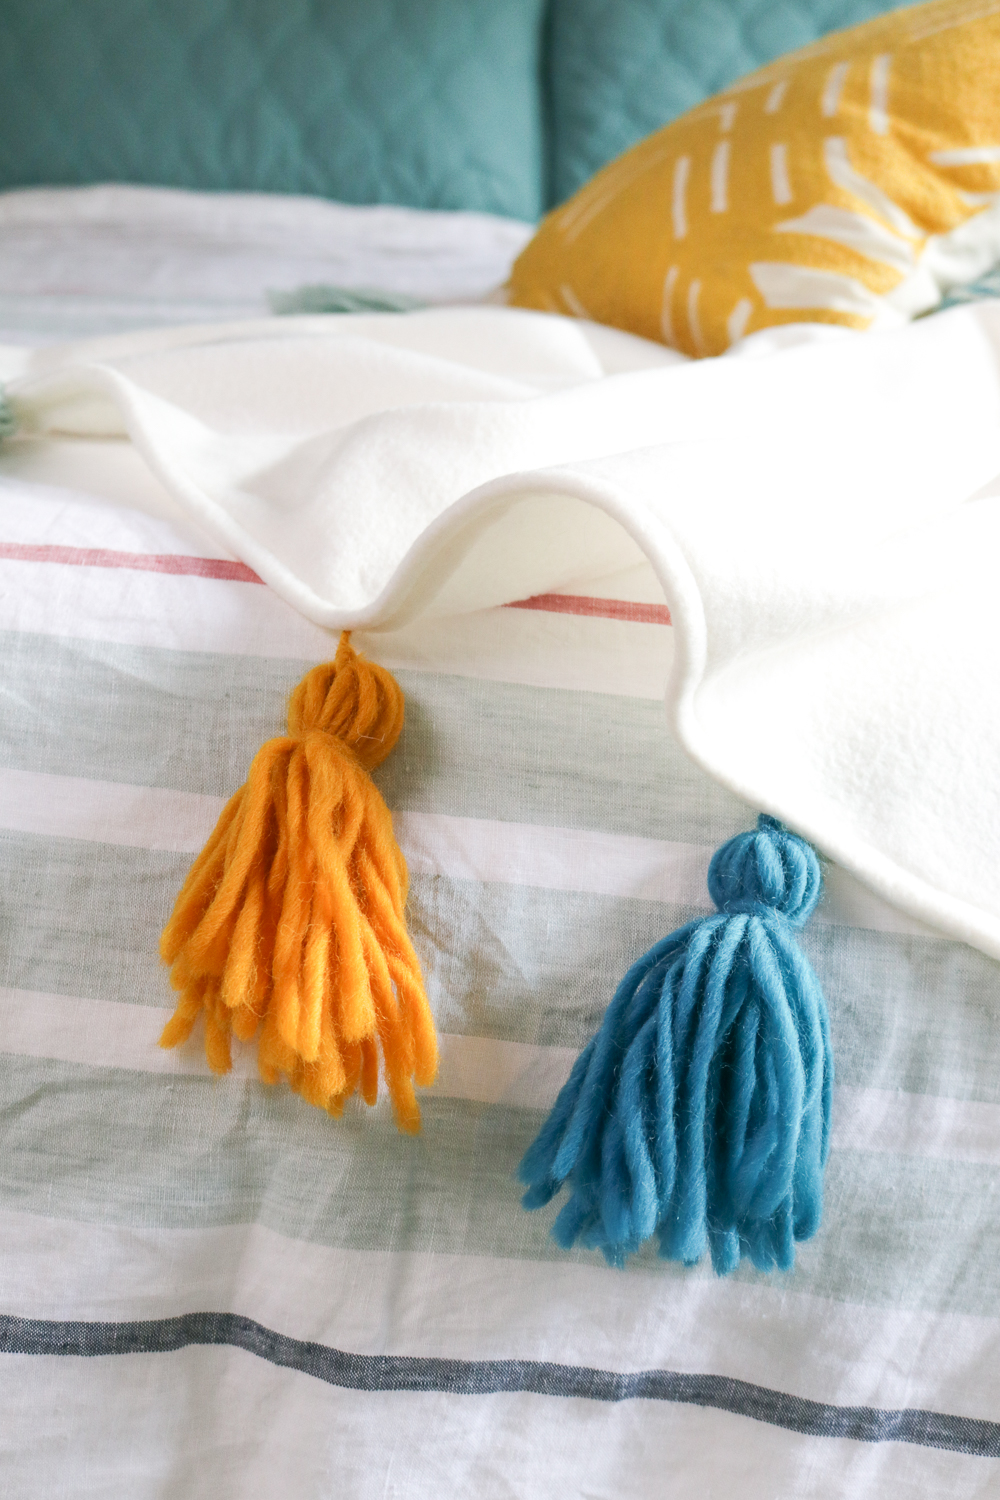
I’m a sucker for an easy sewing project and this is one of my favs! If you can sew a straight line, you can totally make this. This is definitely one of those “if I can do it, you can do it” type of projects. I’ll warn you it is more time consuming than what I normally share here on the blog, but it’s worth it in the end. I was really proud of this DIY and love how the colors of yarn matched the colors in our bedroom.

 Time: 1 hour
Supplies:
- 1 yard fleece fabric
- Matching thread
- Sewing machine
- Pins
- Embroidery needle
- Measuring tape
- Scissors
- Colorful yarn (I used three colors in wool)
- Cardboard
First, make all of your tassels! I decided to make three different colors of large tassels and made a total of 22 to space around the blanket.
 Step 1: To make a tassel, wrap yarn around a small piece of cardboard many times (I wrapped 20 times) in your desired length (mine are about 4 inches long), and use another piece of yarn to thread through the top and tie. Then cut the bottom free from the cardboard, and use another piece of yarn to tie around the tassel about 1 inch from the top. Use the scissors to level the strands if needed.
Step 2: Cut the fleece into a square, about 3 ft x 3 ft based on size of fabric you can find.
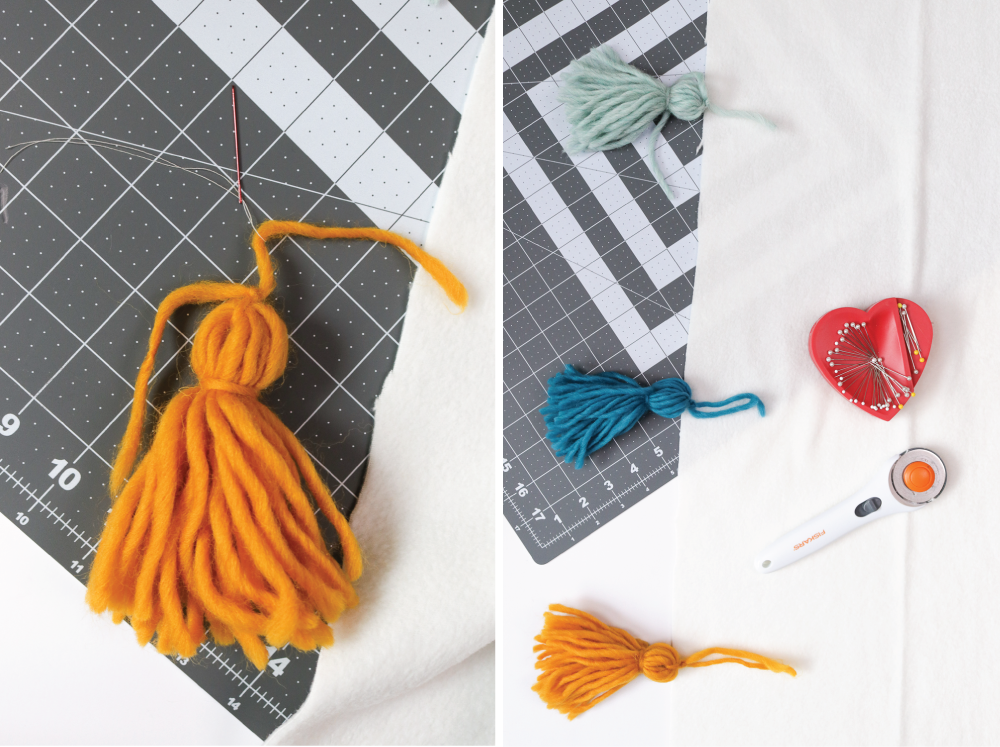 Step 3: Double up a piece of thread and thread a needle (larger will be easier). Pull the top of the tassel through the loop in the thread and pull tight (see above left). This will make it a little easier to pull the thick yarn through the fleece.
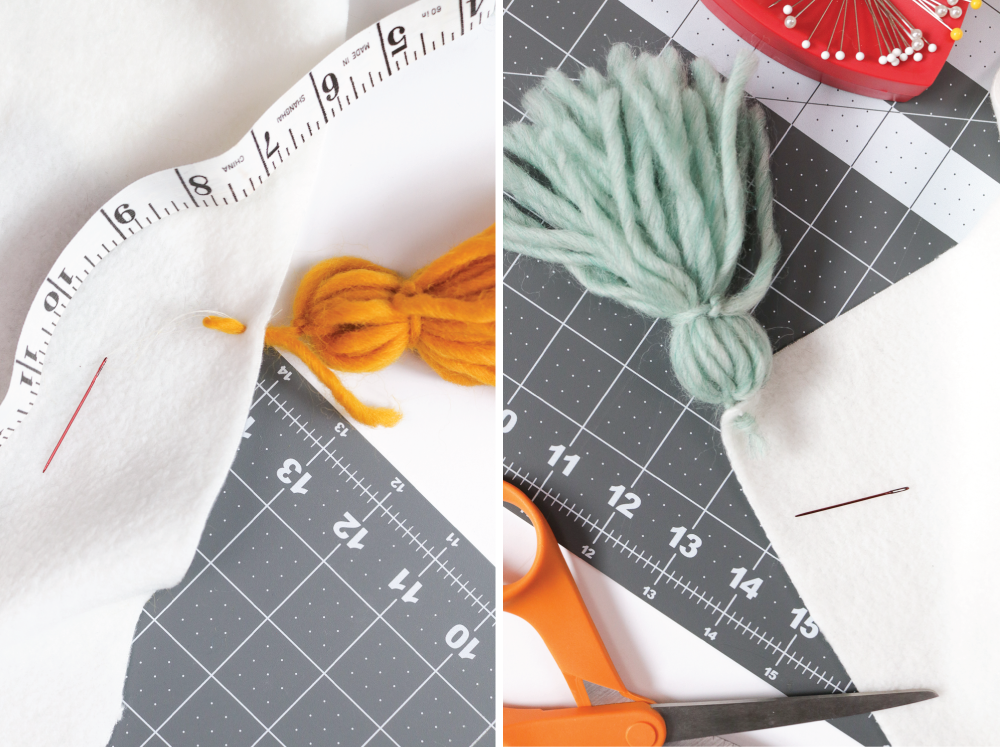 Step 4: Poke through a corner of the fleece, about 1/2 inch from the edge, and pull the thread tight so that the yarn pulls through with it. Tie a knot to secure and trim excess yarn. Repeat with every tassel, measuring equal distances between them if desired.
Note, for my 3-foot blanket and 22 tassels, I stitched a tassel every 9 inches around the fleece.
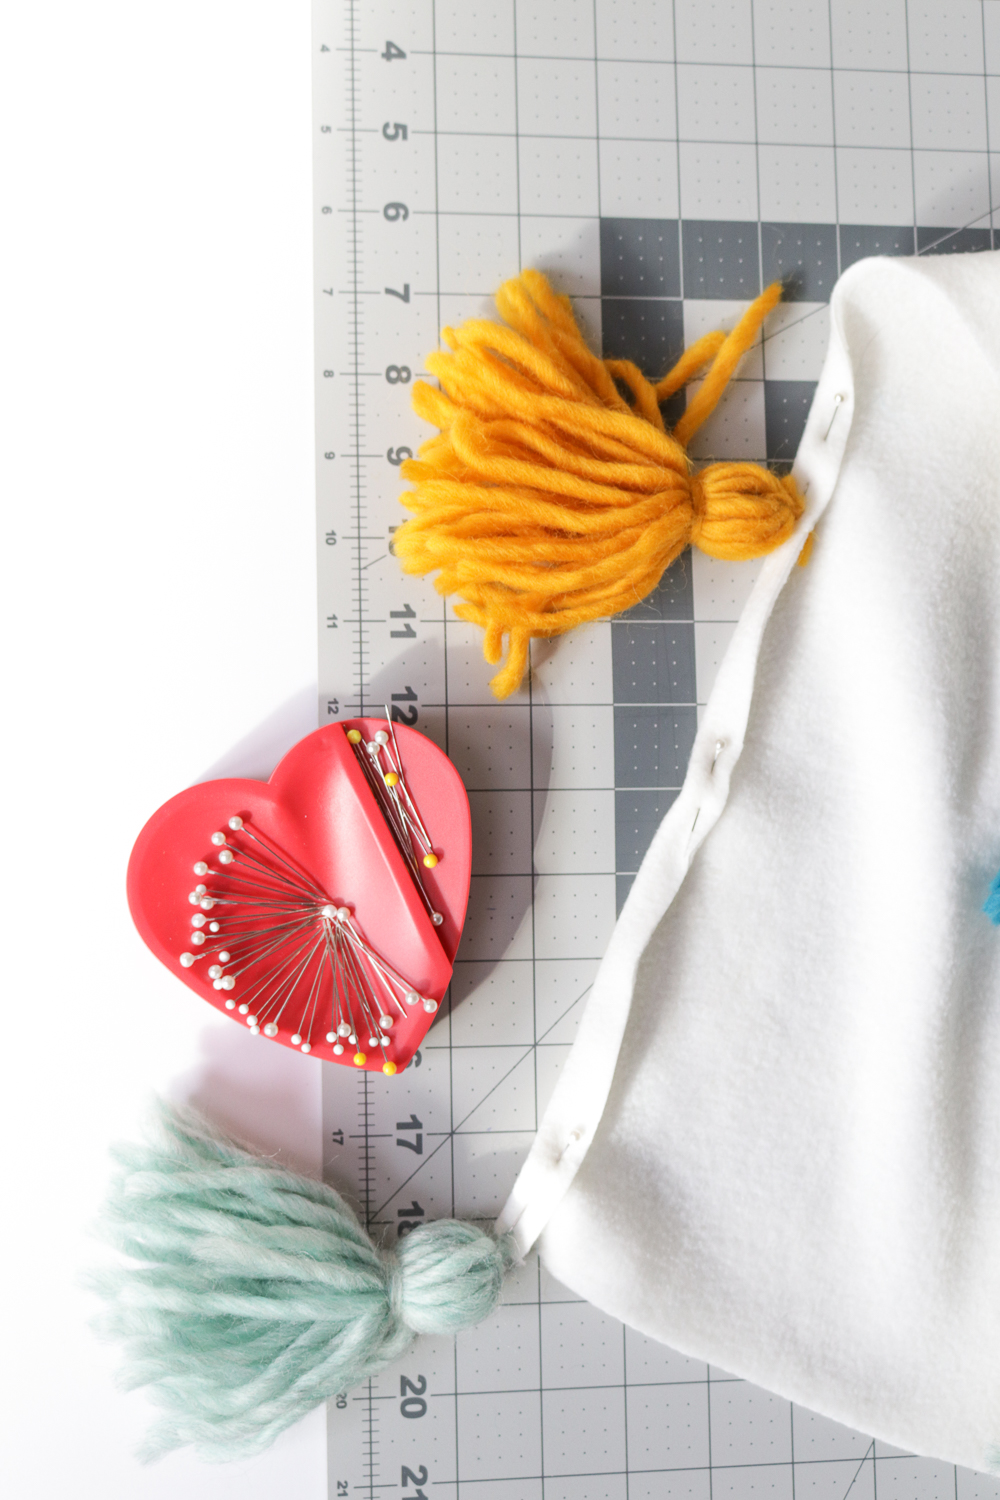 Step 5: Once all tassels are knotted, fold the edges of the unfinished fleece over the knots and secure with pins, leaving a 1/2 inch fold all the way around the fleece.
Step 6: Sew along the fold in one continuous stitch around the fleece, removing pins as you go. This secures the tassels in place and gives the fleece a finished look.
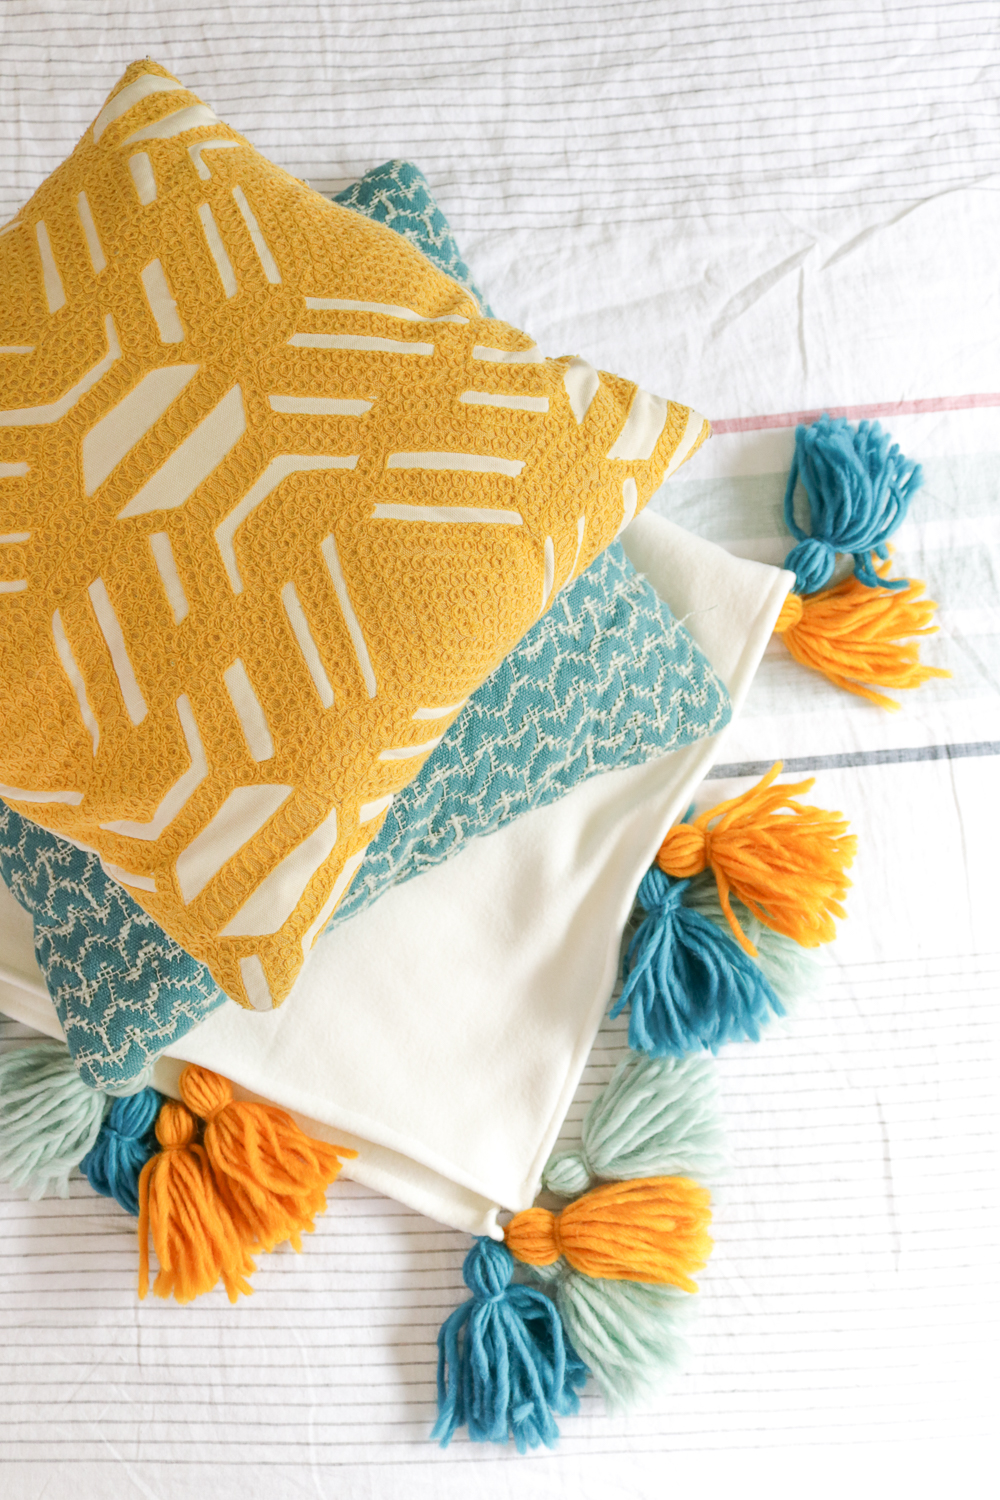
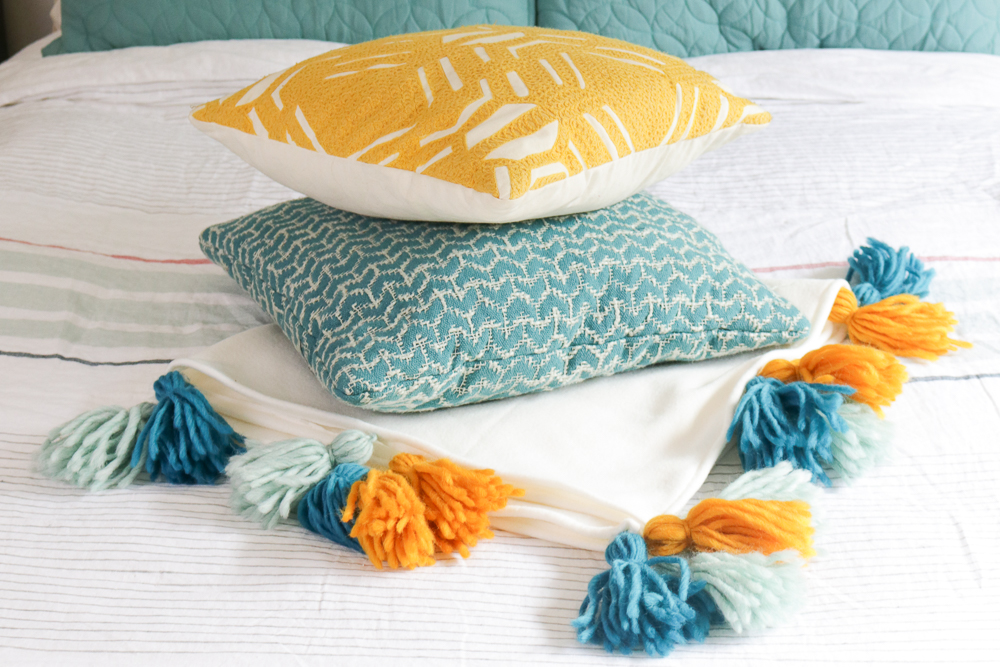 That’s all there is to it! Like I said, minimal sewing effort. The hardest part is just getting the yarn through the fleece, which takes a bit of strength and hopefully a thick needle. It’s a time consuming project, but it was so worth it for me because I loved how it turned out! Happy crafting!
AMARENDRA
VERY NICE
Katie
I love this and can’t wait to try it!! Makes a perfect gift
Kelli
So cute! And a great project that wouldn’t take too long. 🙂 Your pictures are amazing too!
Holly Wade
KelliYou’re so sweet, thank you!