

Raise your hand if you need a mani! 🙋🏼♀️ It’s about time I share my first nail art tutorial here, and this easy metallic striped nail art is a great beginner project for those doing their own nails! Yup, that’s me too. Colorful nails have always been the way that I express myself, and since an at-home manicure usually only lasts a few good days, I’ve gotten used to polishing my own nails a couple times per week. It’s practically a requirement as a blogger with my hands in most photos, ha! This easy nail art DIY is made with thin nail tape (so cheap!) and creates a really cool metallic detail on your nails with a brightly colored background.

Last year, I tested out a whole bunch of nail colors for summer and shared a few of my favorites! Although this bright pink shade, Peppy le Fuchsia by Sally Hansen, wasn’t on that list, it’s the perfect summer nail polish addition! Honestly, Sally Hansen nail polishes are my personal favorite, closely followed by OPI and Essie. Personally, I love how affordable Sally Hansen is as well as how well it works. Why wouldn’t you want a cheaper product that produces the same, great result? It means you can buy MORE nail polish!!

Supplies:
- Base nail polish
- Nail polish, color of choice (mine is Peppy le Fuchsia by Sally Hansen)
- 3 metallic nail tapes, colors of choice
- Top coat nail polish
- Nail scissors
- Tweezers (optional)
Step 1: For best results, trim your nails so they are even, then file and buff them until smooth.
Step 2: Apply a base coat to your nails.
Step 3: Apply your favorite color of nail polish, then apply a second coat. Let dry completely before continuing.
Step 4: Cut 2-inch pieces of nail tape (start with one color). Carefully position one piece in the corner of your thumb at the cuticle line – you can choose any direction for the lines.
Step 5: Press into place at an angle so that the opposite end of the tape is at a diagonal. Use the nail scissors to trim the tape to your nail length.
Step 6: Repeat with additional colors, leaving a small space between each piece of tape, and repeat on all nails. I reversed the pattern on my other hand.
Step 7: Once satisfied with the tape lines, paint a top coat on your nails and let dry completely.
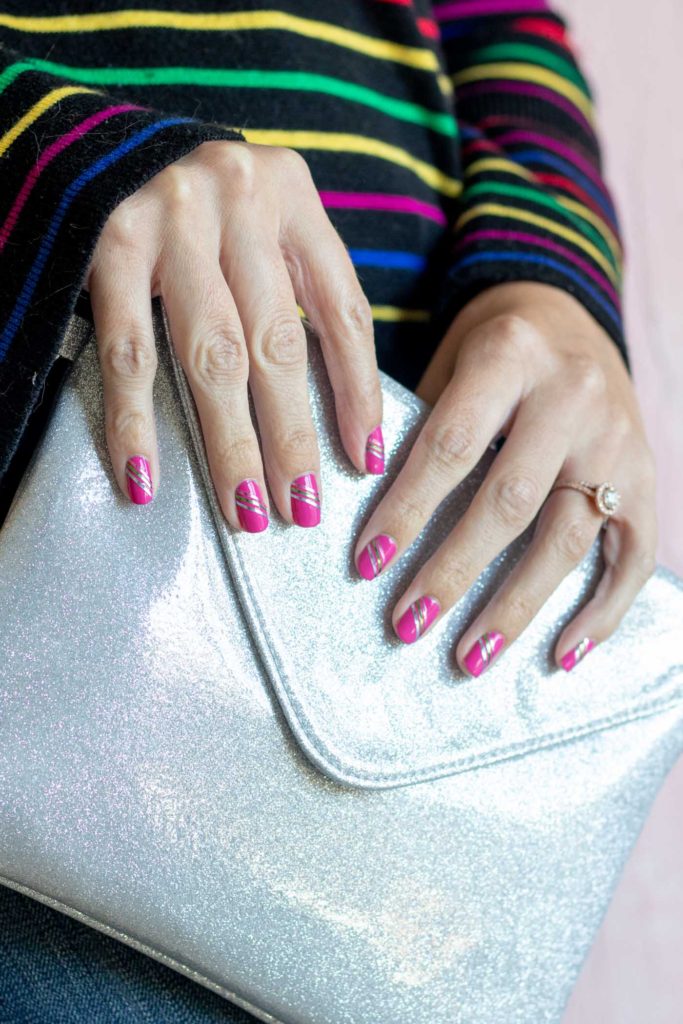
My metallic striped nail art lasted about 3 days before the top layer of the tape started to peel. No worries though! Even with that layer gone, it’s still looked fine, but because that layer of protection was gone, the tape and polish were chipping by day five. This is completely normal for an at-home manicure.
I did this manicure all on my own, but I’ve had a lot of practice because I enjoy painting my nails often. If you’re unsteady with your non-dominant hand (my left hand is so useless!) consider doing this with a friend and helping each other out! Have fun with it!