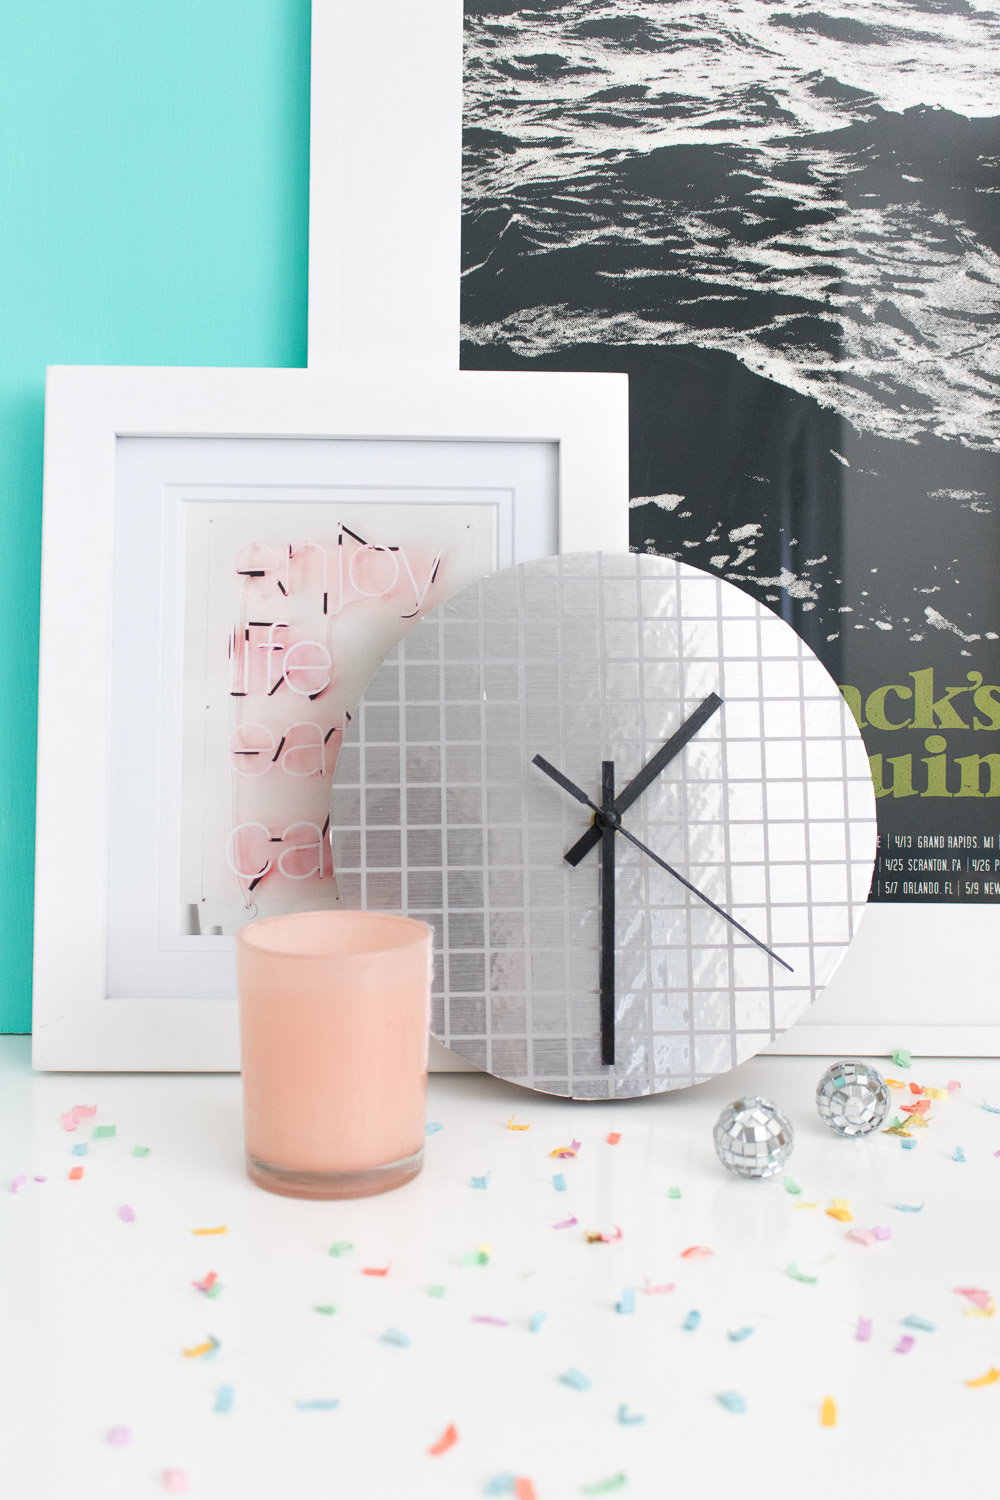
Everything’s more fun with a little flair to it, and a clock is no different! Today, I wanted to bring back the disco vibes with a fun way to DIY a clock with silver foil vinyl to create this fun DIY disco ball clock! This might be the coolest thing in my house right now, and when the light hits it, I feel like it’s telling me it’s time to break out into a disco dance party.
Who’s with me?!
 It may look intimidating with all those little pieces, but thanks to my Cricut Explore, it’s actually very easy. I’m sharing a free disco ball template to make your own clock, and by uploading it to the Cricut Design Center, the machine does the majority of the work for me. Technology is the best, right?!
However, you can totally achieve the same look with a hobby knife. It will be more difficult, but I’ll include alternative instructions below so you can still make the project without a cutting machine.
Vinyl is an incredible craft supply, and these foil versions are great for adding a little shine to just about anything. I left the cutting machine do most of the work, and I use transfer tape to move the cut vinyl to the clock without disturbing any of the small pieces. Clocks are surprisingly easy to make because you can buy a round wood template with all of the watch pieces include. Literally, all you have to do is attach them to the base and you have a working clock!
 Time: 40 minutes
Supplies:
- 9-inch wood clock frame and mechanisms
- Grey paint
- Black paint
- Paint brushes
- Silver foil vinyl
- Clear transfer tape
- Cutting machine (or hobby knife, see below for alternative instructions)
- Downloadable disco ball template
Step 1: Paint the wood clock frame grey on the front and sides – one coat should be enough. Paint the clock hands black or another desired color. These may require multiple coats of paint. Set aside to dry.
Step 2: Upload the disco ball template to a cutting machine software like the Cricut Design Center. Place silver foil vinyl onto a sticky mat with the shiny side up and cut the pattern out.
Note, the template was designed with a 9-inch round clock in mind. Adjust as needed for other sizes.
Alternative: Print the disco ball template on a standard piece of paper and cut around the outside circle. Place the sheet of vinyl shiny side up on a padded cutting mat and place the printed template on top. Tape in place if desired and slowly cut along the white areas of the template with the hobby knife. If you press lightly, you can cut through only the top layer of vinyl, which will be ideal.
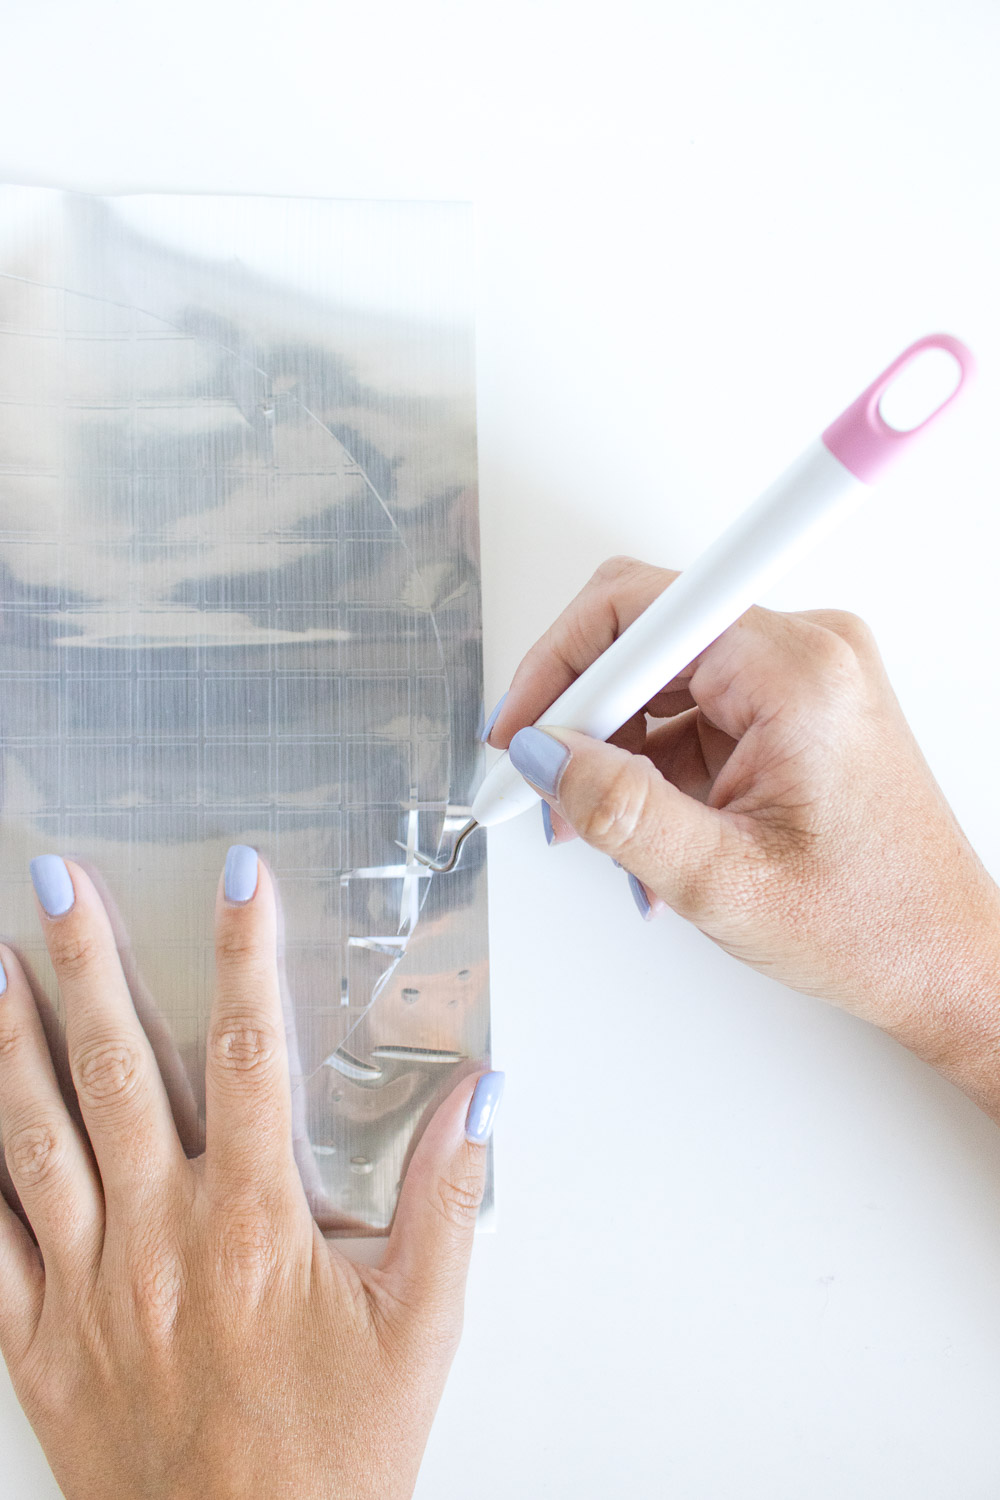 Step 3: Weed out the negative areas of the vinyl (in between the squares) so that only the pieces you want to place on the clock remain on the vinyl backing.
Step 4: Cut a piece of transfer tape that is approximately the size of the template, and place on top of the weeded vinyl. Smooth with a smoothing tool or a credit card so that there are no air bubbles. The transfer tape allows you to move the vinyl image to the clock without disturbing any of the pieces, keeping the pattern in place.
Step 5: Slowly peel back the transfer tape so that all pieces of vinyl come with it. If any pieces do not stick to the transfer tape, replace and smooth until the image comes off properly.
Alternative: If using the hobby knife method, do not worry if you cannot completely weed the image. You can peel away some pieces once they are attached to the clock, or you can replace some squares if they do not transfer properly.
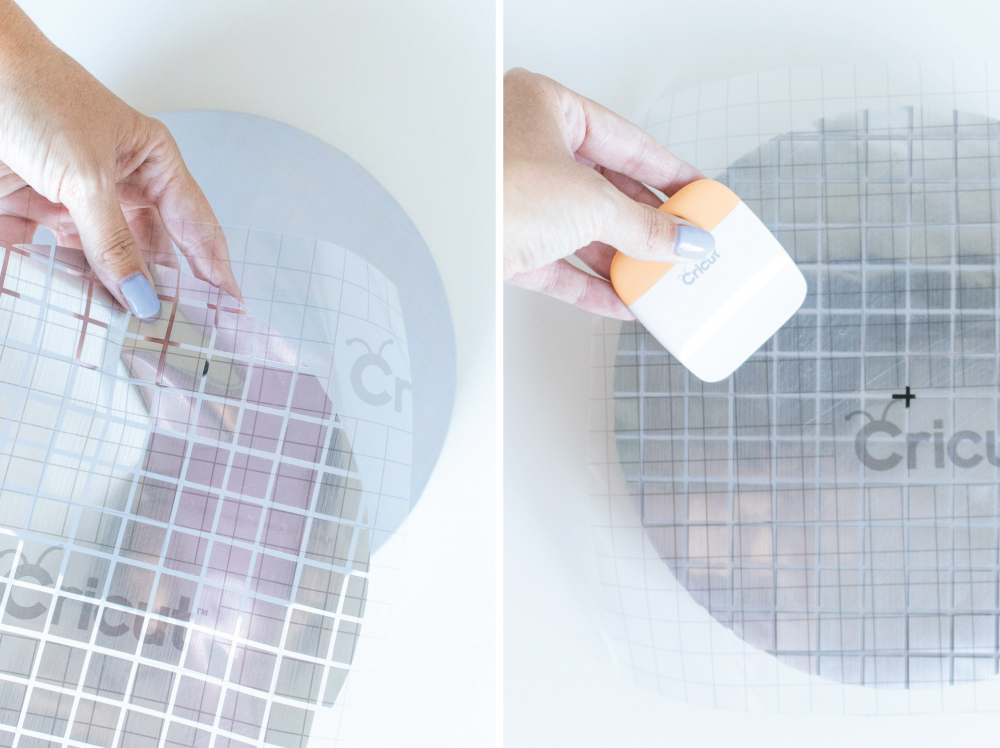 Step 6: Position the sticky side of the transfer tape and vinyl over the clock and line up the edges. Place on the dry, painted wood and smooth completely, pressing hard to stick all of the pieces to the clock.
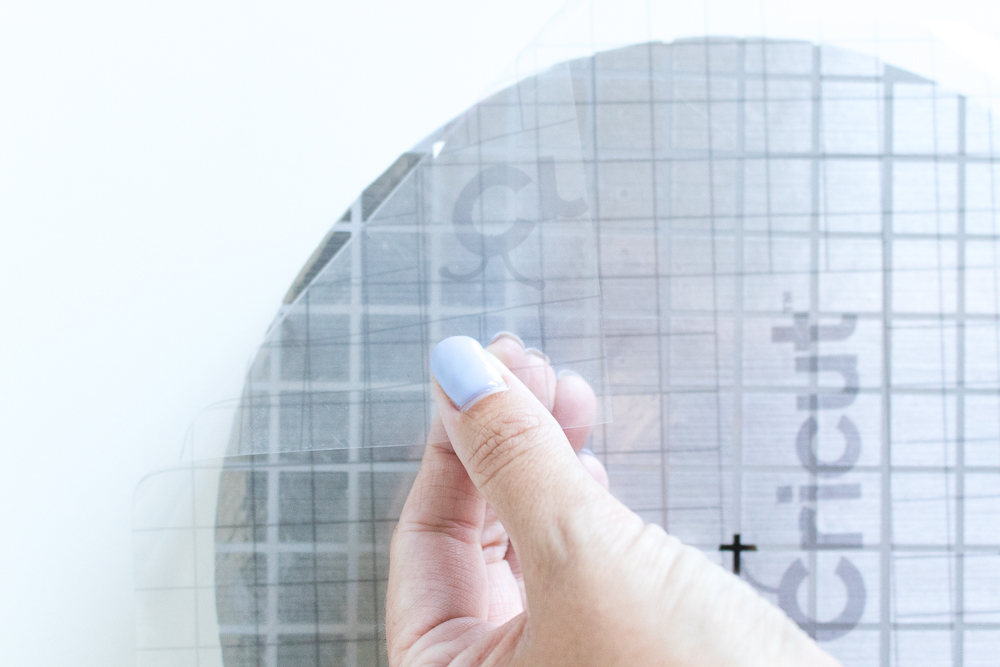 Step 7: Begin peeling back the transfer tape to reveal the foil vinyl on the clock. If any pieces do not stick to the clock, replace the transfer tape and press again. This may be a slow process because you do not want to risk disturbing the small squares.
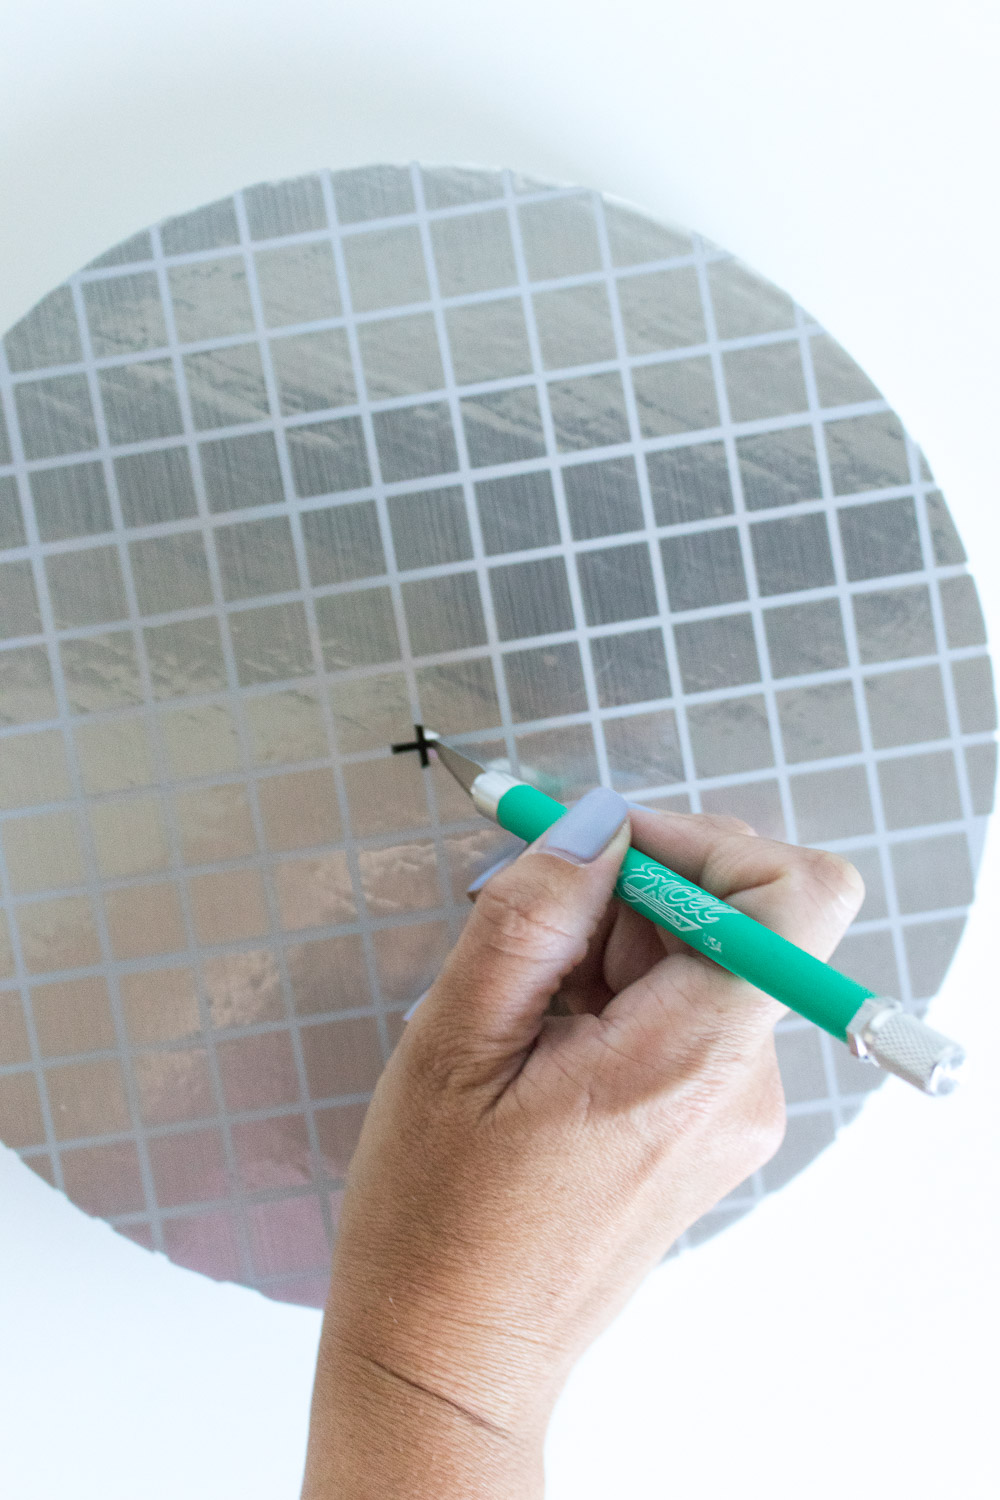 Step 8: Once the transfer tape is removed and all pieces of vinyl remain in place, use a hobby knife to cut around any pieces blocking the hole in the middle of the clock.
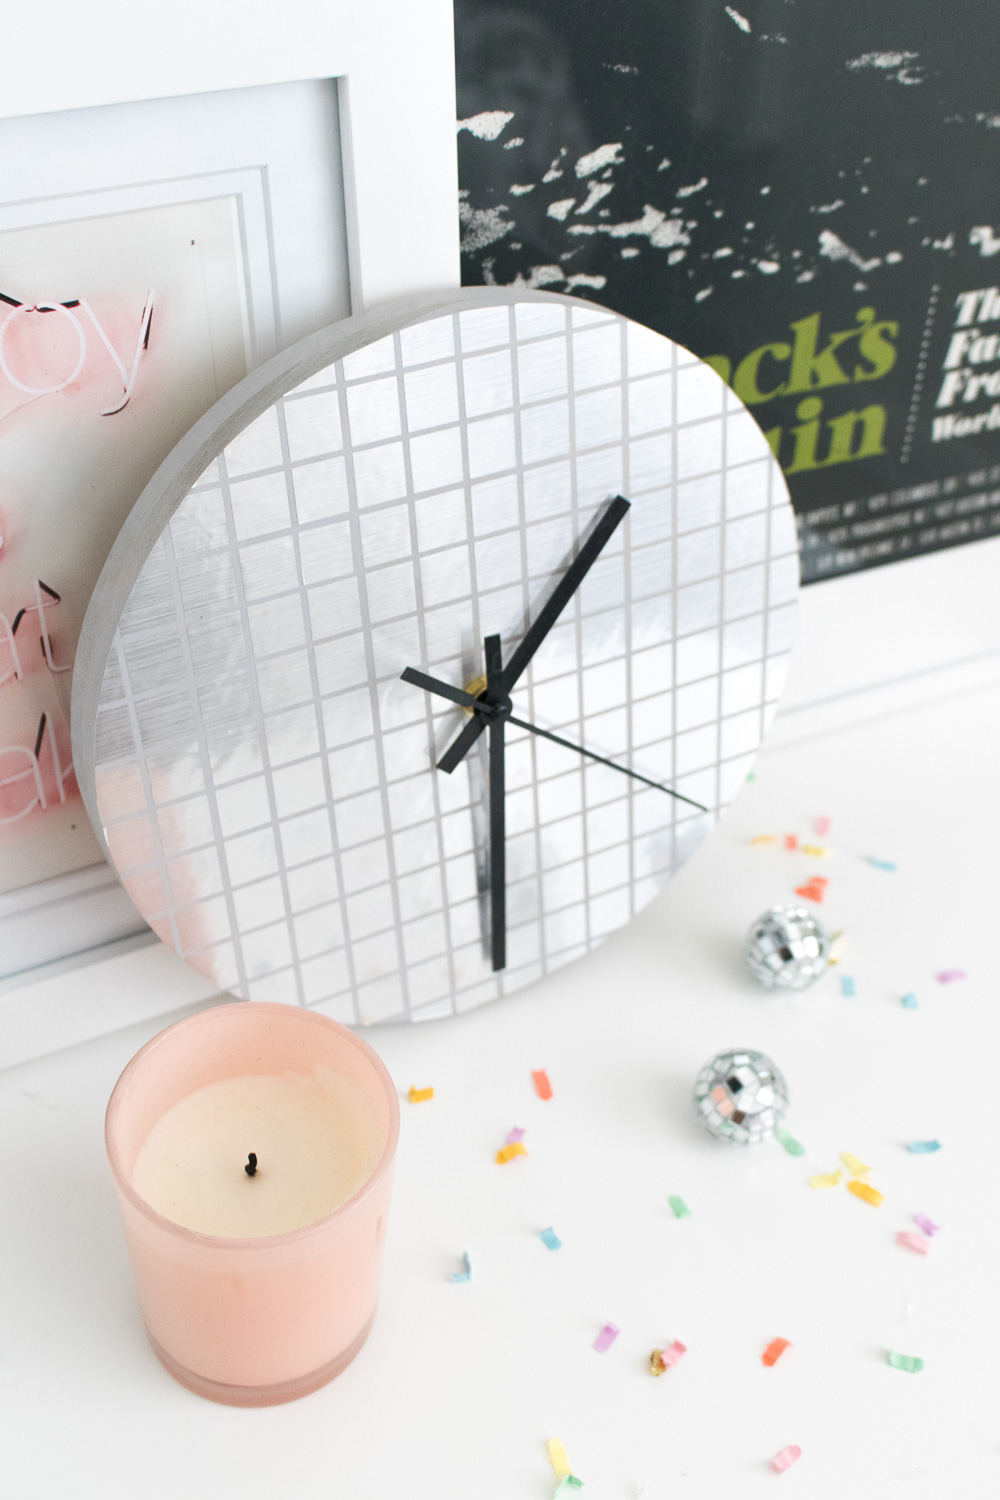
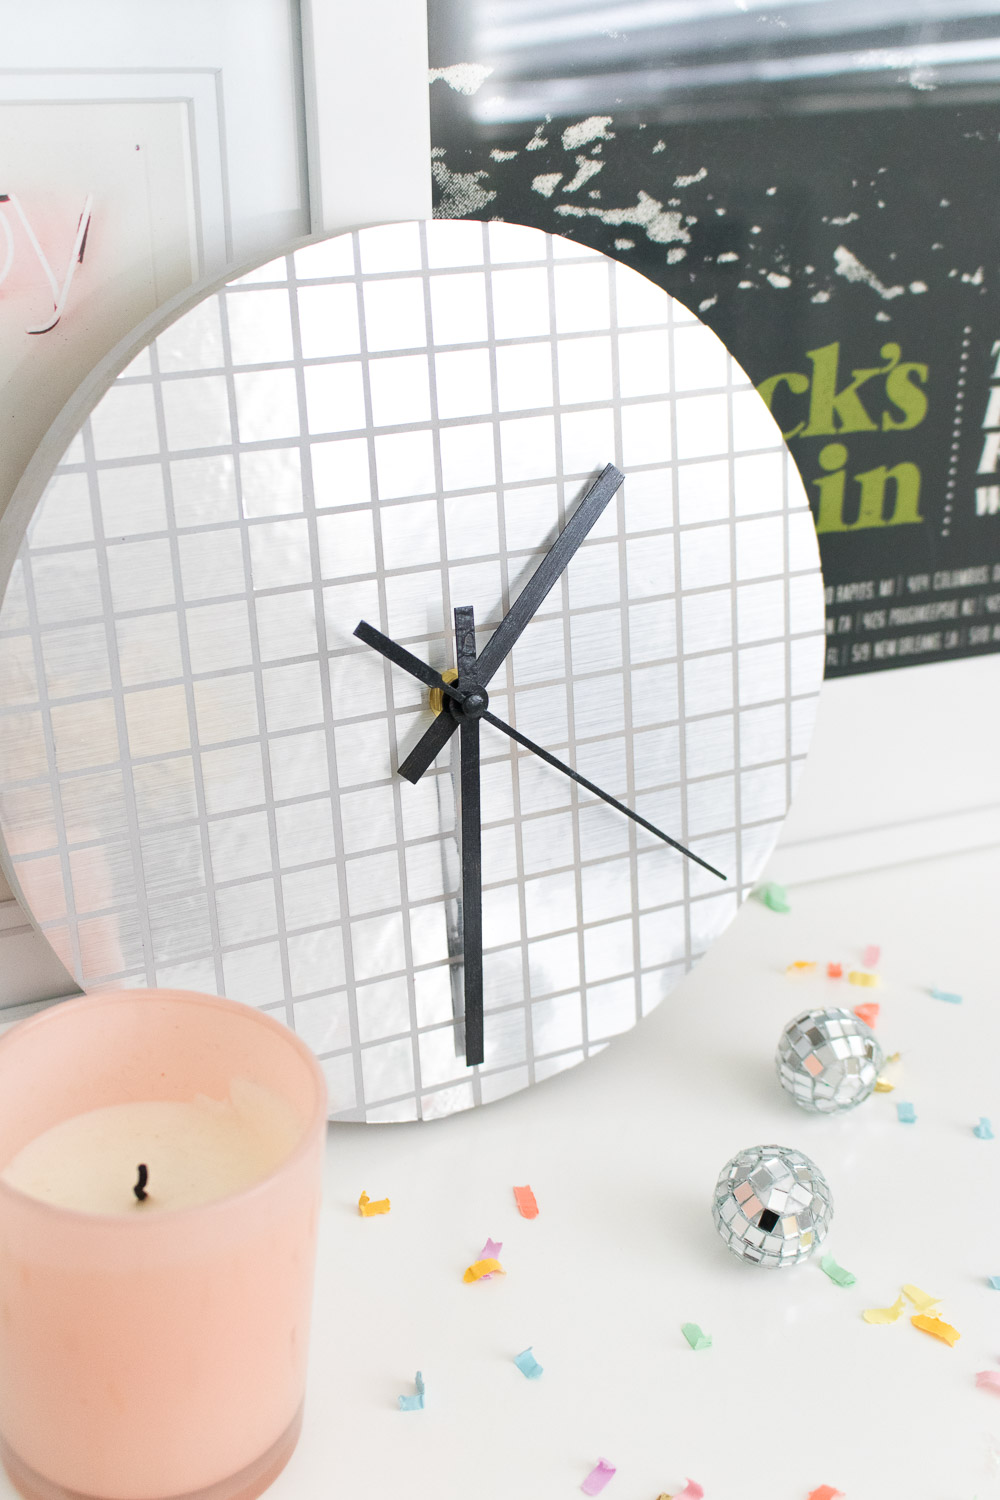
 Step 9: Lastly, attach the clock hands according to package instructions and display it in your home.
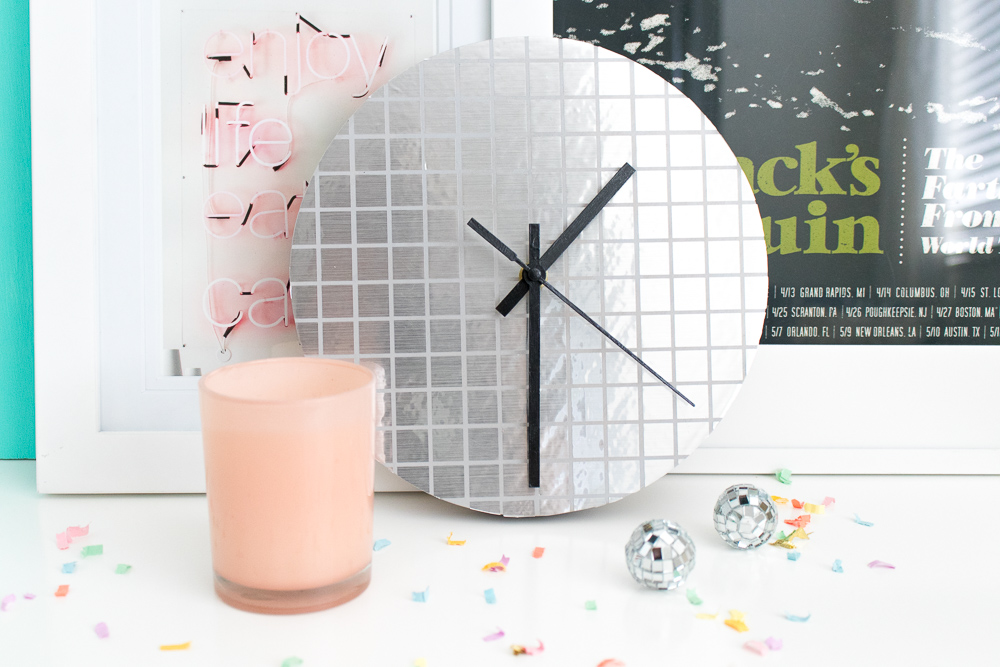 Now just wait for the light to hit it so you can start a disco dance party! ????
Hmmm, what can we disco-fy next?!