The following post is sponsored by Aleene’s
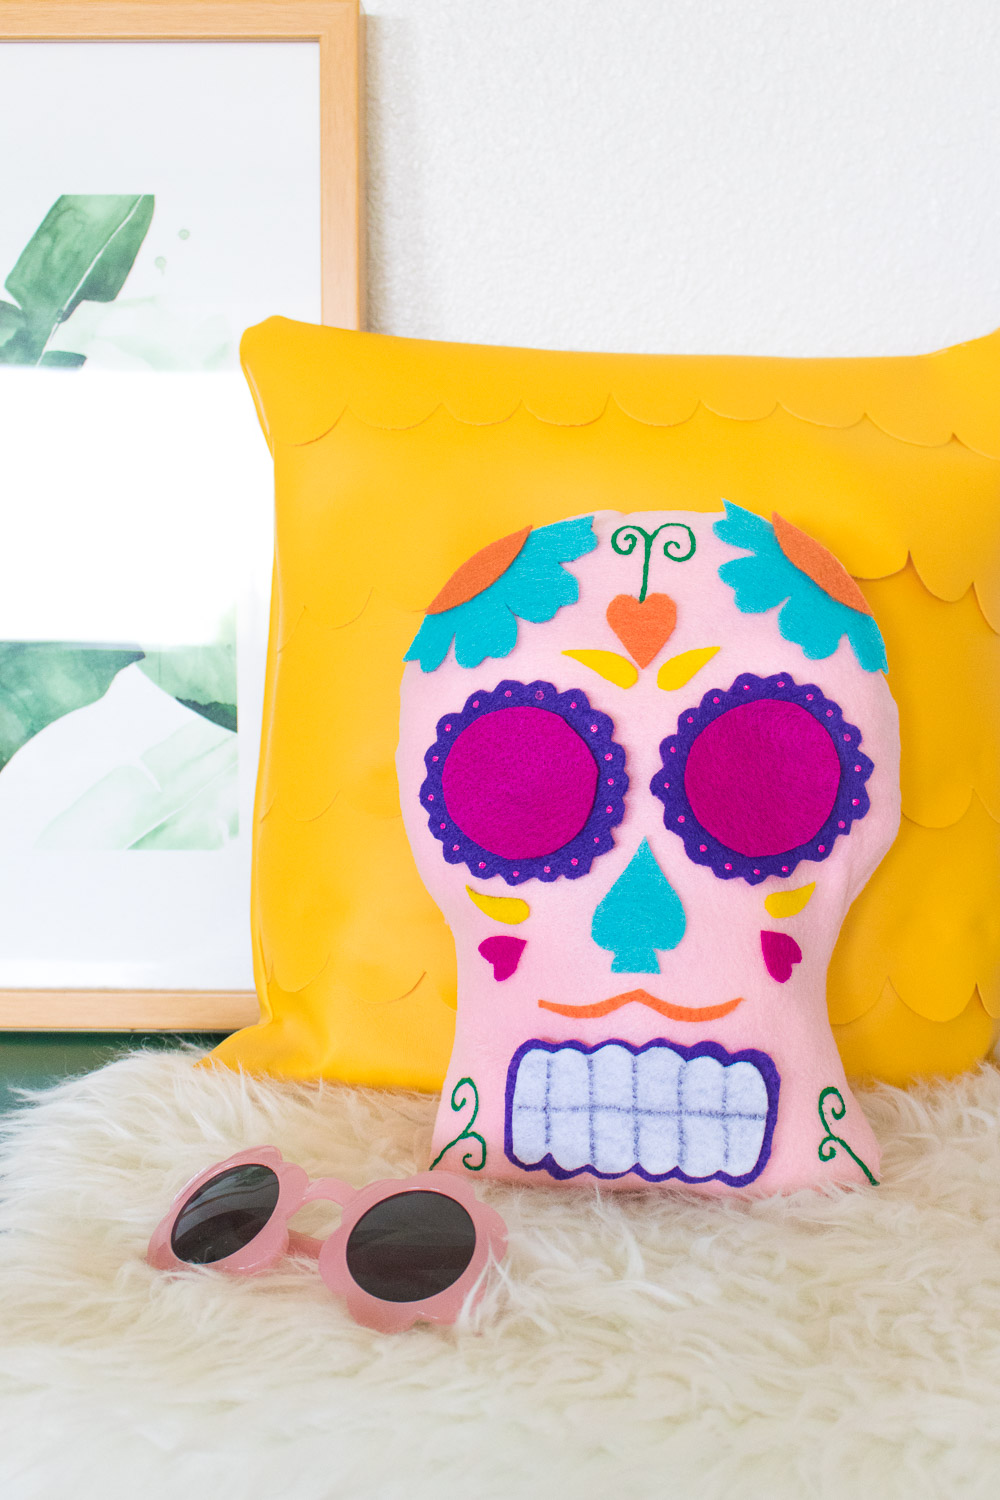
 Along with Halloween, Día de los Muertos (Day of the Dead) starts on October 31st. I thought I’d take a chance to celebrate this holiday as well with a simple DIY sugar skull pillow using colorful felt and Aleene’s Fabric Glue. Sugar skulls got their name because they were traditional church decorations made from sugar to celebrate Día de los Muertos in Mexico and represent departed souls. They’re incredibly beautiful and detailed, so I wanted to bring some of that to a simple-to-make felt pillow to decorate for the season.
 Plus, I’m happy to share my second how-to video! (See my first here.) I’m really excited to share more of these videos with you guys, so I love hearing your feedback.
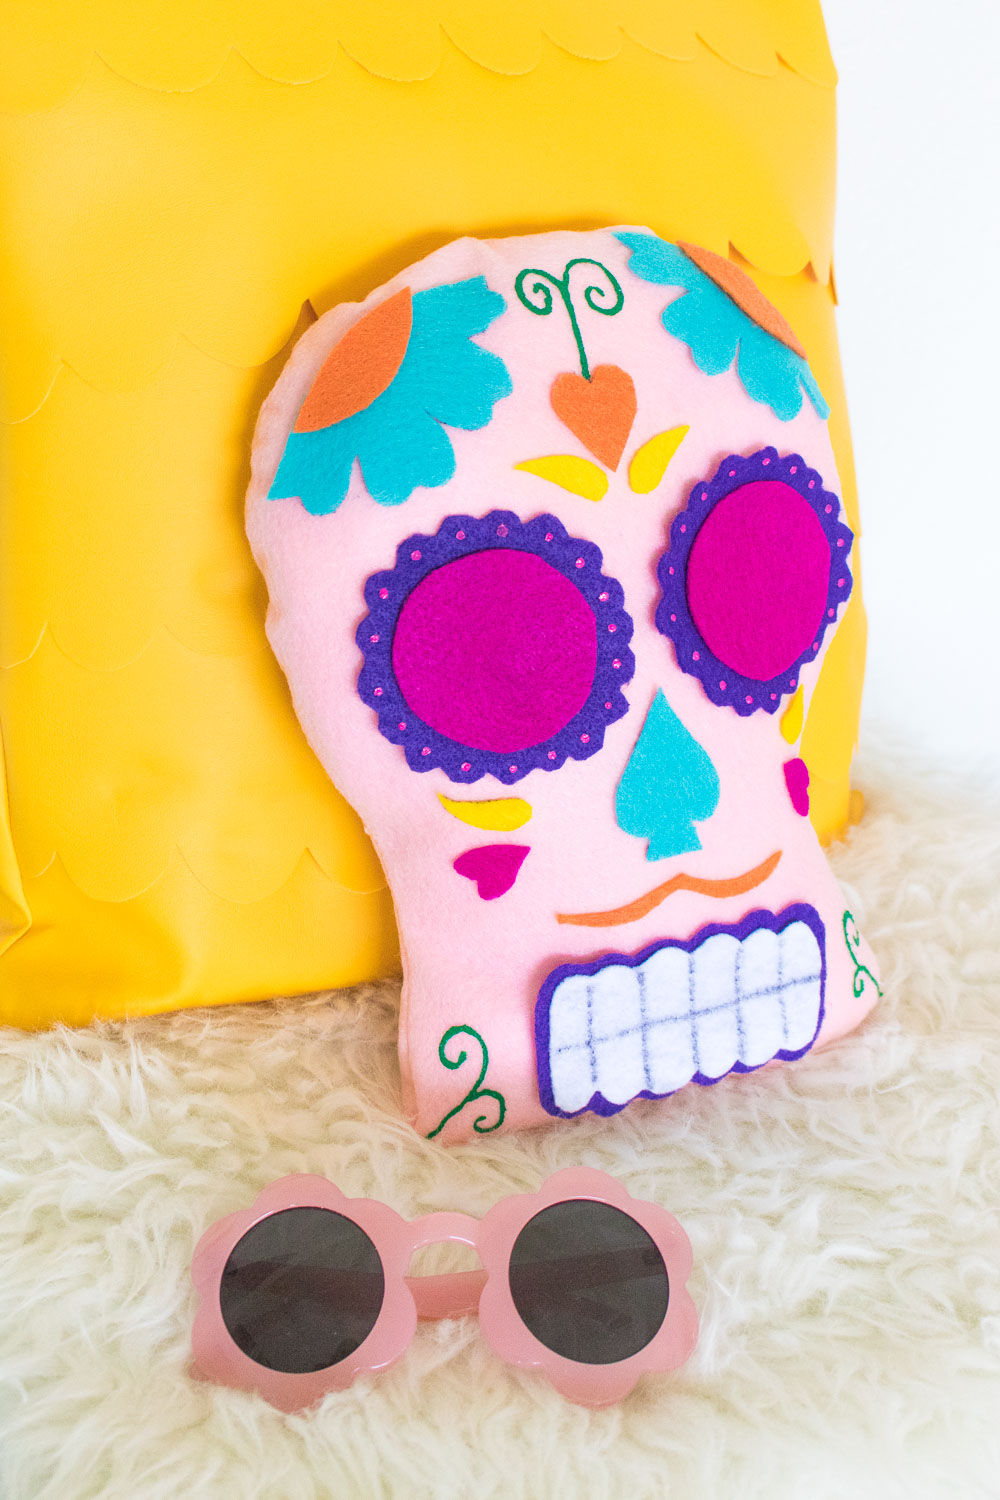
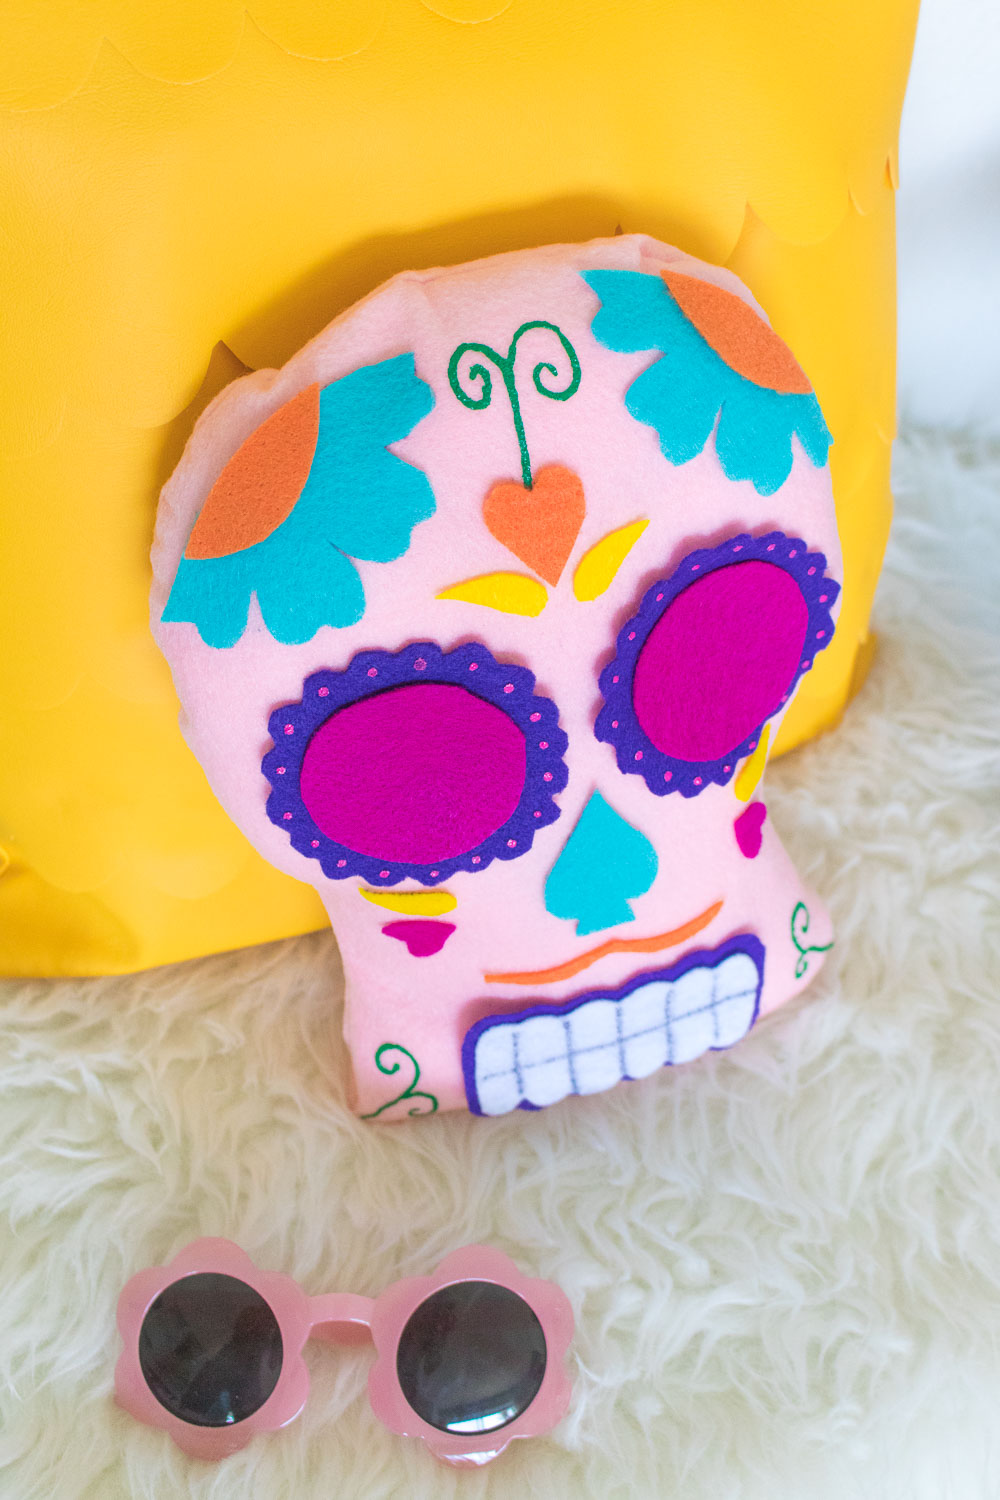
Even though this project involves some sewing, it’s very easy for beginners. The best part is the decorations, which are made with various colors of felt and dimensional paint. Real sugar skulls are much more detailed and I couldn’t achieve quite that much detail on my pillow, but that’s what the dimensional paint is for. The combination of felt and paint allow you to create more detail and variety on the pillow. You can either use a template for your decorations or just go for it and make your own!
Here’s how to make a sugar skull pillow yourself!
Time: 30-40 minutes
Supplies:
- 1/2 yard light colored felt
- Variety of colored felt sheets
- 8 1/2 x 11 inch sugar skull printout
- Scissors
- Aleene’s Fabric Glue
- Tulip Dimensional Paint
- Pillow stuffing
- Needles
- Hand sewing needle and thread
- Sewing machine
Step 1: Cut out the printout of the sugar skull.
Step 2: Fold 1/2 yard of felt in half and use the sugar skull printout as a stencil to draw a skull shape that is at least 1 inch wider than the template.
Note, drawing it larger is important to allow for seams and create a slightly larger pillow.
Step 3: Cut the traced felt to create two equal-sized pieces.
Step 4: Pin sides of the felt together and leave a small section at the bottom open/unpinned.
Step 5: Sew all the way around the felt, leaving the designated section at the bottom open. Back stitch at each end and trim loose threads.
Step 6: Stuff the pillow with stuffing until full.
Step 7: Use the hand stitching needle and matching thread to sew up the opening with an invisible stitch.
Step 8: Cut out several of embellishments on the sugar skull to use as templates, such as a nose, eyes and mouth and other decorations. Trace on various colors of felt (with a little space around them) and cut.
Step 9: Use Aleene’s Fabric Glue to glue the felt pieces onto the sewn pillow. Repeat with all embellishments, and feel free to overlap pieces on top of each other.
Step 10: Use Tulip Dimensional Paint to add other, smaller details on the pillow, such as dots and swirls that would be too detailed to make with felt. Let dry for several hours.
 Now your pillow is ready to display! I love having this as part of my holiday decor and it seems to be holding up very well so far, so you can simply store it away in a dust-free place after the holiday.
PS, that yellow scalloped pillow is a DIY too!
Thank you to Aleene’s for generously sponsoring this post. All opinions are my own. Thanks for supporting the brands that keep Club Crafted sharing!

Jen
Looove the post Aleene!! I cannot wait to see the day of the dead one day and the see if we can find the church decorations ourselves! Thank you very much for a great video and the step-by-step! Sound like we are going to have a fun time this Halloween!