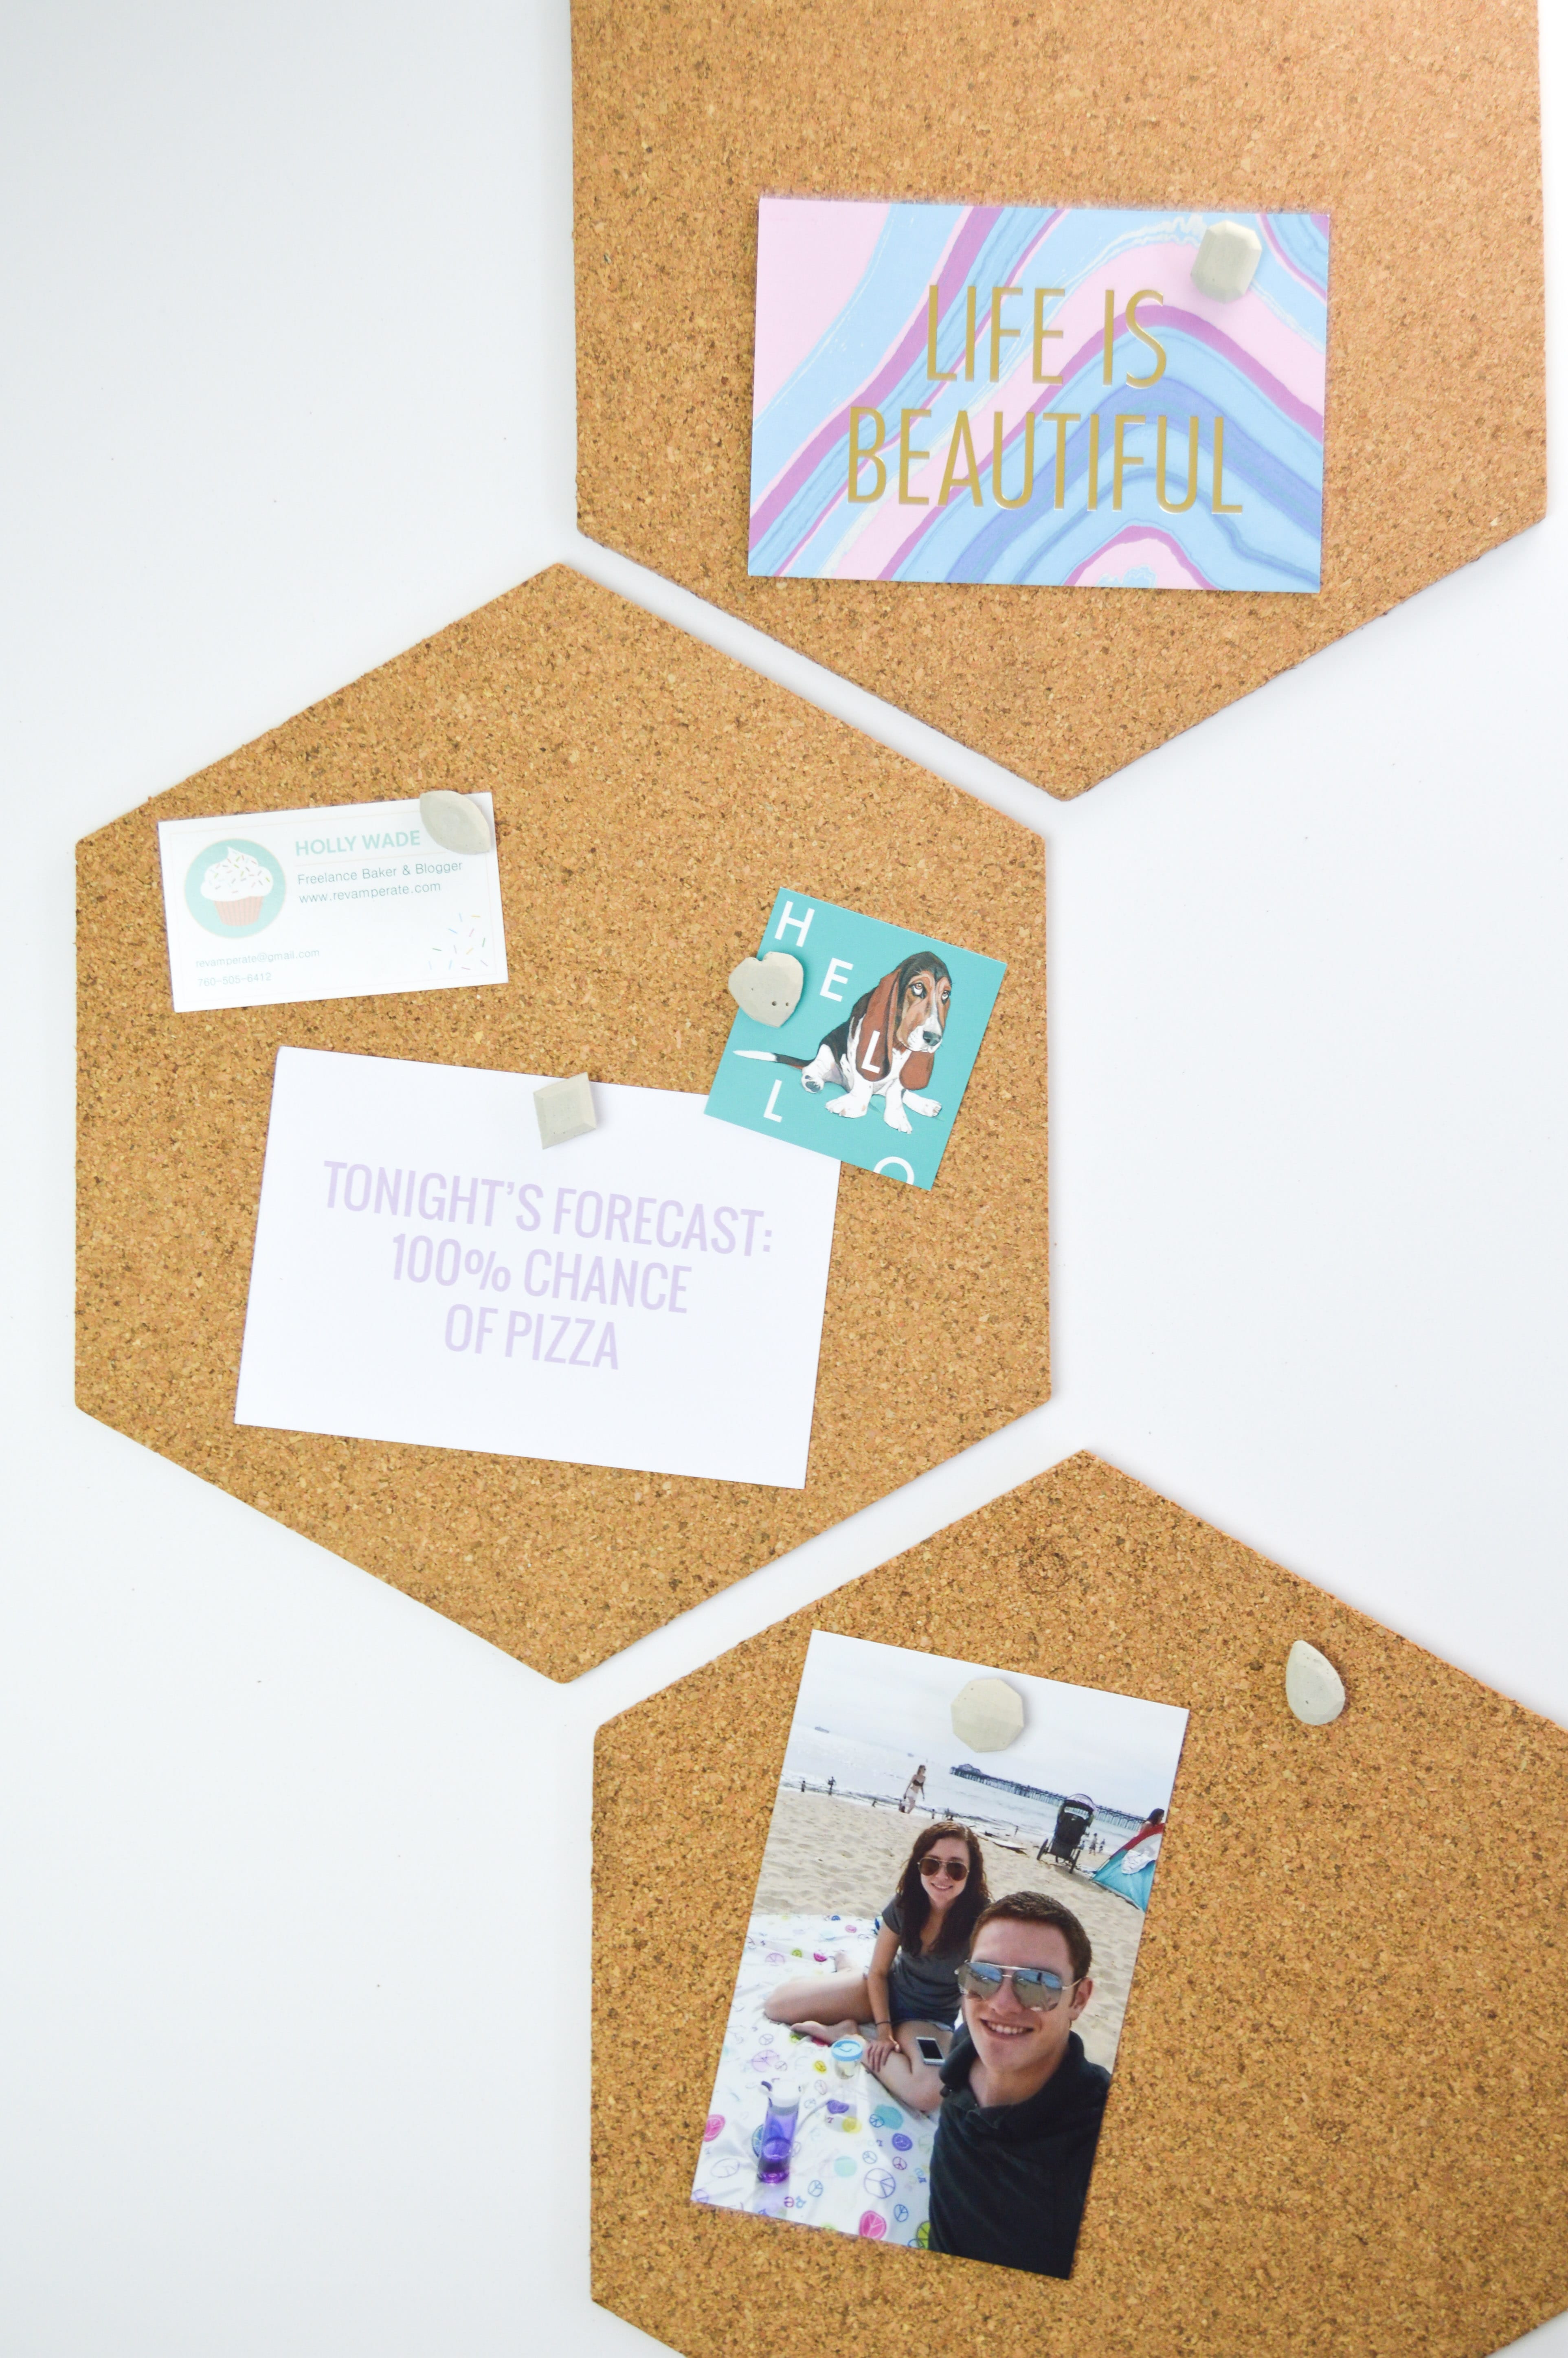
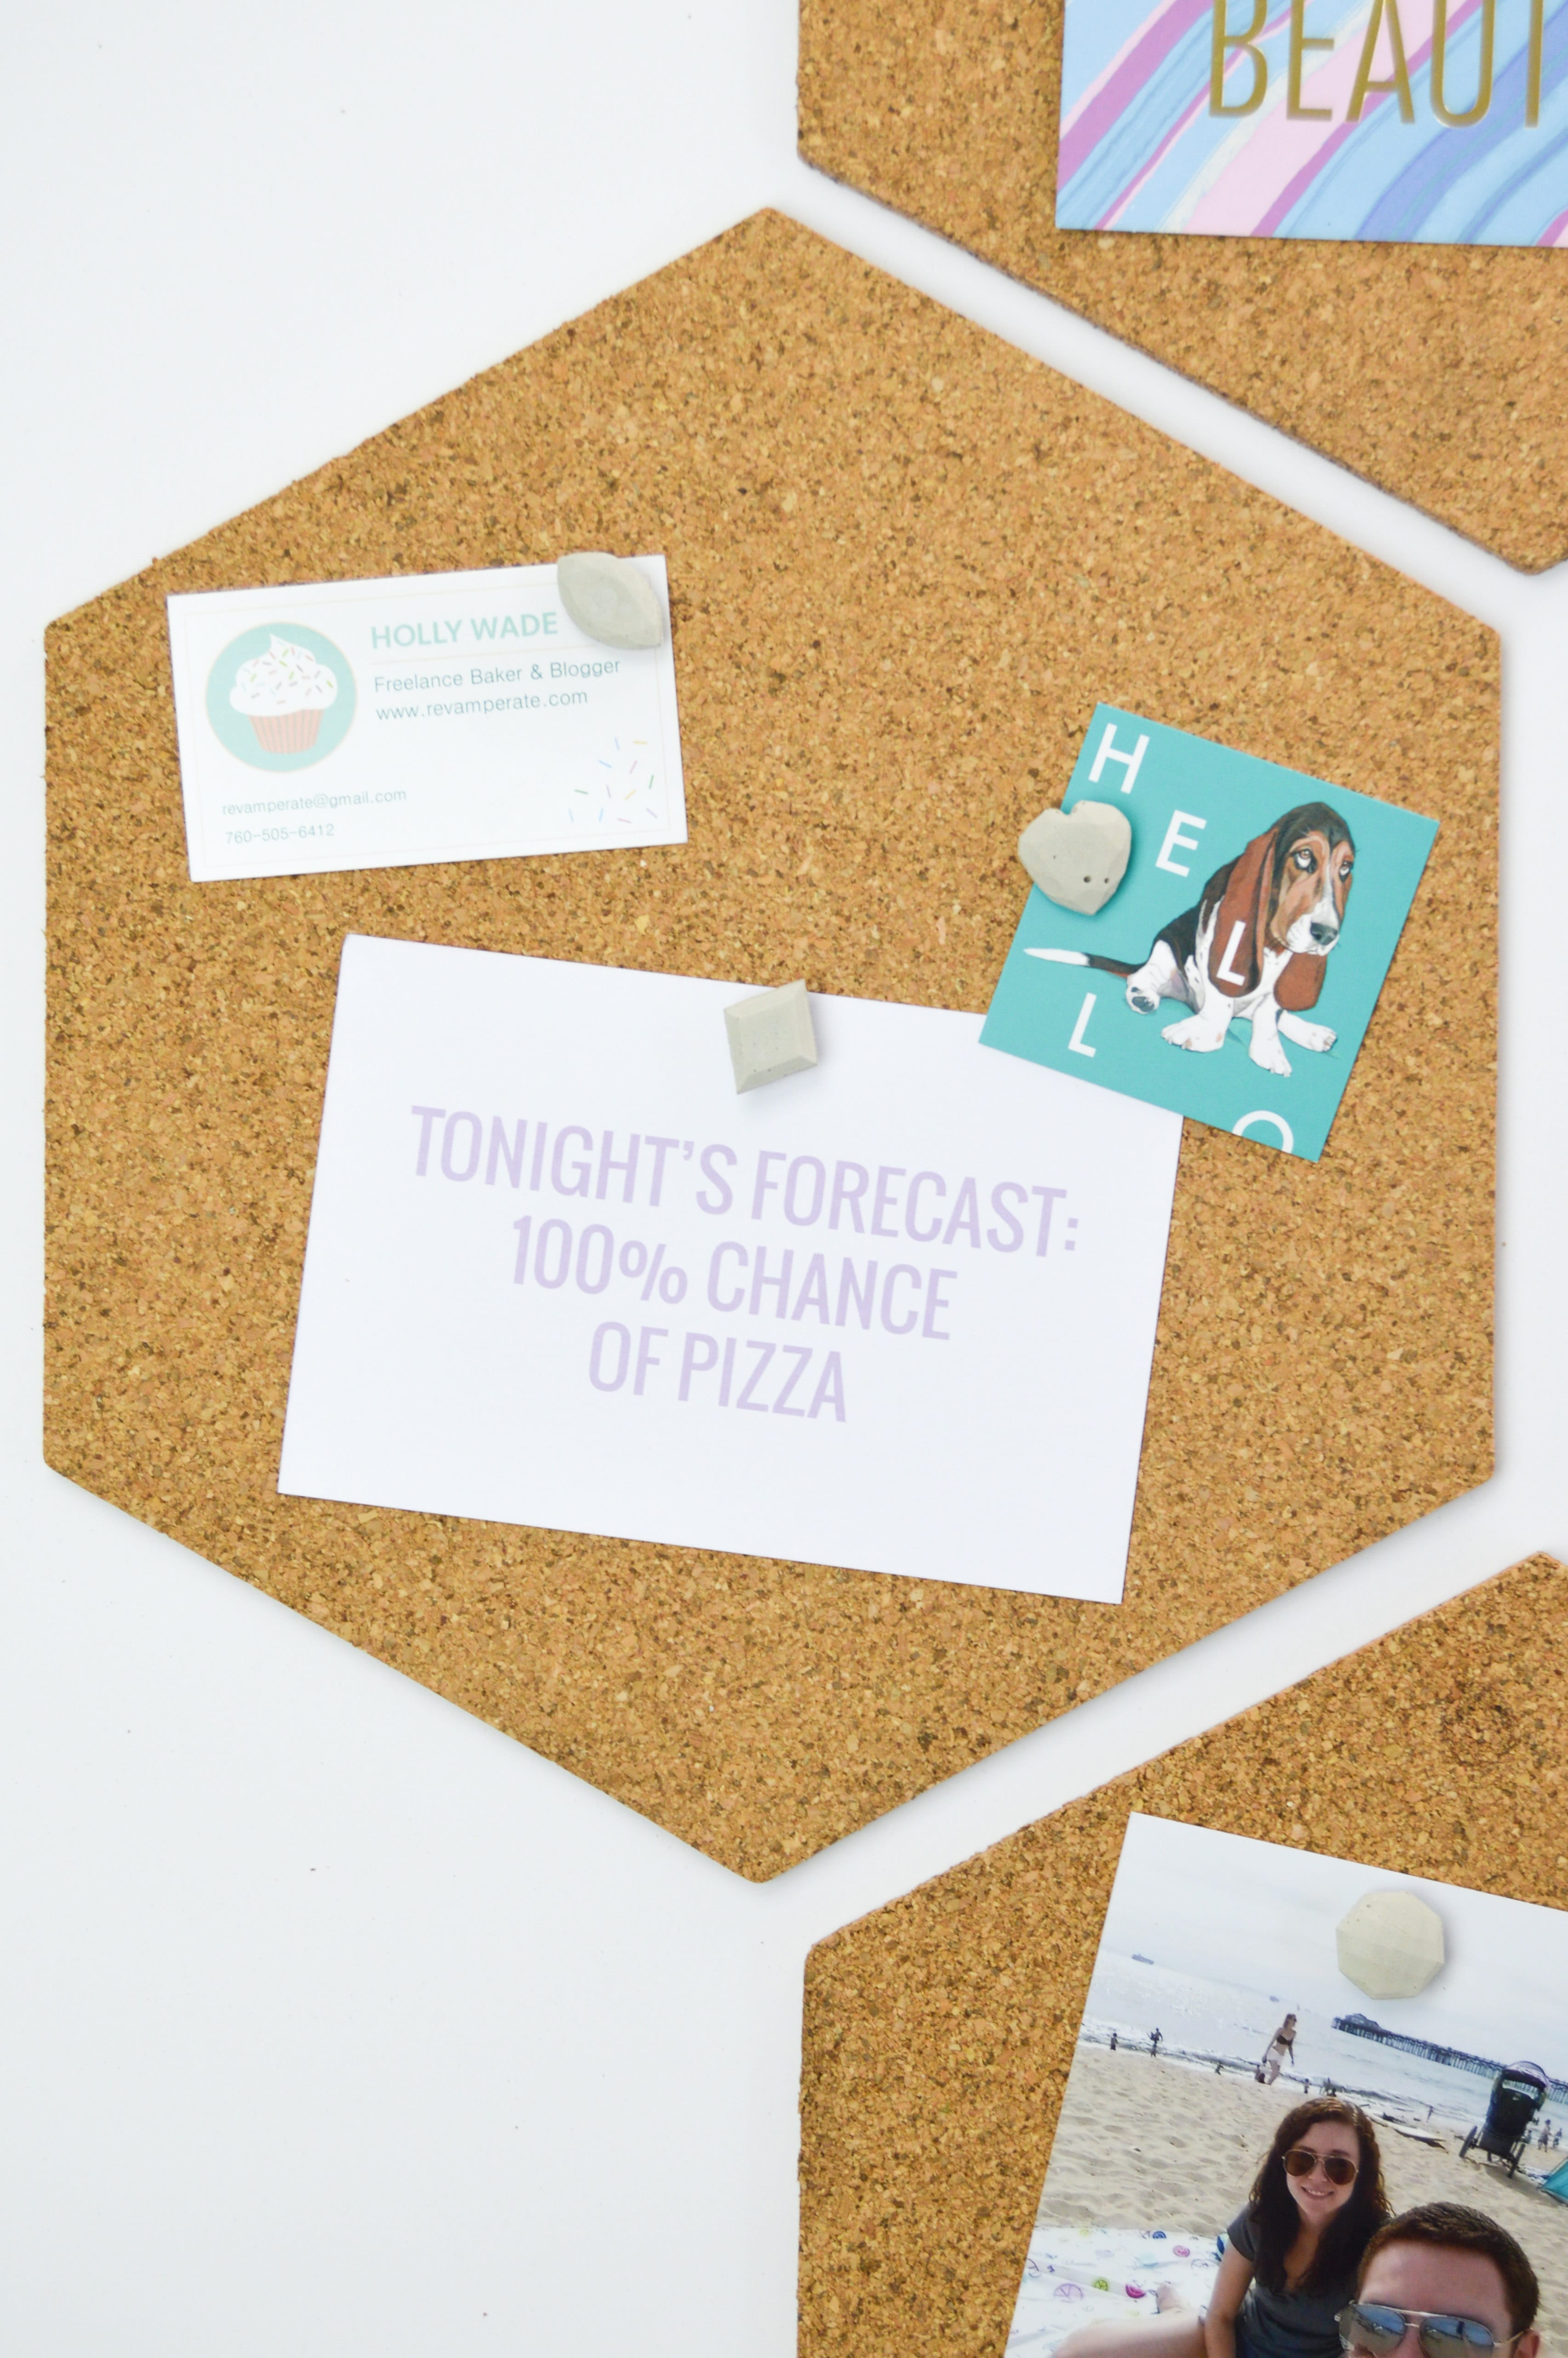
Hey there, happy Tuesday! Today’s post is all about finally using up supplies I bought on a whim without any specific projects in mind. I finally got to make these DIY cement gem push pins with cement that I bought at least six months ago on a surprise Home Depot trip. Plus, I’ve had this cool gem candy mold hanging out in the kitchen for a while now. I bought it just because and have been waiting for the right project to bring it out, and this was the perfect one. I’m terrible at impulse buying supplies without having a clear project in mind…
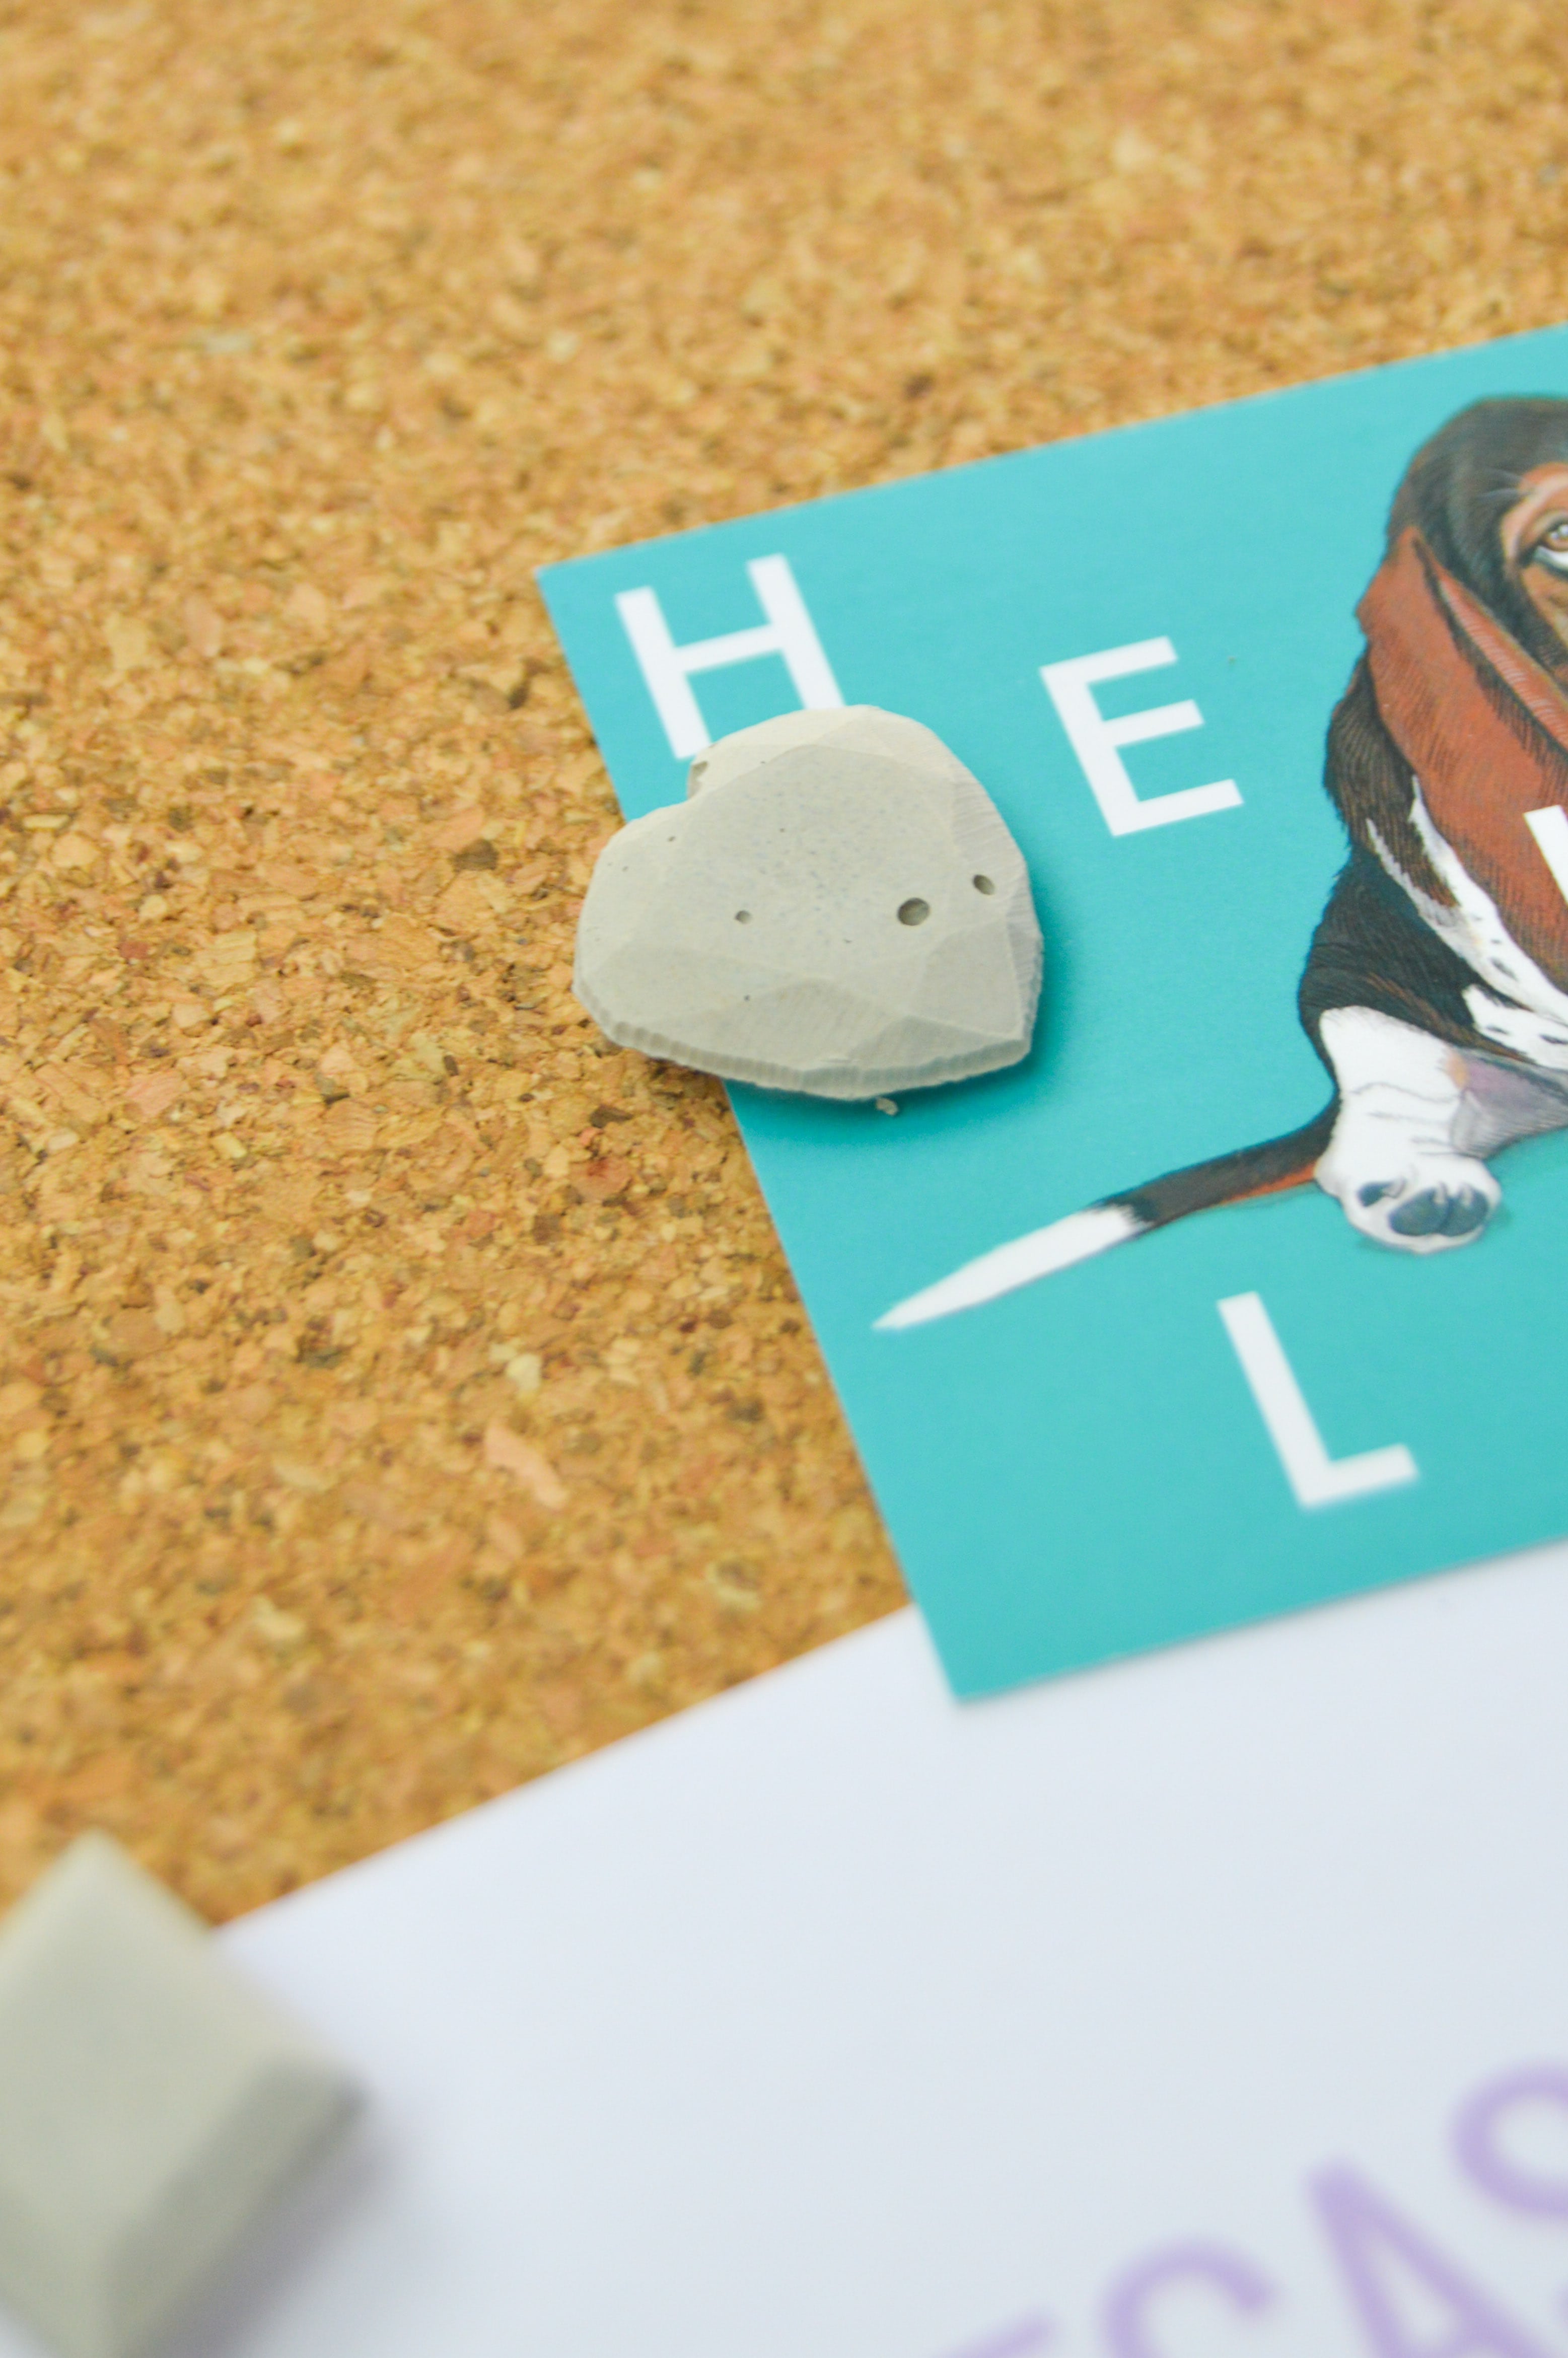
Anyway, these cement gem push pins came out really well using standard cement and some basic tacks from any office supply store. The cement makes them very durable, and they actually mold really well with the plastic gem mold. If you can find a silicone mold, that will work well too. They’re very easy to remove from the mold, and the tacks mold with the cement as it dries so it doesn’t require any glue to hold the pieces together.
Time: 15 minutes + dry time
Supplies:
- Powdered cement (This is the one I used)
- Gem candy mold
- Flat topped push pins or tacks
- Sand paper
- Popsicle stick (recommended)
- Disposable bowl (recommended)
Mix the cement according to the instructions on the box. In a small disposable container, mix the cement powder and water with a popsicle stick or similar. Using the popsicle stick, spread the wet cement over the gem cavities and use the side of the stick to level the top and make it as flat as possible. Gently press the flat side of a push pin into the middle of each gem. If needed, use the popsicle stick to re-level the edges once the push pin is added.
Repeat with all cavities and when complete, use a wet paper towel to clean excess cement from around the mold. You don’t want it to dry like that, or it will be very difficult to get off later.
Let dry completely for several hours and then carefully pop each piece from the mold.

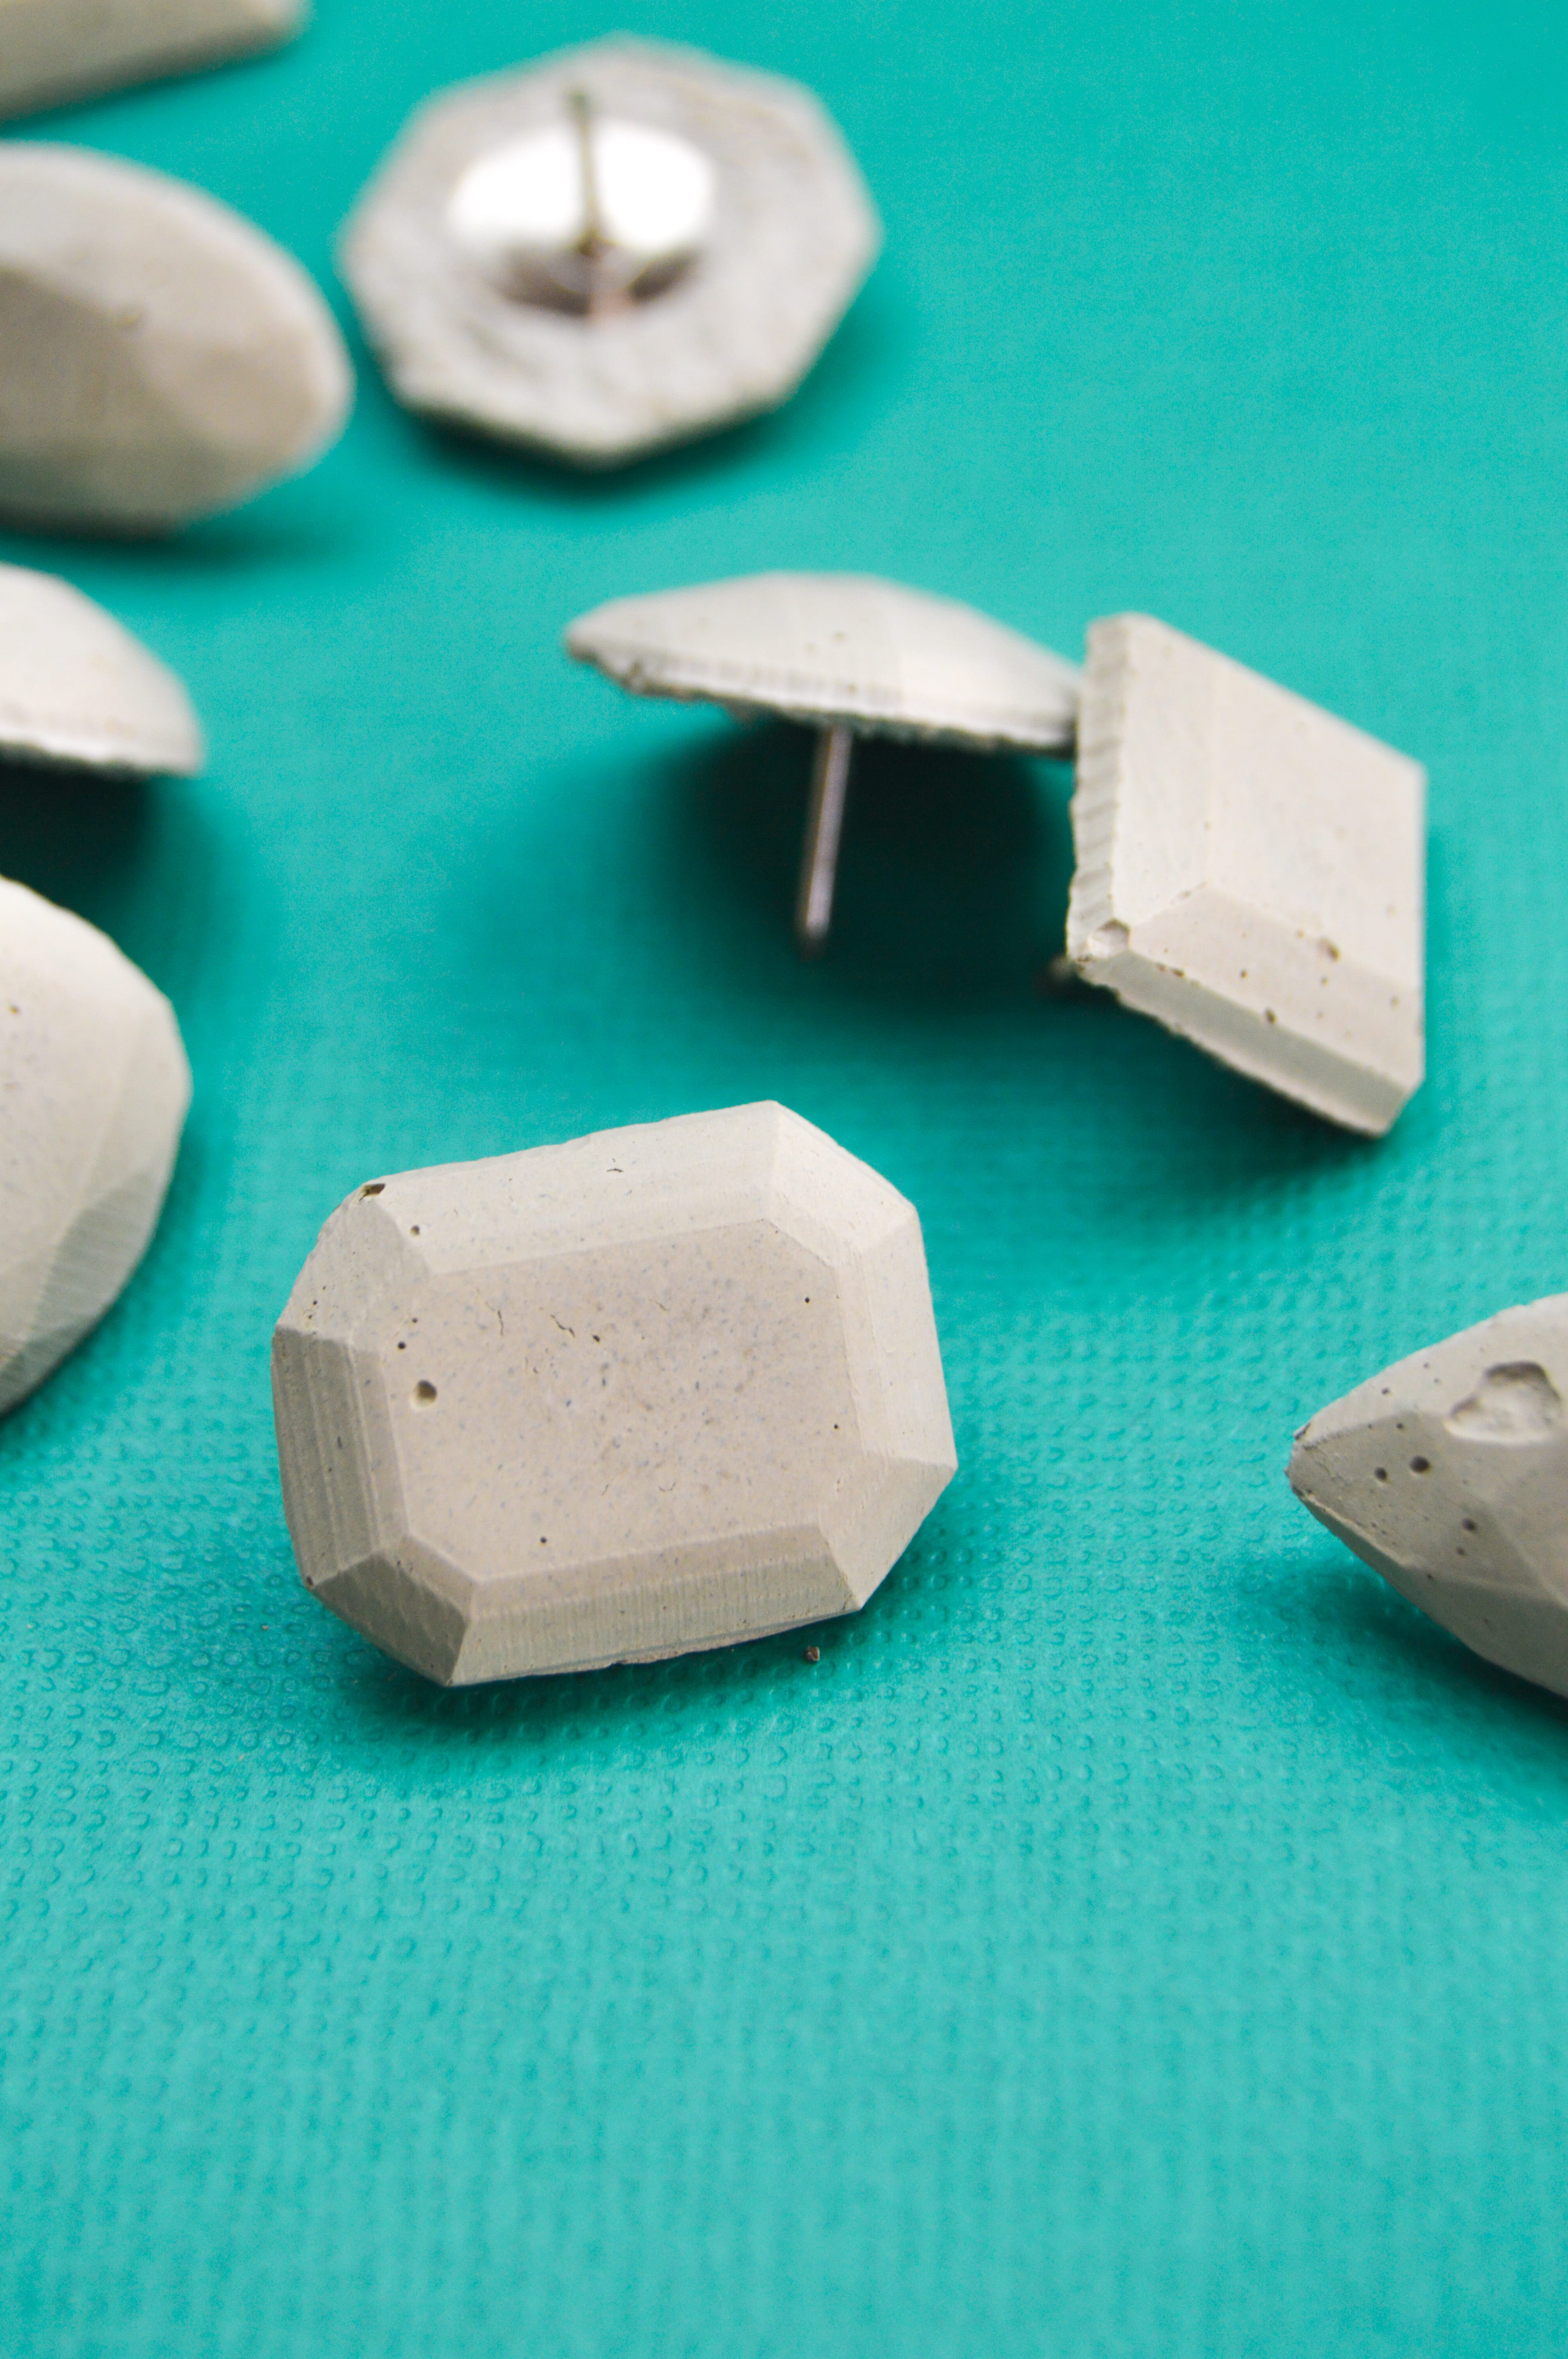
With a piece of sand paper, gently sand the edges as needed to remove any excess cement and even out the shape. If desired, you can paint them or just leave them as is and add to a bulletin board!
*this post may contain affiliate links