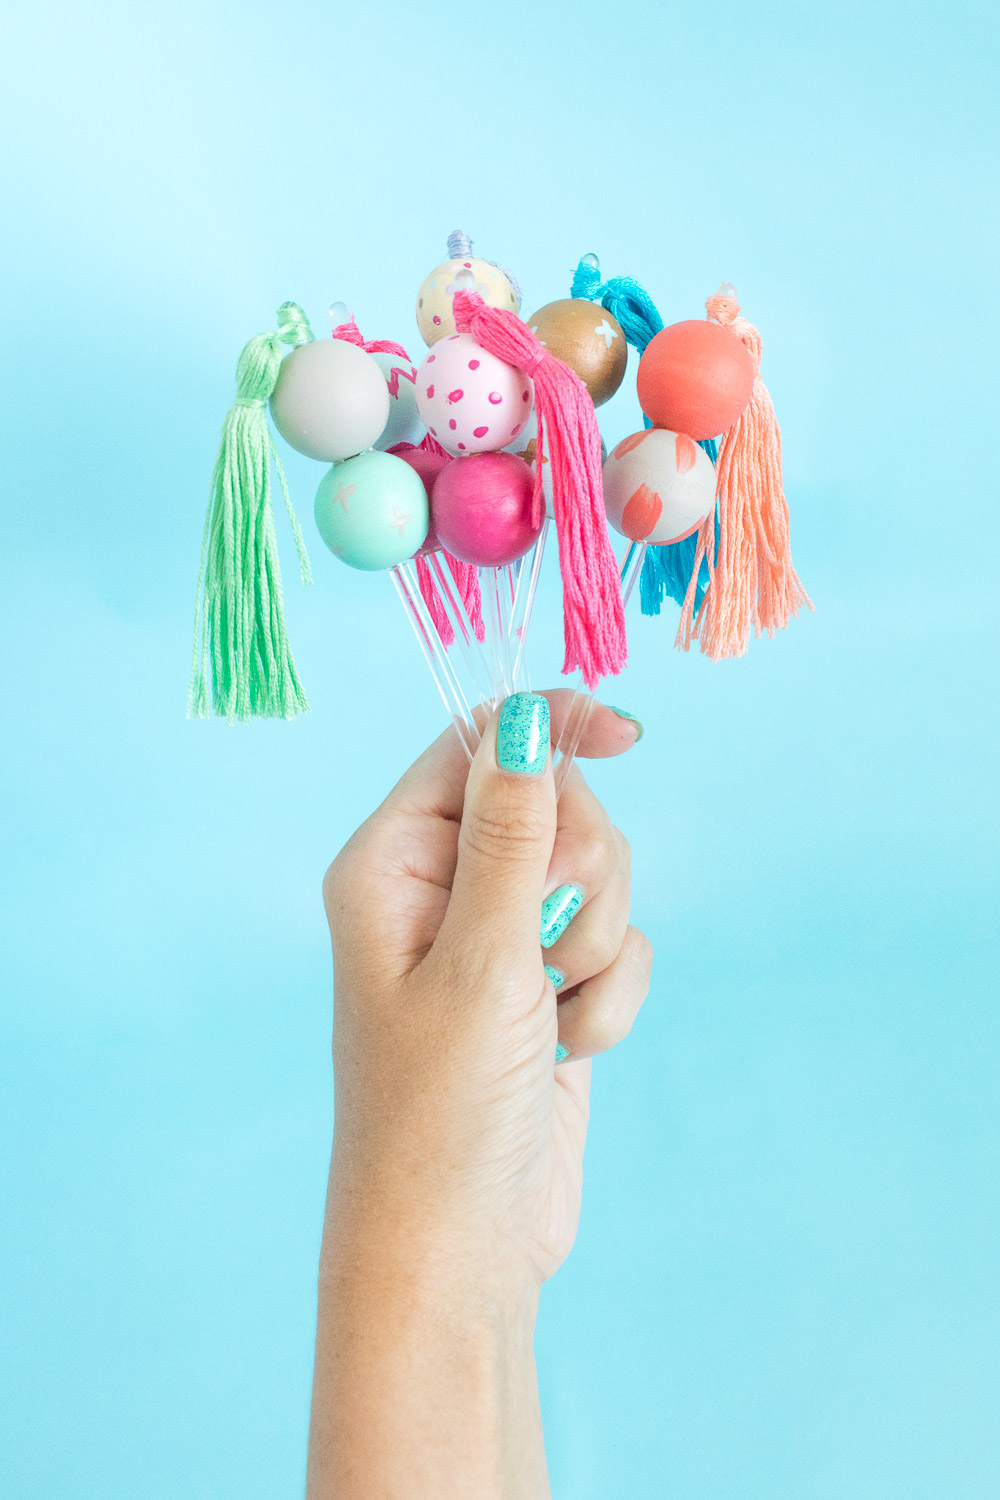
Sometimes when my projects don’t turn out the way I expect, I try to rework the supplies into other projects so they don’t go to waste. That’s the case with todays project, which actually uses a combination of two of my “failed” DIYs. Why should supplies go to waste, right?! These fun and colorful DIY bead & tassel drink stirrers seemed like a unique way to repurpose these beads and excess amount of embroidery thread I had leftover. With a little glue and paint, they turned into a great party supply that will add a little flair to a plain glass!
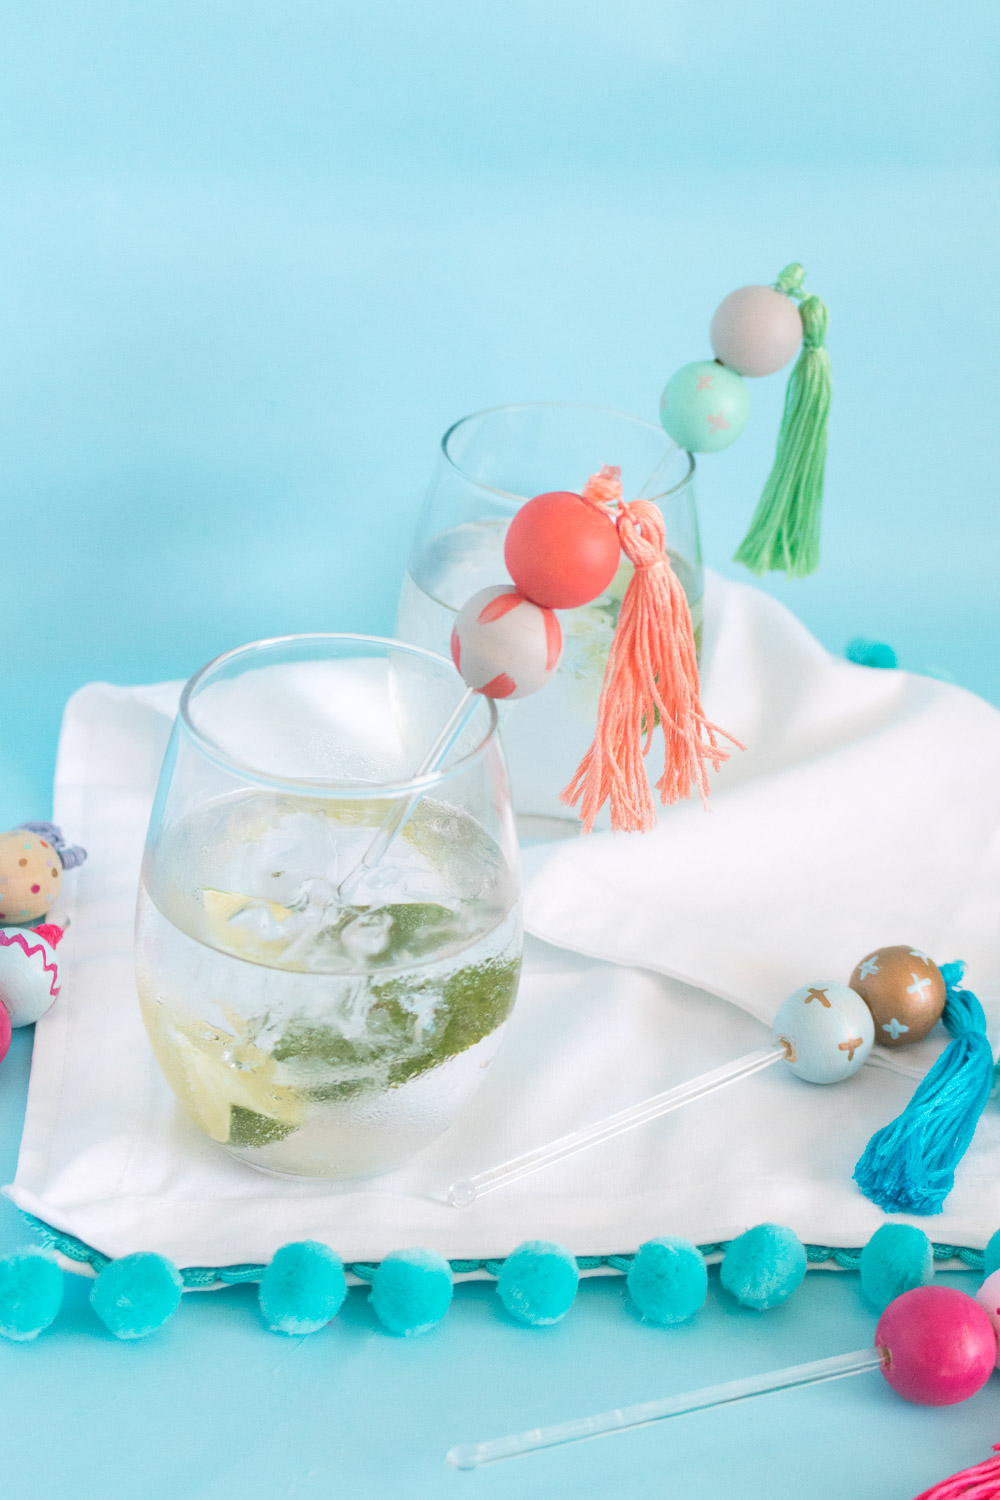
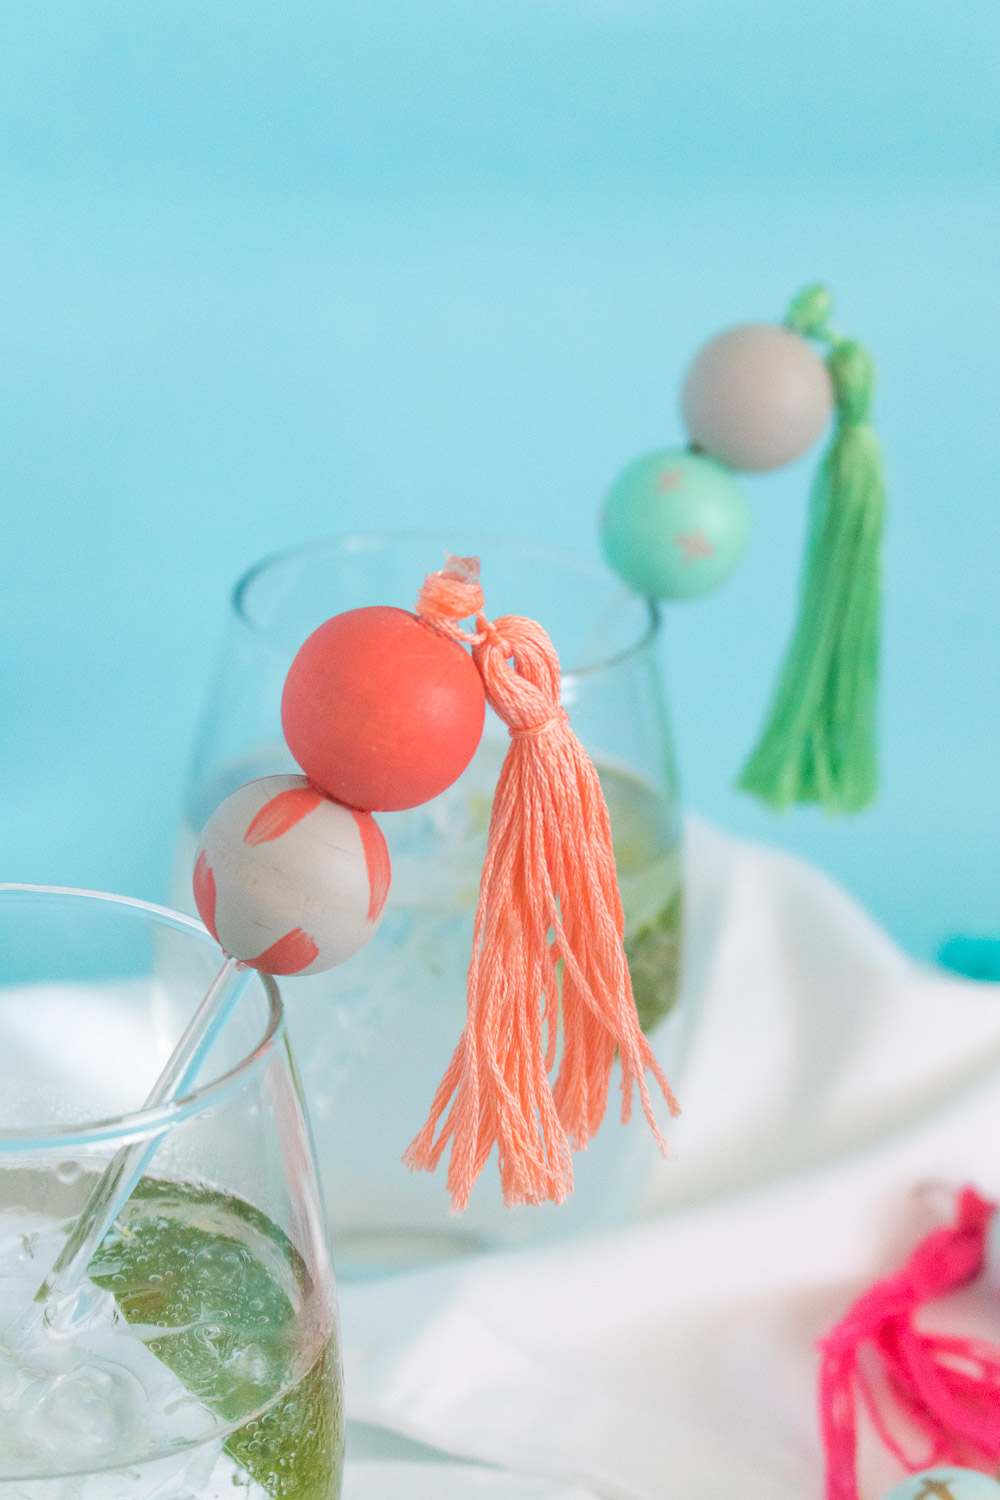 These painted bead & tassel drink stirrers can even help identify whose glass is whose at a party because each stirrer is unique! The beads were the perfect size to fit the stirrers I had leftover from these disco ball drink stirrers and I painted them with a few of my go-to colors.
Then I simply made tassels out of embroidery floss (so easy to do!) and wrapped them around the top of the stirrers. Together, I think they create a unique party supply for stirring up a cocktail!
 Time: 15 minutes
Supplies:
- Plastic drink stirrers
- Large wooden beads
- Embroidery floss
- Acrylic paint
- Small paintbrushes
- Scissors
- E6000 glue or equivalent
Step 1: Squeeze a small amount of glue into the middle of a bead and thread it onto one end of a drink stirrer, pushing it down enough to make room for a second bead. Repeat with a second bead, pushing down and leaving about 1/2 inch of the stirrer exposed (this is where the tassel will go).
 Step 2: Paint the beads with small paint brushes as desired. In order to paint multiple stirrers and let dry without touching, I recommend filling a cup with rice and inserting the stirrers in the rice to prop them up.
Step 3: While you wait for the beads to dry, make the tassels. Unravel a little of the string and cut four pieces, about 3 inches long. Thread one piece through each end of the embroidery thread and tie a knot. Then tie a piece around each end section. Cut the middle of the embroidery thread to release two equal-sized tassels.
Step 4: Once the beads are dry, brush a small amount of glue on the exposed top of the drink stirrer and wrap the thread at the top of the tassel around it tightly. Hold in place for about a minute to begin drying and release when it can hold together on its own. Trim any loose or uneven strings.

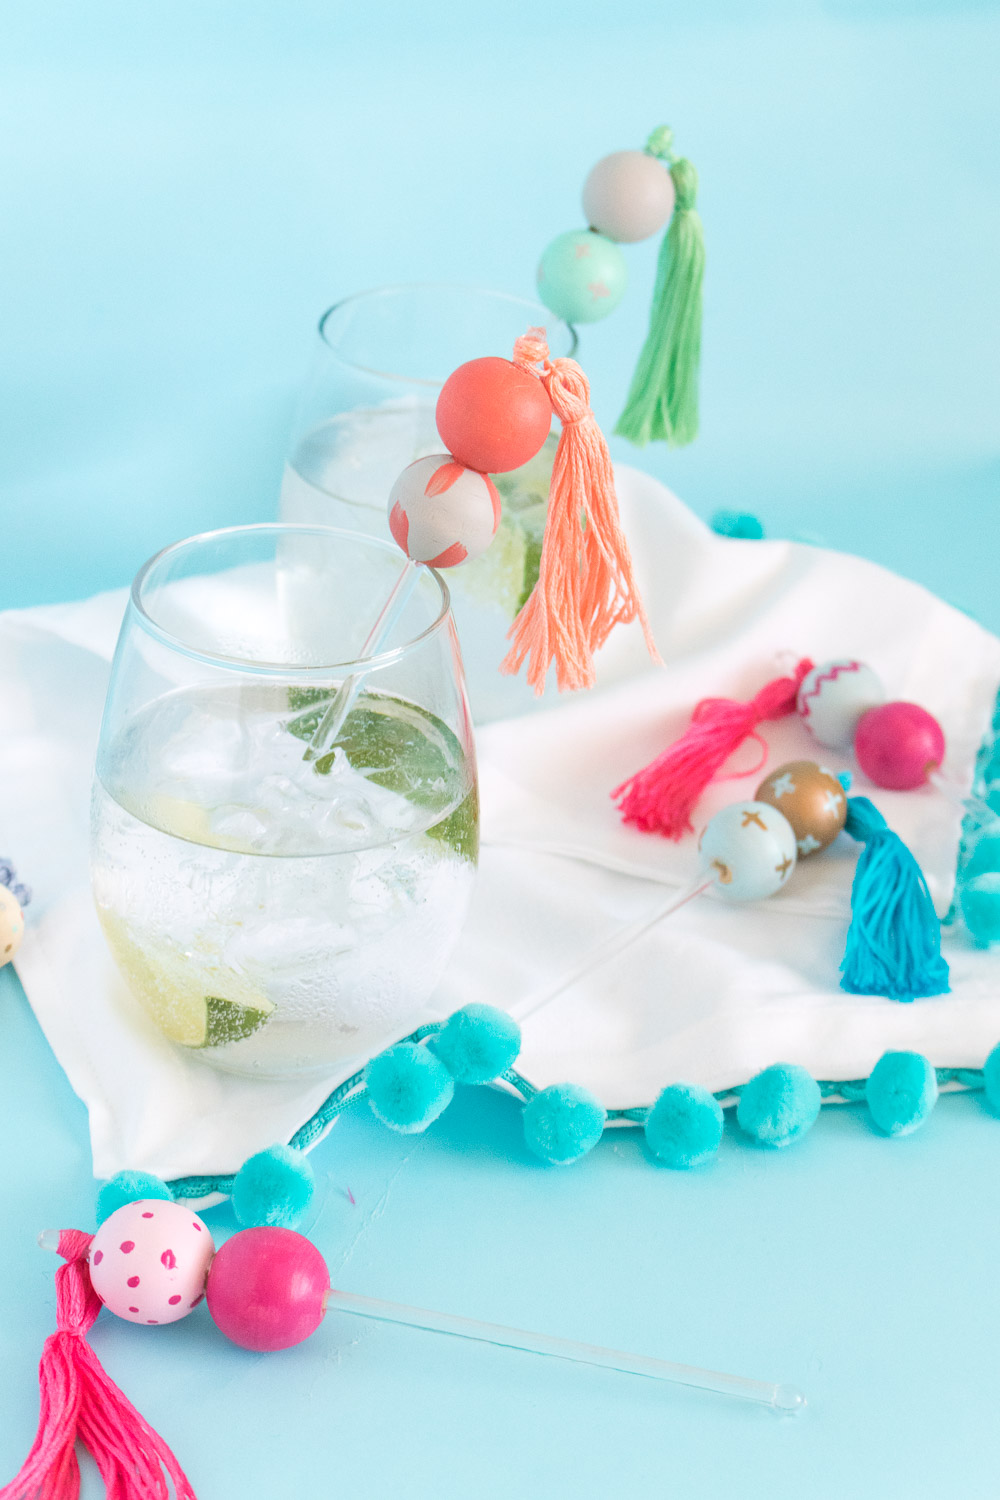
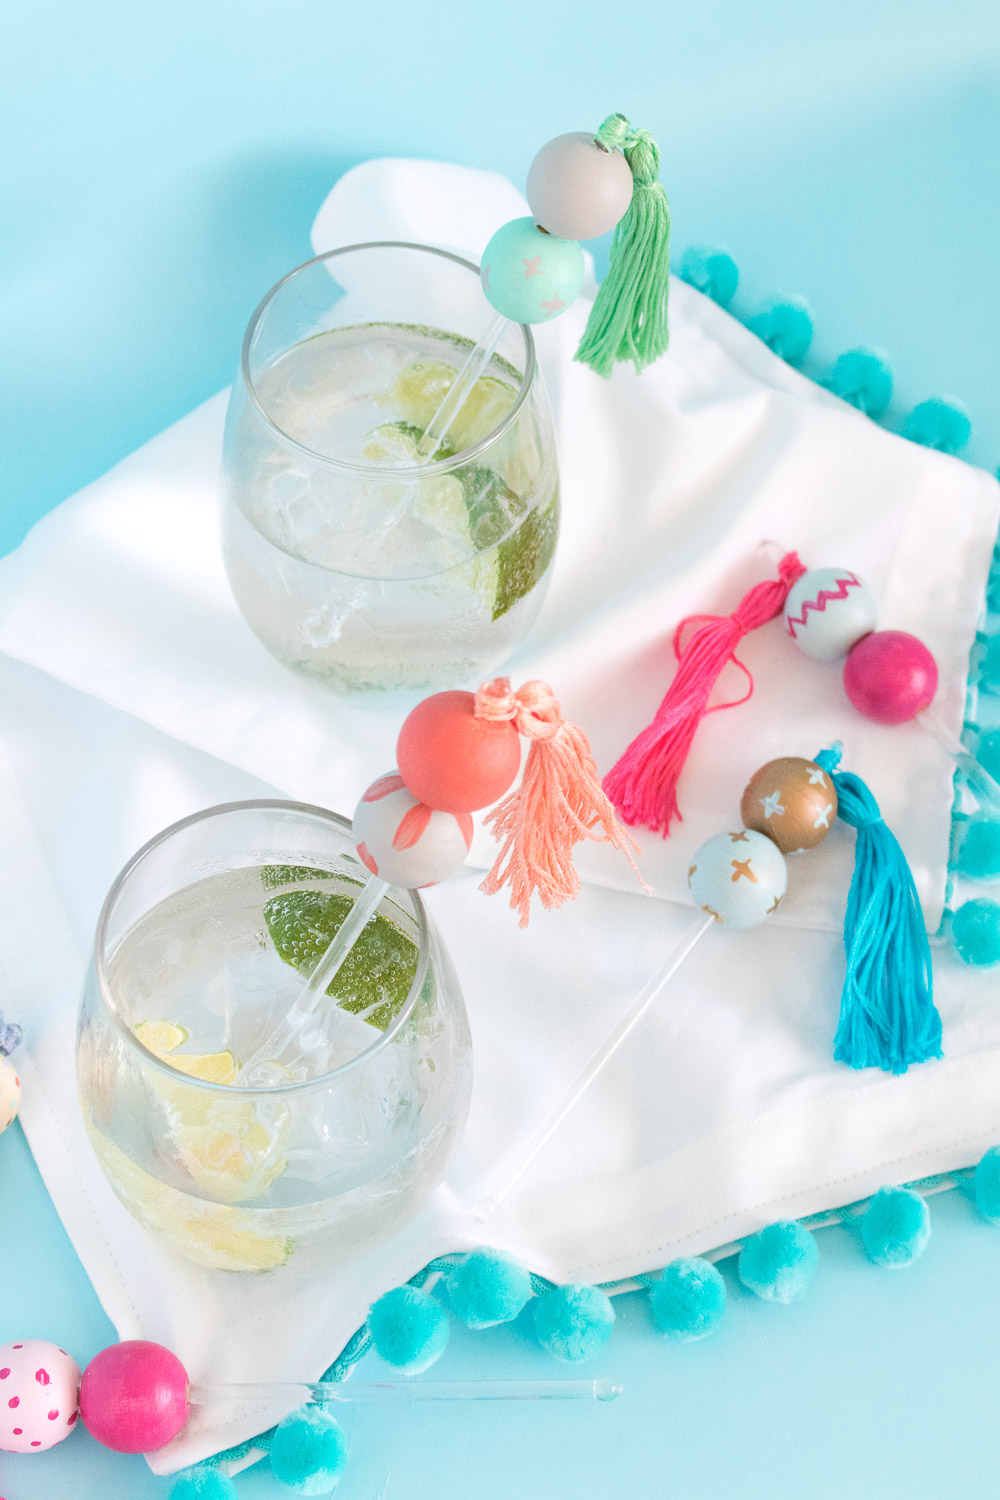 Now your drinks stirrers are ready to use! Place in a cup at a party for everyone to mix their drinks and identify their glass. I bet you no one else has drink stirrers like these! Happy crafting!