The following post is sponsored by Cricut
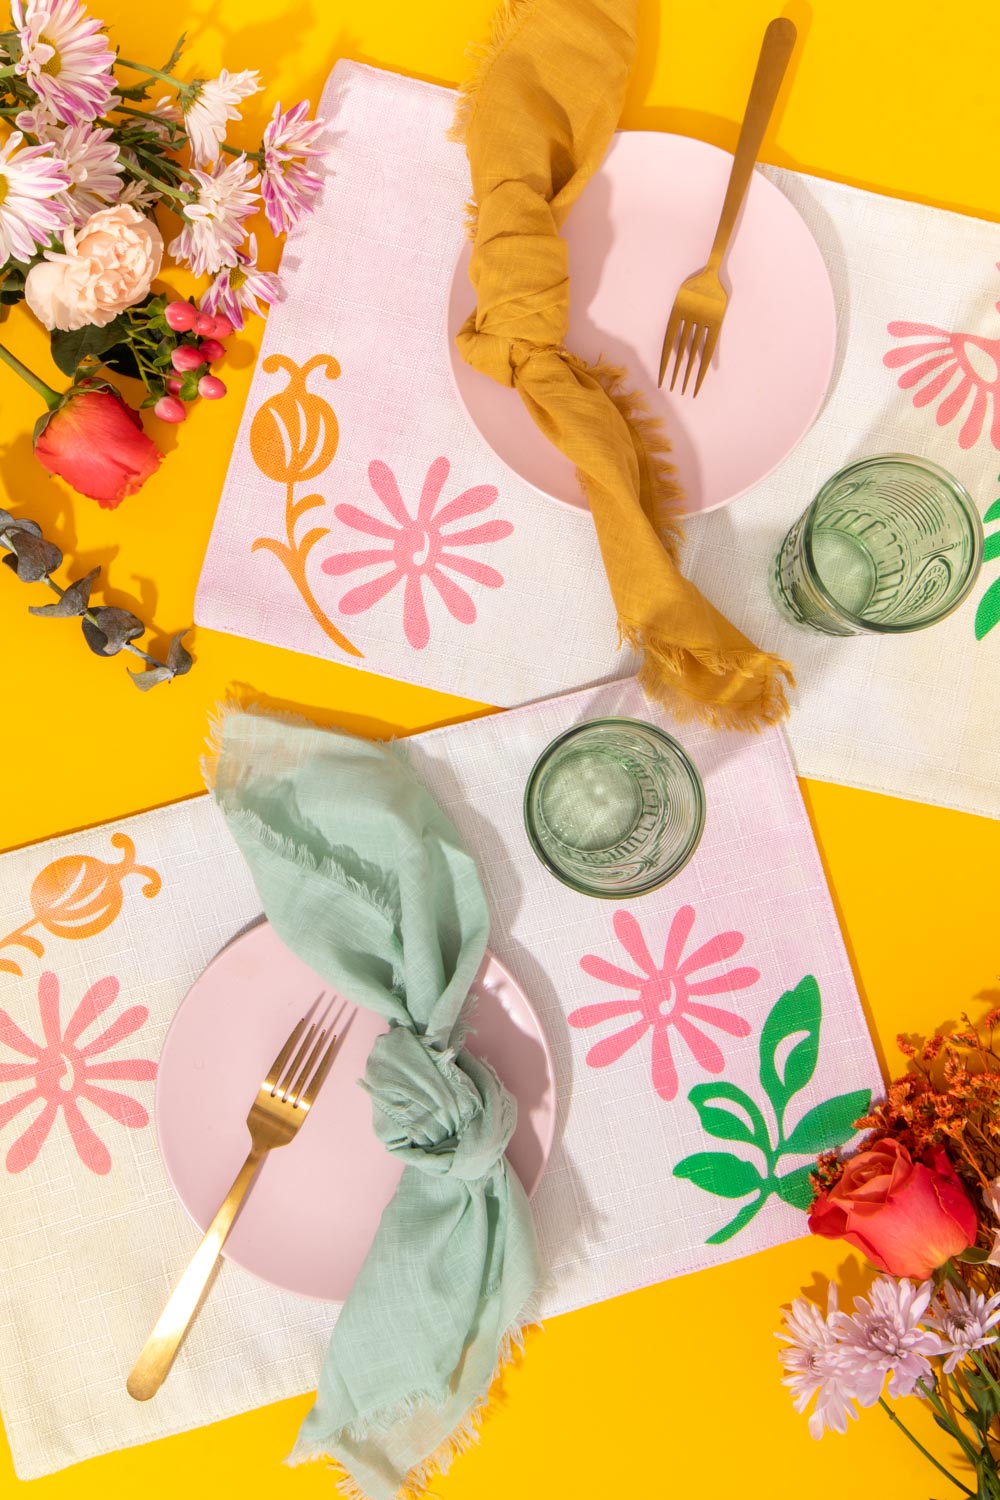
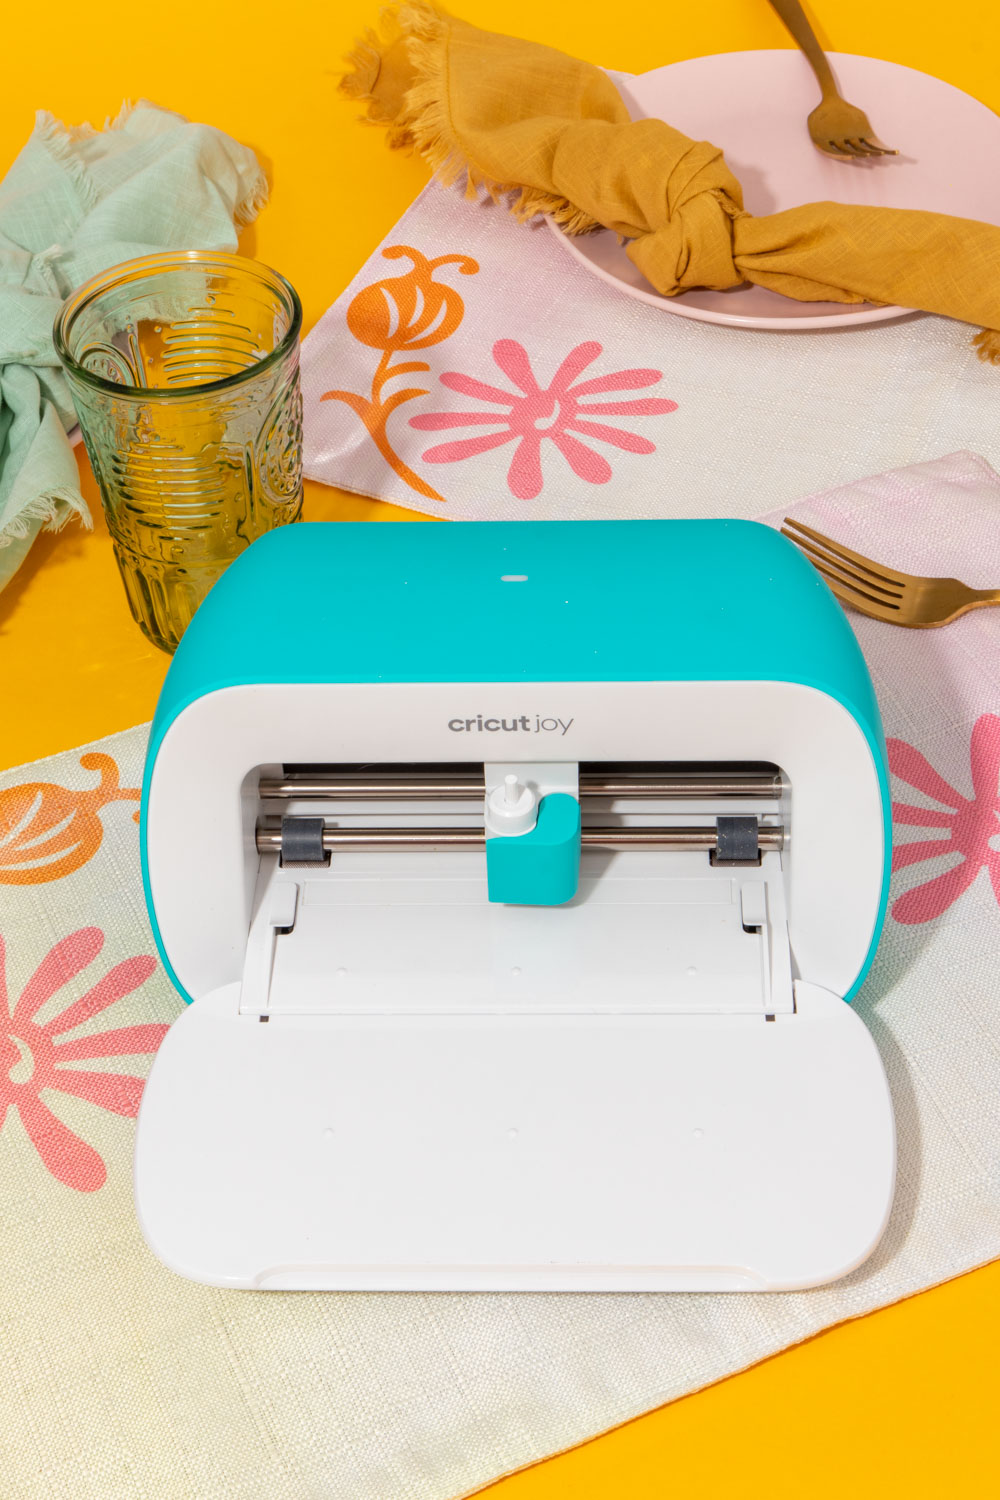
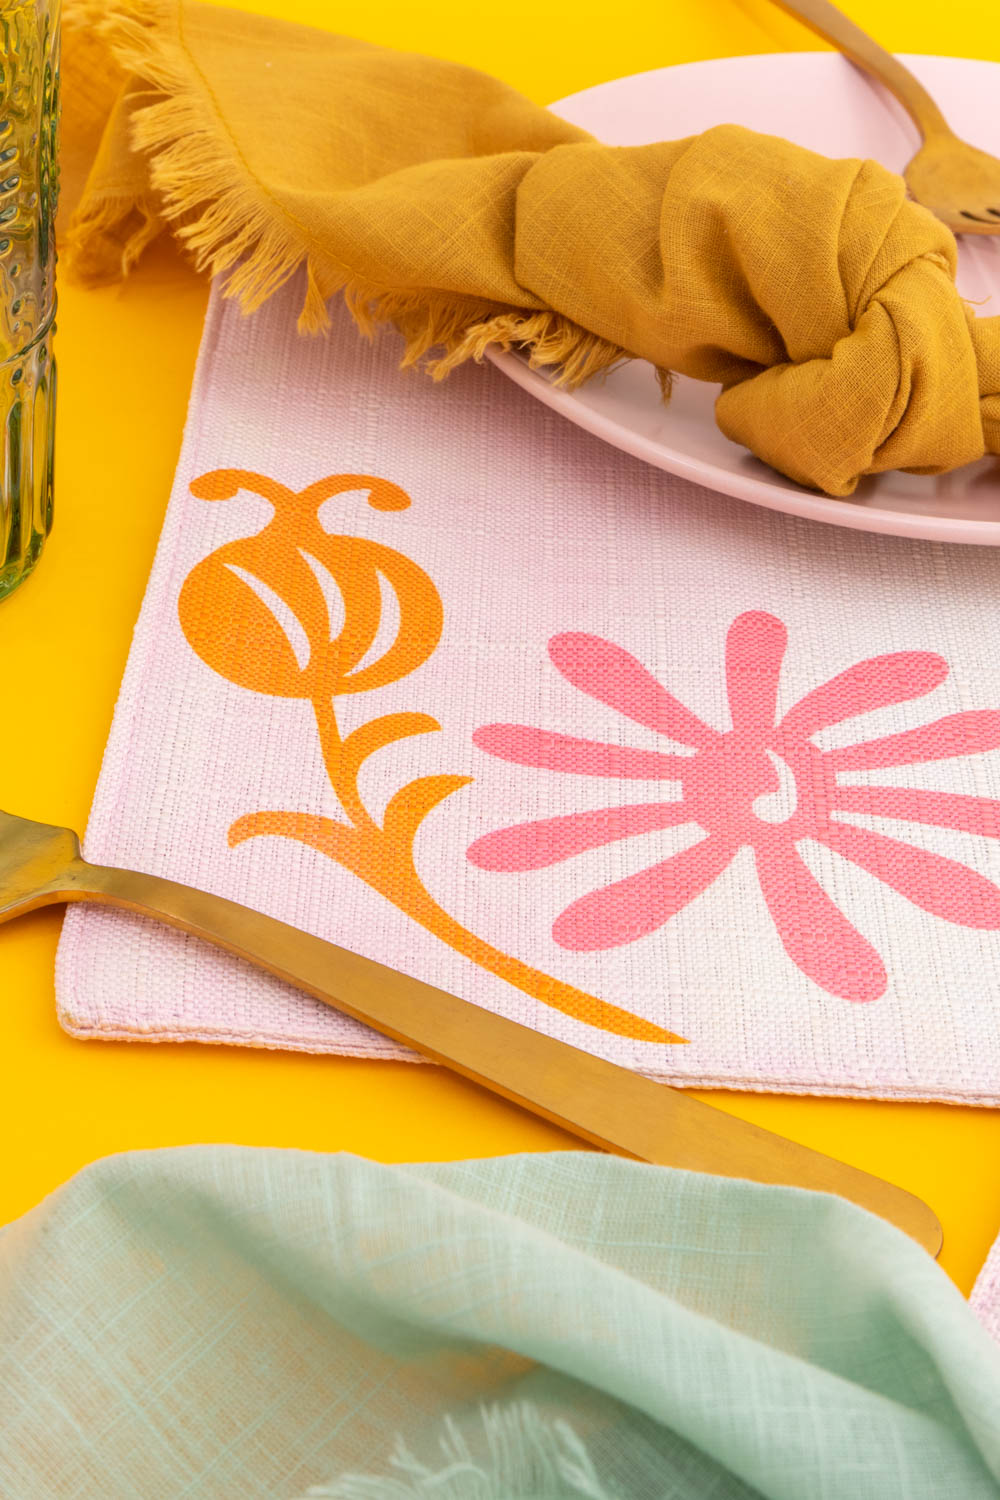
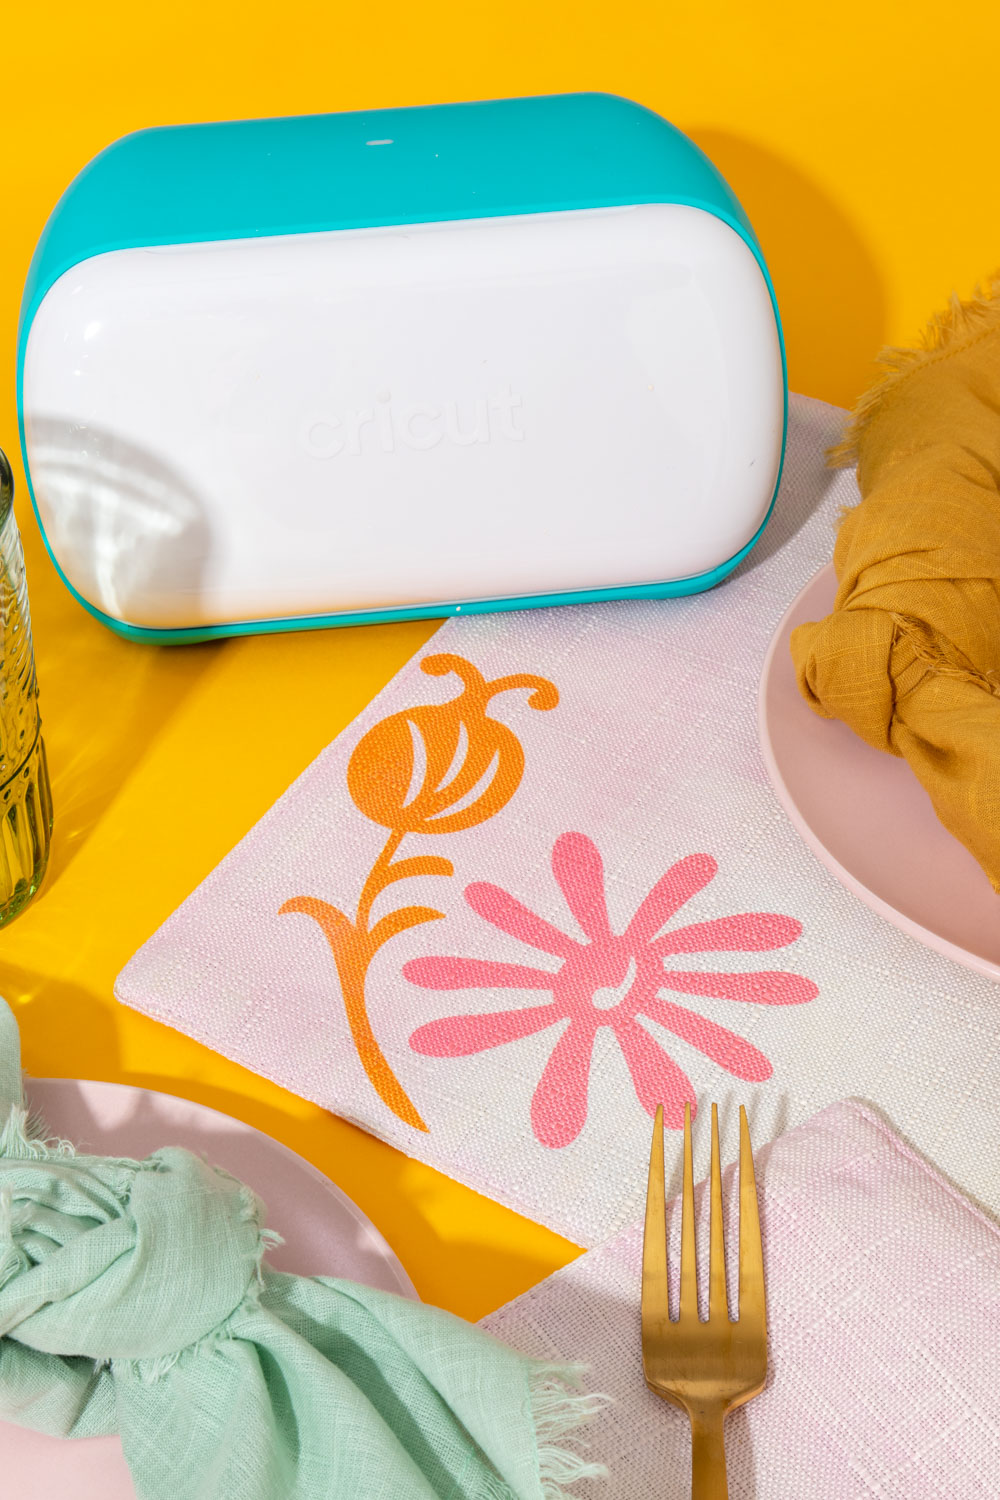
I’m back with another fun way to use your Cricut for home decor this summer! To protect our dining room table, we often use placemats when we eat and needed a new set. Instead of buying new placemats (why buy when you can DIY?!), I knew I could make a unique set on my own! These modern dip-dyed floral placemats were the perfect addition to our dining room, and thanks to Cricut Infusible Inks, they’re also really durable. Using my trusty Cricut Joy, I cut out these unique, modern floral designs. Combined with a hint of color on the ends of the placemat, they add personality to our table. See how to make your own for a fun home decor DIY!
When I was browsing Cricut Design Space recently, I found these interested modern floral designs. That’s what sparked my idea to incorporate them into a DIY for our home! I honestly contemplated cutting out the designs and hanging them in a floating frame too. Ultimately, I made these dip-dyed floral placemats.
How to Use Cricut Infusible Inks with Third-Party Products
If you’ve ever used Cricut Infusible Inks before, you know the best method is to use Cricut Blanks. This ensures the inks transfer correctly and show the intended color. You can learn more about the process in my last post on Cricut Infusible Inks here! Instead, I’m using third party placemats for this project because Cricut has not yet released placemat blanks. Keep in mind that when choosing a “blank” for a design, you need to choose something made primarily out of polyester or something with a polymer coating. Materials like polyester can handle high heat without melting, which is necessary in order to transfer the ink. Be sure to check the tag or description of the item before purchasing.
Supplies:
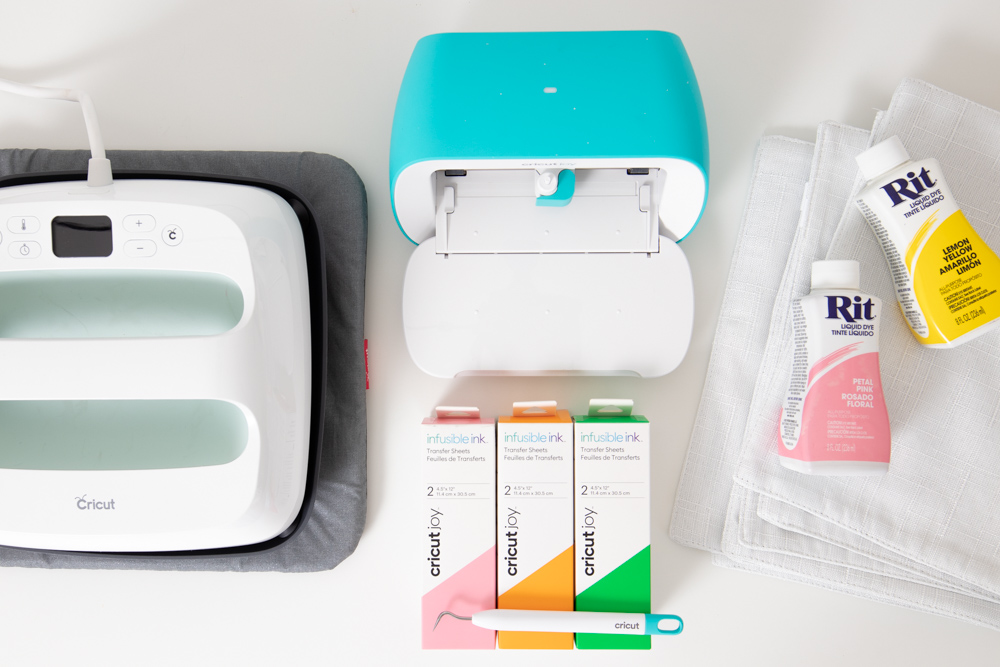
- Cricut Joy
- White placemats (at least 85% polyester)
- Cricut Joy Infusible Ink in Bright Green, Tangerine and Rose Pink
- Cricut Weeding Tool or Tool Set
- Cricut Standard Grip Mat
- Cricut EasyPress 2
- Fabric dye, 1-2 colors
- Large bucket
How to Make Floral Placemats with Cricut Infusible Ink Transfer Sheets
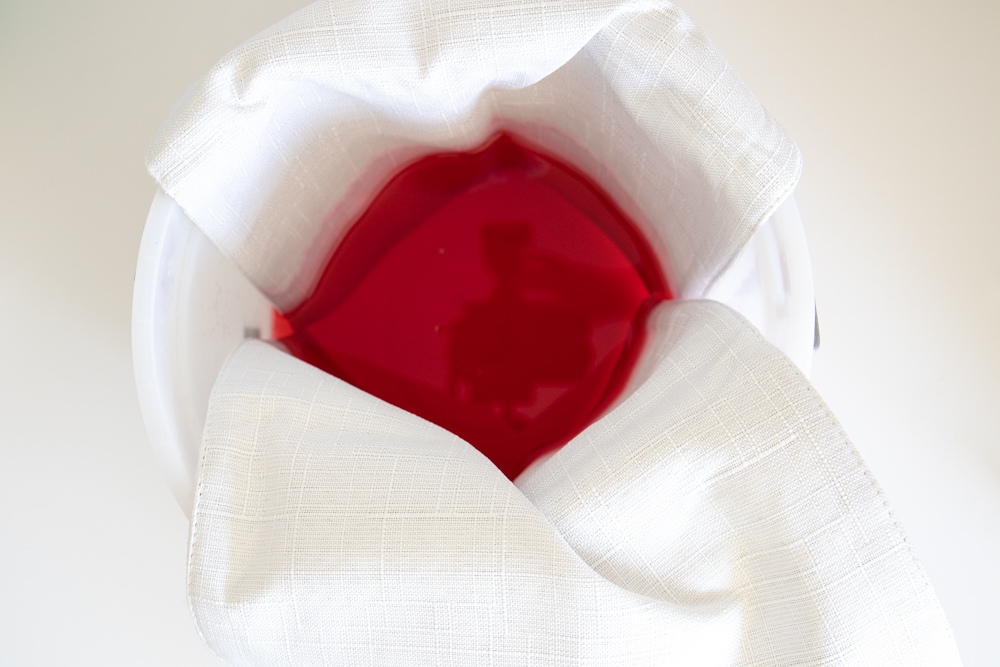
Step 1: Start by dyeing your placemats, if desired. Mix the dye according to package instructions and rest the end of the placemat in the mixed dye for about 10 minutes. Rinse and let dry.
Step 2: Repeat with both ends of the fabric placemats to make the same dip-dyed floral placemats you see here. Once both placemats are dyed and dried, head to the next step.
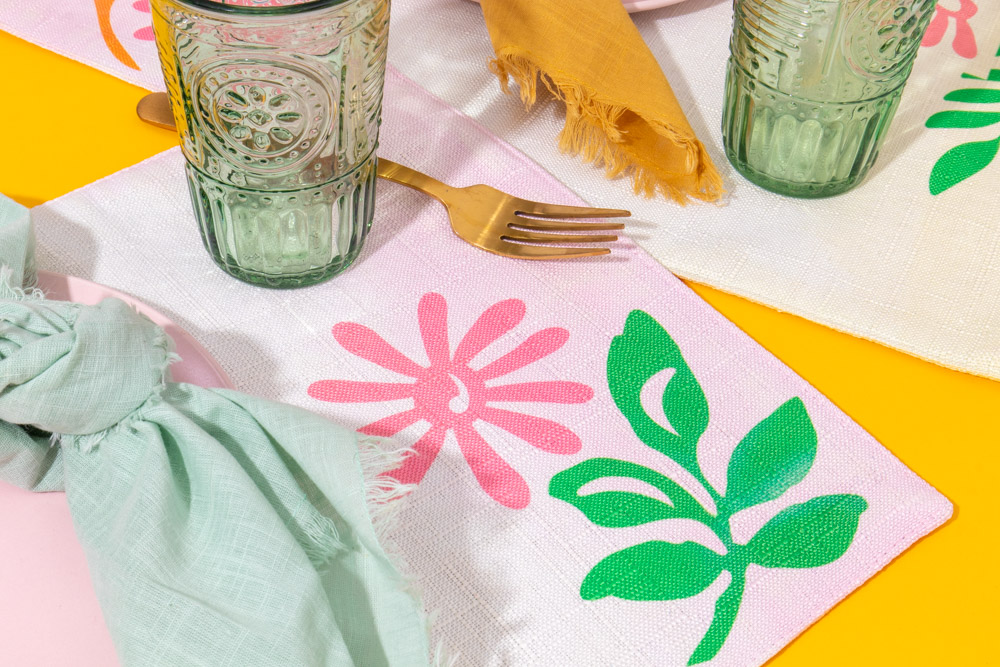
Step 3: Choose your designs! Here are the modern floral designs I used in Cricut Design Space. Adjust the sizes according to your placemats. Then click “Make It.”
Step 4: Be sure to select “Mirror: ON.” Then click “Continue.” Adhere the first color of Infusible Ink to the Cricut Joy mat with the ink side facing UP.

Step 5: Choose “Infusible Ink Transfer Sheet.” Then load the mat into the Cricut Joy and click “Go.”
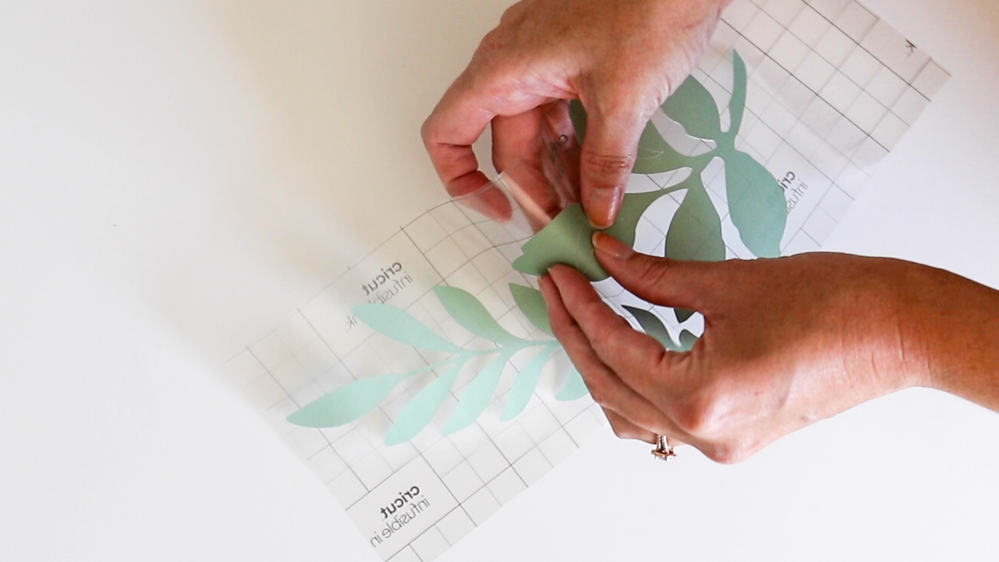
Step 6: Once cut, unload and carefully weed the design. Repeat with each color.
How to Iron Infusible Ink Transfer Sheets onto Polyester
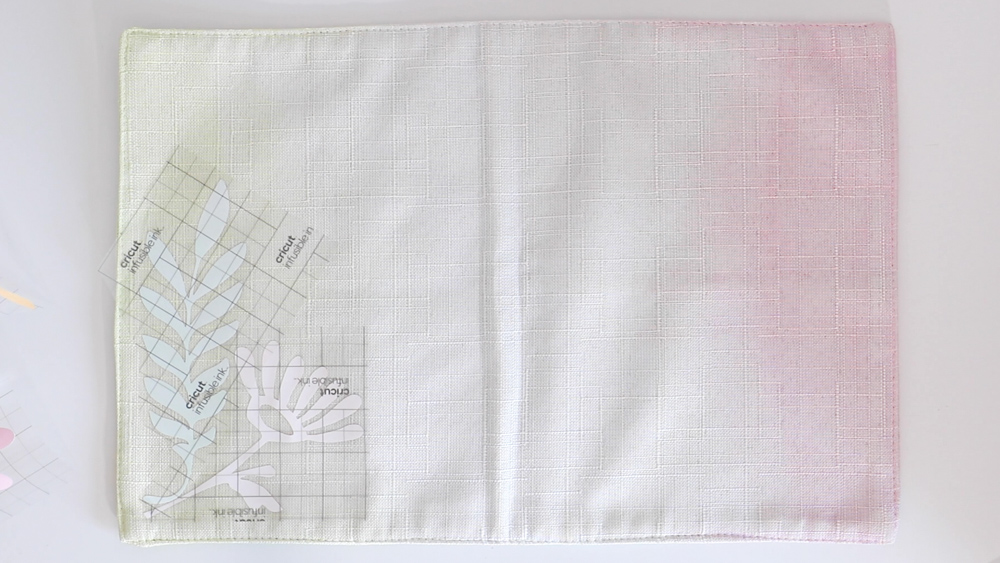
Step 7: Preheat the Cricut EasyPress to 360 degrees F and adjust the timer to 80 seconds. While it heats, arrange the floral pieces on the opposite corners of the first floral placemat. Make sure that you’ve cut the plastic enough that two designs DO NOT overlap as this could ruin your design when pressed.
Note, for best results, you should never press Infusible Ink in layers as it may result in less vibrant colors. In this case, it’s better to arrange the pieces in a way that does not overlap.
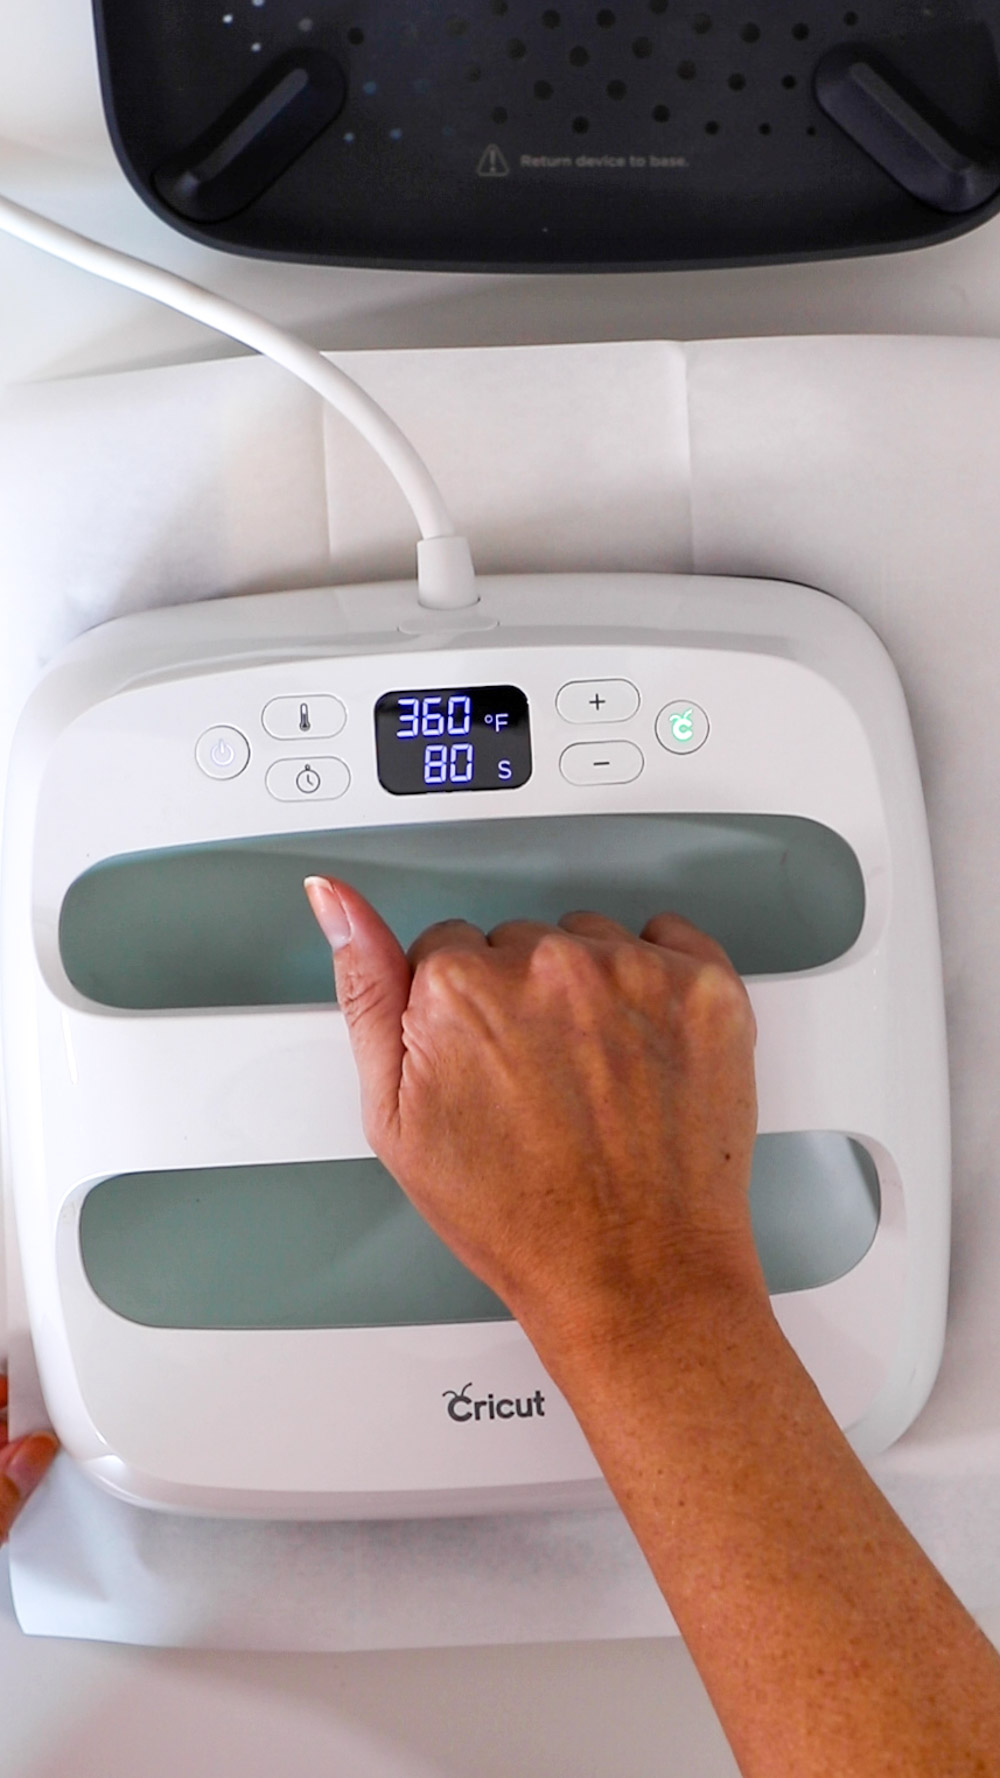
Step 8: When you’re ready, place a piece of the included butcher paper over the backing and press with the EasyPress for up to 80 seconds. Use tweezers to remove the backing so you do not burn yourself.
Step 9: Repeat with each of the dip dyed floral placemats and enjoy!
That’s all it takes to make unique home decor that’s not just pretty but functional! Stay tuned for more fun DIY ideas to make with Cricut.
Thank you to Cricut for generously sponsoring this post. All opinions are my own. Please note this post contains affiliate links from which I may collect a small profit should you choose to make a purchase. I only link to products I personally use or recommend. Thanks for supporting the brands that keep Club Crafted making and sharing!