The following post is in collaboration with Stikwood
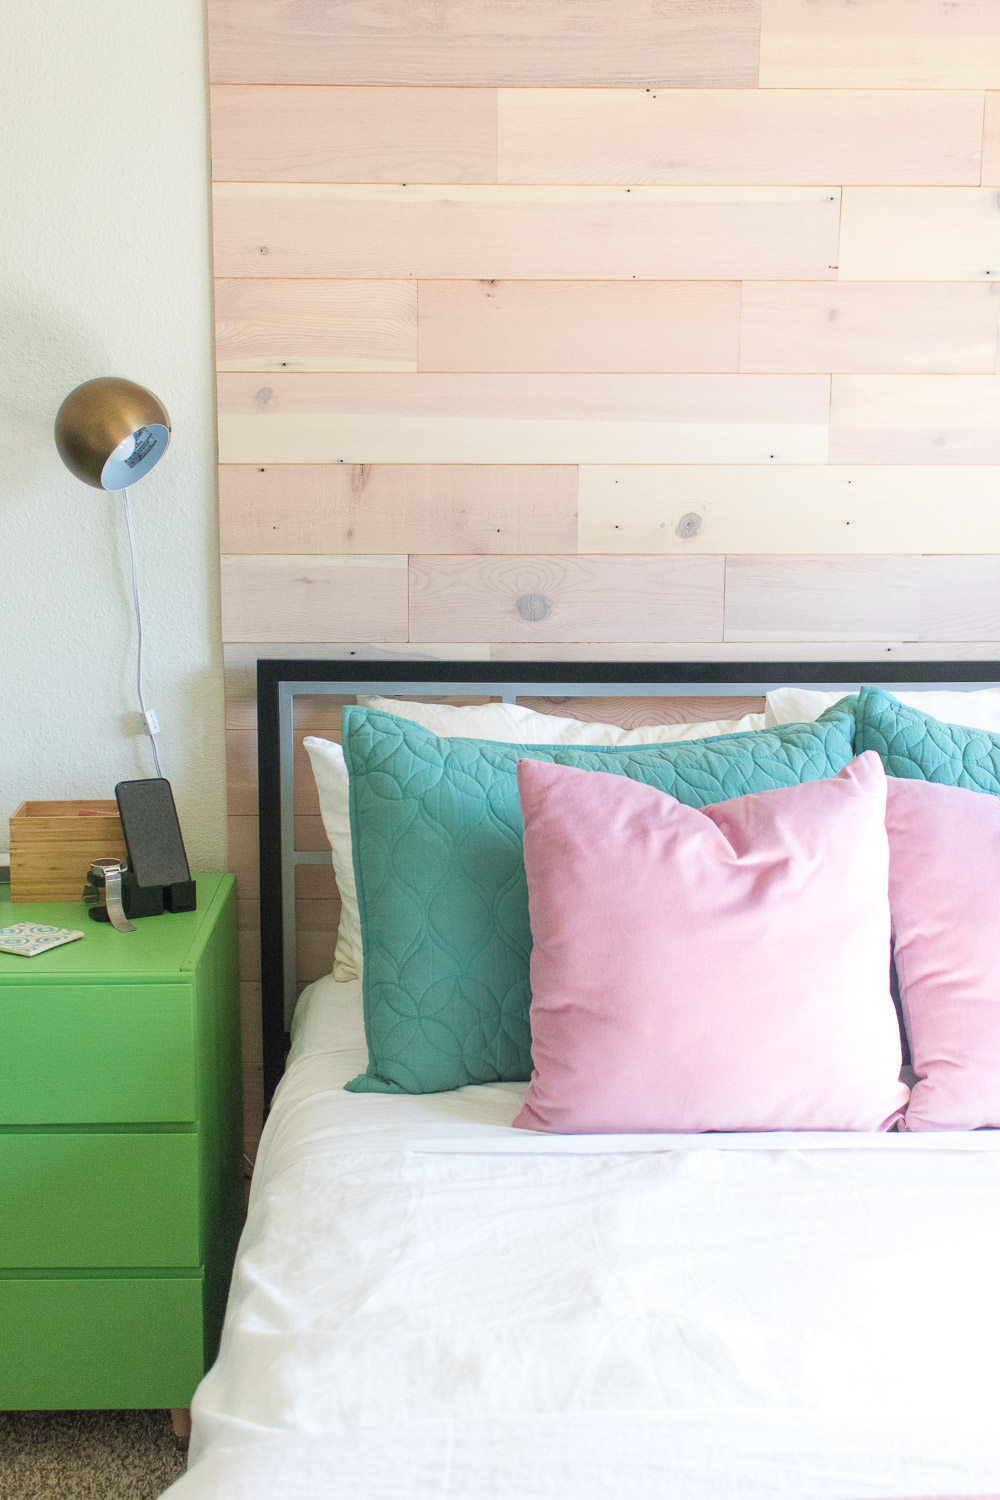
I’ve been itching to share today’s project with you guys! You probably saw a sneak peek of this plank accent wall in the bedroom post I shared recently, and today I can share the full DIY of how we achieved this renter-friendly plank accent wall behind our bed using Stikwood planks in a beautiful light finished wood. It adds so much interest to our boring rented bedroom, and I love that it’s the statement of the room now. Best of all, of course, is the fact that we made it renter-friendly (at least by our apartment rules) and can be removed prior to moving and all that’s needed is some light patching.
 When Andrew and I began looking at options for decorating our bedroom (which was in need of a HUGE makeover), I told him I really wanted to make the wall behind our bed an accent wall. Because the opposite wall is entirely mirrored closet doors, I felt it needed something interesting to make it feel like a unique room and not just another boring rental. After a lot of research, I found that our textured walls would not be ideal for most temporary wallpapers and installing a full plank wall would probably be budget-restrictive for us.
Instead, I decided to make a faux headboard accent wood plank wall, which I ended up preferring to my original plan anyway. The floor-to-ceiling planks make the room appear larger and pulls the eye away from the ugly closet mirrors (seriously, why does EVERY rental have these?).
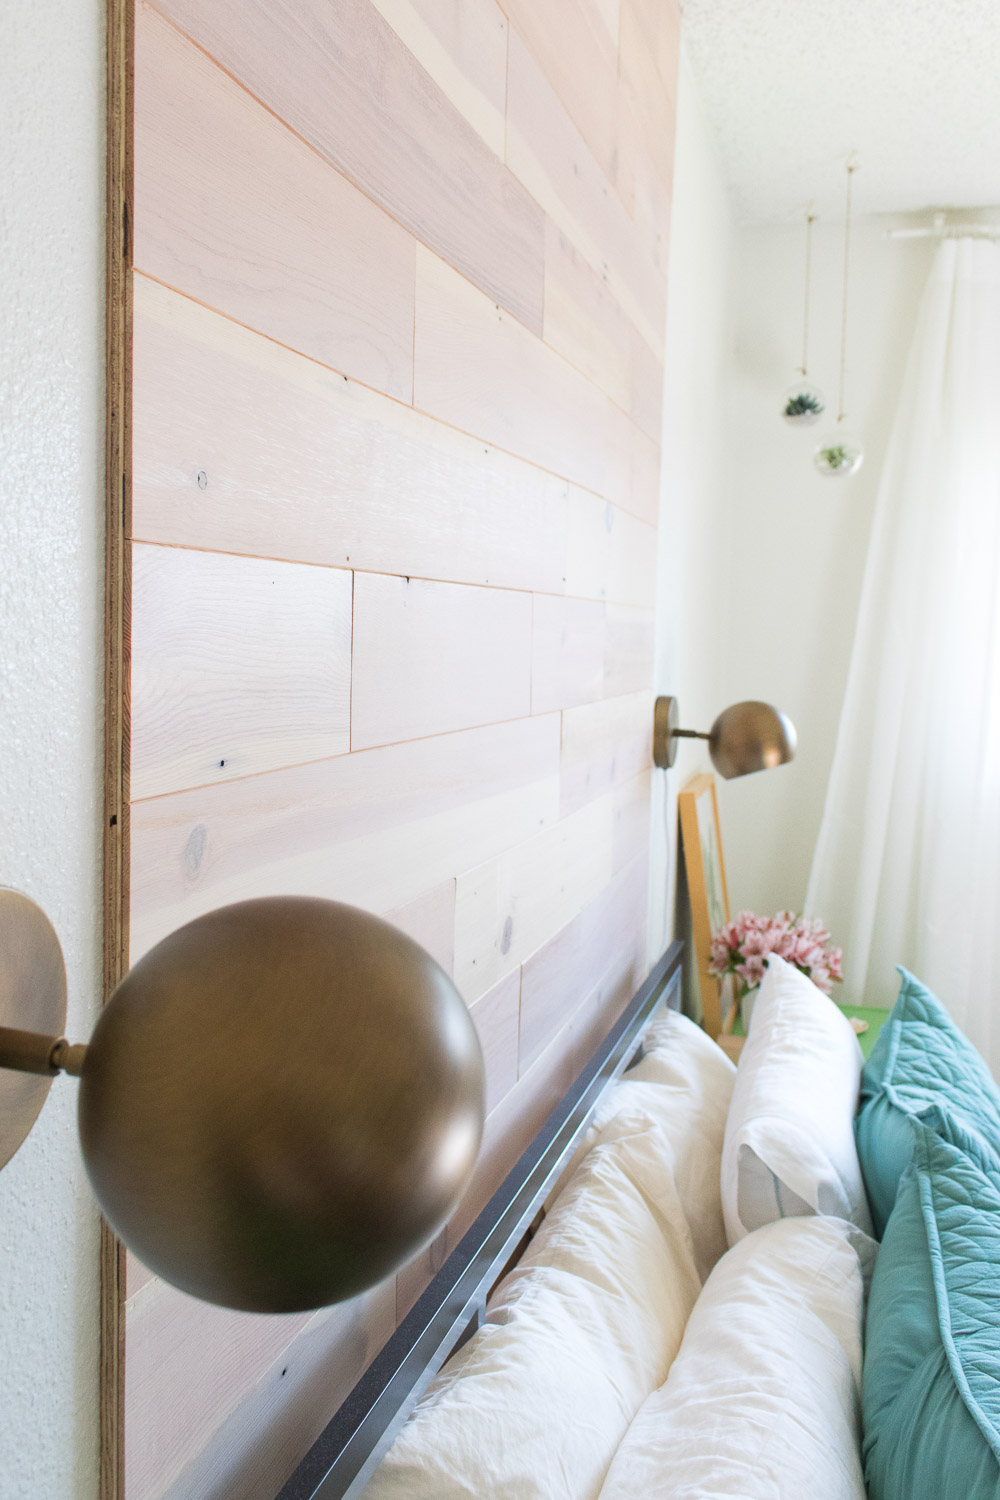
I started researching the best ways to make a plank wall that would be renter-friendly and quickly found Stikwood, which sells a variety of finishes of planks that you simply peel and stick to your desired surface, then apply pressure to make them stick permanently. By attaching these to large pieces of very thin plywood and drilling the plywood into our wall, we had a beautiful accent wall very quickly. The plywood also adds some great dimension. When we choose to move, we just unscrew the plywood pieces and take them with us to the next place!
Note, Stikwood is technically permanent, which is why you must attach it to plywood in order to make it rental-friendly. I find this easier anyway because you can move it with you to future homes if you desire. Otherwise, we would have risked the planks taking off the paint/texture of our walls when removed.
Here’s how we made our headboard accent!
 Time: 1.5 hours
Supplies:
- 2 pieces of 4 x 8 ft, 1/4 inch thick plywood, cut to size of space
- Stikwood (I used Minimalist Fir planks)
- Ruler
- Studfinder
- Measuring tape
- Level
- Long screws
- Drill
- Jigsaw or similar
In order to transport the plywood home, we had Home Depot cut the pieces to the sizes we needed, then cut the largest one half. This was easy and free.
Note, I recommend this as a two person project.
Step 1: First, take measurements of the space before you even purchase supplies. If using behind a bed, measure the width of the bed (round up a few inches) and measure the height of the wall from baseboard to ceiling. Note, take into account things like baseboards and popcorn ceiling (which we have). Our space was 5 ft x 6 ft and we had three separate pieces.
Once you measure, you can type in your wall dimensions on Stikwood’s website to determine how much you need to purchase, including a little extra to account for waste pieces.
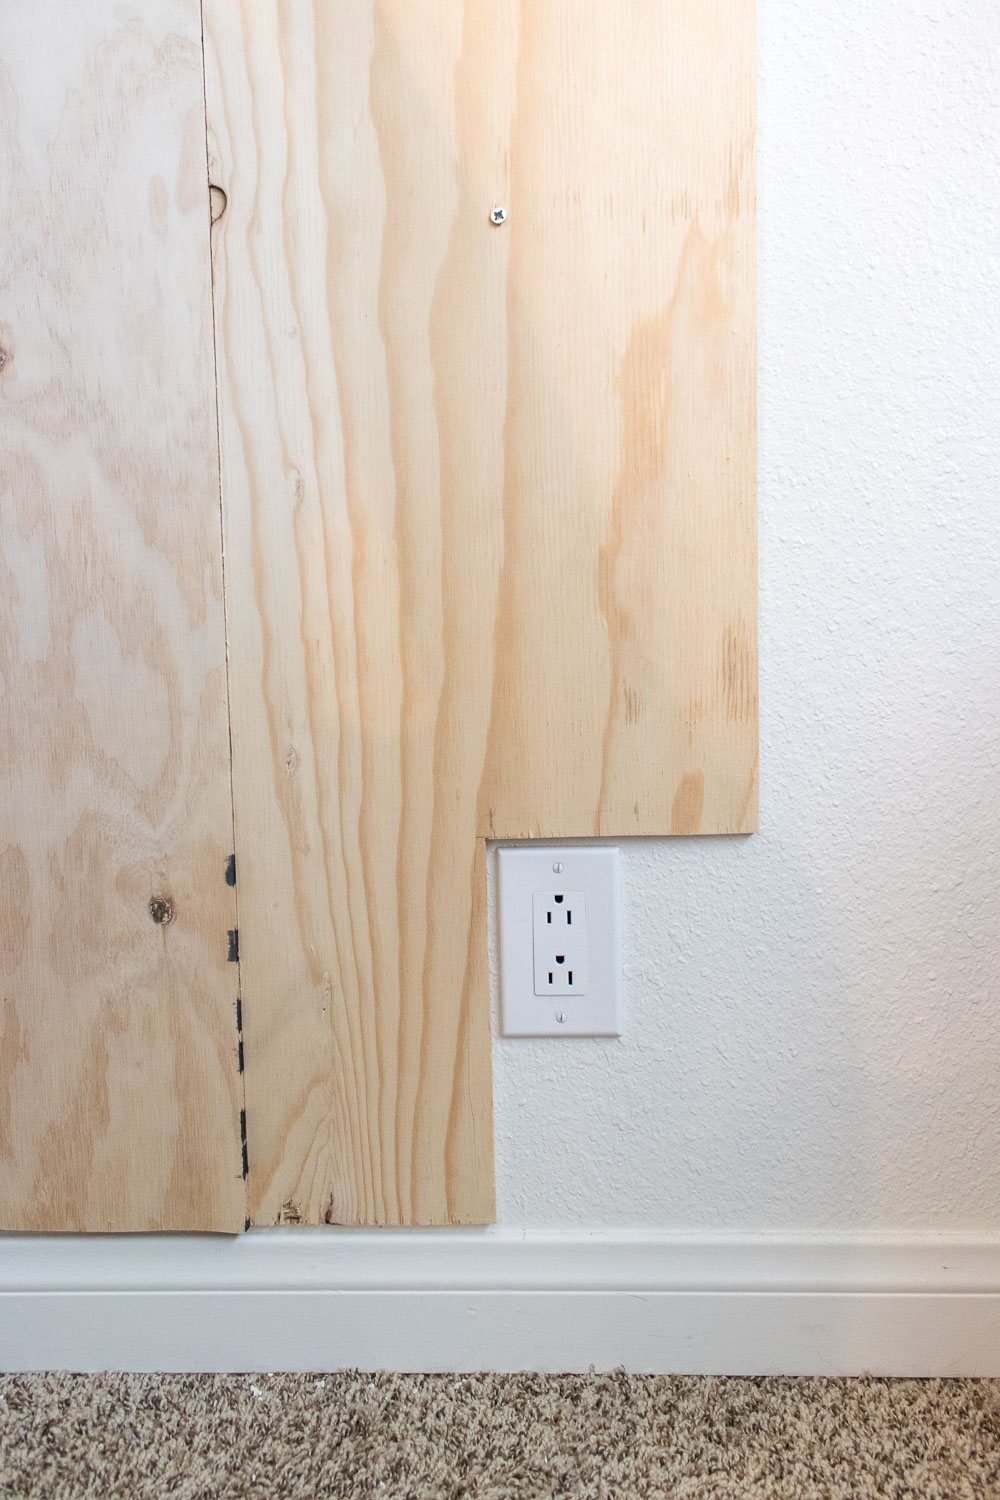 Step 2: Lay the plywood against the walls to ensure they’ll fit and make any other cuts with a saw as needed. We had to cut out a notch for one outlet. Sand any round areas, especially ones that will be exposed on the outsides.
Step 3: Determine where you want the accent to be and find the studs. Mark start and end with a pencil so you know where to screw in the plywood.
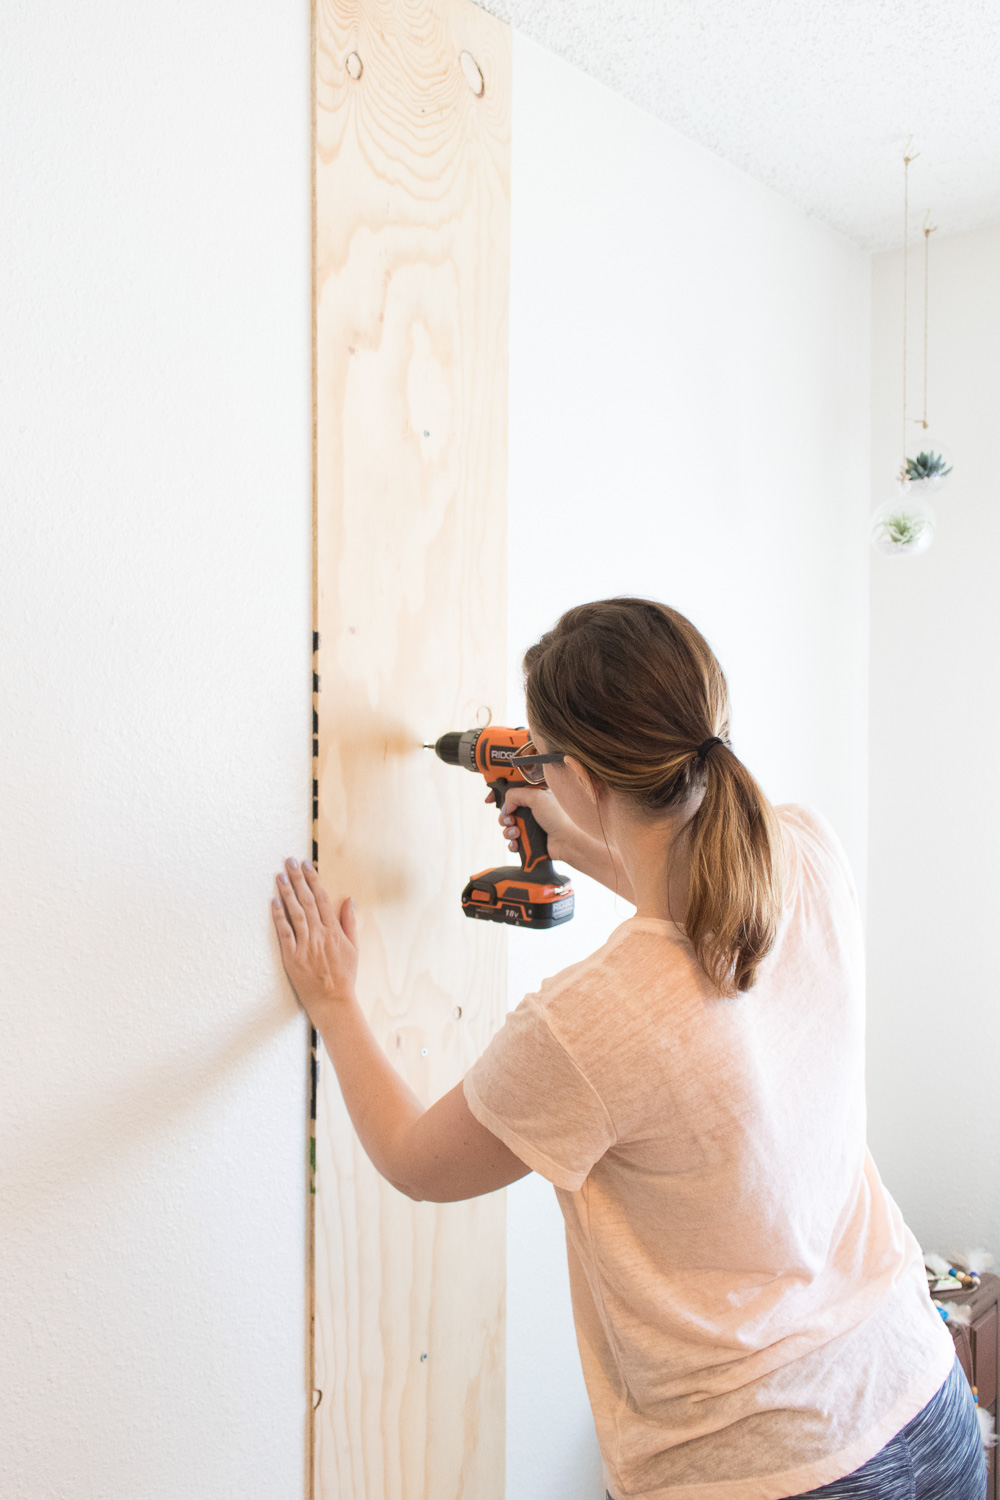
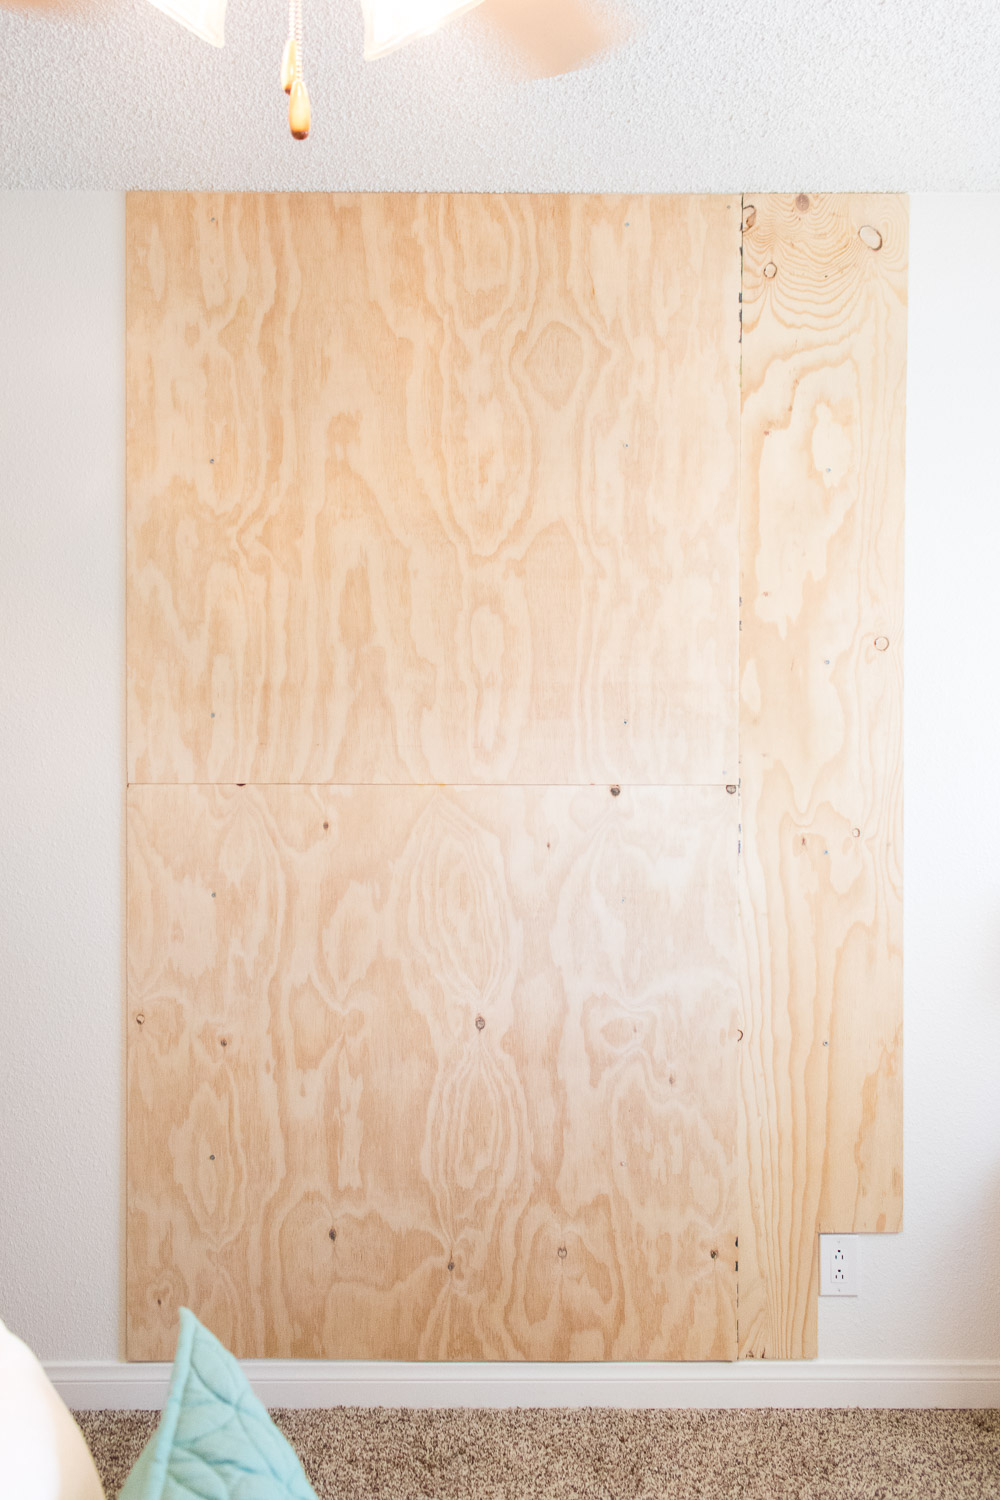 Step 4: Use the power drill to attach the plywood to the wall studs with large screws, spaced evenly apart from top to bottom. Use a level to ensure the plywood is straight. If possible based on the location of the studs, you’ll want to screws the plywood in close to the corners so that it lies flat against the wall.
Because our rental is older, the walls are somewhat warped, so the plywood could not lie perfectly flat.
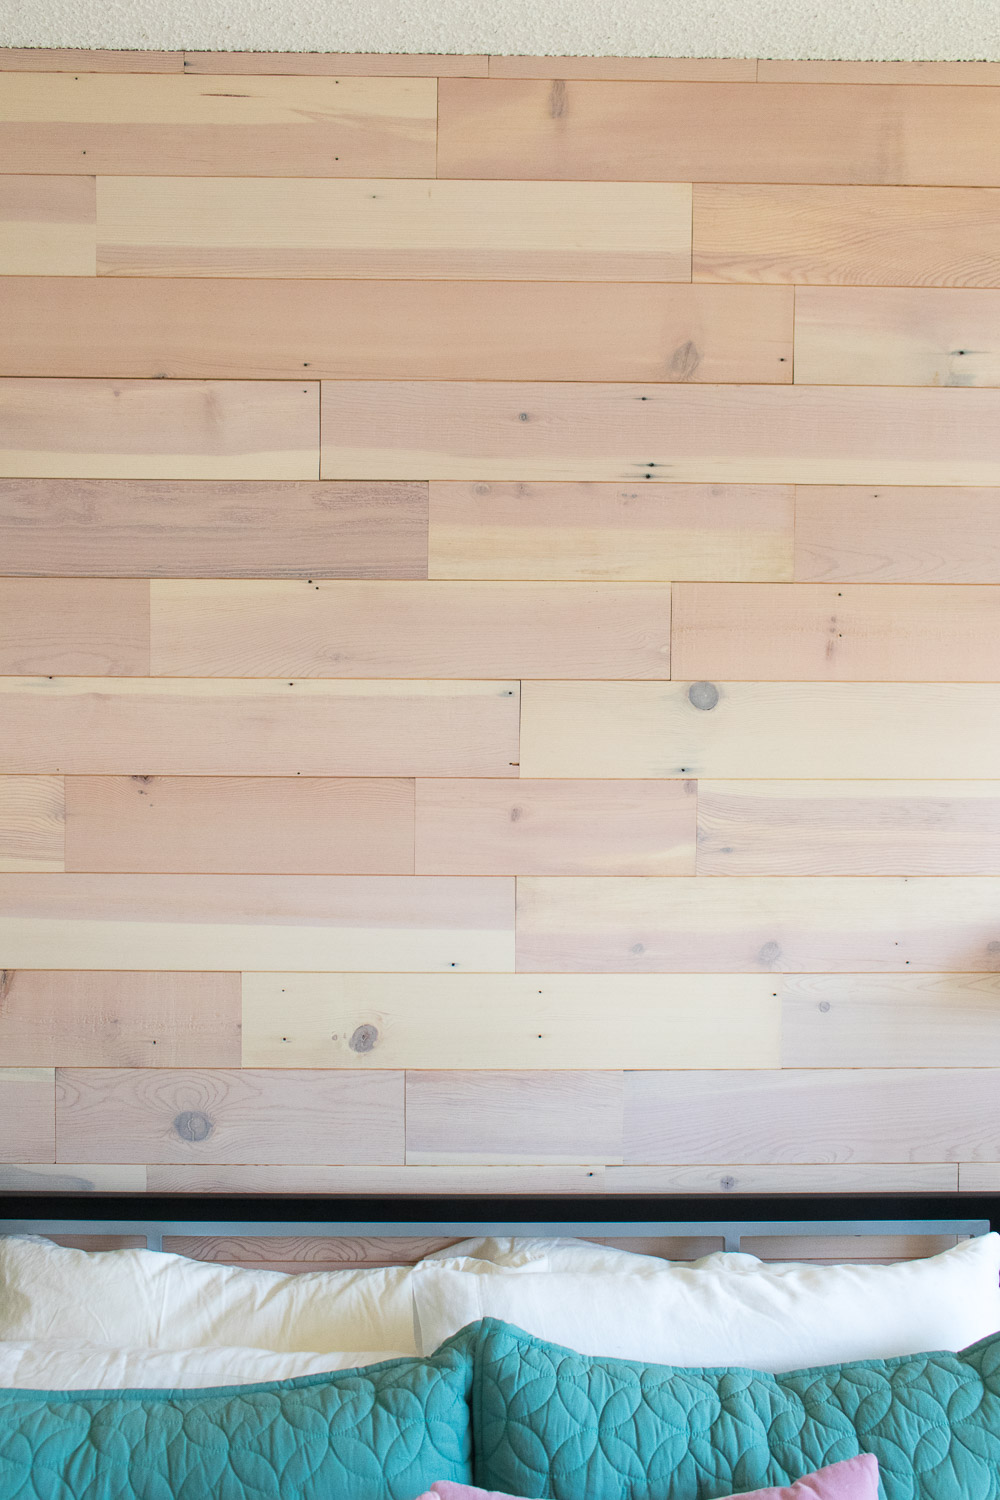
Step 5: Once the plywood is securely screwed into the wall, you can begin preparing the Stikwood. I recommend planning out a few rows in advance and varying the sizes of wood because the packages include short, medium and long lengths of planks.
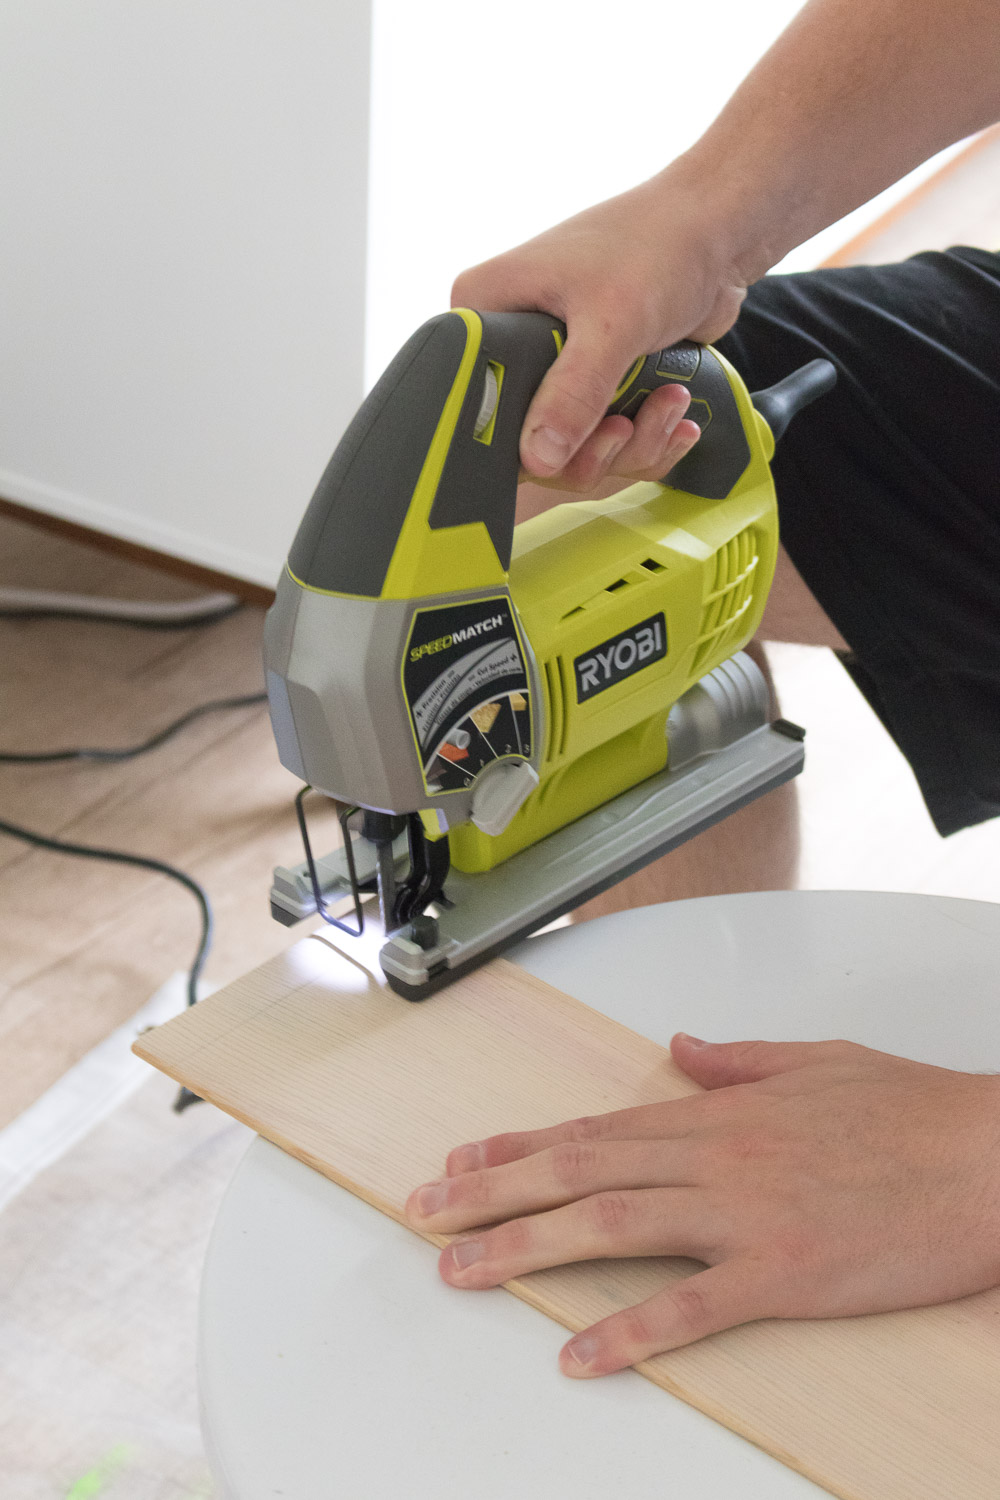 Step 6: Before peeling away the tape, lay the wood against the wall and use a level as a ruler to measure where to cut the wood to fit the plywood covered space. Cut with a saw along a straight line and sand as needed (although we did not need to for the Stikwood pieces, only the plywood).
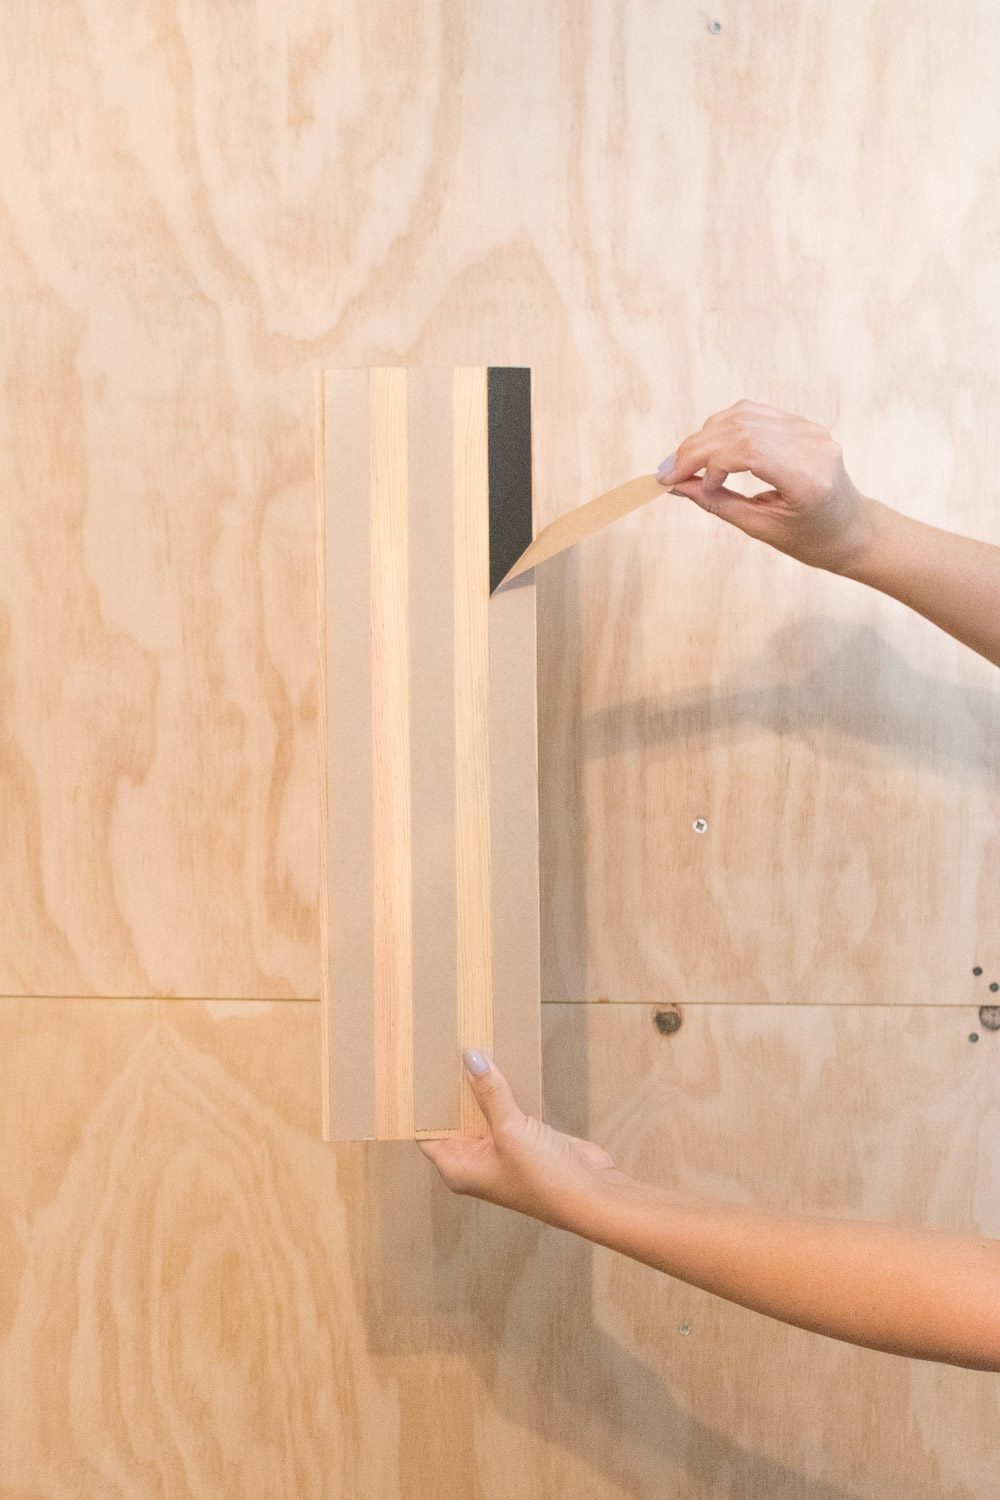
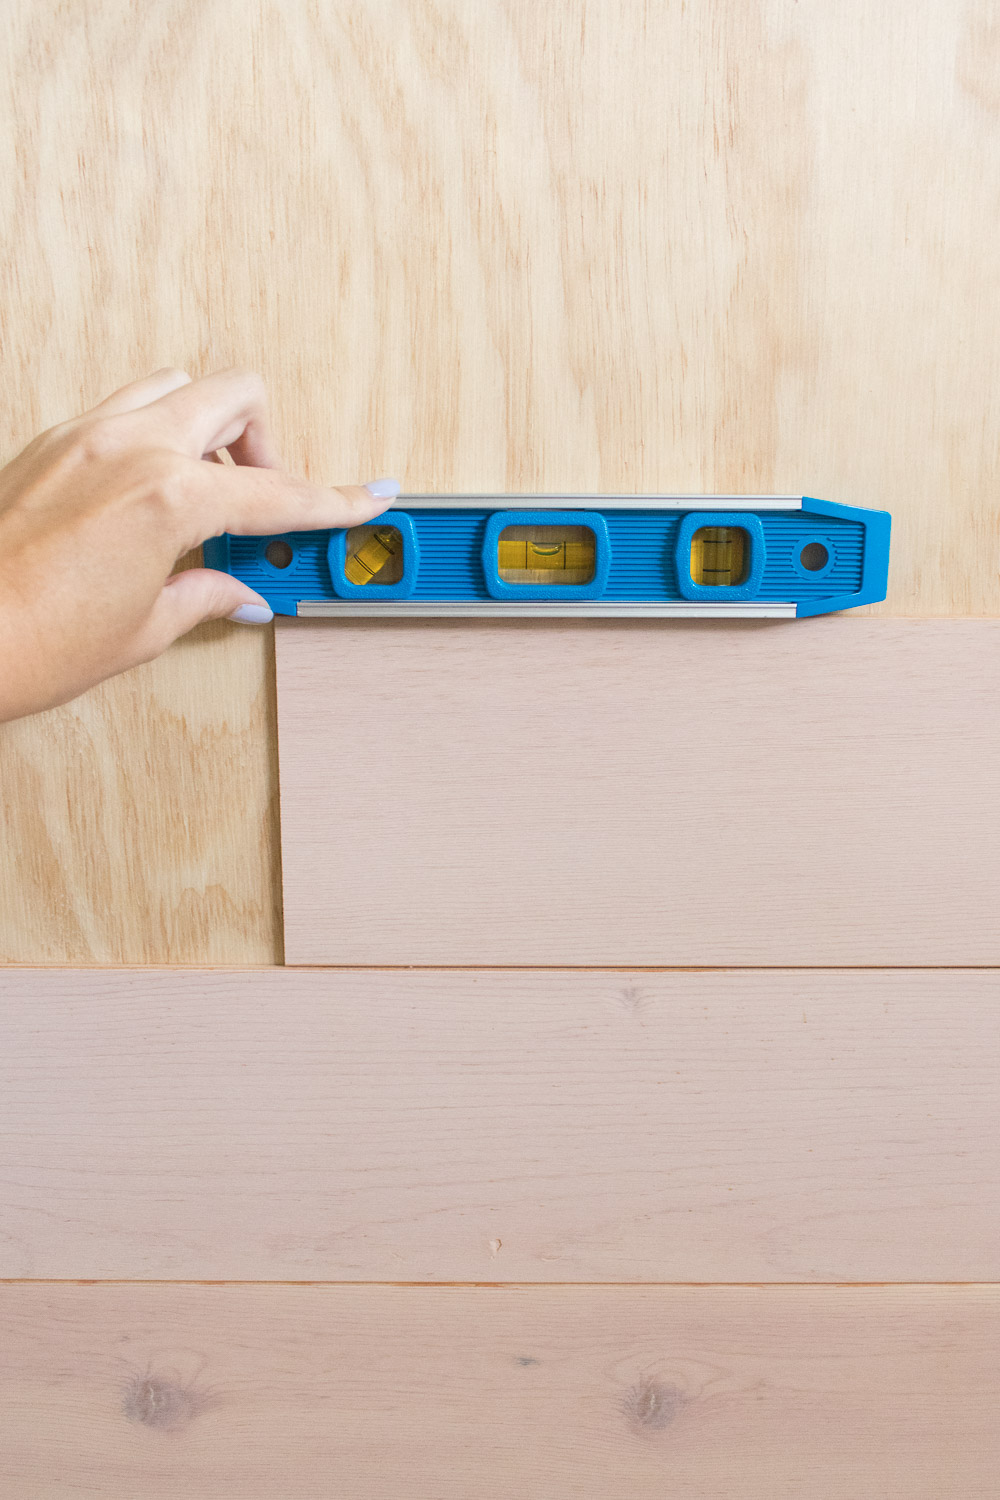
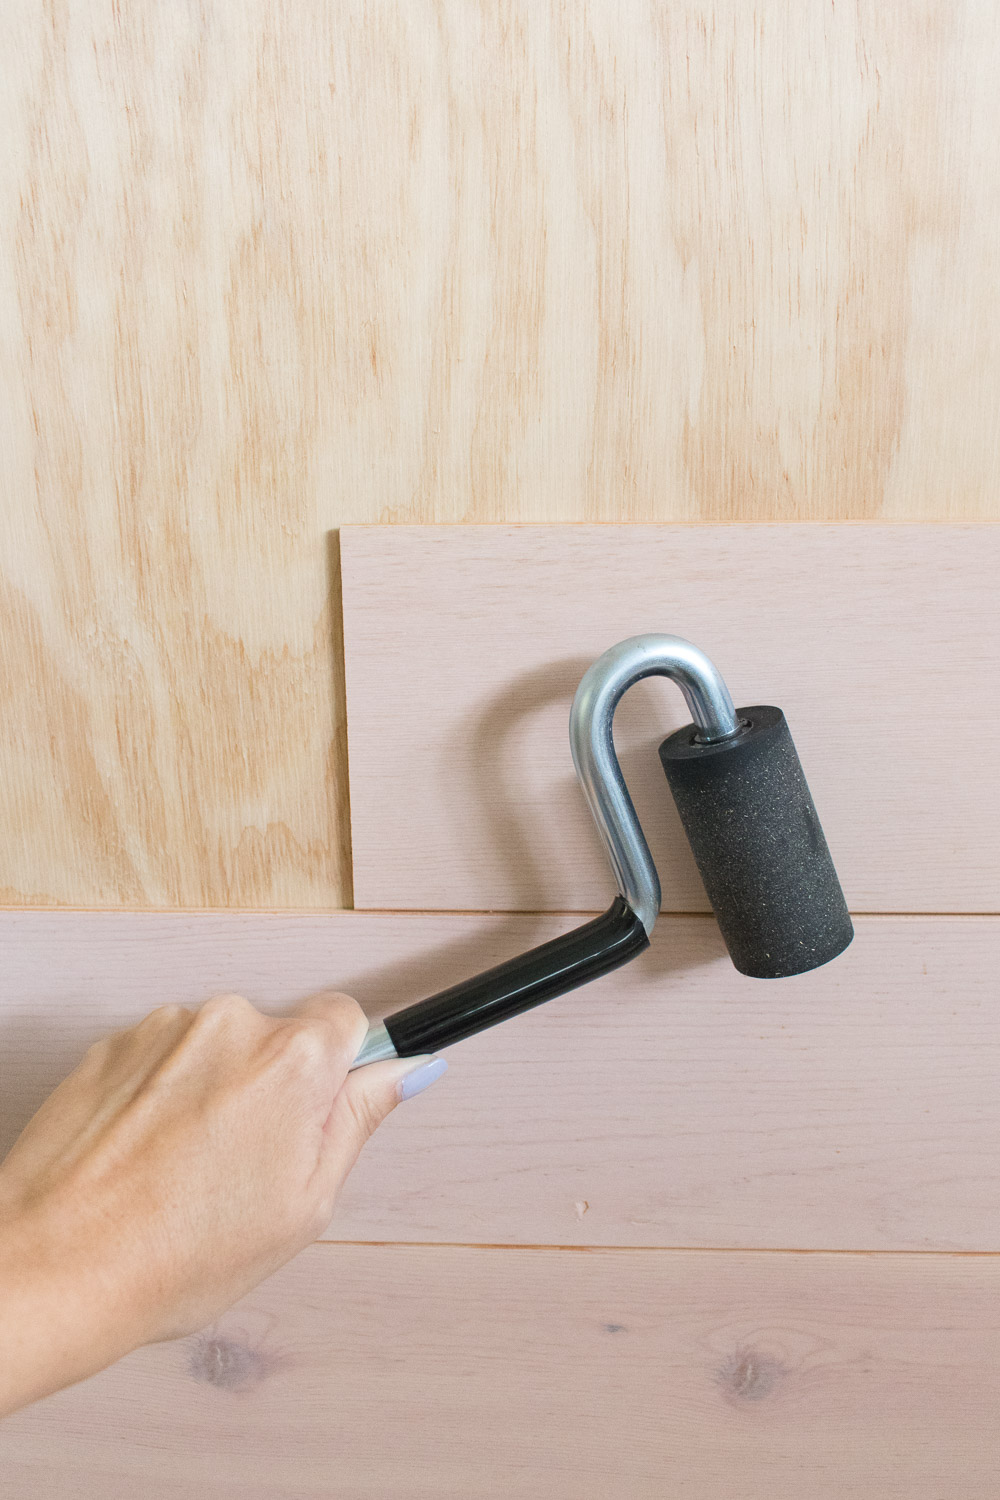 Step 7: Peel away the backing and stick the Stikwood pieces to the plywood, starting at the bottom of the wall. Make sure each piece is level. As you complete a row, use the roller to press the planks in place – Stikwood is pressure-sensitive, so this step ensures they stay perfectly stuck.
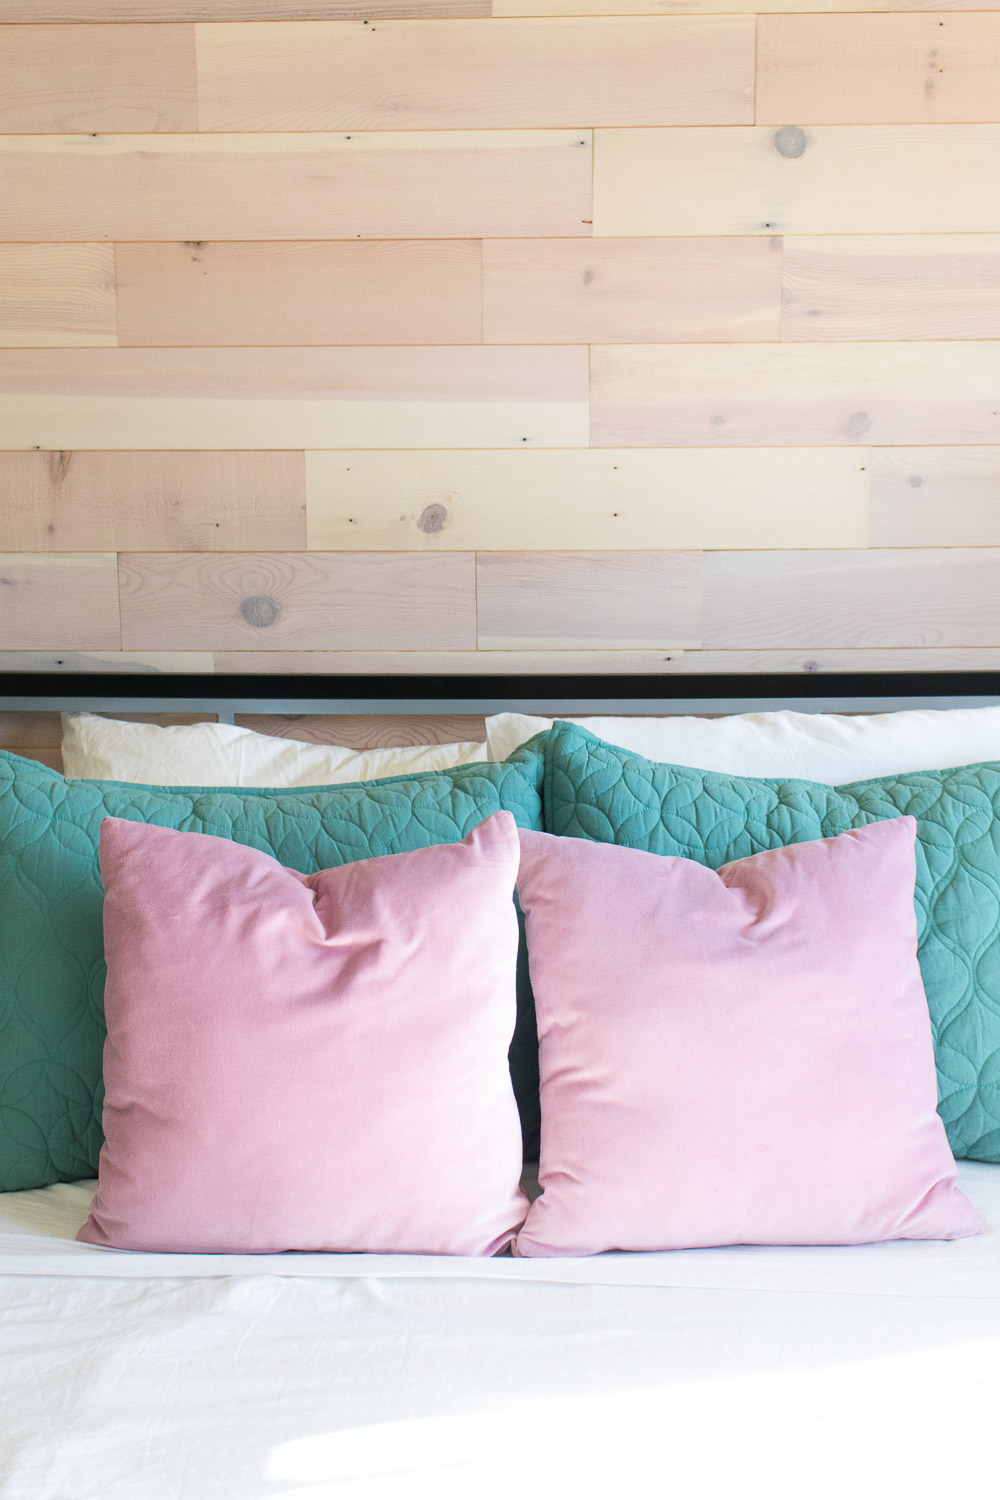
Step 8: Repeat all the way up the wall, varying the sizes so that the planks do not line up (unless that’s your preference). When you reach the top, you may need to trim the width of the planks to fit up to the ceiling.
I’m excited to see how the room comes together in the end because I have a few more ideas up my sleeve!
Tip: Have leftover Stikwood? Save it for future use or use it to make a photo backdrop, seen here in a post last week.
Thank you to Stikwood for generously providing products for this post. All opinions are my own. Thanks for supporting the brands that keep Club Crafted posting!
Melissa
Thanks for “renter friendly” design option with these planks
Elizabeth Seal
Wow so beautiful, I would love to have a go at making this in our new room! Definitely saving to bookmarks 😀 adore your blog! xx
elizabeth ♡ ”Ice Cream” whispers Clara
(lets follow each other on bloglovin or instagram)
Holly Wade
Elizabeth SealThanks Elizabeth! I’m so happy you liked it!