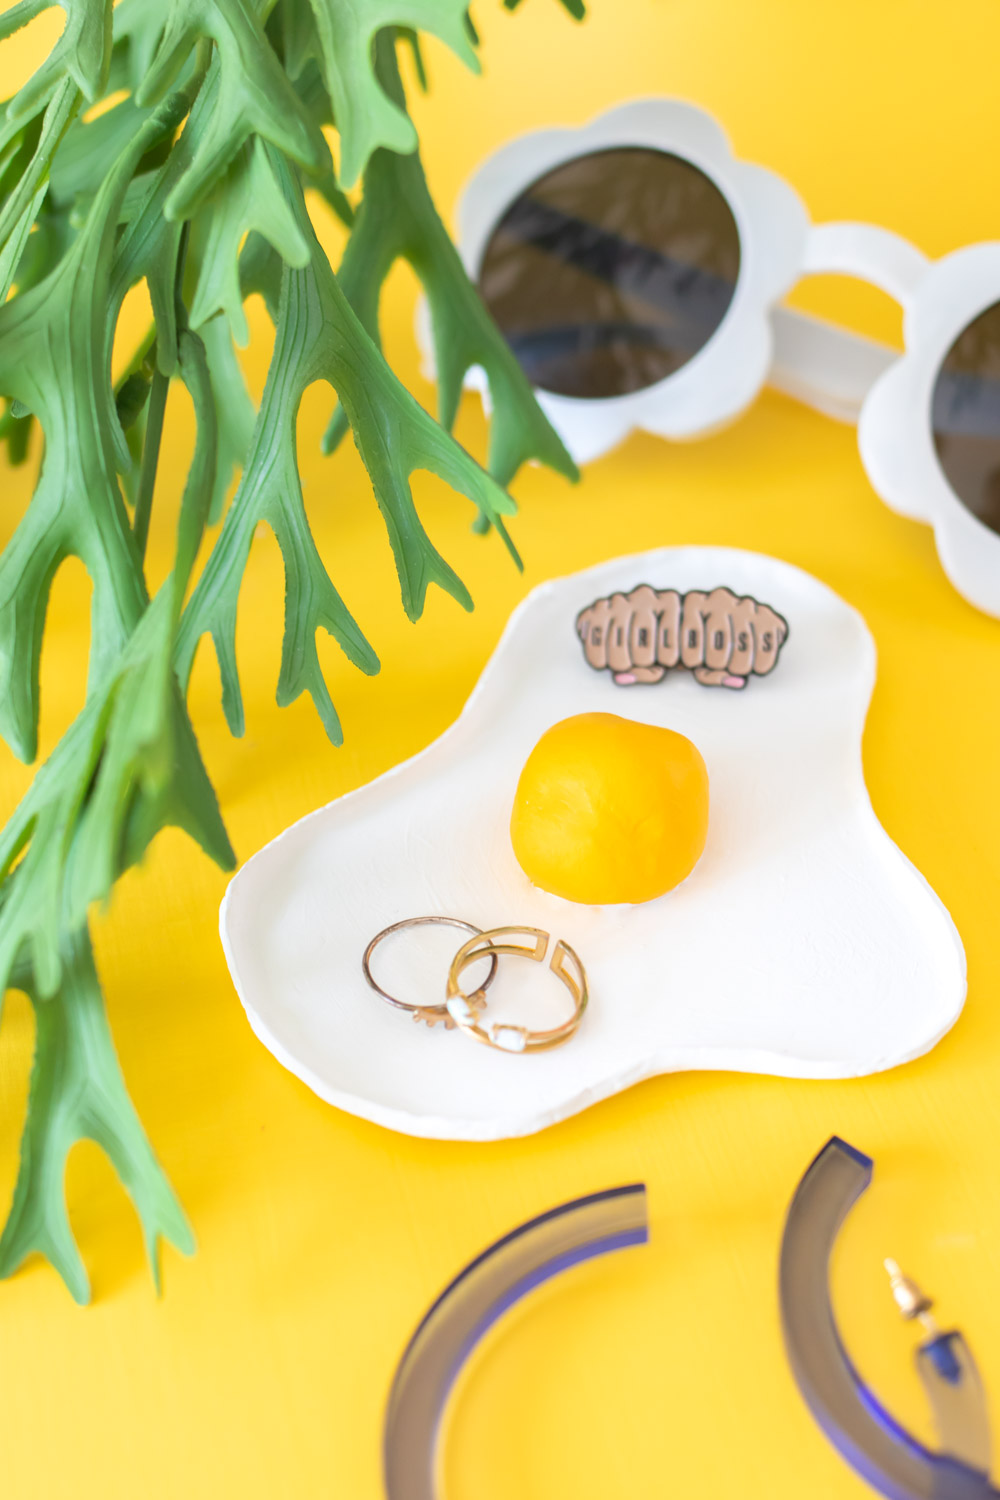
I bet you know EGGsactly what to expect from today’s post! Geez, it feels like ages since I made a post with puns! It was long overdue. Despite a crazy few months, I’m trying to get back into the swing of DIY, so I have a new easy tutorial to share today. This fried egg clay catch-all dish just CRACKS me up! Made entirely out of air-dry clay, this clay fried egg dish is the perfect way to catch trinkets around your house. It seems like no amount of mini trinket dishes is enough in my house. The only downside is Milo has decided that all of my jewelry is actually toys for him, ha! Now I’m trying to put them in higher places to keep my rings and bobby pins safe from kitten claws. Keep reading for the quick tutorial for this clay catch-all dish!
I’m that type of person who leaves things all over the house. My poor fiance is the neat one, so I’m sure I drive him crazy. These little catch-all trays are a great way to catch the clutter! You can make a fried egg dish like this out of air-dry clay or traditional baked polymer clay, but I find that air dry clay is easier for this particular craft. A little bit of water will smooth out the clay while you work, making it easier to manipulate (I think) than oven bake clay. However, if you use baking clay, you can skip the painting step and simply use white and yellow clay to begin with.
Psst, do you spot my Girlboss pin?!
Here’s how to make an easy clay catch-all dish that look like a fried egg!
How to Make a Mini Catch-All Tray with Clay
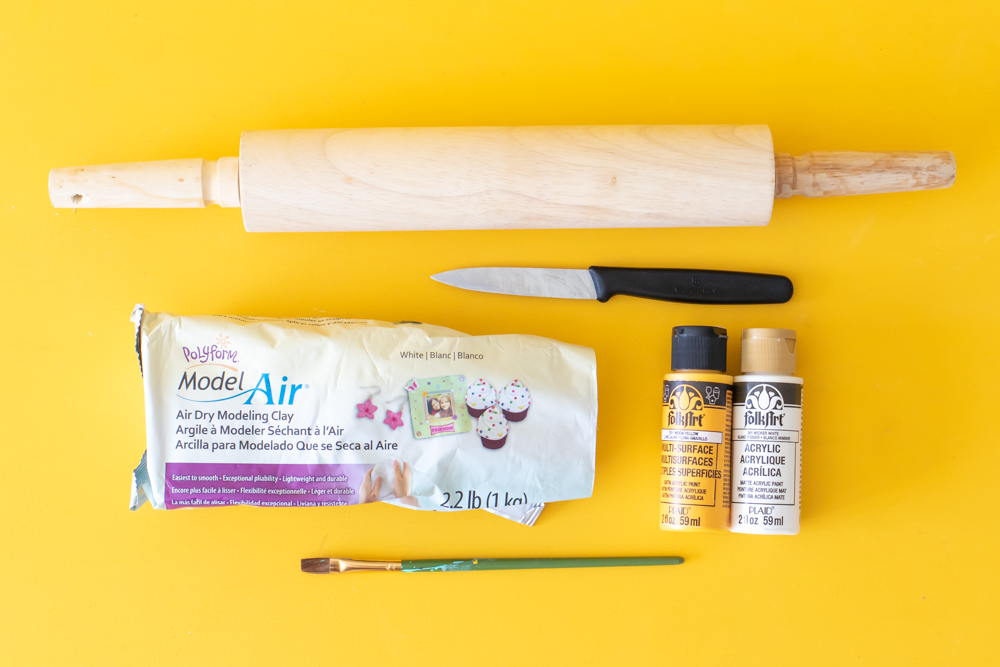
Supplies:
- Air-dry clay
- Knife
- Rolling pin
- Yellow paint
- White paint
- Paintbrush
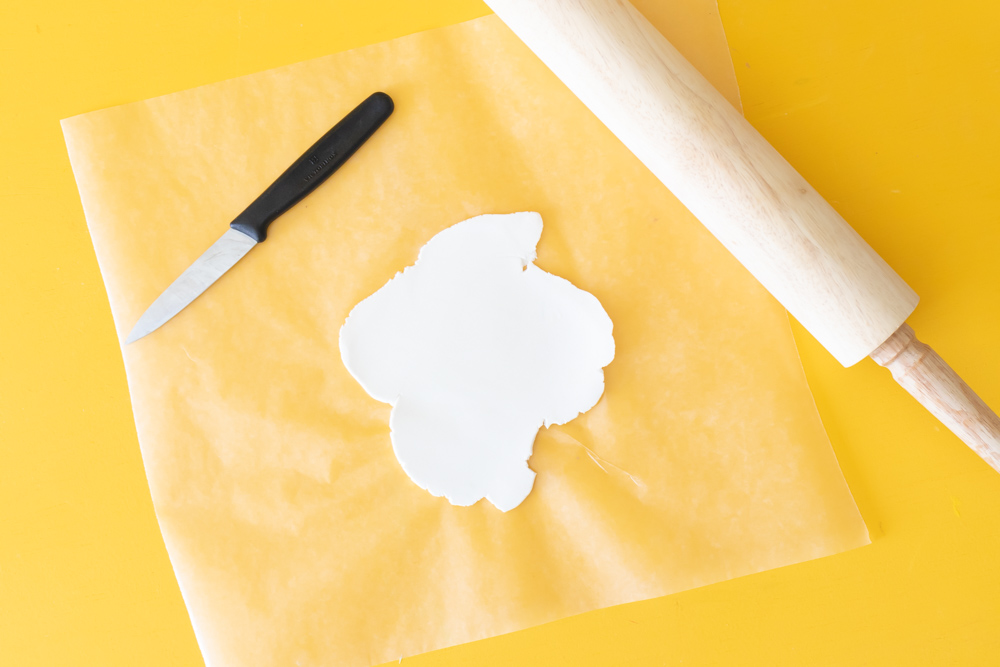
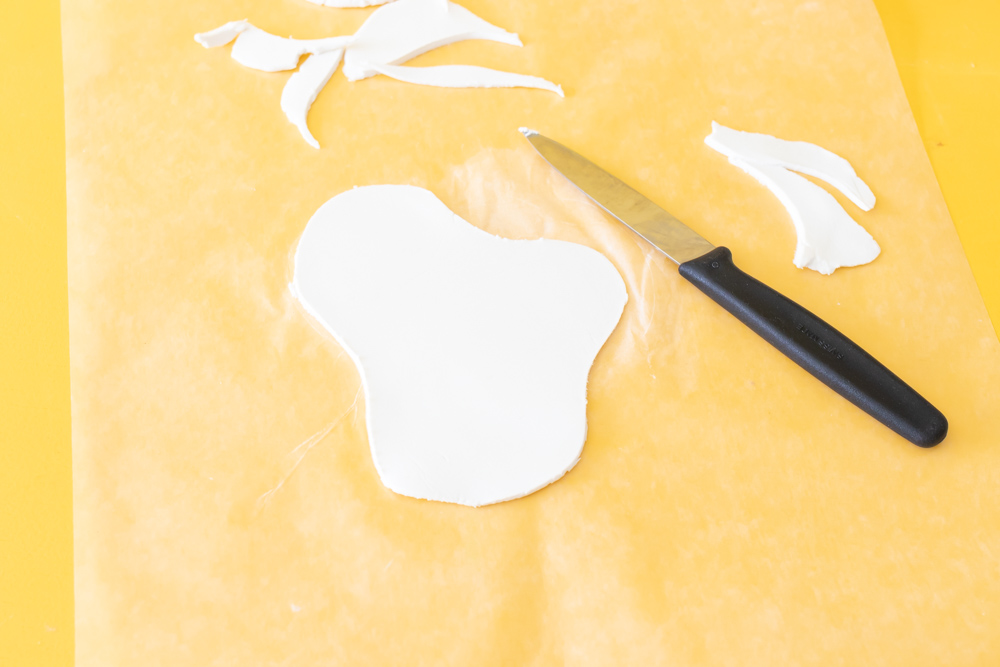
Step 1: First, roll out a large piece of clay until about 1/4-inch thick (or a little thicker). Then use a sharp knife to make a very squiggly circle for the white of the fried egg catch-all dish. Mine is about 5 inches at the widest part.
Step 2: Once shaped, gently curl the edges to create a “lip” around the dish. Use a little bit of water on your fingers to smooth the clay as needed and avoid breakage.
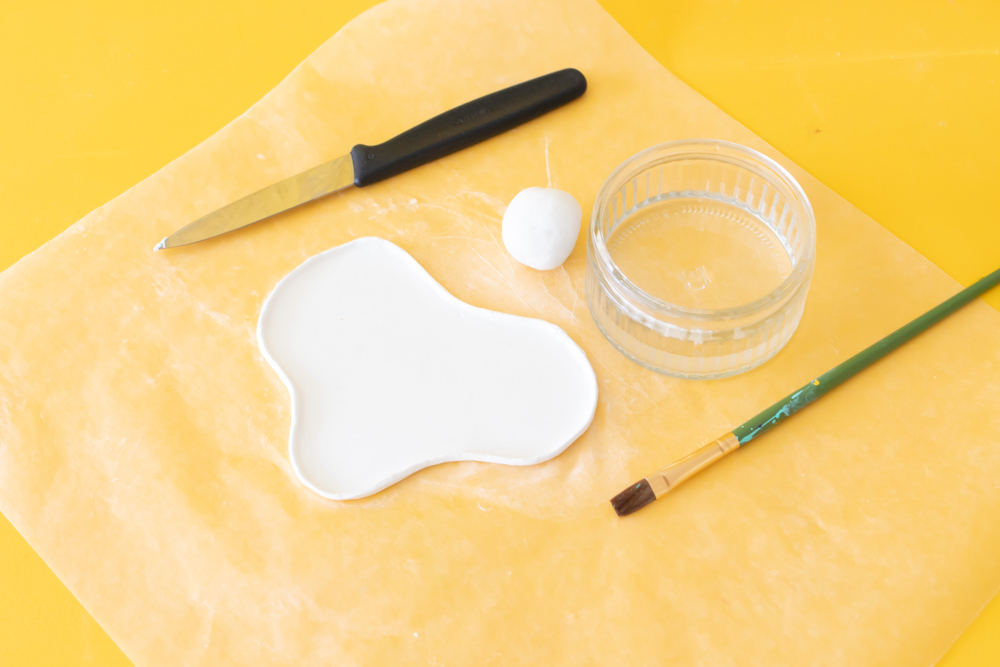
Step 3: Roll a piece of clay in your hands to form a 1-inch ball. If needed, add a few drops of water at a time to moisten the clay enough to work with. Then add more water to smooth out any dips in the clay.
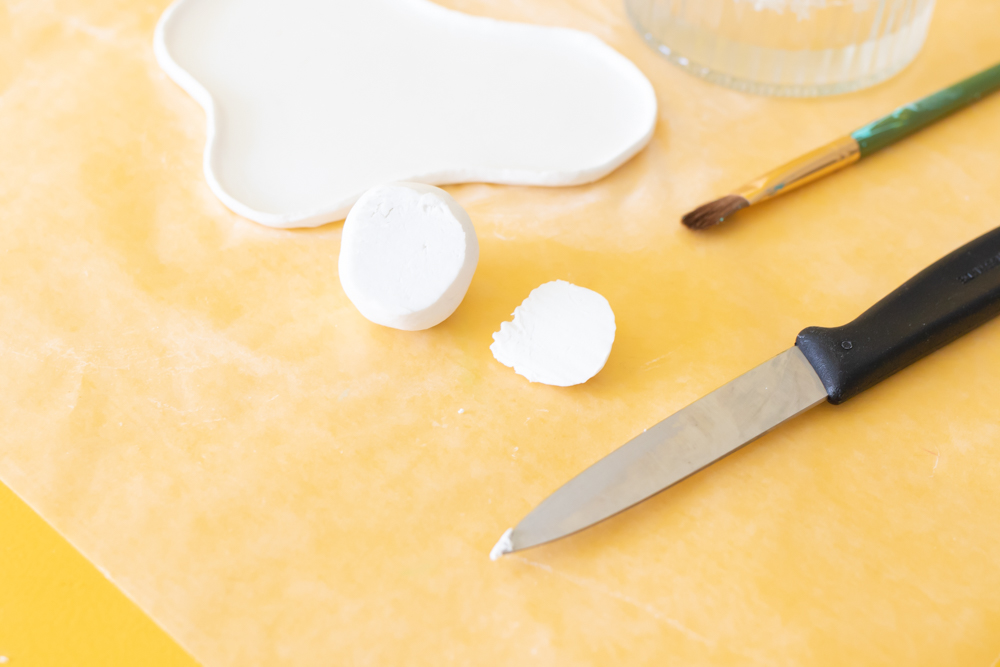
Step 4: Use the knife to cut off the bottom third of the ball, creating a flat surface. Place in the middle of the flat clay catch-all dish.
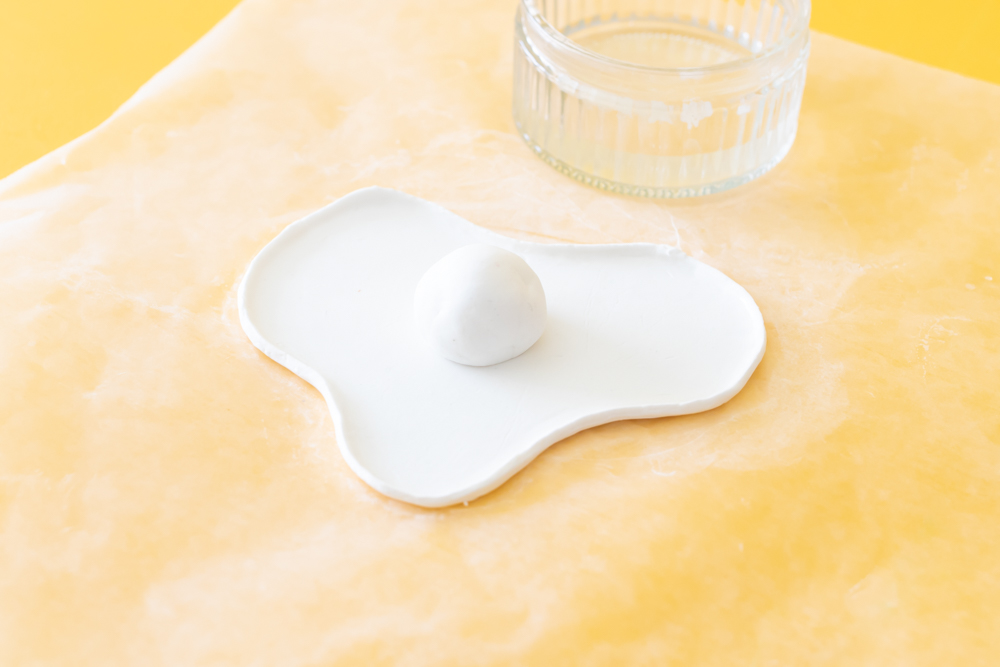
Step 5: Gently smooth the seam of the ball into the dish with damp hands to appear seamless. Once satisfied, let the dish dry overnight.
Step 6: Paint the middle yolk yellow, then paint the rest white. Once dry, add a second coat of paint as needed. For best results, apply a clear sealant once the paint is dry.
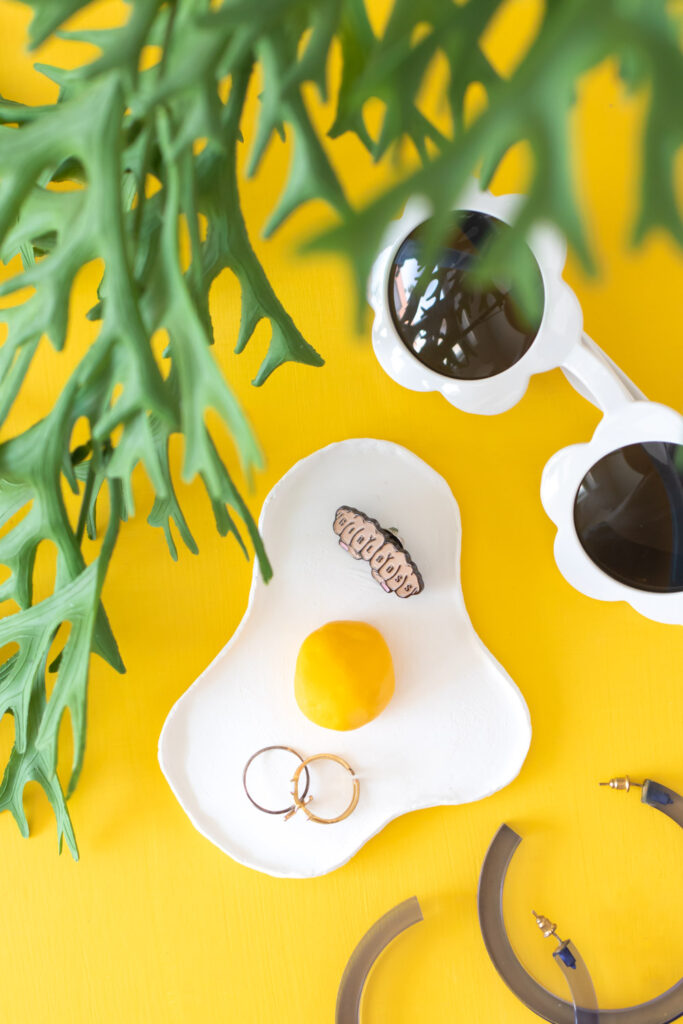
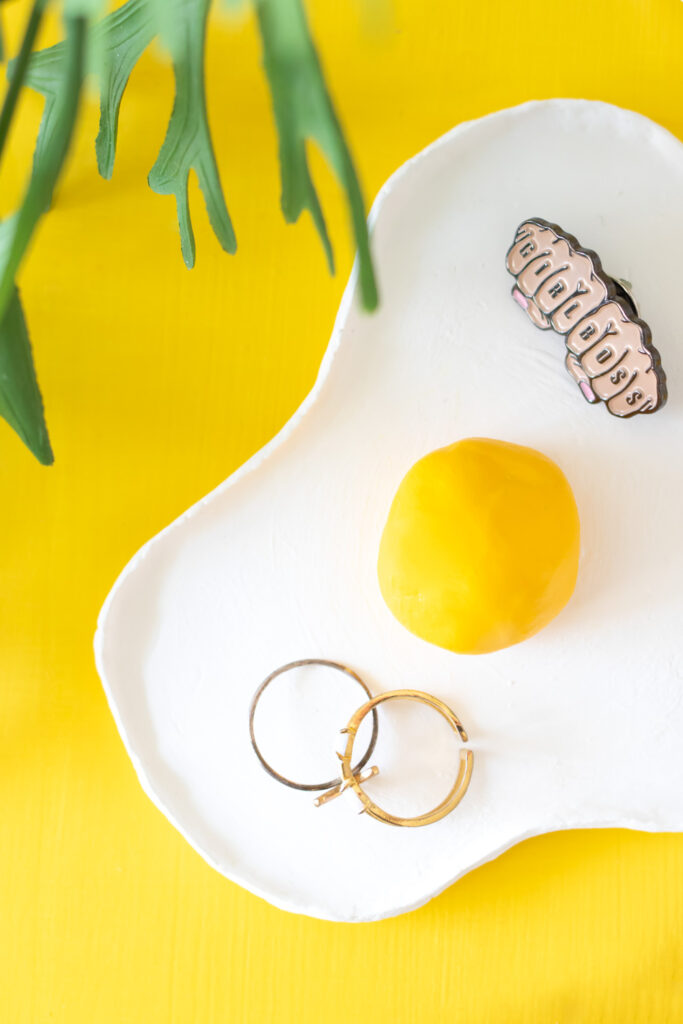
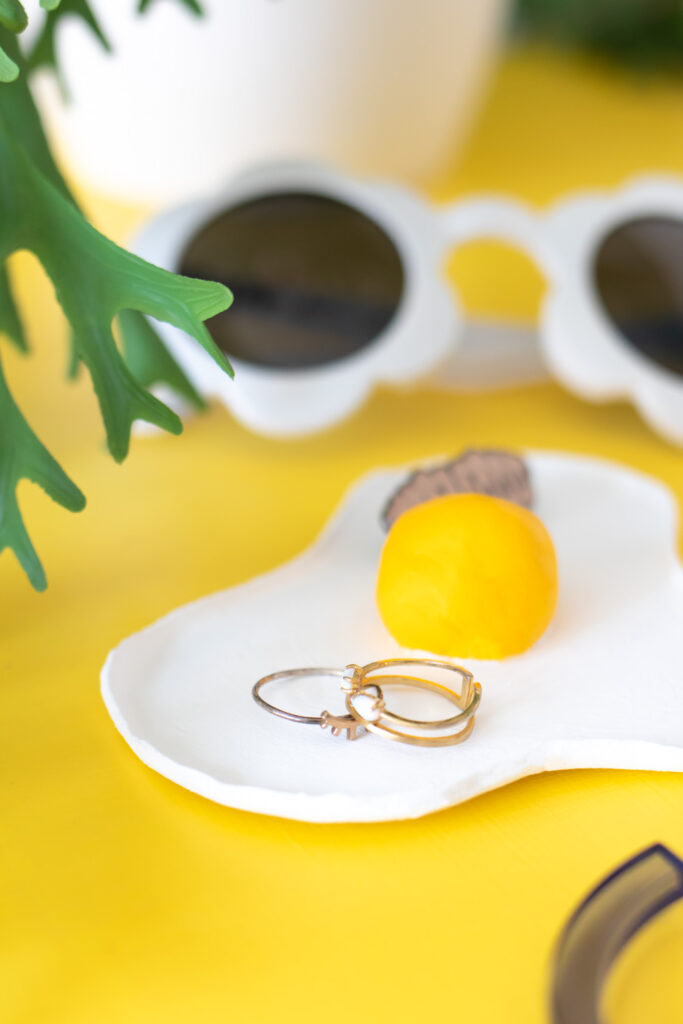
Now, fill up the simple clay catch-all dish with your trinkets from around the house! The fried egg clay catch-all dish is a fun, punny little addition to my dresser these days.
If you liked this clay dish, I think you’ll also love my rainbow catch-all tray!