

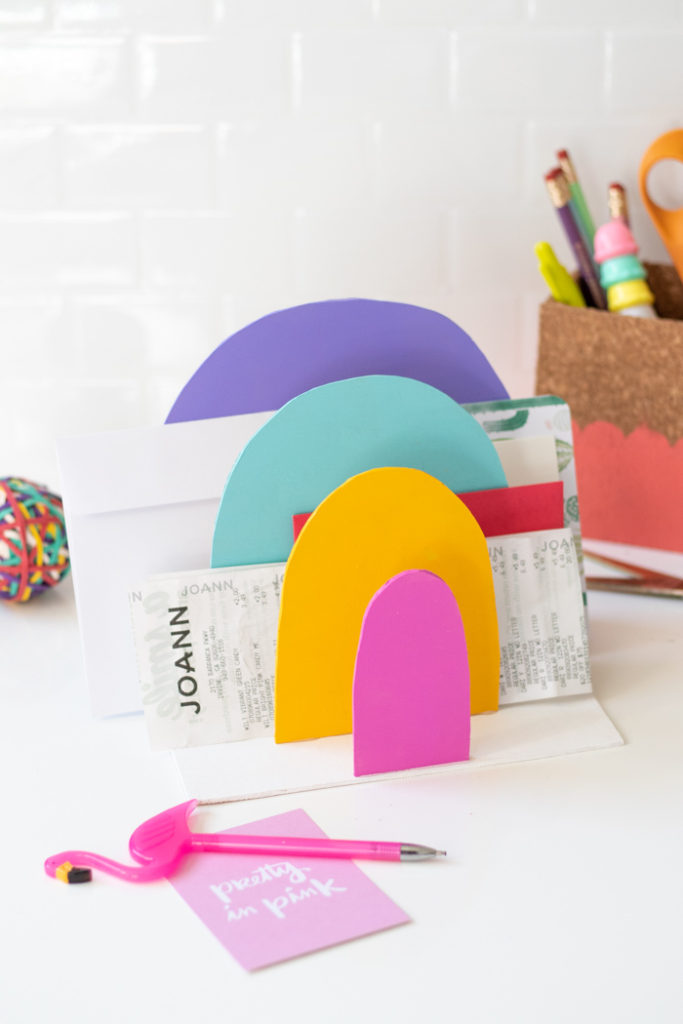
Organize the rainbow, see the rainbow! As you can imagine, my home office is full of random knick-knacks that fit my love of color and goofy novelty products. Somehow, a rainbow paper organizer was missing! Don’t worry though, I made one and I’ll show you guys how to make this simple wood paper organizer too! This entire paper organizer is made out of balsa wood, so it’s lightweight while still feeling durable, and each piece works together to form a little rainbow for your desk. Plus, you don’t need any special tools to make it!

Psst, that scalloped pencil cup is a DIY too!
All you need to make this rainbow paper organizer is balsa wood and a craft knife! Admittedly, it takes a little elbow grease to cut through each piece, but it’s all about repetition. It’s the perfect way to add organization to your desk and help you file away all those receipts and mail that you’ve been trying to avoid (anyone else??).
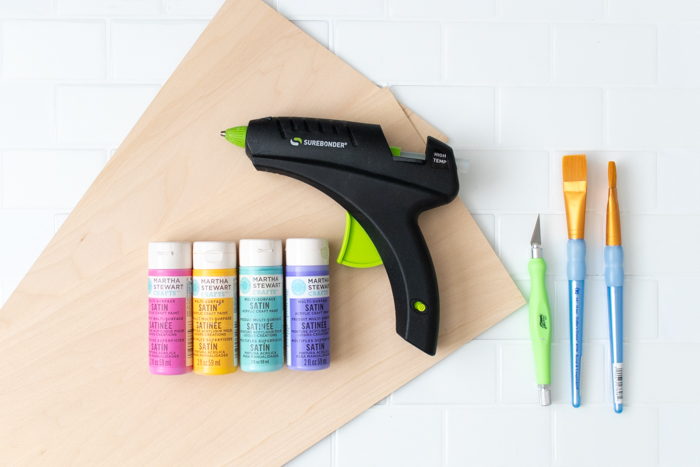
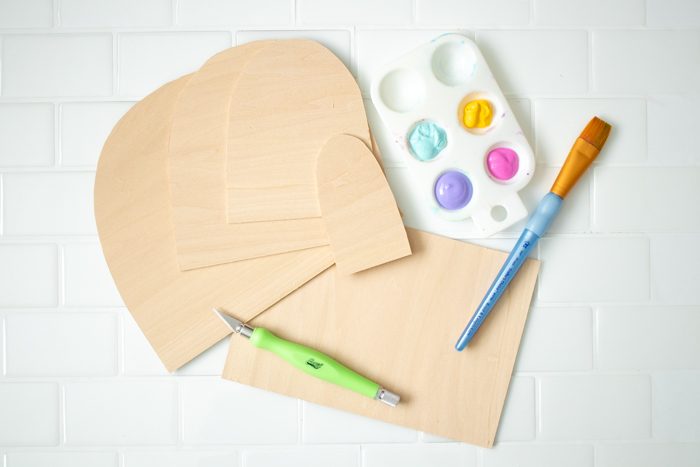
Supplies:
- 1/8-inch balsa wood
- Craft knife
- Cutting mat
- Glue gun
- Acrylic, 4 rainbow colors
- Paintbrushes
- Pencil
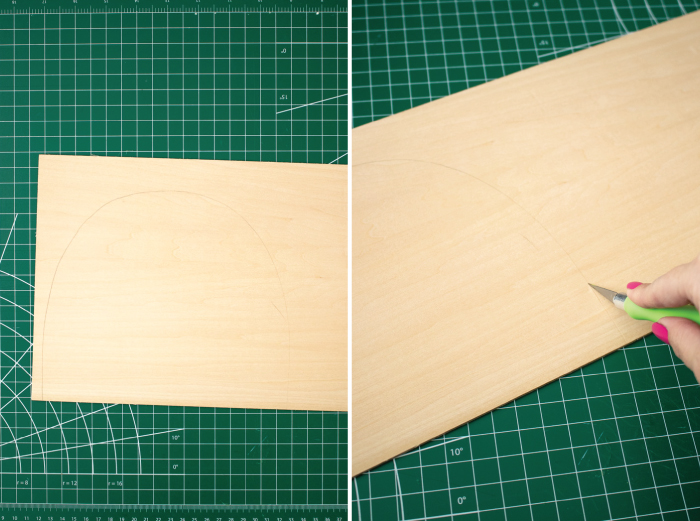
Step 1: Draw a large rainbow shape on the piece of balsa wood, about 8 inches wide (I went for a tall rainbow). If desired, draw out the shape on paper first to use as a template.
Step 2: Tracing the pencil outline, carefully cut the shape with a craft knife over a cutting mat. Go over the same lines over and over to cut through the balsa wood.
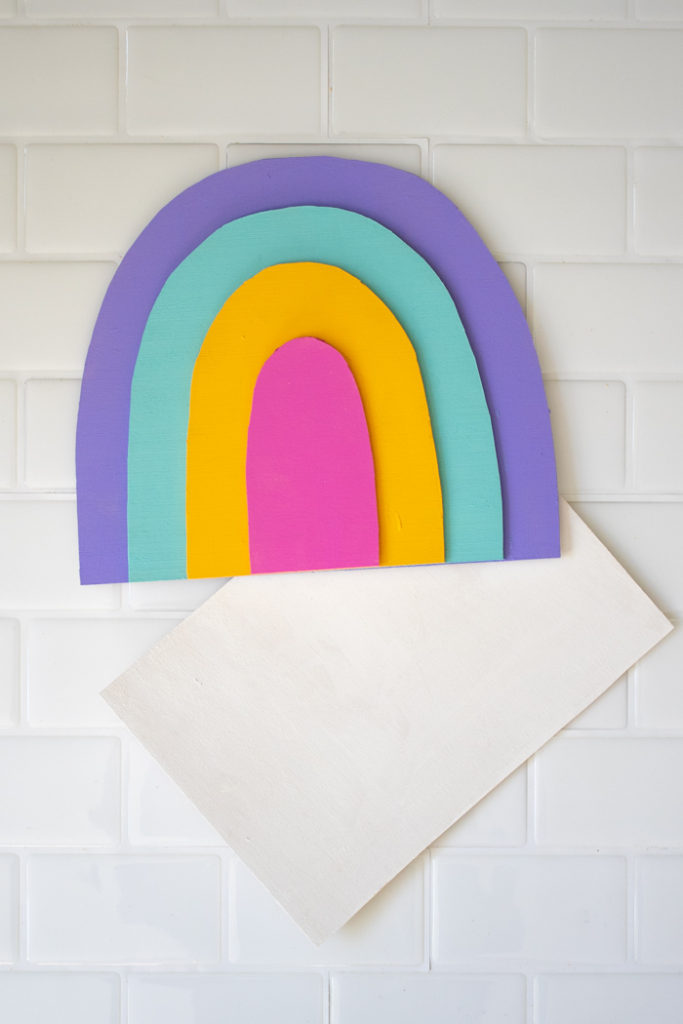
Step 3: Once you’ve cut the first piece, cut a second piece that is about 1 inch smaller on all curved sides. Again, you can use a paper template. Then repeat two more time, so that you have four pieces that layer on top of each other to create a rainbow.
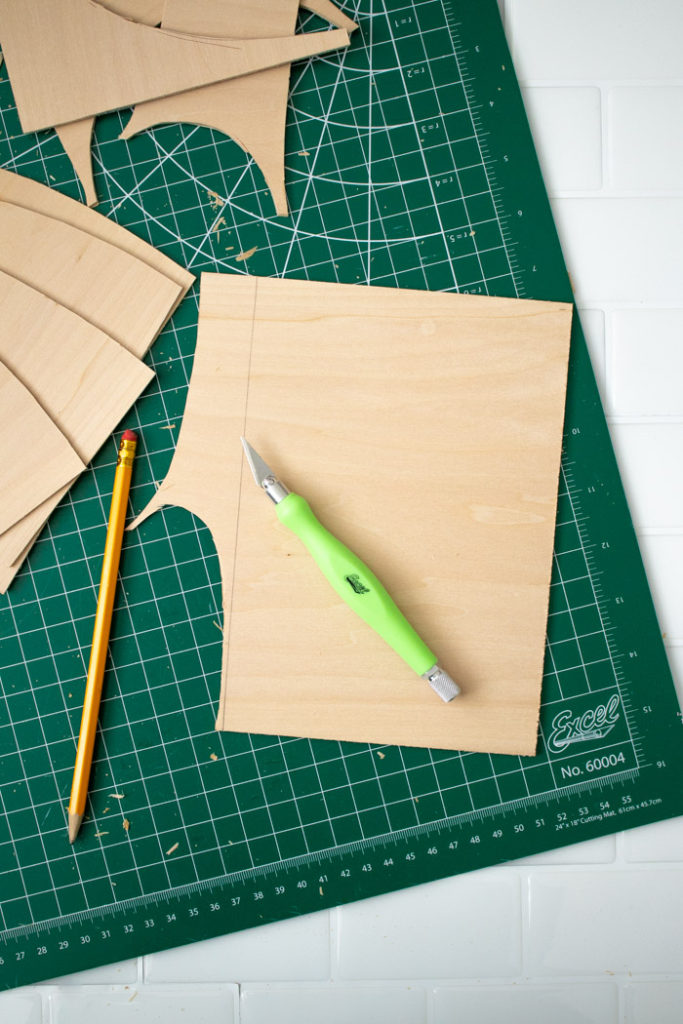
Step 4: Cut a square piece of balsa wood approximately 8 inches tall (to match the widest rainbow piece) and 6 inches wide.
Step 5: Paint all of the pieces in your desired colors. I made the base white and painted the others as a rainbow. Let dry and paint additional coats as needed.
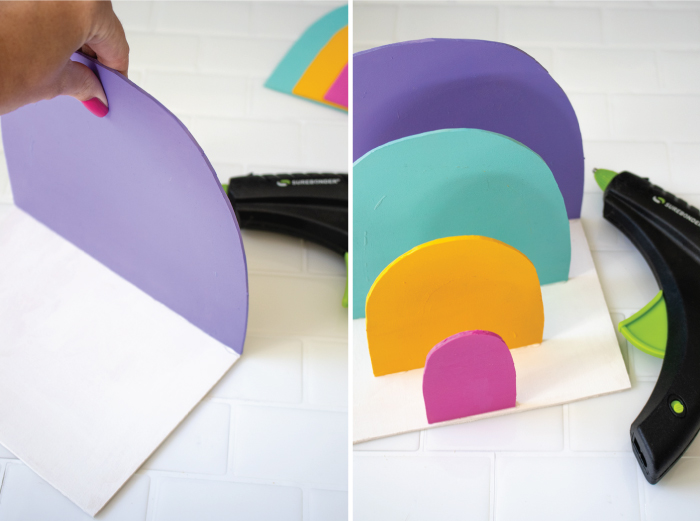
Step 6: Once the paint is dry, place the square piece painted-side up. Use a hot glue gun to glue the largest piece to very back edge – it should be the same length as the base and have space in front of it. Then two inches in front of it, glue the second largest piece and center it. Repeat with the other two pieces, gluing the smallest one to the edge.
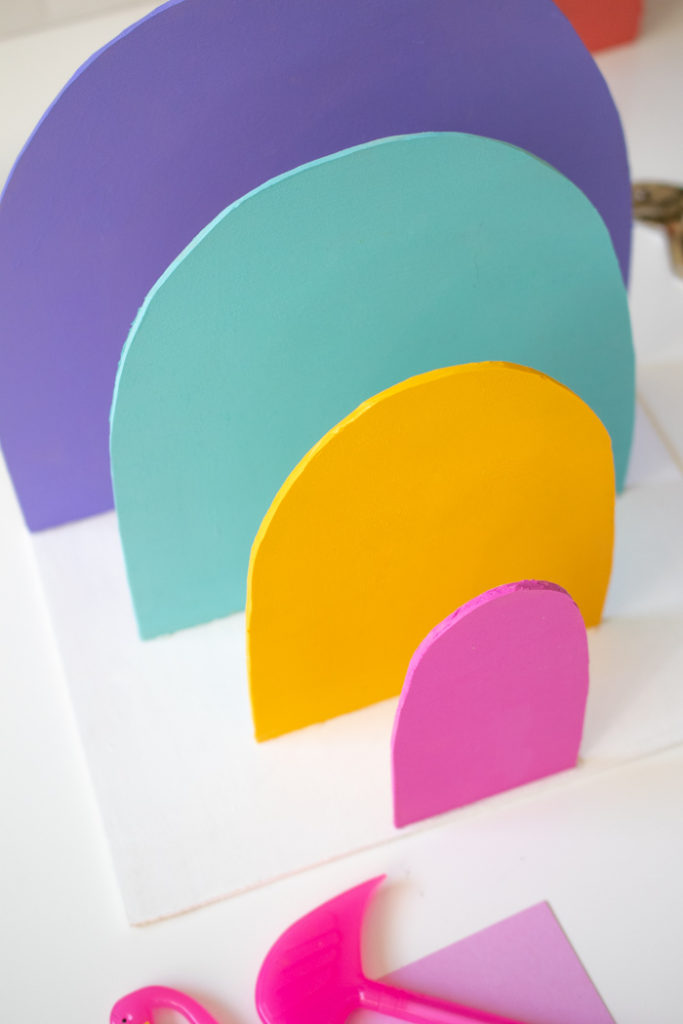
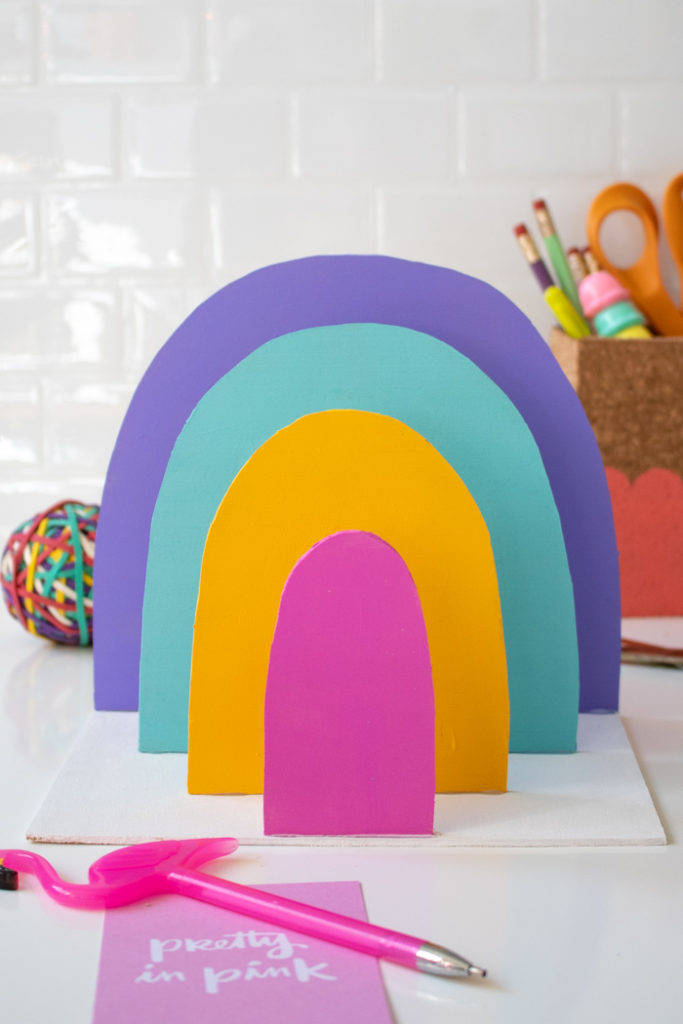
When you look at the organizer head-on, it should resemble a rainbow. It’s the perfect match with my rainbow catch-all dish, which currently holds all my letterboard letters!
Then you can place your papers and letters in between each color of the rainbow organizer to keep your desk in order! This definitely beats the dollar section organizer I was using, and every desk could use a little more rainbow!
Indya | The Small Adventurer
This is SO cute! I’m a sucker for any kind of desk organiser, especially ones that have such gorgeous and vibrant colours 😍 I’ll definitely have to put this on the “to make” list for 2019! 🌈