
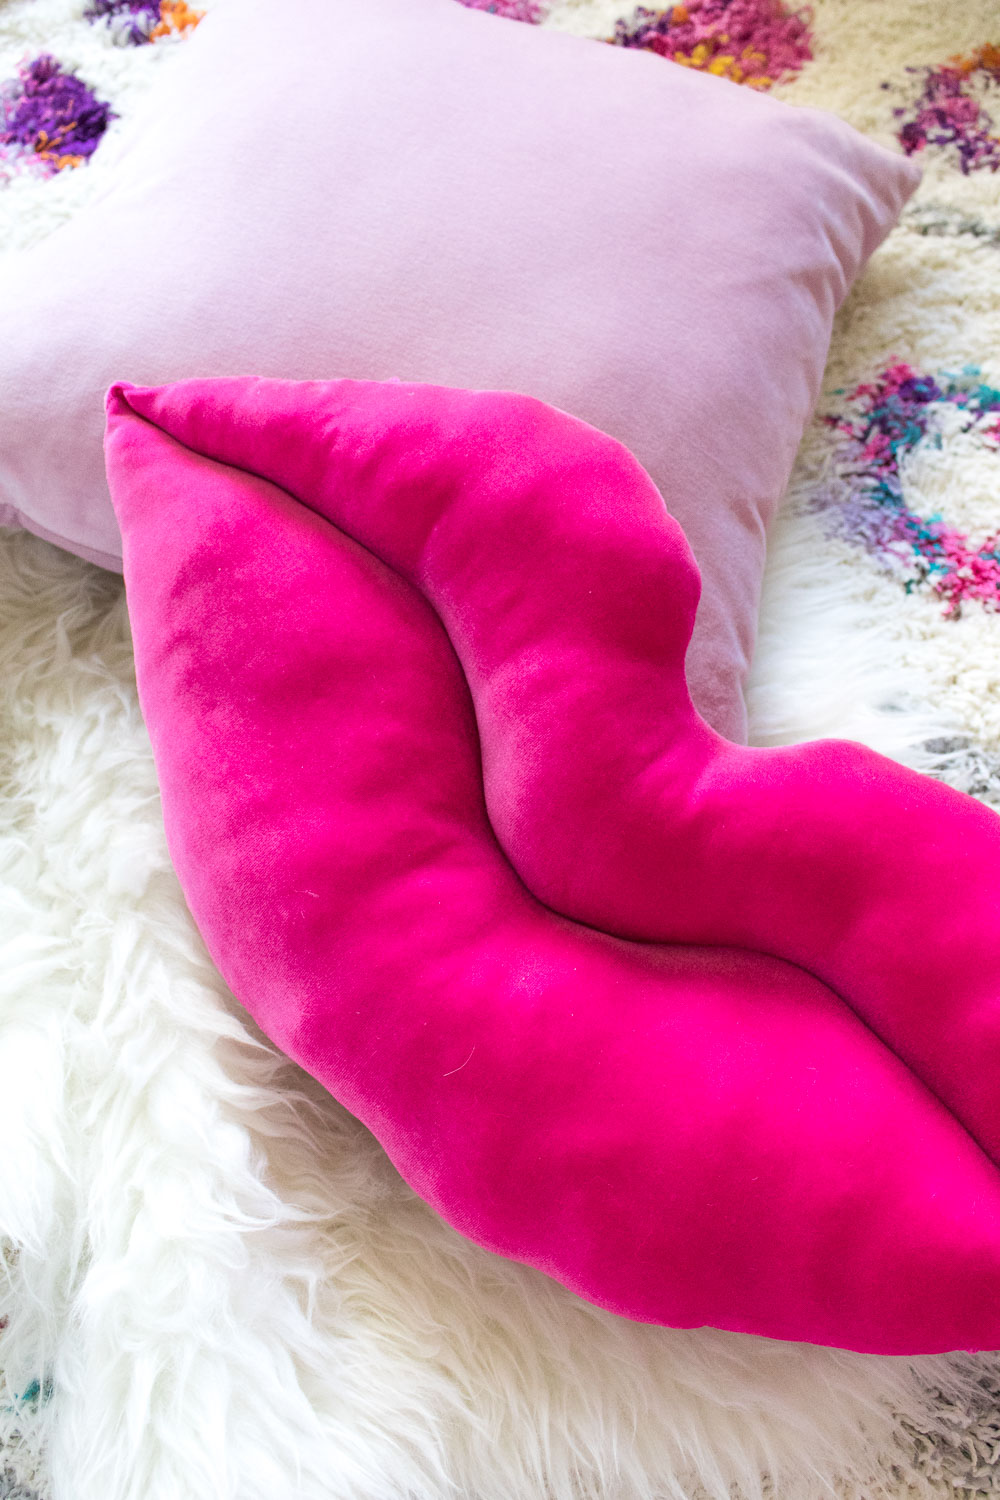
MUAH! I recently started seeing this lips pillow from Urban Outfitters all over my Pinterest feed and it seems that it sold out really quickly (that is, before I could even think about buying it). Since I liked it so much, I figured I might as well try to make my own, and it turned out to be much easier than I expected to recreate with an extra soft pink velour-like fabric. I can honestly say this velvet lips pillow is my favorite sewing project EVER! This guy is going to be front and center on my bed from now on.

 Not only was I really proud of myself for completing a new sewing project so quickly and without epic failures but I think I’ve finally mastered the invisible stitch. Yes, it took me a long, long time to feel confident with it! If you’re not sure how to do it, I highly recommend this video.
I also took this opportunity to show off my new rug! We needed a new one in our living room SO badly. Our once white rug had become an unclean-able shade of grey, and this colorful addition makes me so much happier every time I walk in the room. I thought it would make the perfect backdrop for this velvet lips pillow, which makes me equally happy.
Be sure to use my free template below to shape the pillow! I promise it is actually much easier than it looks.

 Time: 40 minutes
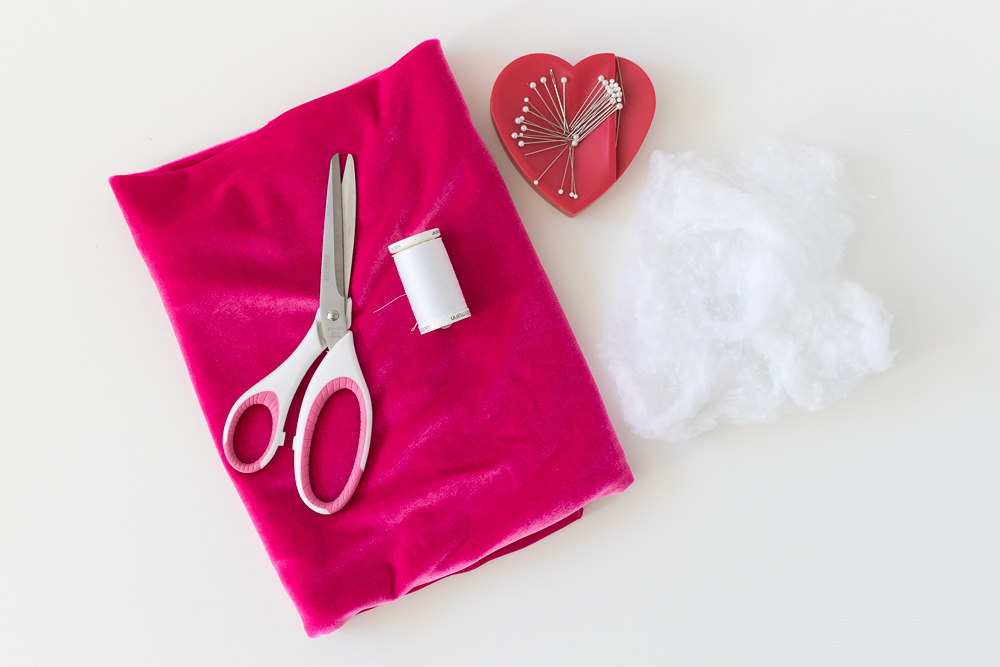
Supplies:
- 1/2 yard velvet/velour fabric
- Scissors
- Thread
- Pins
- Fiberfill
- Hand sewing needle
- Lips pillow template (PDF)
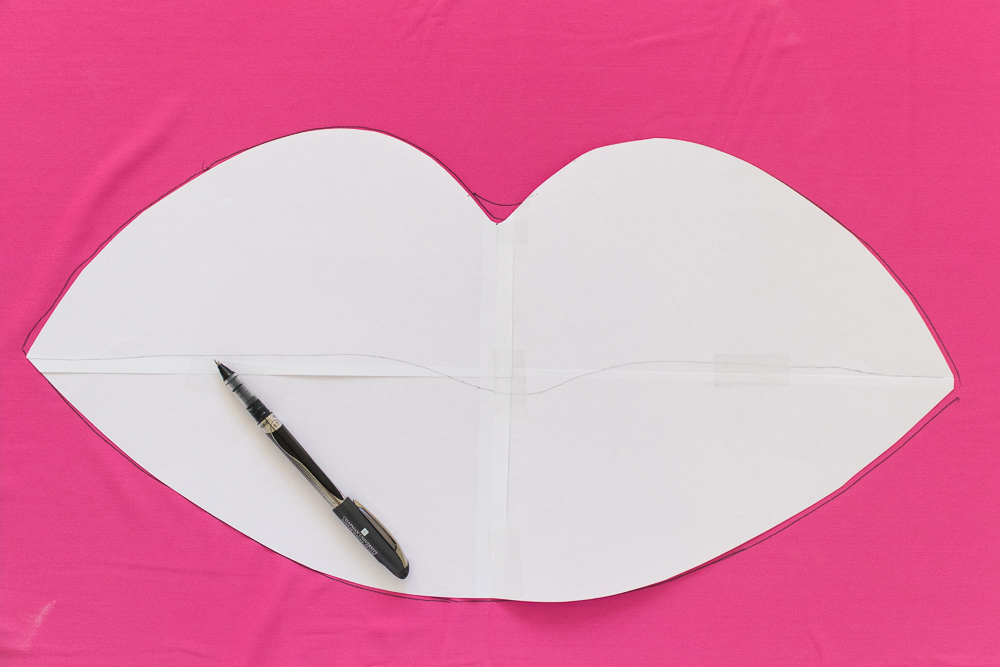 Step 1: Cut out the lips pillow template and tape the four pieces together. Fold fabric in half with right sides together and draw the pattern on the backside of the fabric. Chalk works best if it will show up on the fabric.
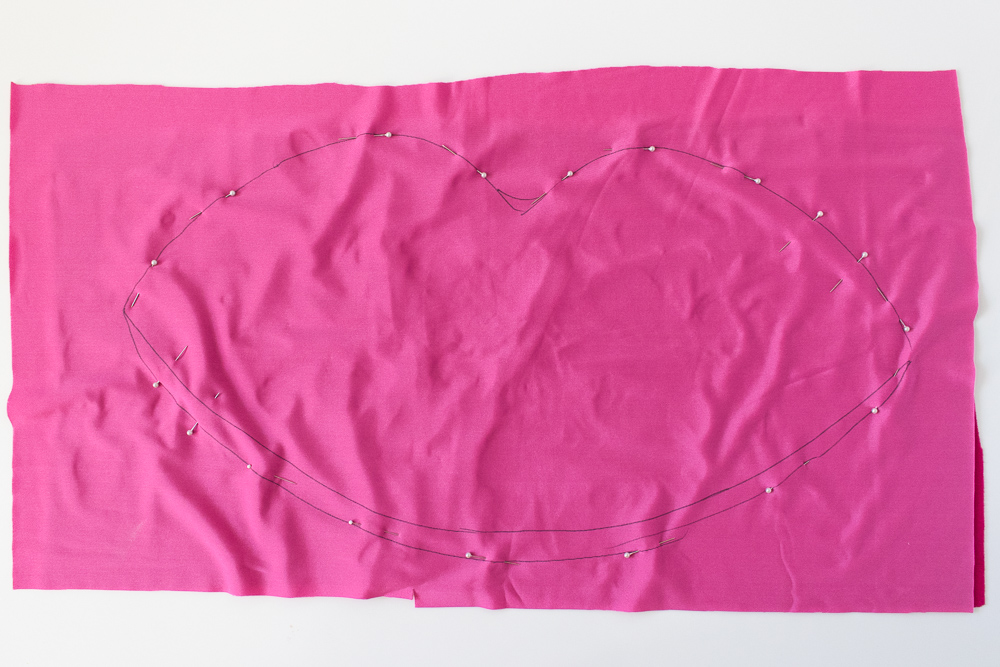 Step 2: Do not cut the fabric. Pin around the edges and leave an opening at either corner. You will need these to stuff both sides of the pillow later.
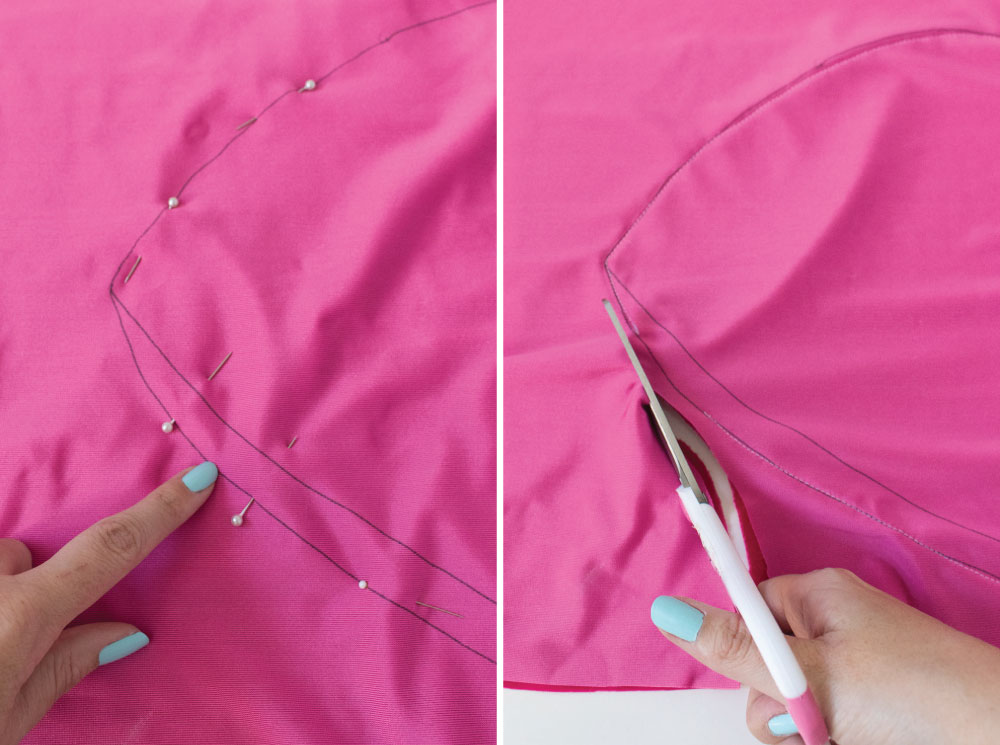 Step 3: Starting at one of the openings, sew around the edges. Then cut around the sewn area with a 1/4-inch edge.
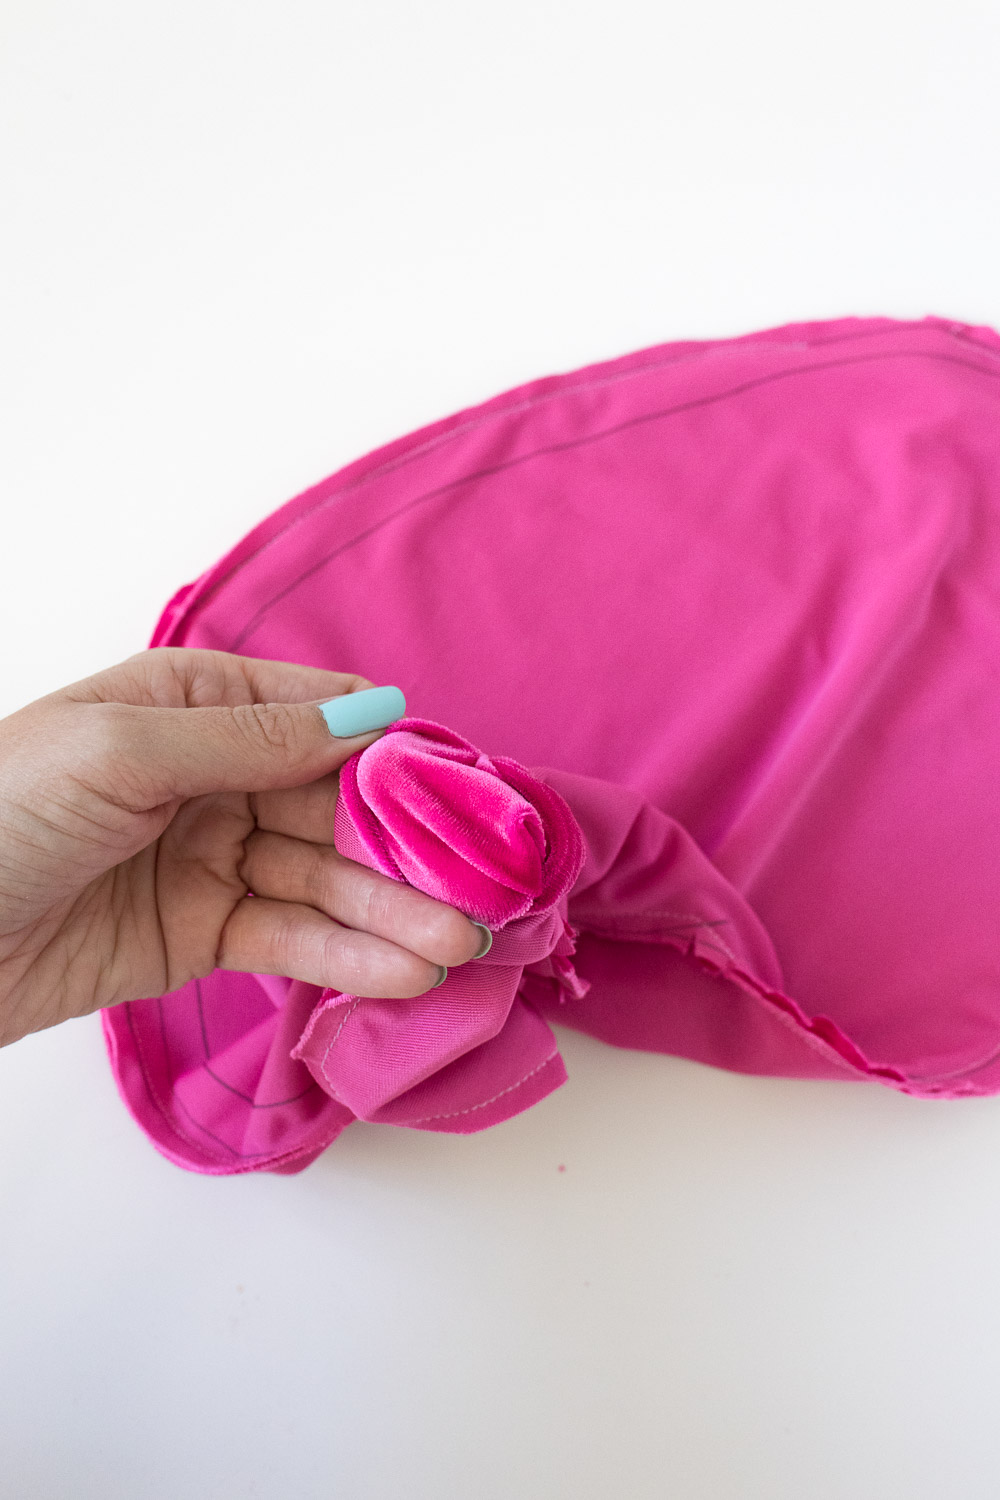 Step 4: Turn the fabric right side out through one of the openings in the seam.
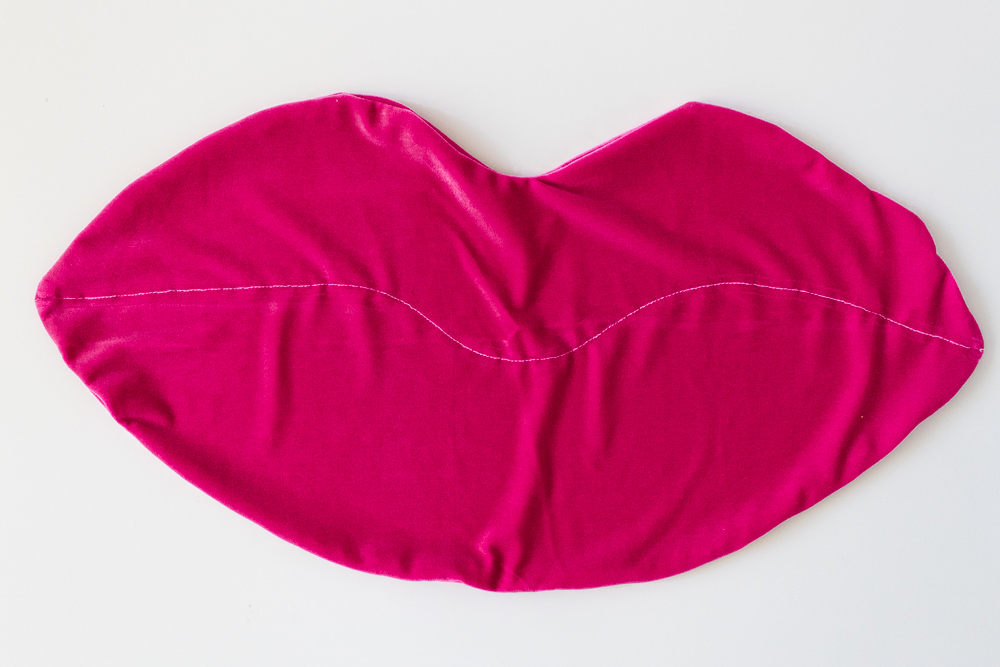 Step 5: Use chalk to draw the line between the lips (see template) and pin. Sew across the pillow.
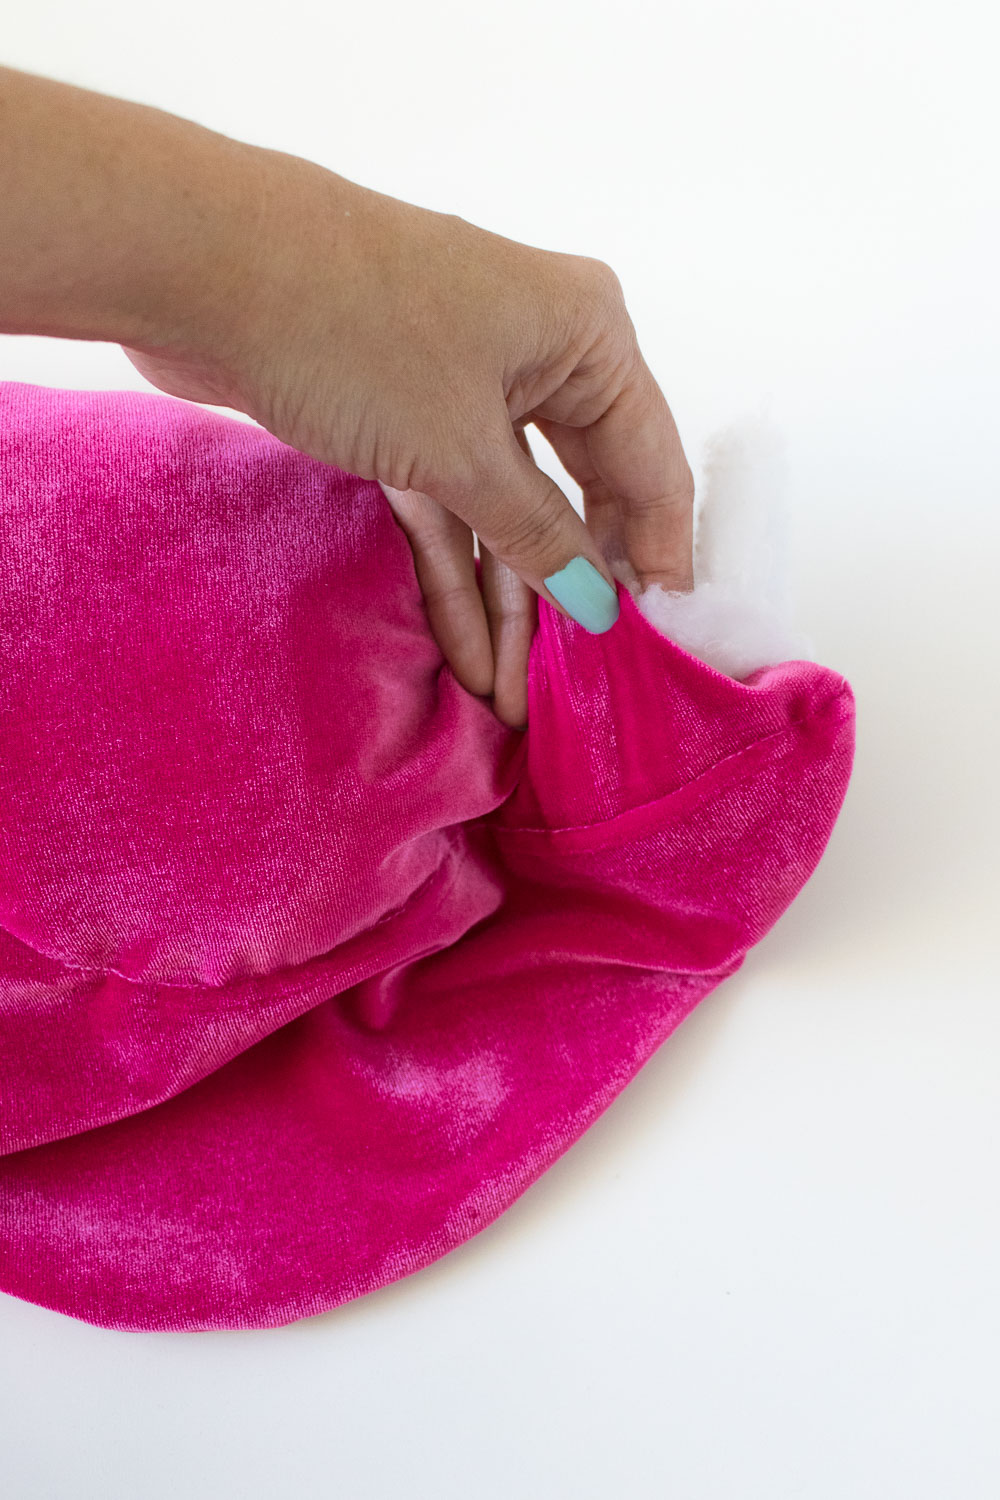 Step 6: Stuff both the top and bottom of the pillow through the openings in the fabric. Use something like a pencil or chopstick to push the fiberfill all the way to the back corners.
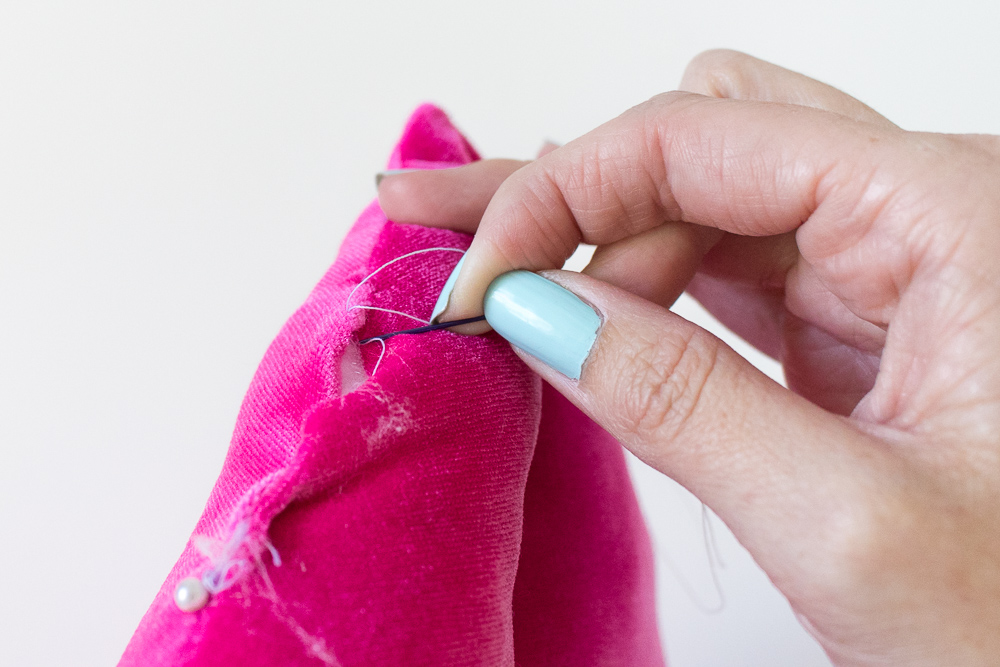 Step 7: Use an invisible stitch to sew up the openings in the pillow.
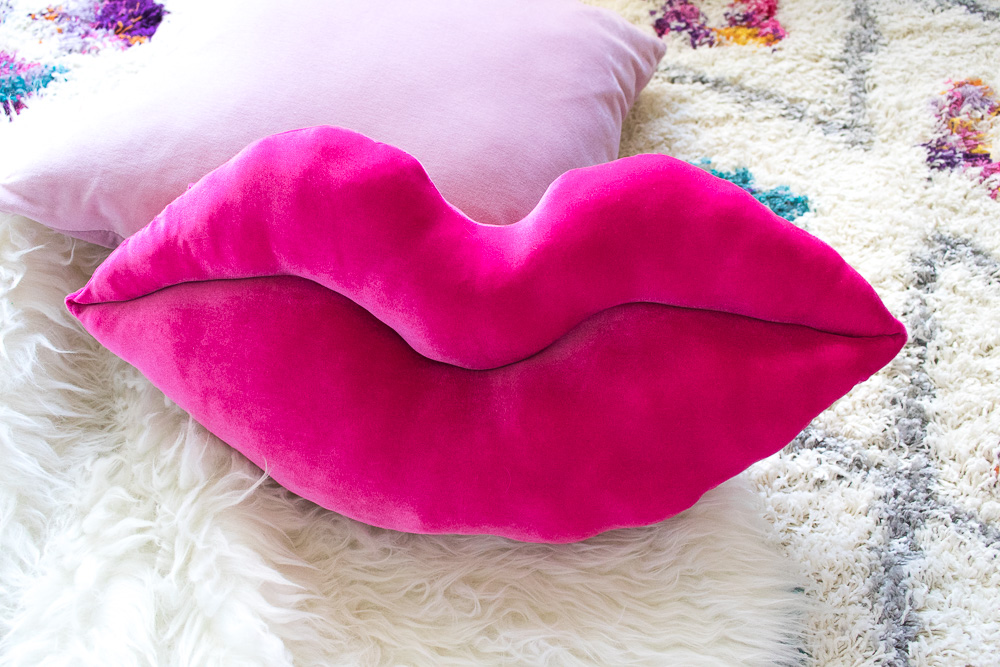 Then your pillow is ready to display!
I’ve made quite a few pillows DIYs since starting Club Crafted, but there’s no doubt this is my favorite! You can see I’ve come a lot way since this Peeps pillow I sewed a year ago. Maybe I’m finally getting better at this sewing thing? 😜
Lips Pillow
Hi Holly. Very nice and fabulous creativity which you have made. Thanks for sharing this wonderful blog post about lips pillow
Jodie
Hi Holly. What a fabulous tutorial! The lips pillow you’ve created is just gorgeous. We know our readers will love it! We’ve shared your tutorial in our latest craft inspiration roundup. https://craftylikegranny.com/craft-like-no-ones-watching/ Cheers Jodie
Holly Wade
JodieThanks so much, Jodie!