I’m all about gingerbread and holiday flavors this time of year. December is really the only month I get to eat gingerbread cookies and drink eggnog, so I go ALL OUT!
I made this classic gingerbread cookie recipe last year and fell in love all over again because I’ve always struggled with my cookies being a little too hard, but not anymore! I switched it up this year, and I’m showing you how to make 3D gingerbread trees using this really soft gingerbread cookie recipe that is just as good for decorating as it is for eating. Traditionally, gingerbread used for making houses, etc. is a bit harder so that the object is sturdy, but personally, I like to be able to eat my cookies after I decorate them.

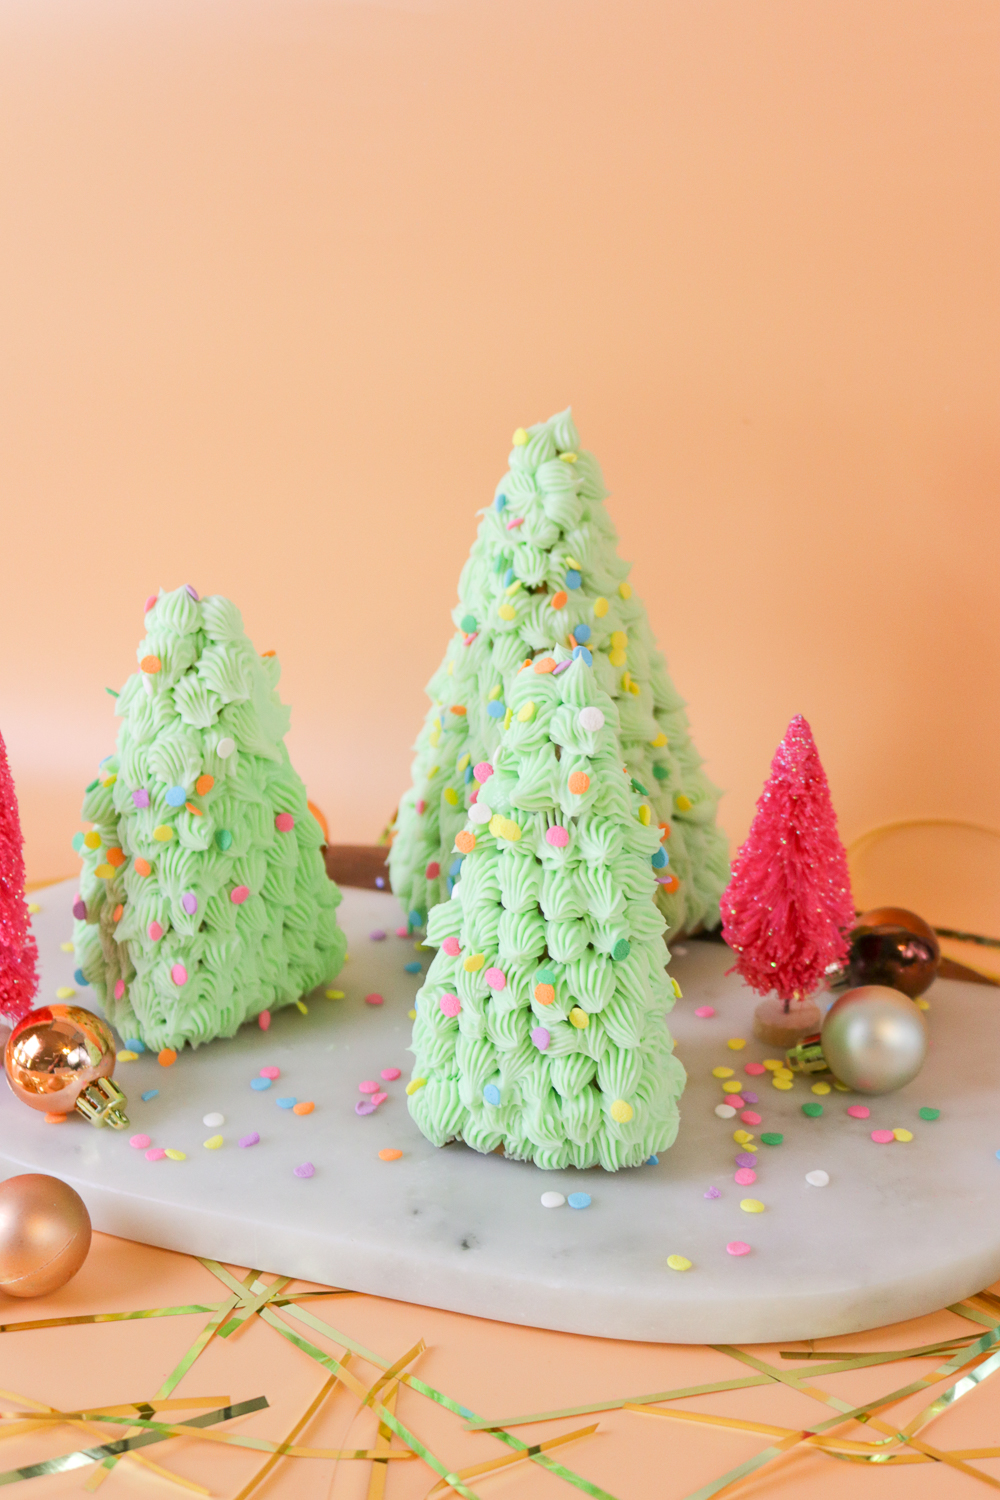
These are pretty easy to put together and you can decorate them so many different ways! I stuck with some pretty pastel colors and quickly devoured them after I was done taking photos…no shame! Gingerbread can be a long process, but I truly think these cookies are worth the effort considering we only get to eat it once a year.
Scroll down for the full gingerbread recipe card with an icing recipe! ??
How to cut and assemble 3D trees:
Step 1: Create paper or cardboard templates by cutting tall triangles that are your desired width and height. I created two sizes – a 3 1/2 inch base, 5 inch tall and a 4 inch base, 6 inch tall.
Step 2: Roll the dough about 1/4 inch thick and use a pizza cutter or sharp knife to cut the triangles out of the dough using your templates. Each 3D tree requires 3 equal-sized triangles.
Step 3: Move the cut triangles to prepared baking sheets and chill for 30 minutes before baking at 350 degrees for 8-10 minutes, adjusting for larger sized trees.
Step 4: Once the trees have cooled completely, prepare the royal icing according to the recipe below. Start with a thicker icing for assembling the trees. No need to dye the icing, but you can if you want.
Step 5: Match up equal-sized triangles. On one triangle, pipe icing up the tall sides and stick the long sides to stick the tree together entirely. Hold together lightly to ensure the icing sticks before moving on to the next tree.
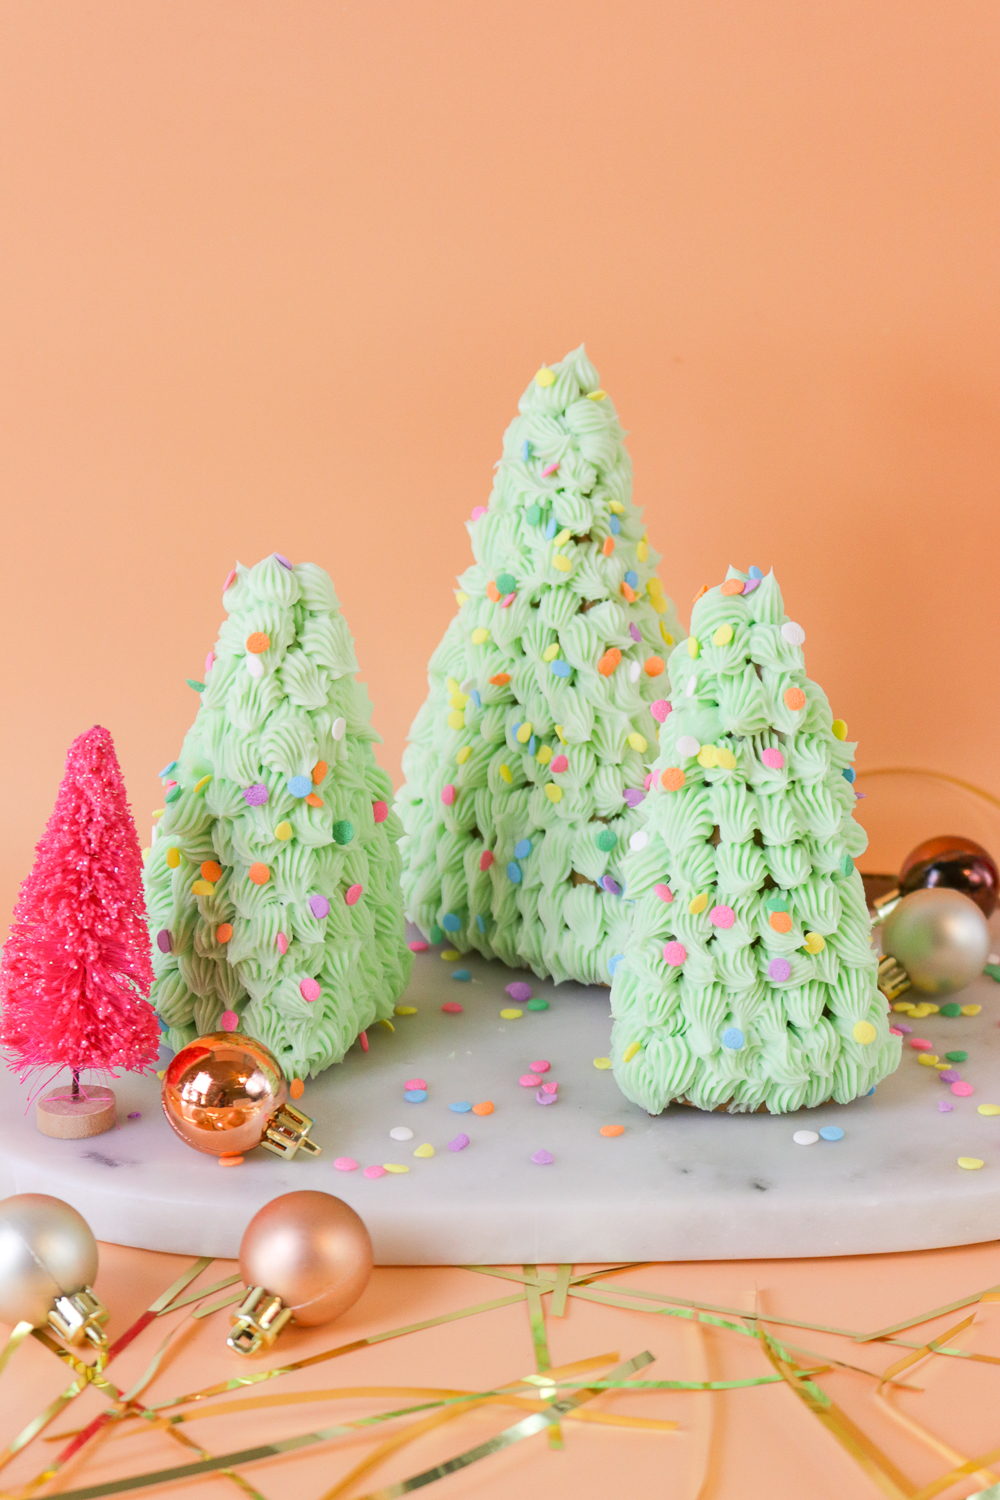
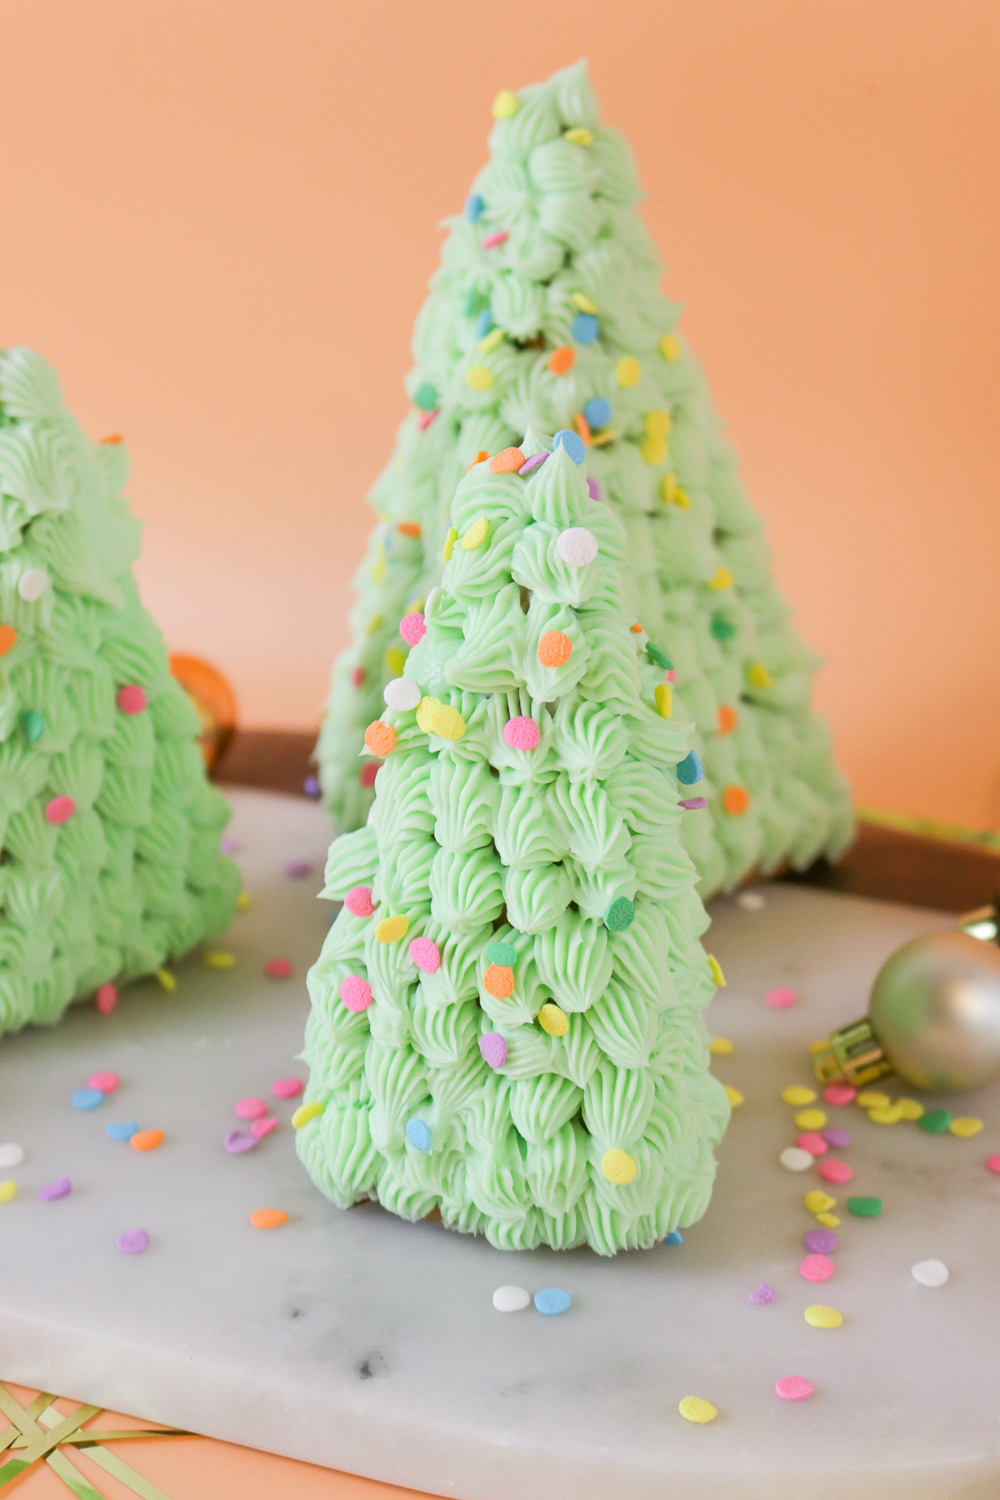
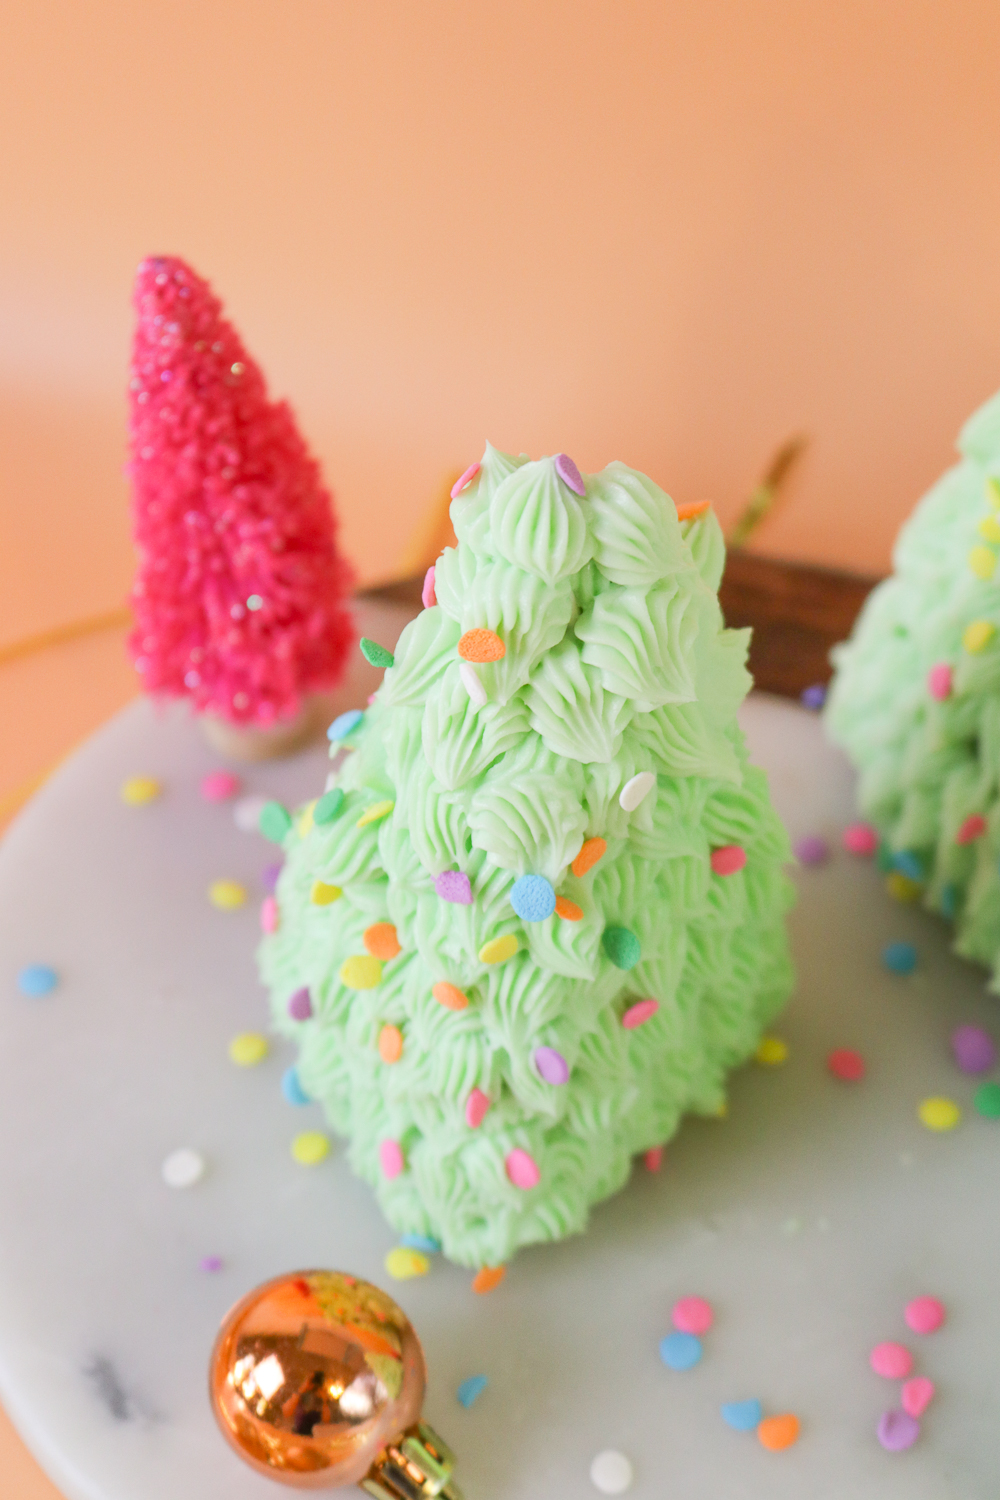
Step 6: Once the icing has completely set, decorate with green buttercream frosting with a star tip, sprinkles and other decorations!
These were so fun to make and even more fun to eat! Have fun with it!


- 3 cups + 2 tbsp all-purpose flour
- 1 ½ tsp ground ginger
- 1 ½ tsp ground cinnamon
- ¼ tsp allspice
- Pinch cloves
- ½ tsp baking soda
- ½ tsp salt
- ½ cup + 2 tbsp butter, room temperature
- ½ cup light brown sugar
- 1 egg
- 1/3 cup molasses
- 1 tsp pure vanilla extract
- 2 cups powdered sugar
- 2 tbsp meringue powder
- 2 tbsp water
- 1/4 tsp vanilla extract (or other flavoring)
- 1 1/2 cups butter, room temperature
- 3 cups powdered sugar
- 1 tsp vanilla extract
- Green food coloring
- In one bowl, whisk together the flour, baking soda, salt, cinnamon, nutmeg, ginger and cloves
- In the bowl of your mixer fitted with a paddle attachment, cream together the butter and brown sugar for about 2 minutes until light and fluffy
- Beat in the egg, followed by molasses and vanilla, mixing until fully combined
- Scrape the bowl and slowly mix in the dry ingredients a little at a time until just mixed, switching to a spatula if needed to mix properly. It should be soft but not sticky. If sticky, add flour 1 tbsp at a time
- Move the dough to a large piece of plastic wrap, press it into a disc and chill in the fridge for 2 hours
- While it chills, use a piece of paper or cardboard to create tree templates or tall triangles in multiple sizes. I made two sizes - 3 1/2 inch base, 5 inch tall and 4 inch base, 6 inch tall
- Line two baking sheets with parchment or a silicone baking mat
- Remove the dough onto a floured surface and roll it out until it is about 1/4 inch thick
- Use the templates and a pizza cutter or sharp knife to cut trees out of the dough and move them to the prepared baking sheets. Each 3D tree requires 3 equal sized triangles
- Chill the dough for an additional 30 minutes
- Preheat the oven to 350 degrees F
- Once preheated, remove the dough from the fridge and baking for 8-10 minutes until the edges are barely brown (larger trees will need to bake longer)
- Allow to cool completely on the baking sheet
- Combine all ingredients in mixing bowl fitted with a whisk attachments and mix until smooth, scraping with a spatula as needed
- Move to a pastry bag with a small round piping tip to assemble the trees
- Beat the butter with a paddle attachment until smooth, about 2 minutes
- Add the powdered sugar in batches, mixing until smooth and scraping the bowl occasionally
- Add in the vanilla and green food coloring and move the frosting to a pastry bag fitted with a small star tip
- Match up three equal sized triangles
- Use the royal icing to pipe up the long sides of the cookies and stick them together, holding the trees together lightly until it holds
- Allow the royal icing to dry completely
- Use the buttercream in a pastry bag with a star tip to pipe small dollops of frosting all over the trees, starting at the bottom
- Add sprinkles and other decorations and store in the fridge
- Chilling the dough is an essential part of making perfectly soft gingerbread cookies that keep their shape