The following post is sponsored by Aleene’s
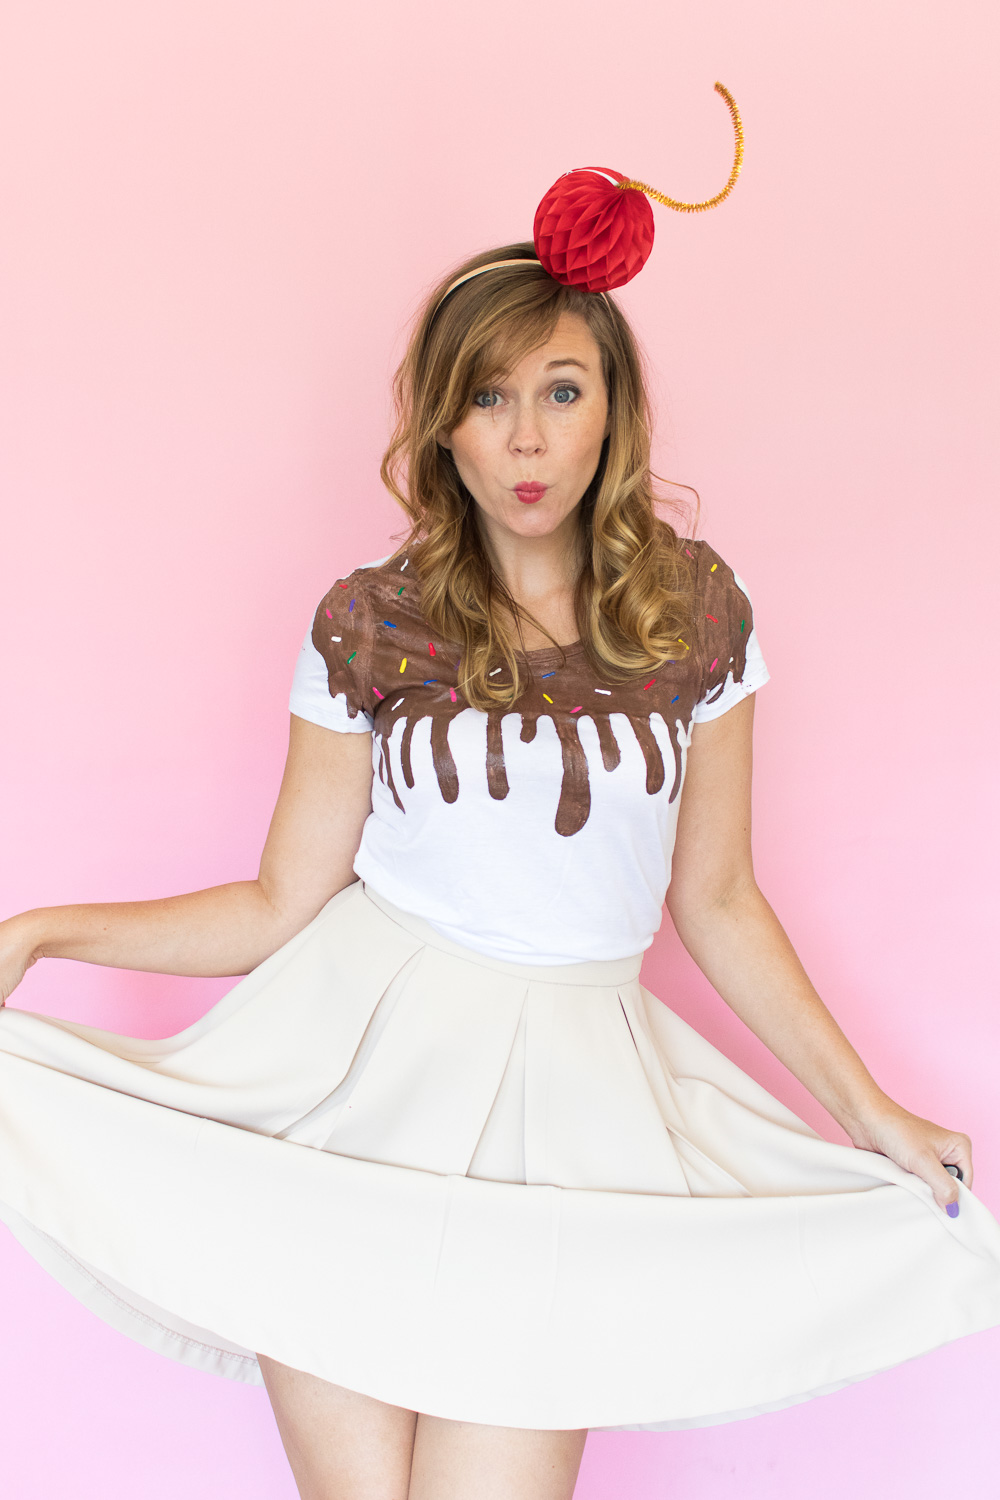
Some Halloween costumes are just too complicated, especially when you need a costume last-minute and don’t want to do anything over-the-top when you’re just going to work for the day. With the right paint products, you can simplify this cute Halloween costume using just a painted shirt and a headband and create a DIY simple ice cream t-shirt to pair with a honeycomb cherry headband! Wear your t-shirt with pants, jeans or a skirt of your choice and still feel as festive as everyone else for Halloween!
I used Tulip dimensional paints to create this ice cream t-shirt with a chocolate drip and rainbow sprinkles. Not only is it designed for painting fabric but the paint tips make it easy to apply and make detailed shapes, including small details like these sprinkles.
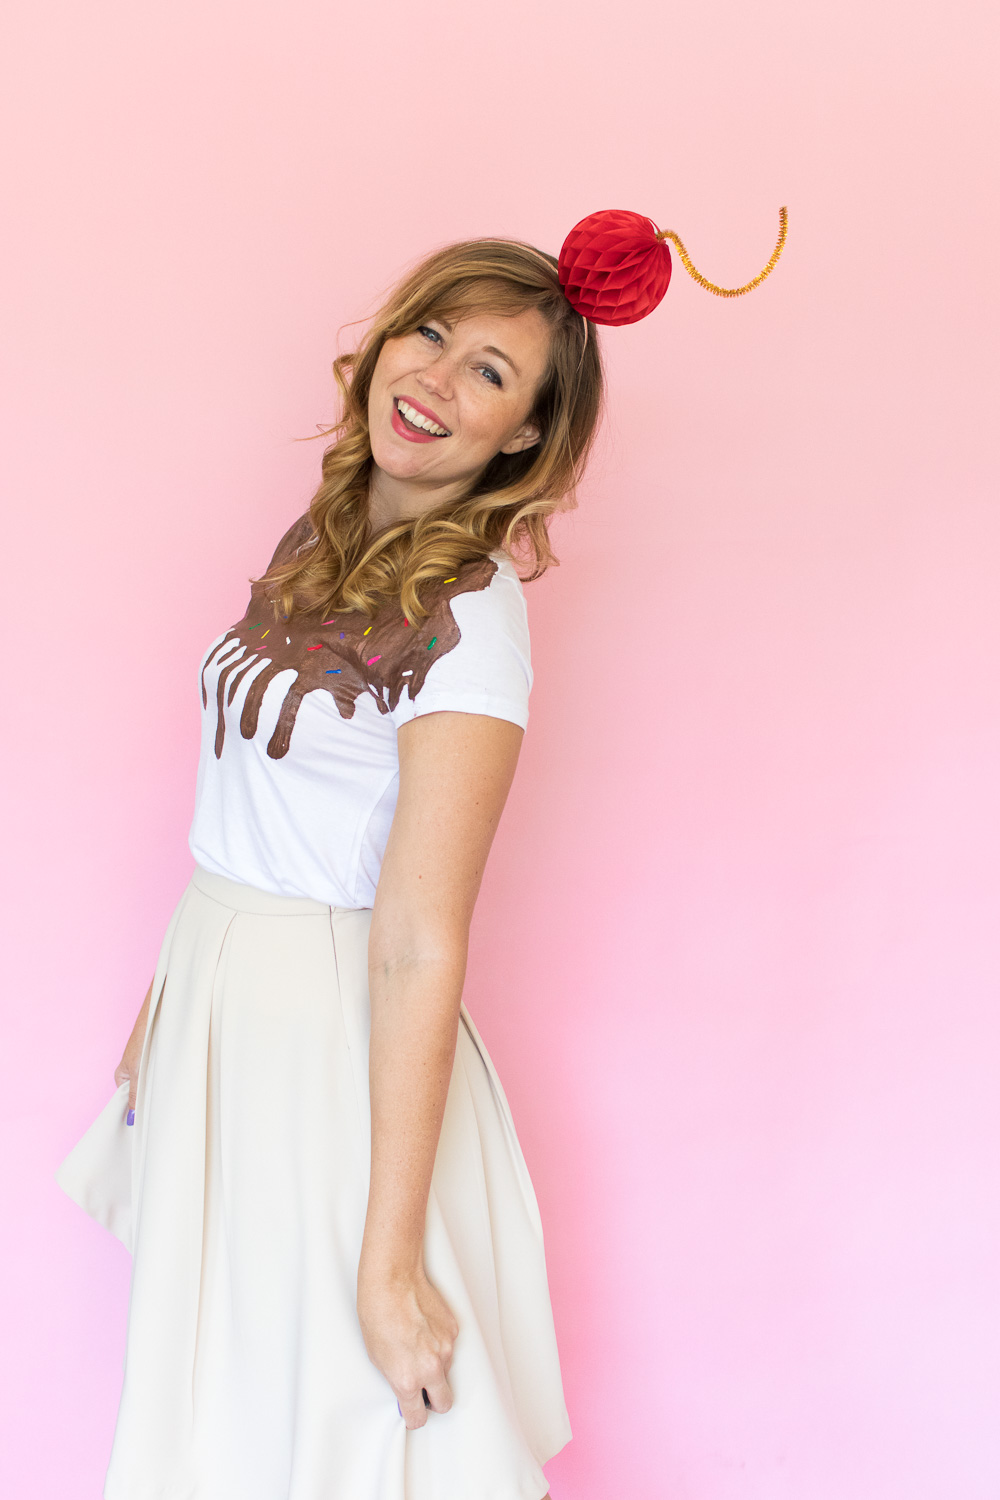
 Making this project was so much fun! The cherry headband is my favorite…do you think I can wear this out to the grocery store with my sweats?
This is definitely the easiest Halloween costume I’ve made, and I love that it’s just a t-shirt I can pair with any bottoms, making it great for those of you who work in office environments as well. It checks all the boxes for me!
Check out the video below for the full tutorial! PS, this is my first video, so I look forward to your feedback!
Supplies:
- Cardboard
- White t-shirt
- Brown Tulip dimensional paint
- Rainbow colors of Tulip dimensional paint
- Foam paintbrush
- Headband
- 4-inch red honeycomb ball
- Gold or brown pipe cleaner
- Aleene’s fabric glue
Step 1: Place the cardboard inside the t-shirt in order to prevent paint from seeping through to the other side and lay on a flat surface.
Step 2: Use the brown paint to trace the outline of dripping chocolate along the bust of the shirt. You can go up the sleeves or leave as is.
Step 3: Fill in the outlined area with more brown paint, spreading with the foam brush. It doesn’t require much paint to saturate the fabric. Once completely painted, let aside to dry for about 2-3 hours or overnight.
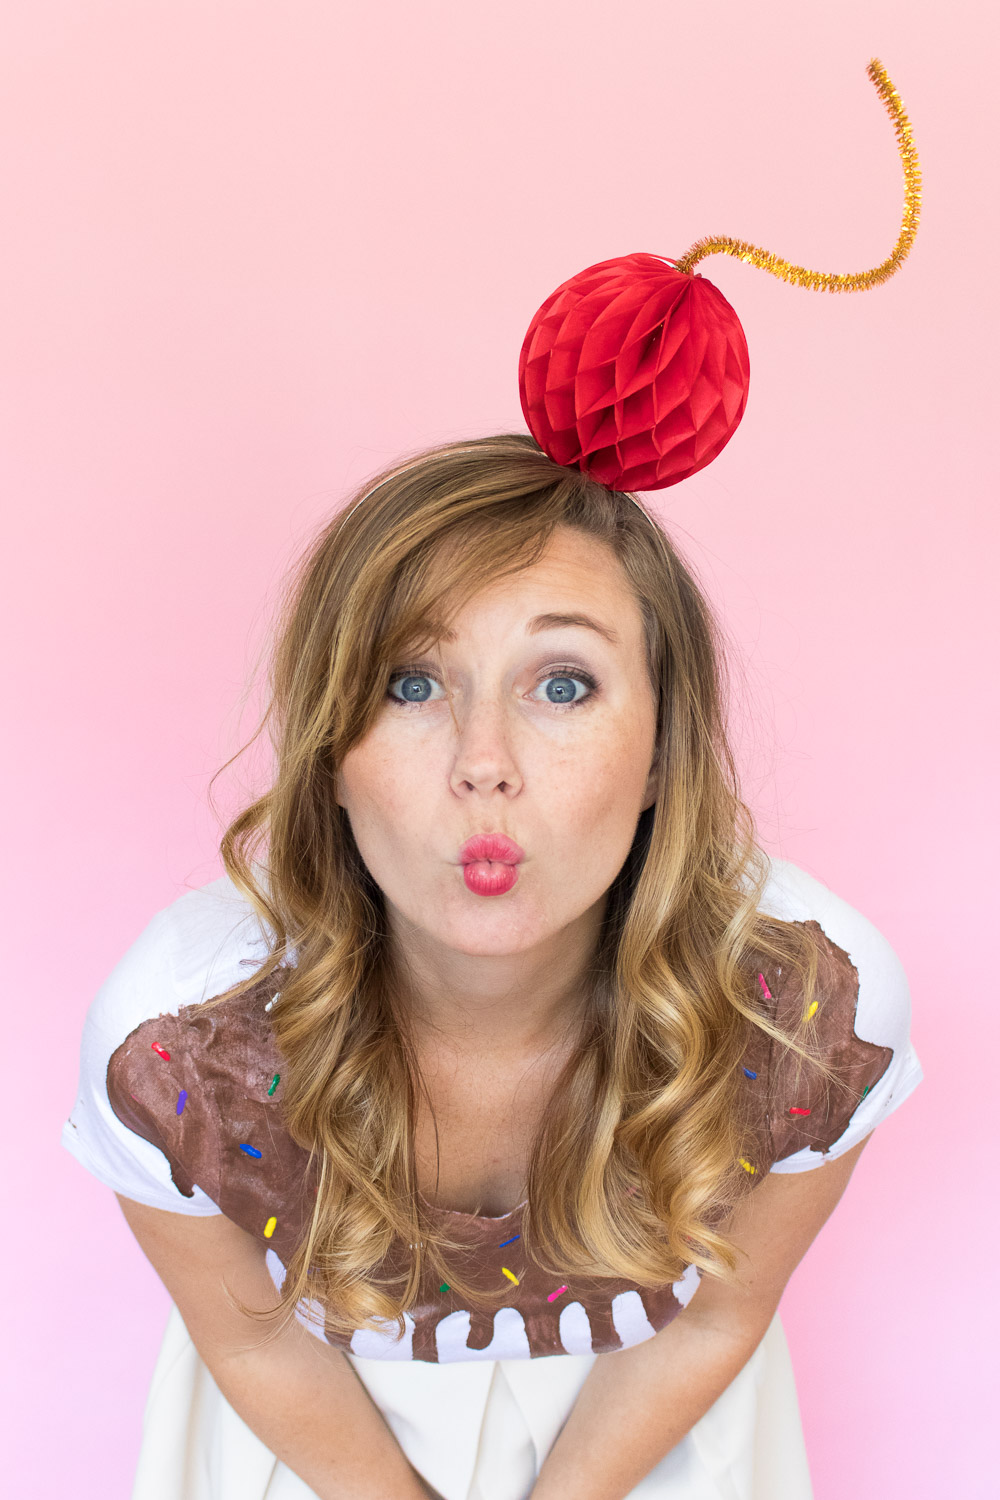
Step 4: Once dry, paint 2-inch lines in various colors to create the look of sprinkles. Set aside to dry for 2-3 hours or overnight.
Step 5: To make the cherry, wrap the pipe cleaner around one of the paint bottle to create a spiral.
Step 6: Assemble the honeycomb ball. Wrap the string around the headband off to one side (not the middle) and apply glue to the honeycomb to secure it to the headband, where it meets the wrapped string.
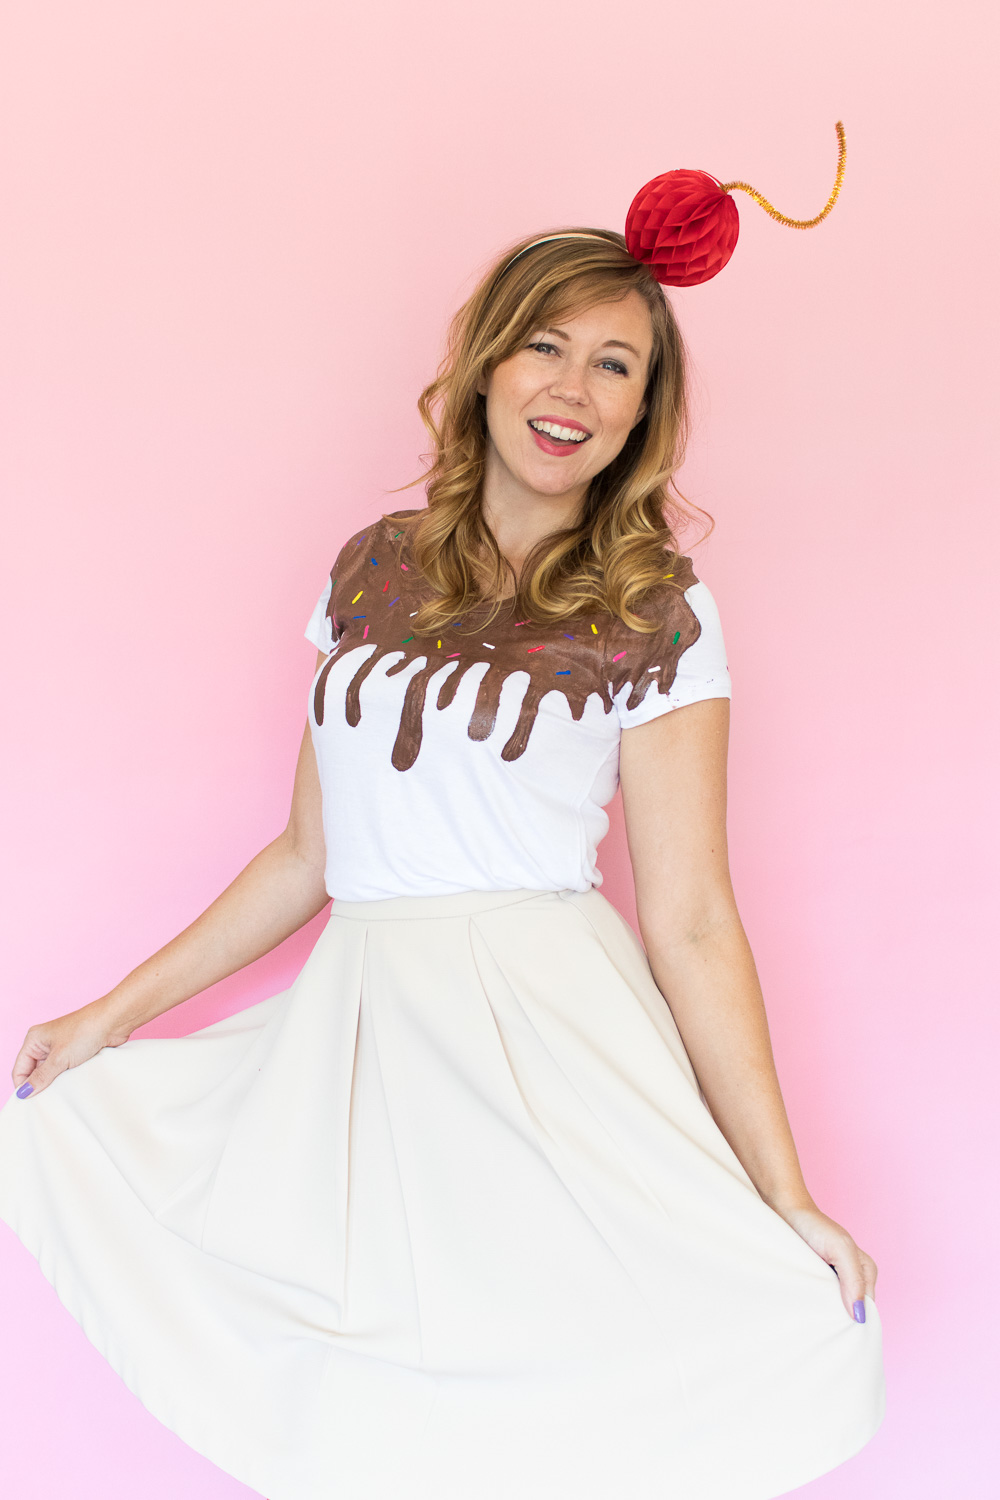 Once all of the pieces are dry, throw on your t-shirt and cherry headband with any bottoms and hit the town!
Who else is excited for Halloween this year?!
Thank you to Aleene’s for generously sponsoring this post. All opinions are my own. Thanks for supporting the brands that keep Club Crafted making!