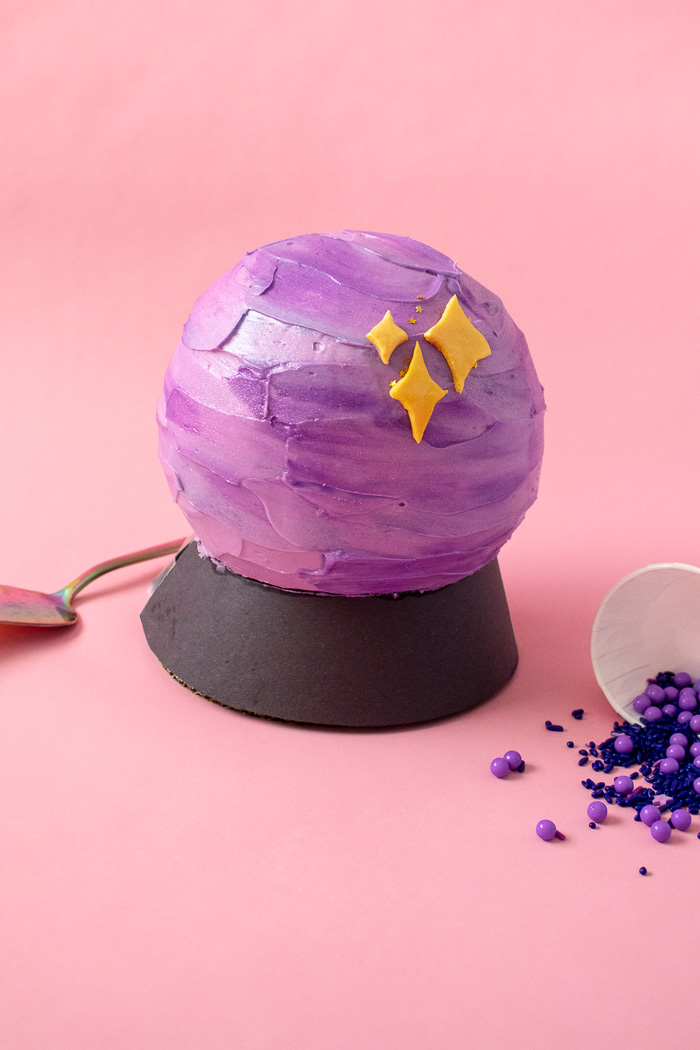
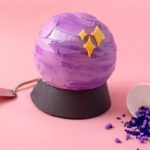
Holy moly, it’s almost Halloween! I was so excited to finish this new crystal ball cake just in time to share, and you’ll see it again in a few days as part of my full mystical Halloween PARTY! I saw one of those crystal ball decor pieces that lights and up and makes noise, and it instantly gave me this idea for making a crystal ball CAKE. While mine can’t tell you the future – unless your future is cake – it is marbled with purple frosting and sparkling with edible shine dust.
Clearly, I was inspired by the crystal ball emoji 🔮 but also I just love using purple for Halloween! I don’t think the photos quite do the shininess justice, but I love how the colors and overall look came out for this crystal ball cake. The only challenge was finding a way to make the base. Although I considered using fondant, cardstock felt like the better choice so that it wouldn’t crack on me. The ball cake itself is set on a cake board that’s resting on a small cup! The black base is merely a collar around the bottom, hiding those pieces holding up the cake.
Scroll down for all the details!👇🏼
I just keep thinking of that SHINY song from Moana!
Check back in a few days for more photos in my very purple mystical Halloween party!
- Favorite chocolate cake recipe
- Round cake tin
- Buttercream
- Purple food coloring
- Blue food coloring
- Angled spatula
- Edible luster dust
- Yellow fondant
- Pairing knife
- Gold star sprinkles
- Small cake board
- Black cardstock
- Low cup or bowl
- Mix the cake according to recipe instructions and bake in two greased halves of a spherical cake mold. Let cool completely before removing from the pans
- Make the buttercream according to recipe instructions. Separate several spoonfuls of buttercream into two separate bowls and set aside. Dye the rest a medium purple
- Place the bottom half of the cake on a cake board with a little buttercream. Cut the board so that it is not much larger than the base of the cake
- Layer the top half of the cake onto the bottom half with buttercream and ice the entire cake with a crumb coat of purple buttercream. Refrigerate 30 minutes
- In the smaller bowls of buttercream, dye one a dark purple and the other a dark bluish purple
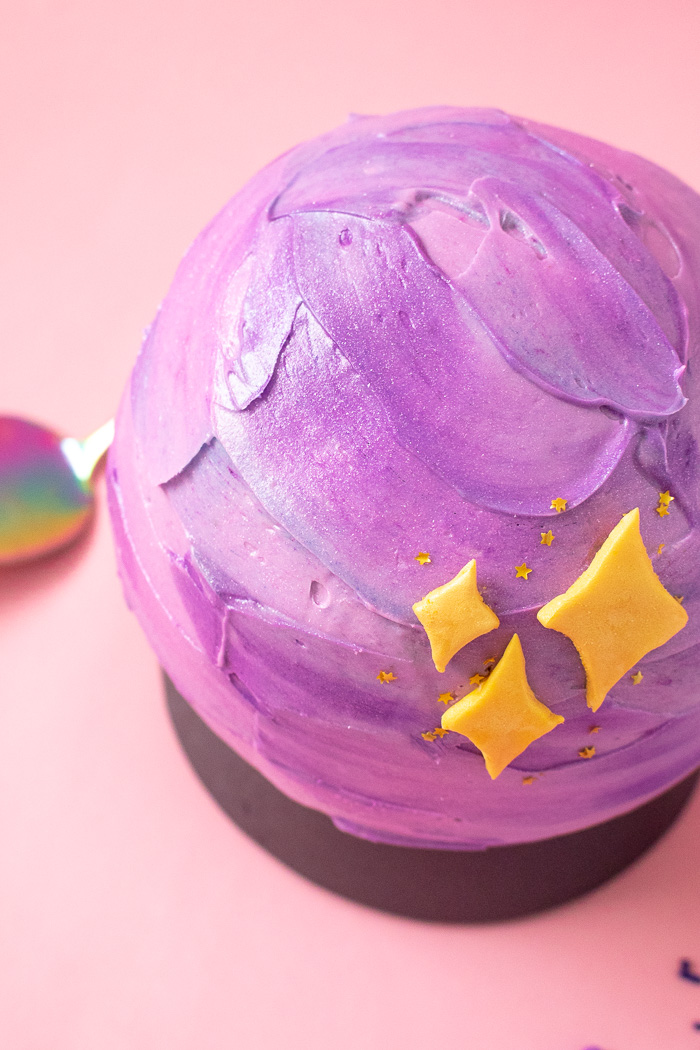
- Ice the cake with another layer of buttercream. Add splotches of the dark purple and blue buttercreams all over the cake
- Use the angled spatula to smooth the buttercream, marbling the colors together. Add more as needed and continue to smooth the icing
- Add a little luster dust to the cap and blow the dust onto the cake one section at a time until evenly covered
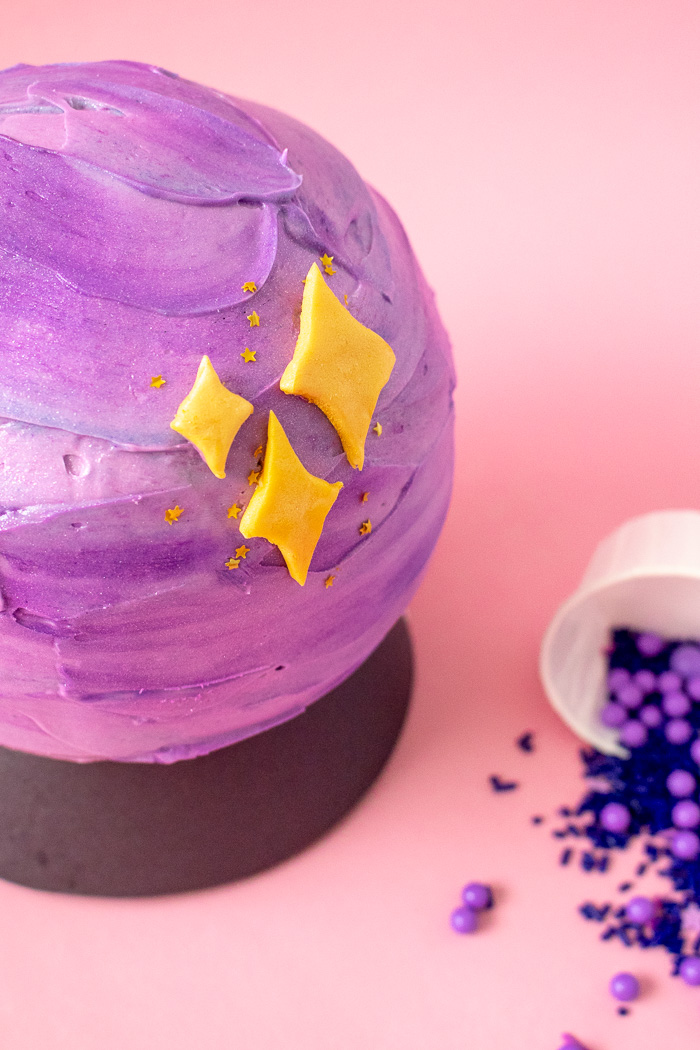
- Roll the yellow fondant thin and use a pairing knife to cut diamond shapes in different sizes. Coat the backs with a little water to stick to the cake
- Add glitter stars around the fondant for extra glam
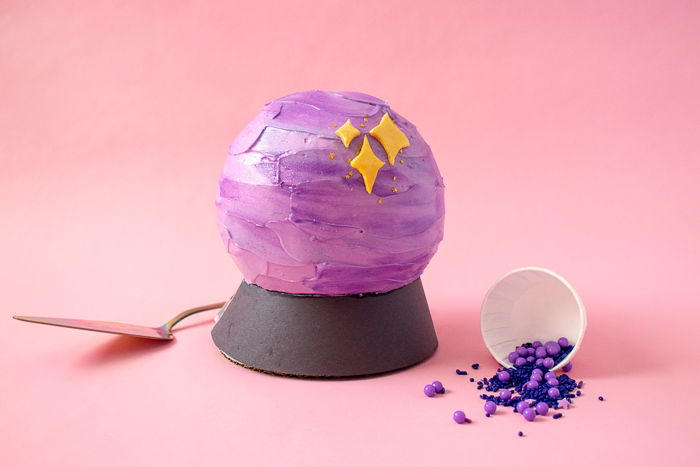
- Lastly, place the cake board base on top of a small cup or bowl (about 2-3 inches off the ground) and wrap a cut piece of cardstock around the bottom, taping it along the back
- Refrigerate until ready to cut and serve!
- Frosting will impact the look of the cardstock over time. For best results, serve immediately after adding the collar.