I’ve only recently learned to enjoy avocado toast. I know it’s supposed to be the reason why American millennials are poor and can’t afford houses (or whatever people are saying these days), but my preferred way to eat avocado toast is on sourdough with scrambled eggs and a little salt. As an homage to the great avocado toast, I thought I’d make these DIY avocado toast earrings. Now, if you want to publicly declare your love for avocado toast, you can!
 Shrink plastic is probably the coolest thing to come out of this generation, in my humble opinion. I mean, this stuff is pretty incredible and I love using it for jewelry more than anything. Remember my emoji rings I made with shrink plastic?!
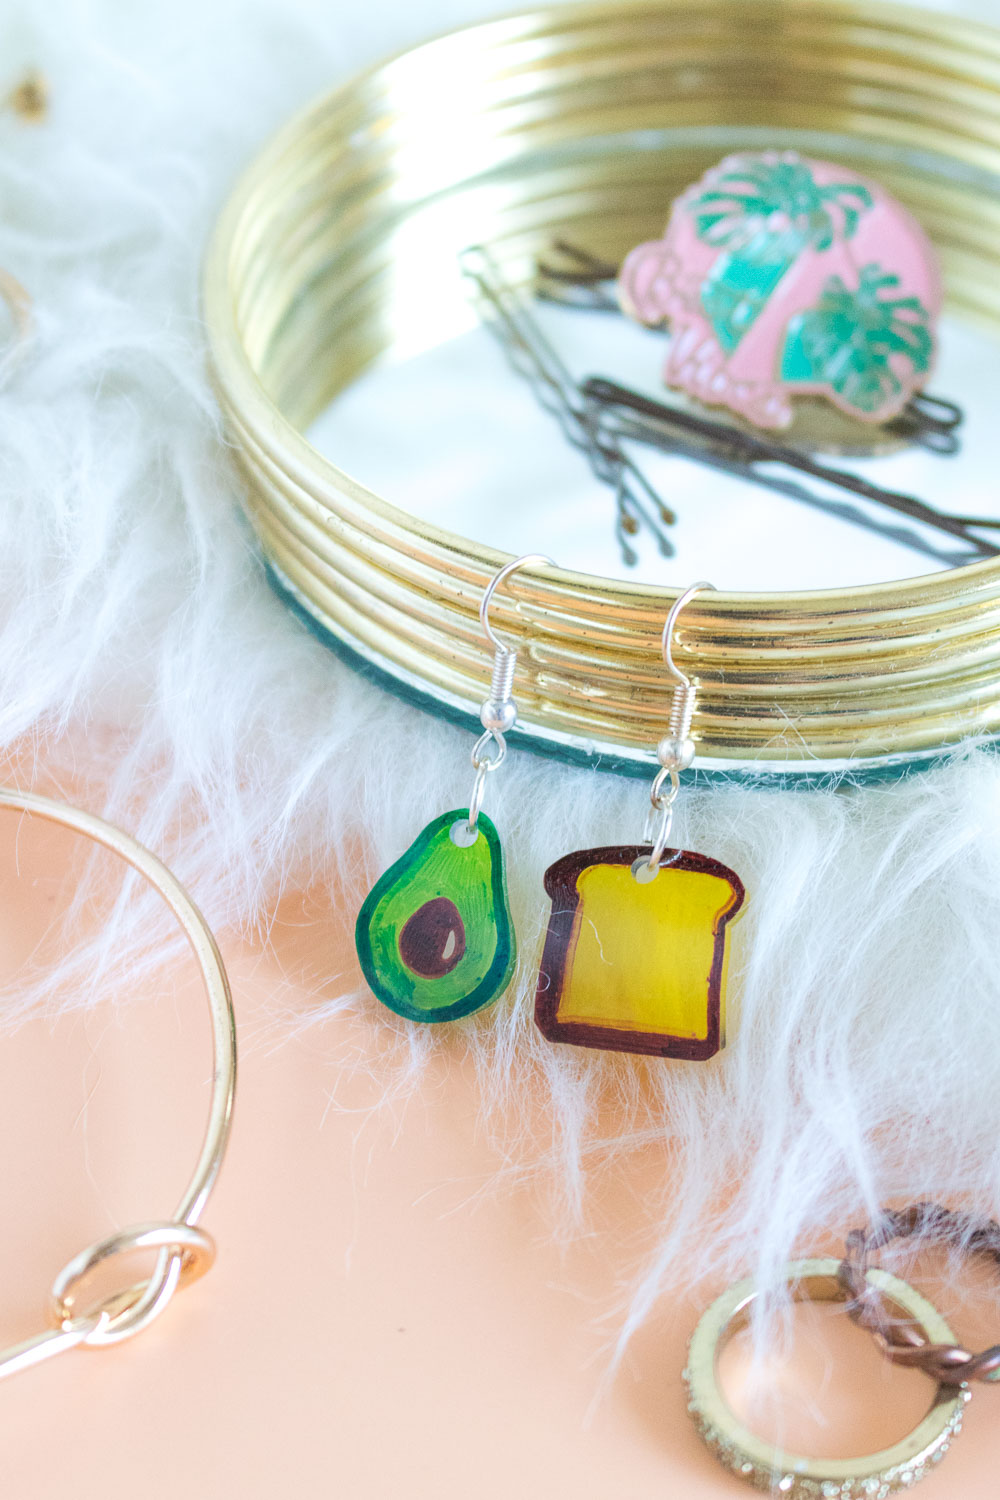
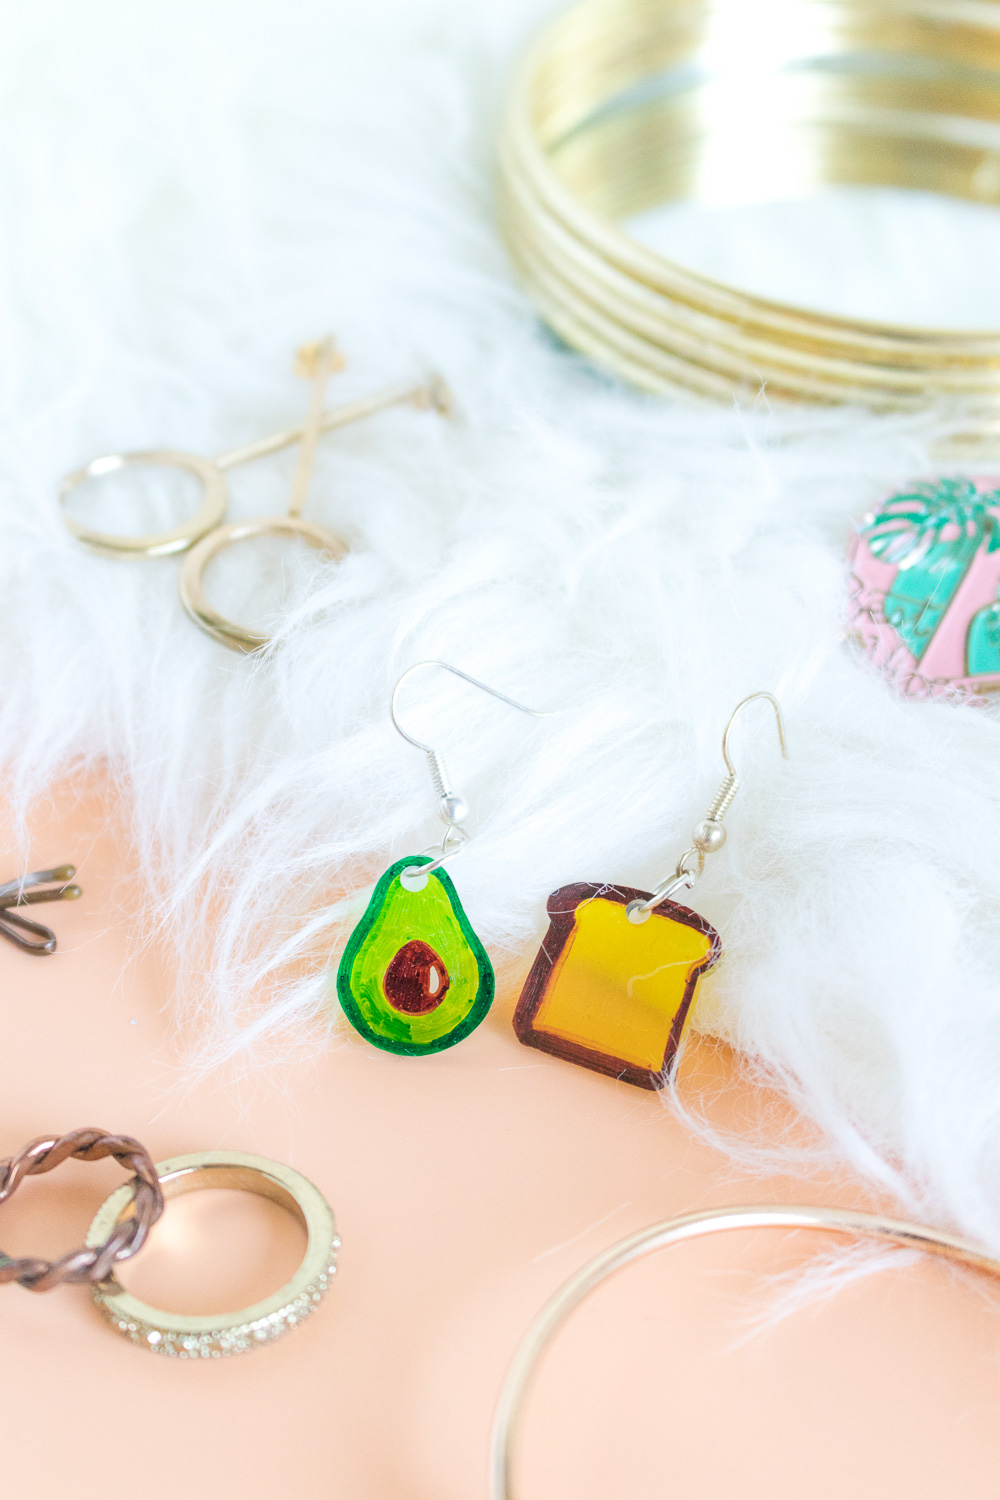
Since avocado and toast go together just like peanut butter and jelly these days, I thought it would be fun to make one earring of each for the perfect pair. I kept them fairly small so they wouldn’t feel overpowering, and the shrink plastic keeps them very light so you won’t even notice you’re wearing them. As someone with sensitive ears (I’ll spare you the story about traumatizing childhood ear piecing memories), I try to only wear lightweight earrings and/or earrings made for sensitive ears.
These are super easy to make by simply tracing the patterns! Here’s how:
 Time: 15 minutes
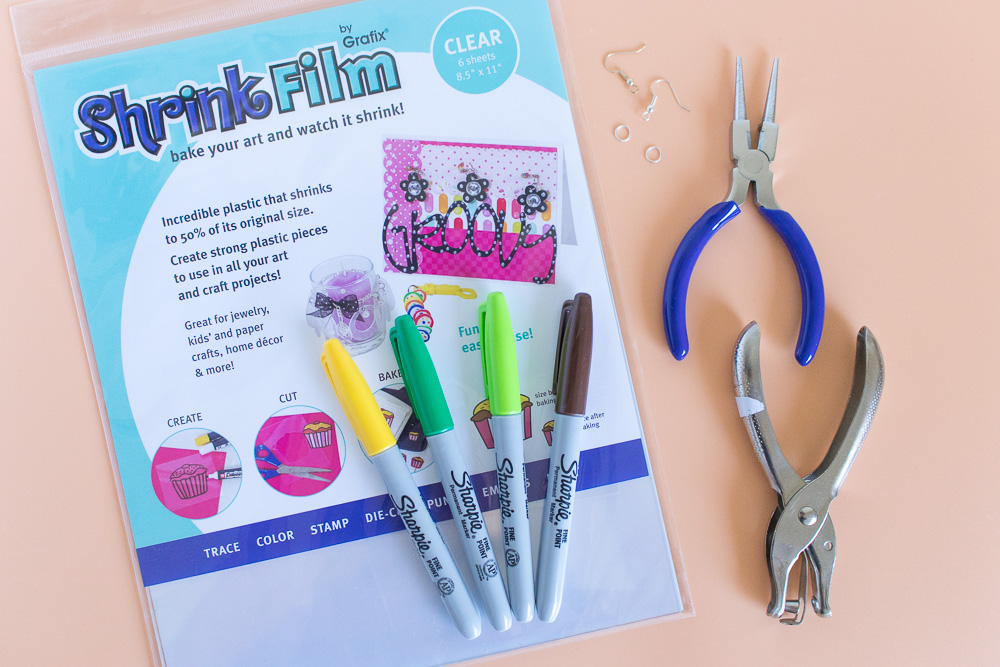
Supplies:
- Clear shrink plastic
- Printed avocado and toast images, about 2 inches tall
- Dark green marker
- Light green marker
- Brown marker
- Yellow marker
- Scissors
- Hole punch
- 2 jump rings
- 2 earring bases
- Round nose pliers
Step 1: Find and print cartoon-like images of an avocado and toast. I searched “emoji avocado” to find mine. Adjust the sizes so that they’re about 2 inches tall.
Keep in mind, they will shrink to at least half the size!
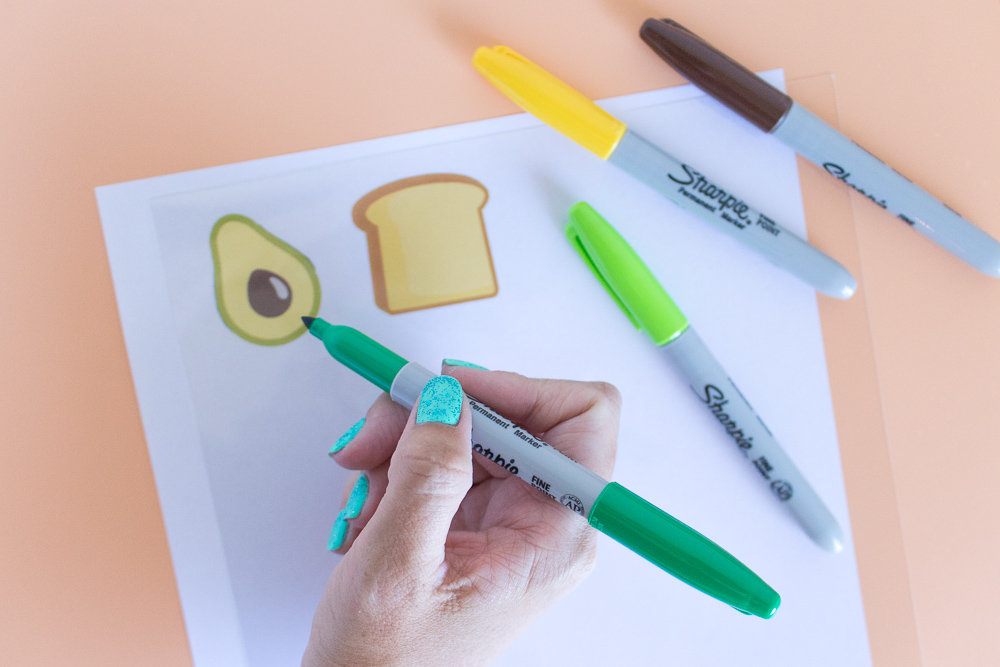 Step 2: Place the shrink plastic over the printed images and trace with the markers, filling in the entire shapes as desired.
Step 3: Carefully cut out the colored shrink plastic images.
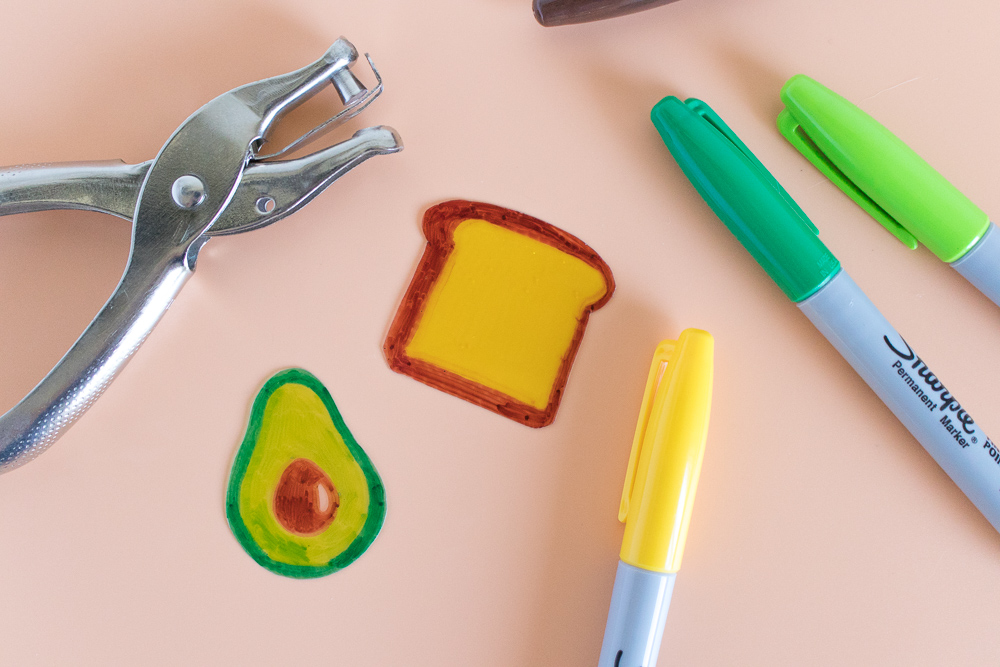 Step 4: Punch one hole at the top of each piece so that they are relatively close to the edge.
Step 5: Place the pieces on a lined baking sheet and bake (in traditional oven or preheated toaster oven) according to shrink plastic instructions. Watch carefully as the plastic shrinks and hardens and promptly remove from the oven. They should bake for about 2 minutes or less.
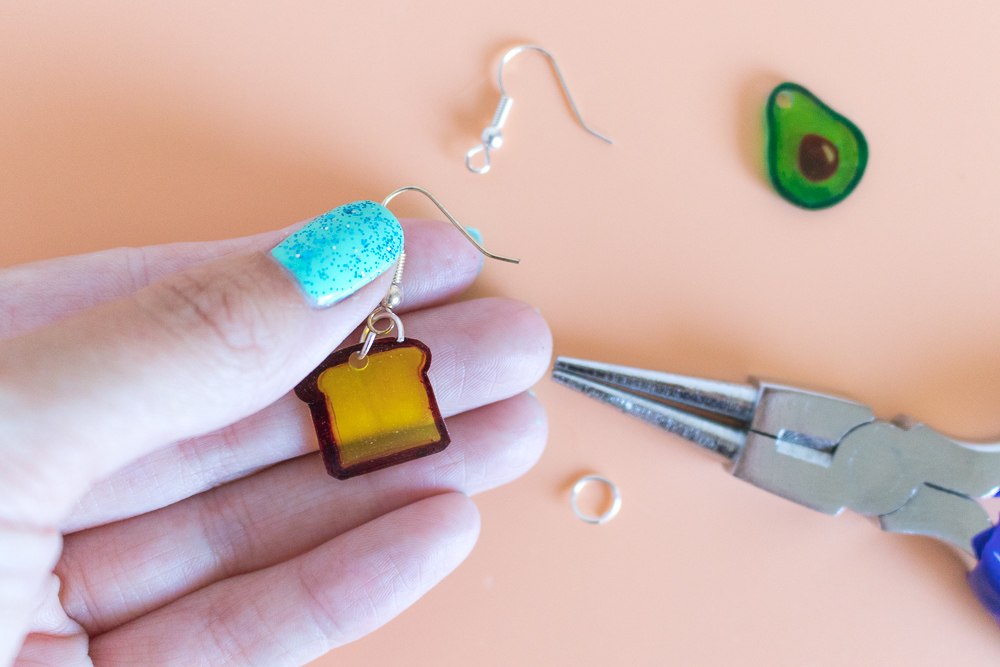 Step 6: Once cool enough to touch, remove the pieces from the baking sheet and carefully use the pliers to open the jump rings and thread through each hole in the avocado and toast pieces. Attach the earring hardware to the same jump ring and close the jump ring with the pliers to secure.
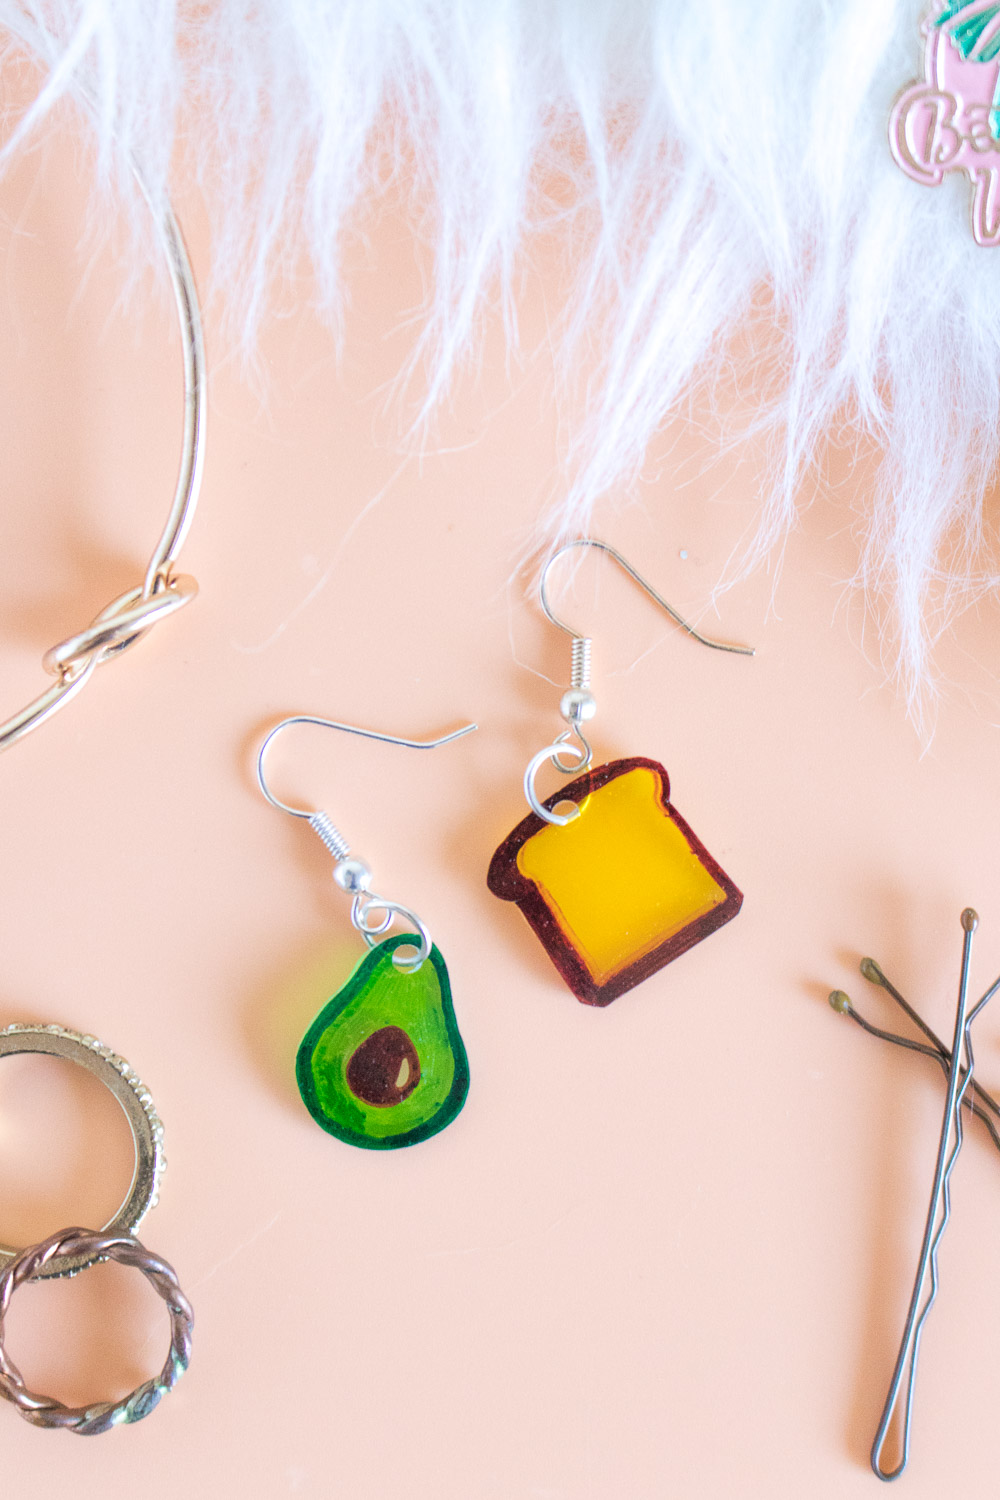
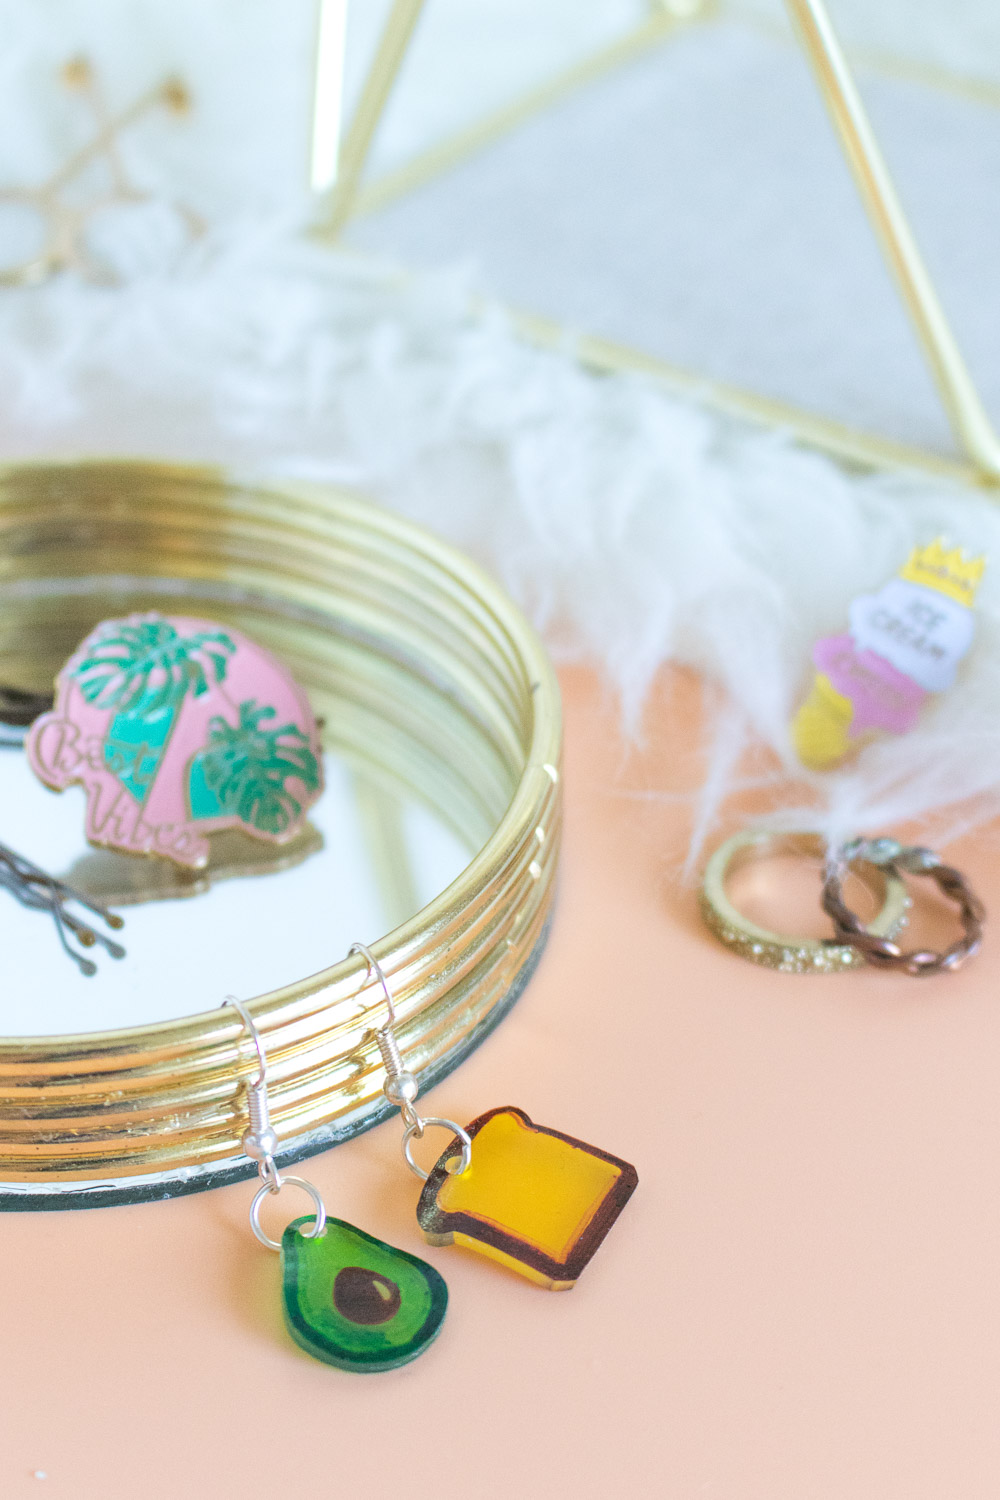
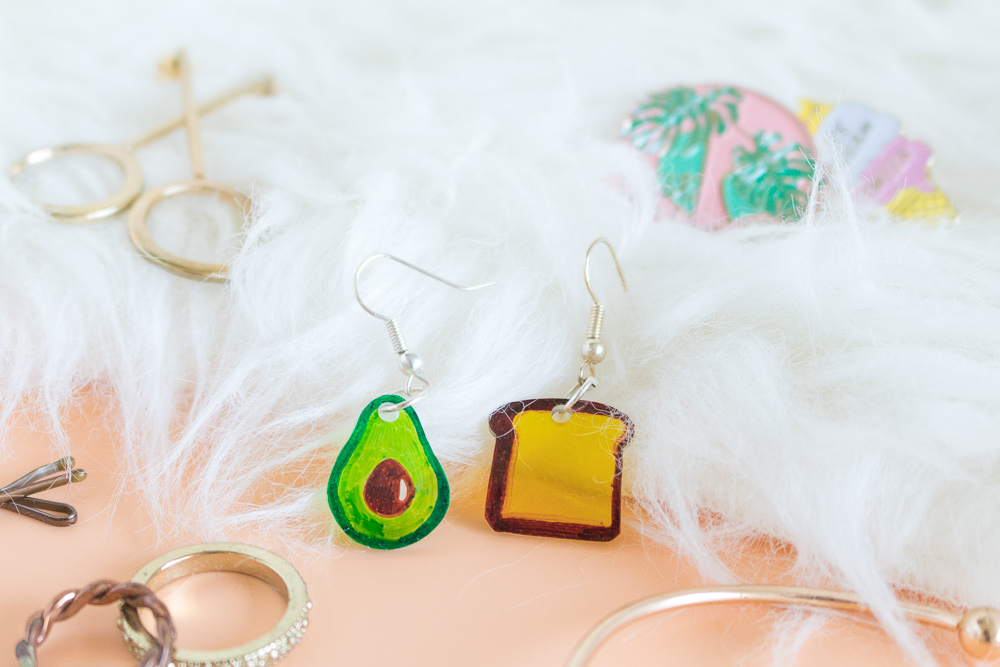 Now your avocado toast earrings are ready to wear or gift! Wrap them up for someone who LOVES avocado toast or wear them yourself to show off what you love. Using clear shrink plastic keeps the pieces slightly see-though, which gives them a great translucent look when you’re wearing them! Shrink plastic is very durable, but the color may wear after continual use. Enjoy, avocado toast lovers!