Apparently I’m a hat person. Who knew? I bought a hat when we were out in the sun all day last 4th of July, and now suddenly I like hats. I never would have guessed I would.
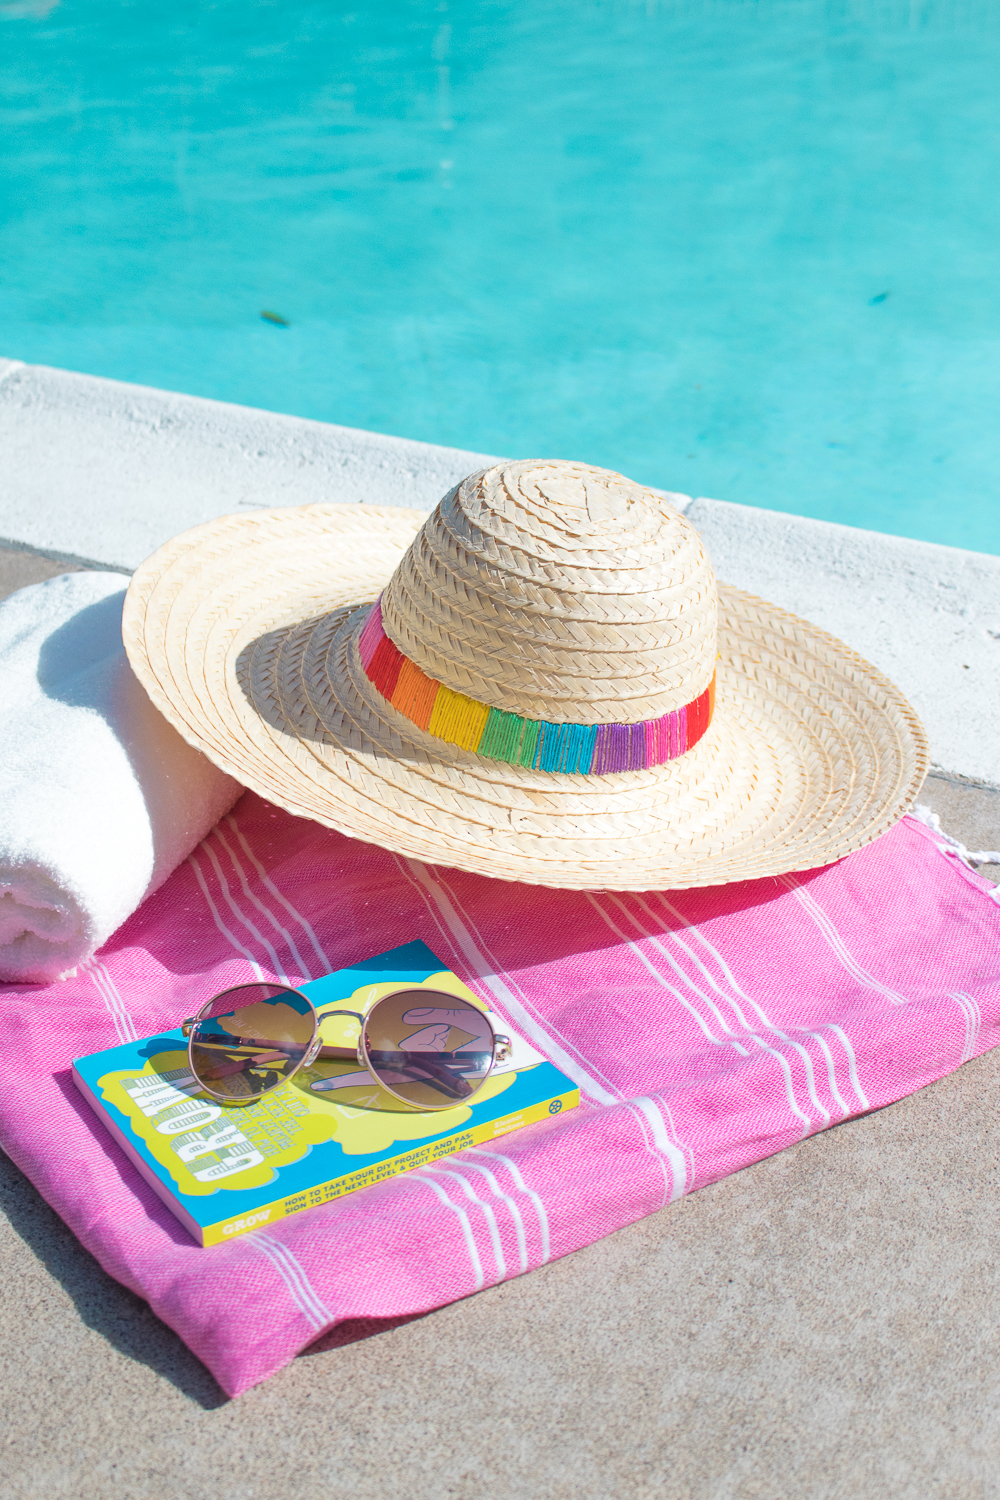
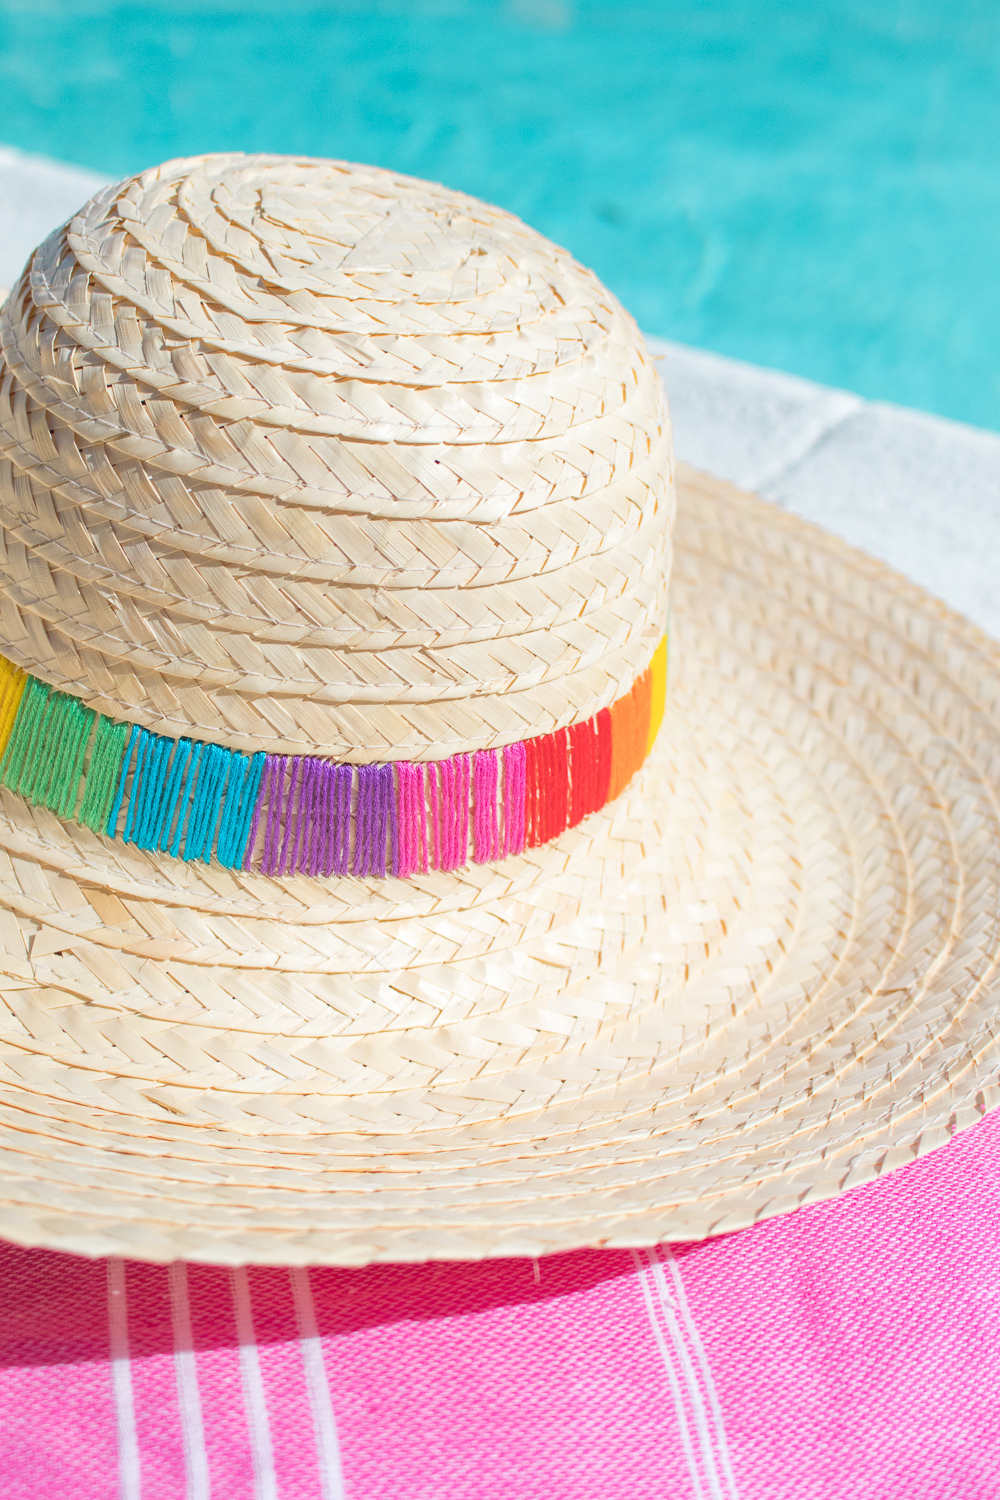
I’ve been seeing cute sun hat DIYs pop up everywhere, especially with these super cheap IKEA straw hats. I picked one up at IKEA myself on my last trip and thought I’d come up with a way to make one myself, which is how I made this fun rainbow embroidered sun hat! Look at that ribbon of color!
 These are the types of projects that I love because I can chill on the couch and stitch without really even paying attention, and at the end of it, I have this colorful hat! It’s perfect for blocking the sun while I lounge by the pool this summer, and it’ll match the swimsuit cover-up DIY I have planned too.
 Time: 45 minutes
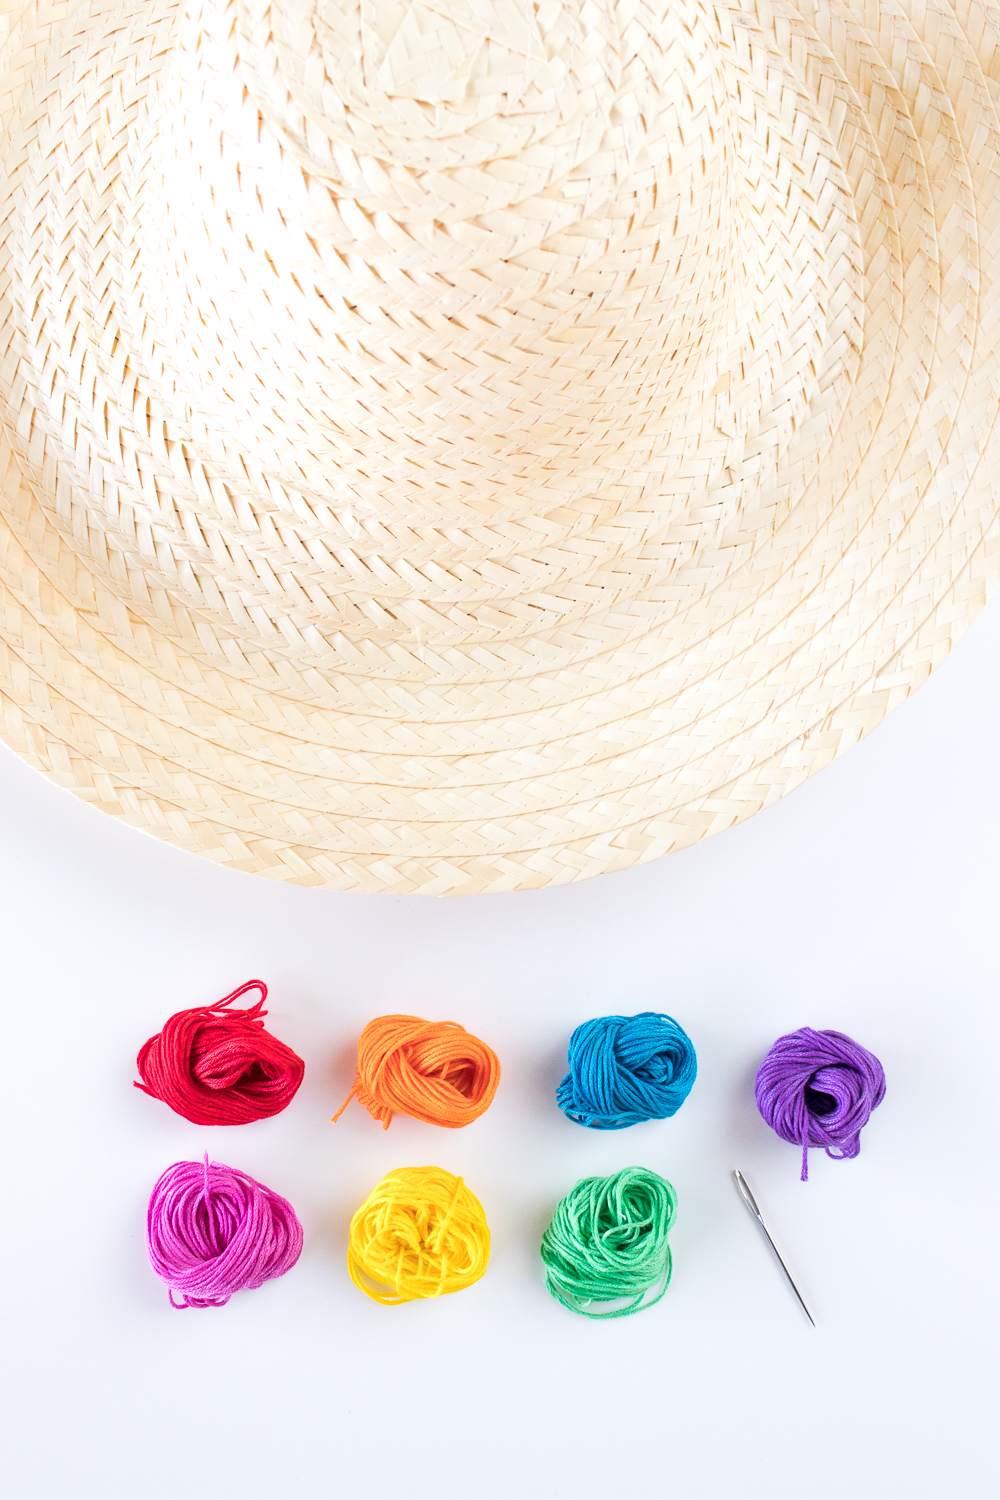
Supplies:
- Straw sun hat
- Needle
- Rainbow colors of embroidery floss
In this case, I followed a rainbow pattern with pink added, so I followed this order: pink, red, orange, yellow, green, blue, purple.
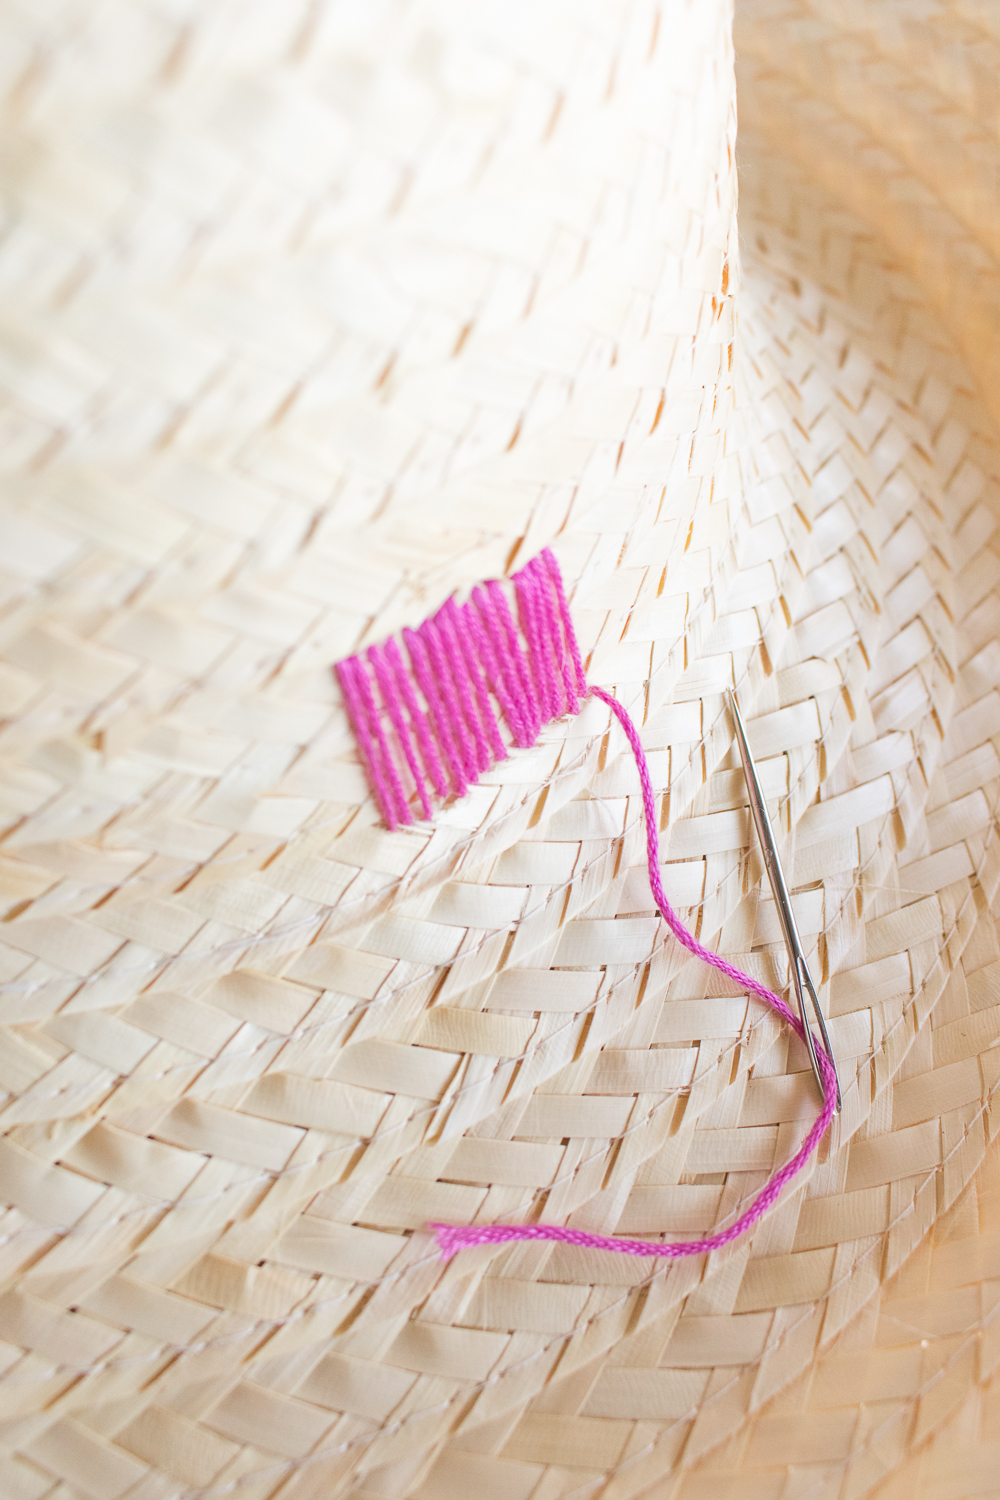
Step 1: Cut a piece of embroidery floss about 3 feet long. Thread a needle (you can use a handsewing needle or even a darning needle) with the first color of embroidery floss (pink, in this case).
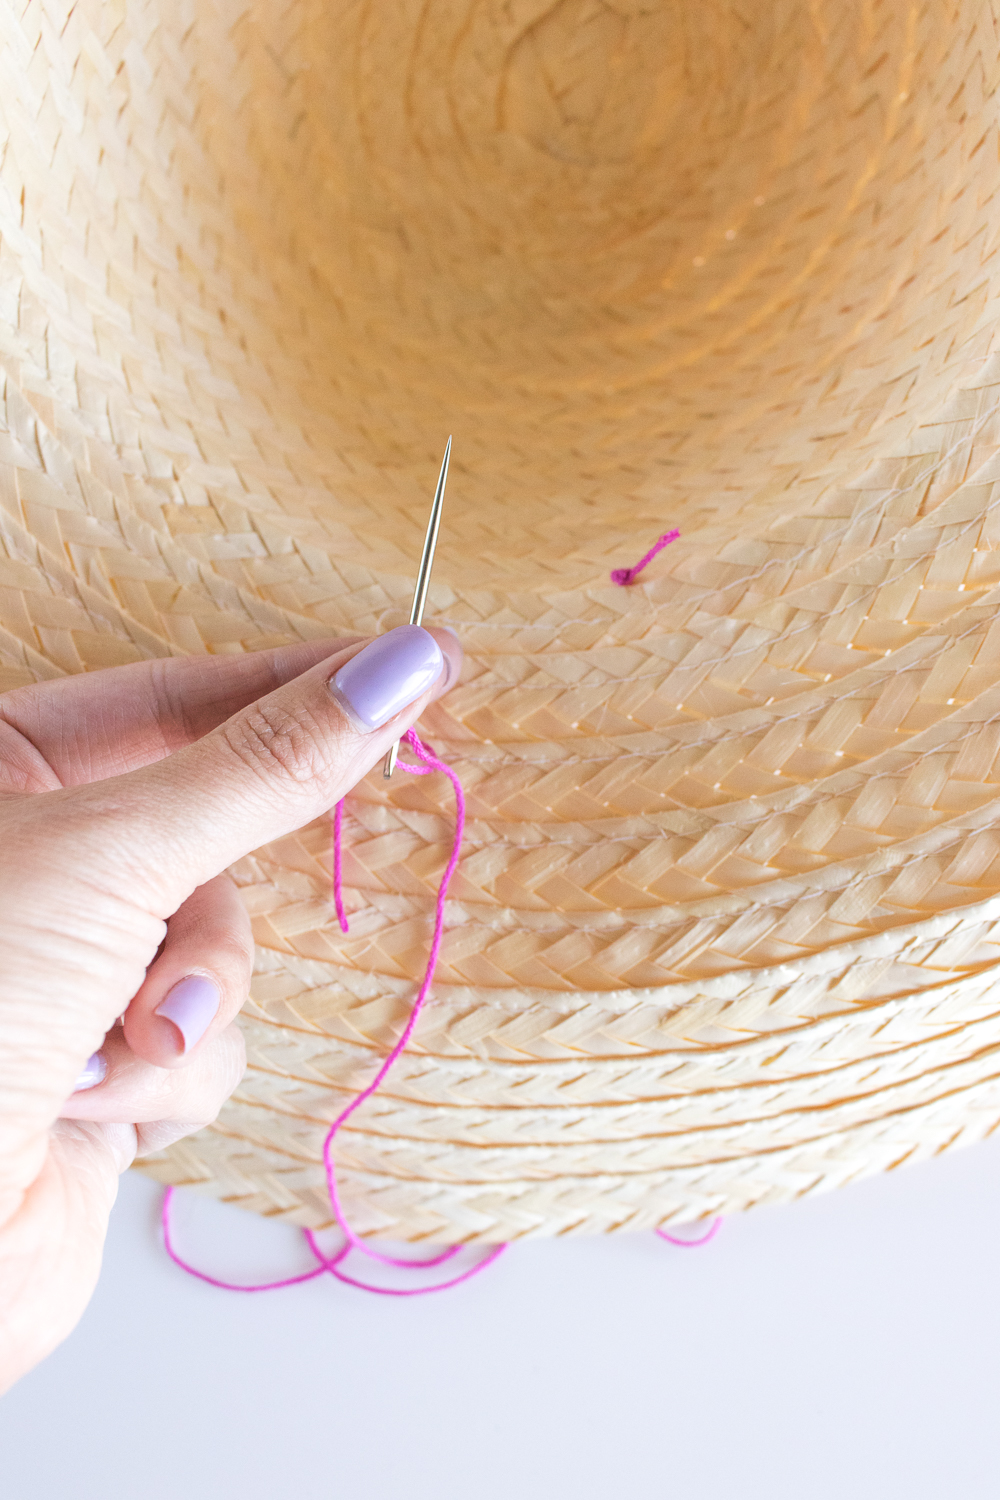 Step 2: From the inside of the hat at the base, poke through with the needle and pull thread most of the way through. Tie a double or triple knot on the inside to secure.
Step 3: Once secure, pull the thread taught and poke through the outside about 1 1/2 inches above. Then repeat about 15-16 times to create a strip of color. Once you’ve completed the section and your needle is on the inside of the hat, thread the needle through the existing stitches and tie a double knot.
Note, with this type of hat, there are easy-to-follow lines that help keep all stitches looking even.
 Step 4: Repeat with the next section of color right next to it, and continue until you have gone all the way around the hat.
With about 16 stitches per color and seven colors, I had three rainbows that reached all the way around the base of the hat. It can take a little while to complete all of the stitches, but after the first few stitches, it becomes a mindless activity you can do while watching TV or something.
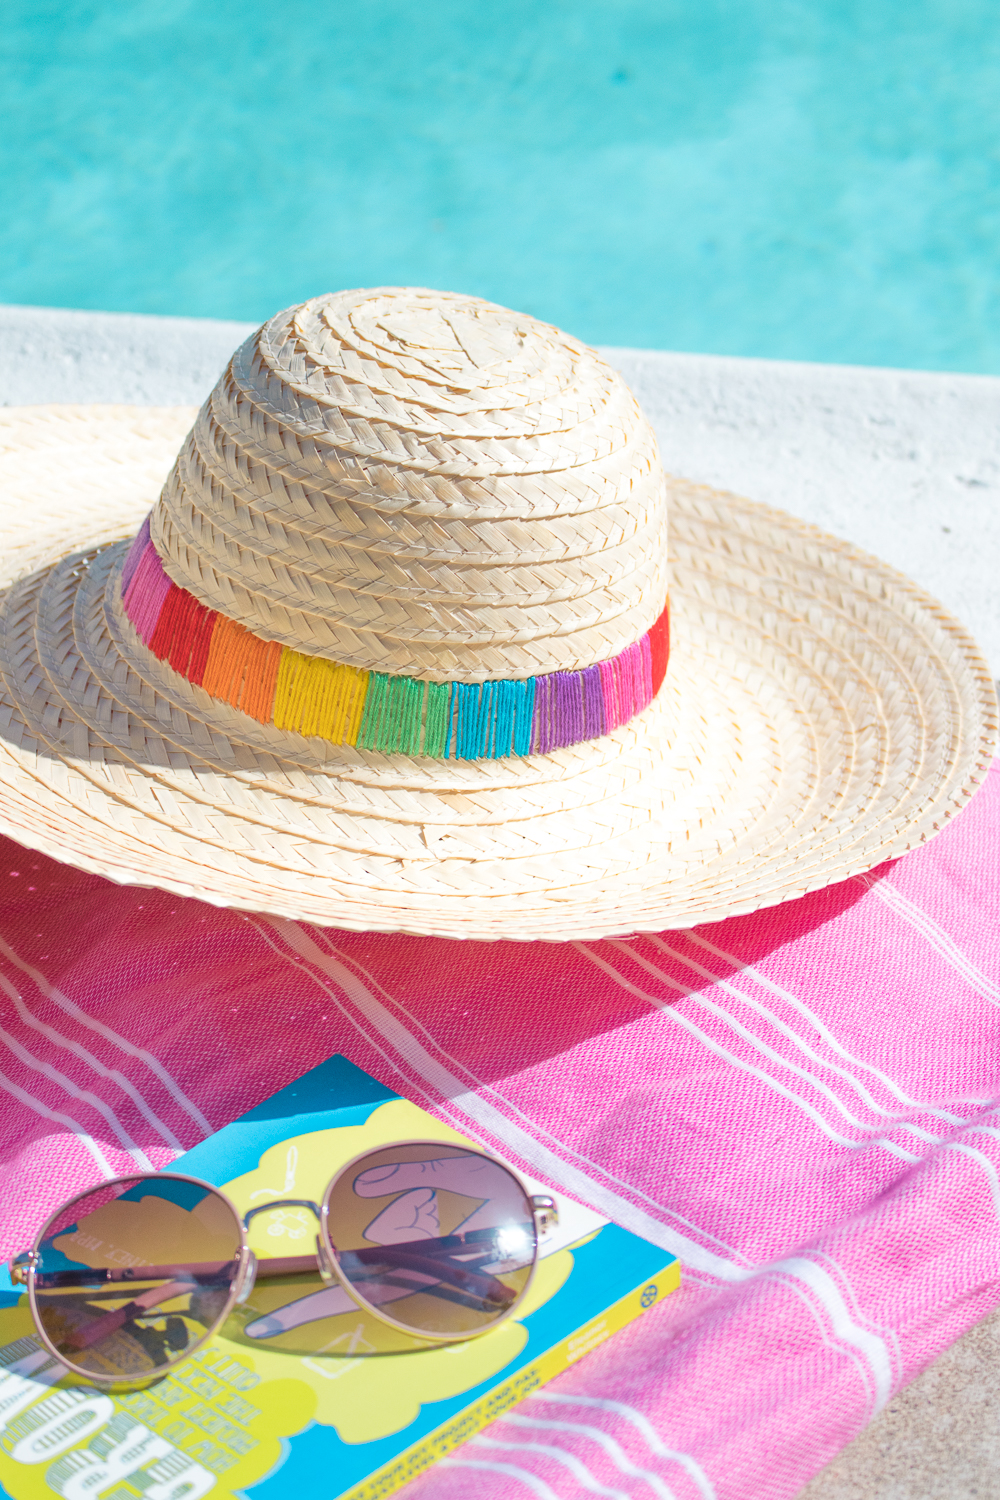 Trim any loose threads from the inside of the hat and it’s ready to wear! Now you can take the rainbow with you wherever you go, and it’ll add a fun pop of color to any outfit. Personally, I think this will be the perfect hat for me to wear poolside this summer!
Jennifer David
That’s lovely. I am picking up my hat and embroidery floss and doing it right now.
Holly Wade
Jennifer DavidYay! Send photos once you’re finished, and I’d love to see how it turns out! ☺️
Holly
Love this! I just discovered your blog from Aww Sam. Love it!
Holly Wade
HollyThanks Holly! So happy to have you here! 🙂