The following post is sponsored by Excel Blades
Stamps were one of my first introductions into the craft world. When I started scrapbooking with my mom when I was younger, my sister began working for a popular stamping company, so we had SO MANY stamps in the house. You name it, we had it, so I started using them pretty often in scrapbooking, card making, etc. Now, I only have a few of my own, and I’ve noticed that sometimes I don’t always find exactly what I want. Instead, I decided to make my own custom carved cursive stamps using Excel carving blades.
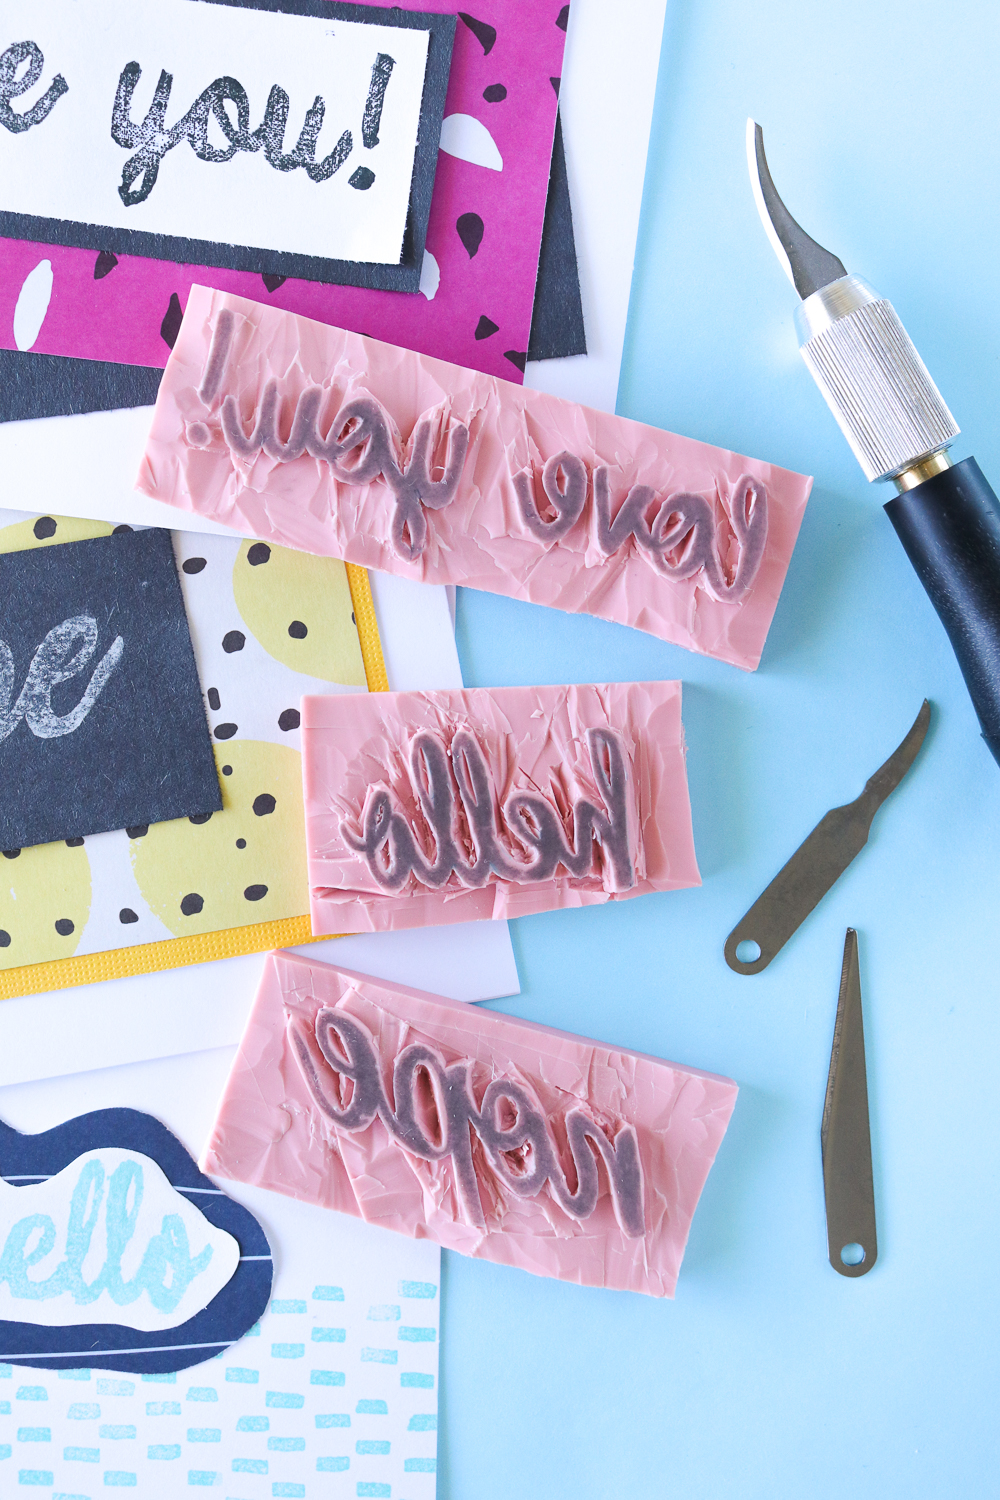
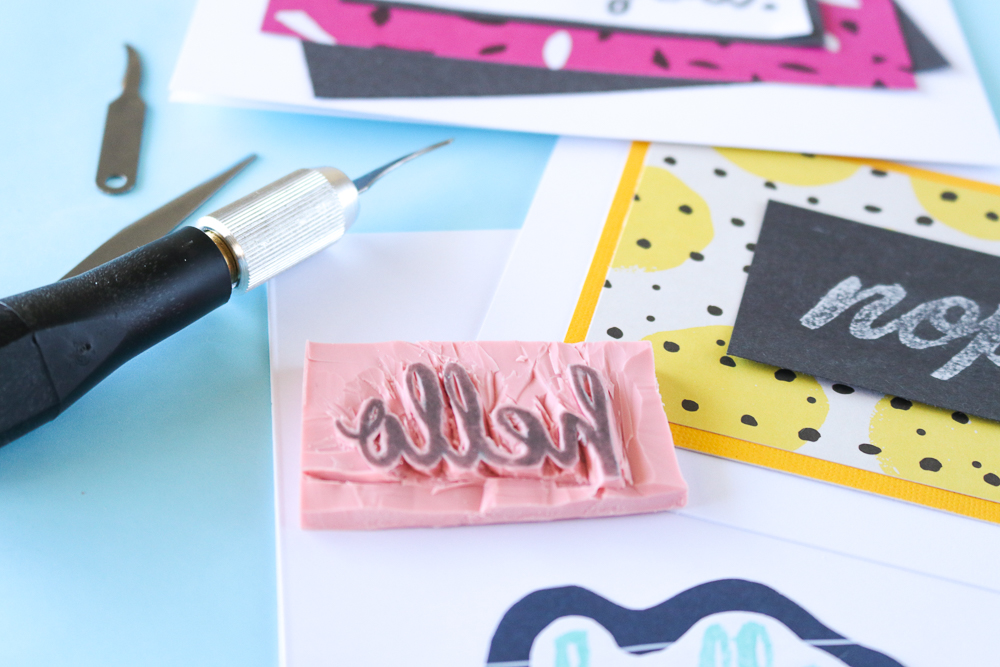
 Attempting this project made me a bit nervous at first because I thought I would totally butcher the letters when carving, but it was actually much easier than expected. It just takes a little time and patience. I used several different Excel carving blades to complete the project, and the medium-sized curved blade you see was my most often used. Simply swap out different blades as needed, such as for making bigger cuts around the edges versus small cuts between letters.
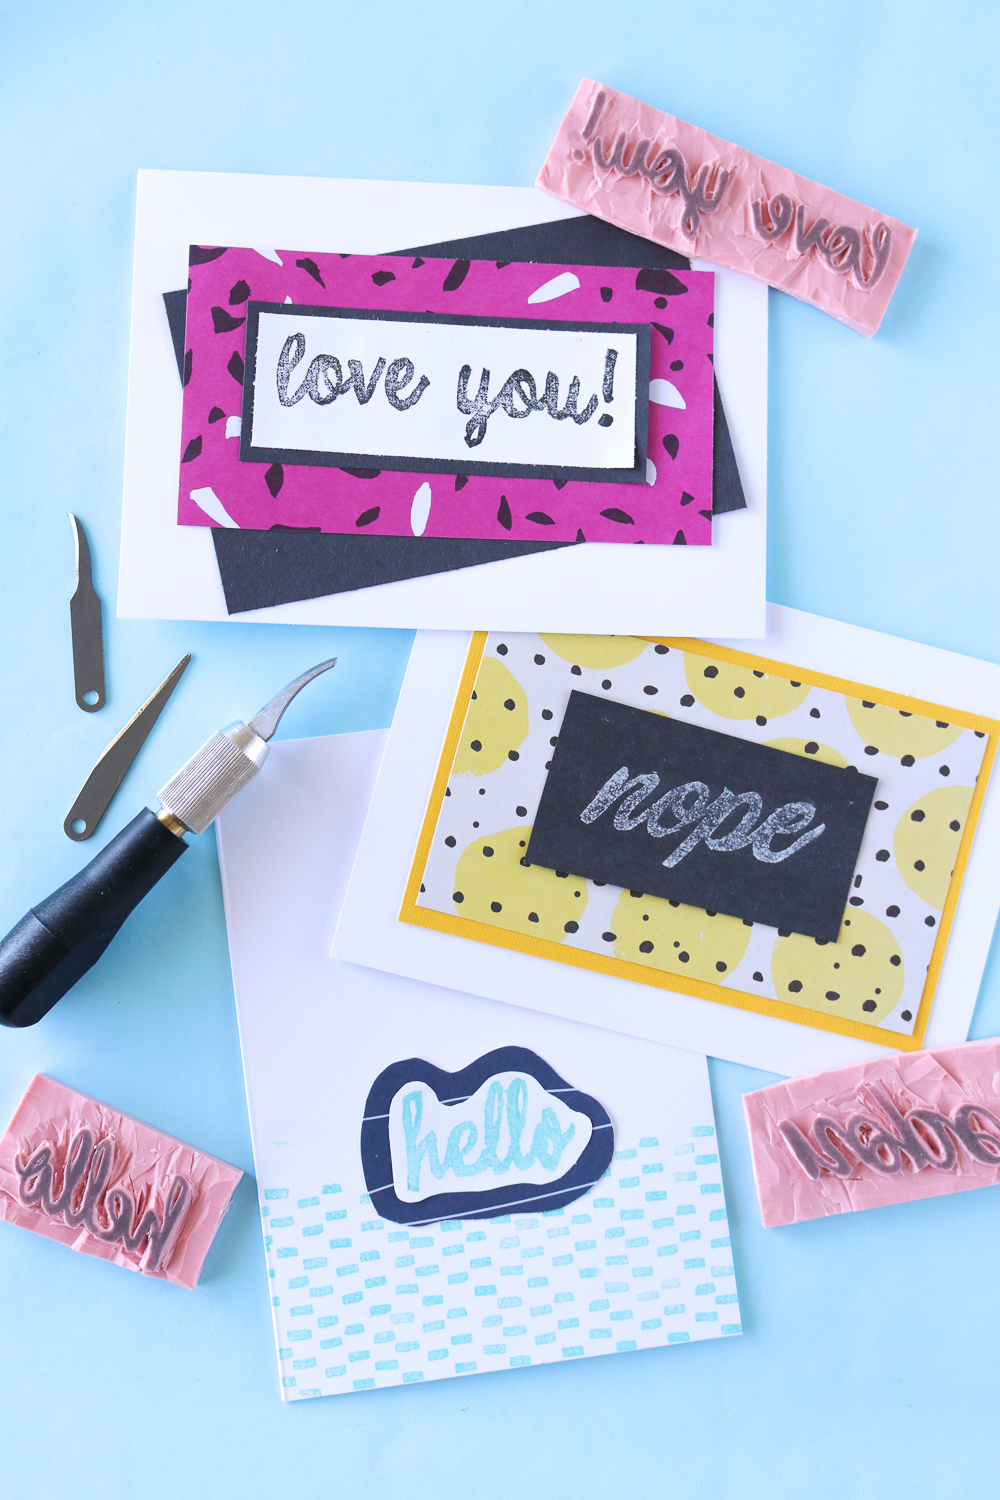
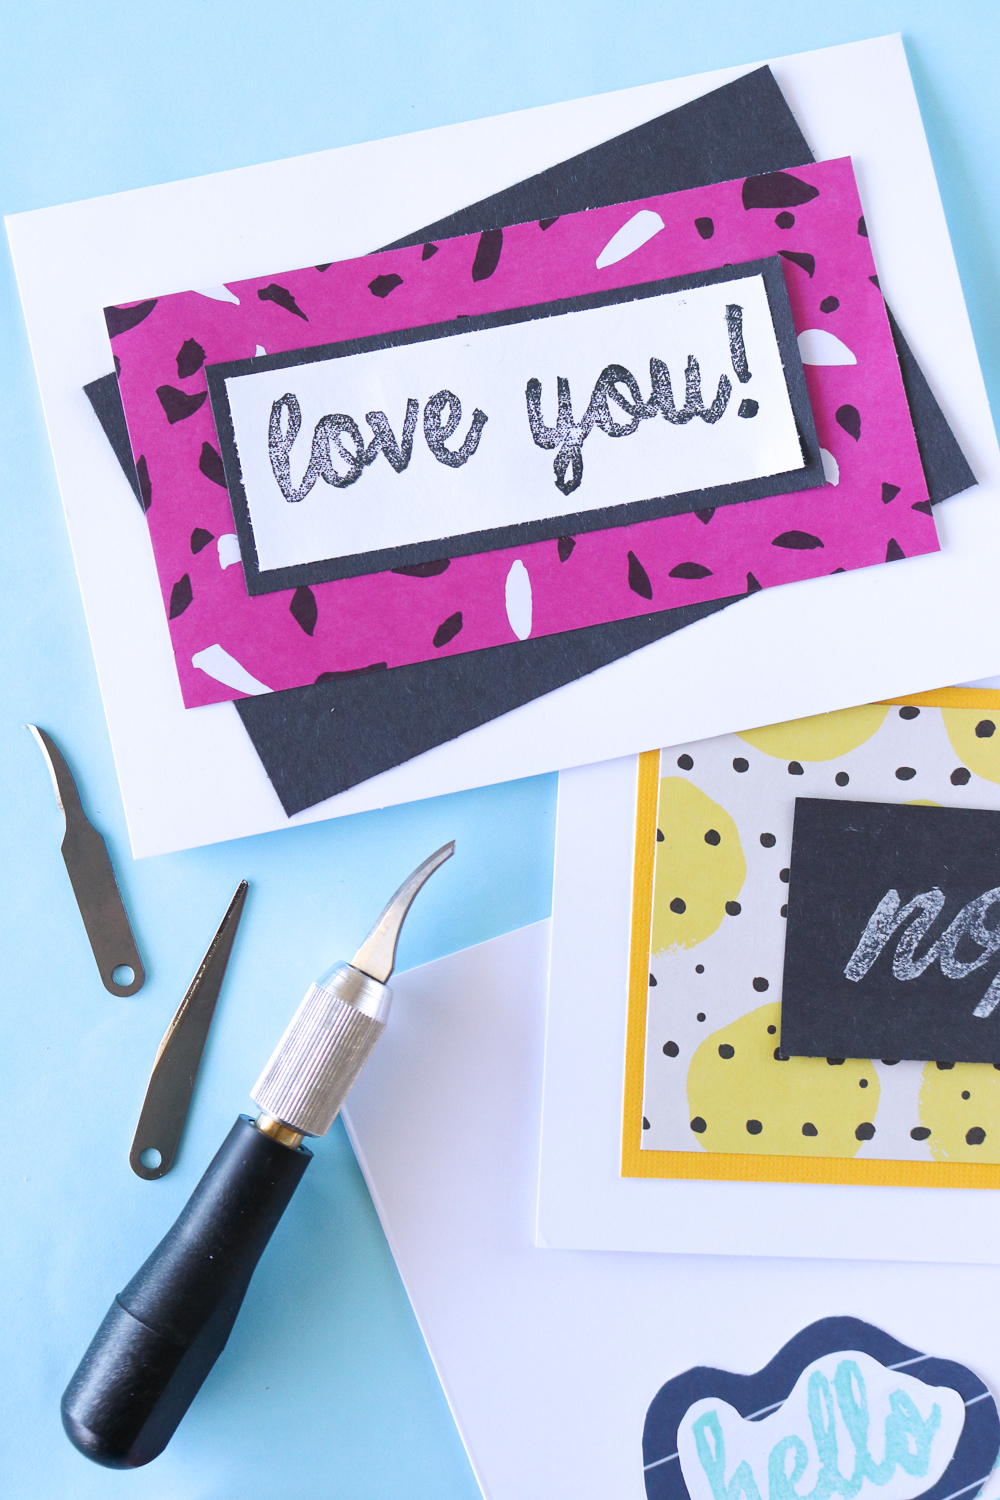
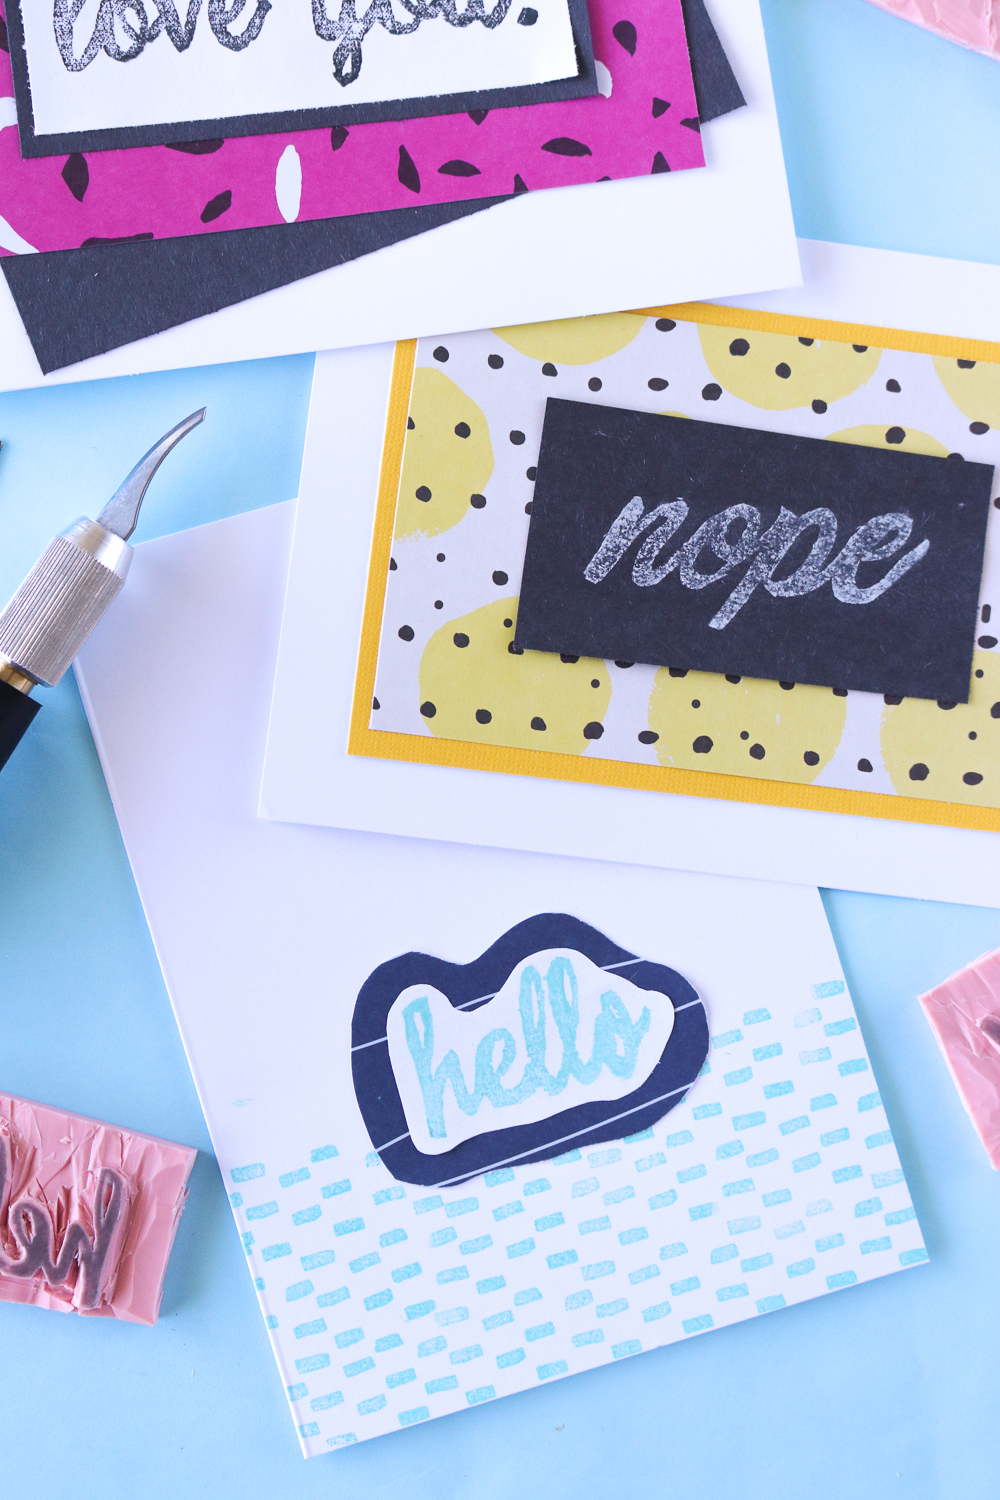
To achieve the cursive writing, I simply typed out the words I wanted in various fonts and traced the printed cursive in pencil before transferring it onto the rubber stamp. This is the easiest method for transferring an image to carve! Try making goofy words or even make a custom name stamp to use for personalizing projects. As you can see, I used the final stamps to create cards. Overall, I think the “love you!” stamp was my favorite!
 Time: 25 minutes
Supplies:
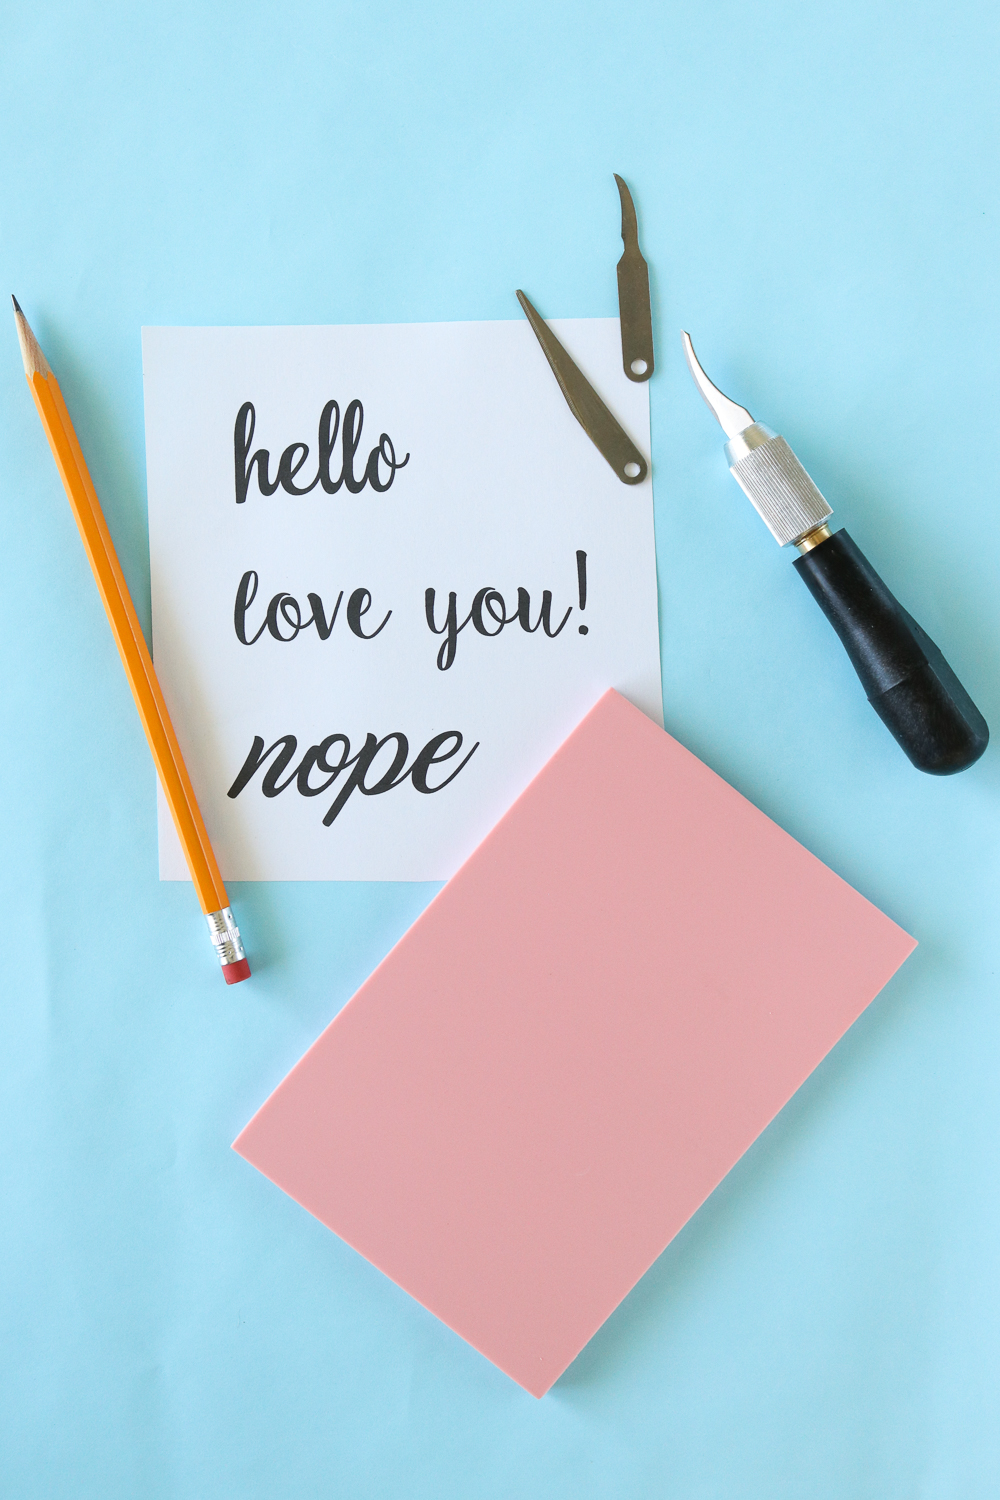
- Large stamping rubber
- Excel Blades carving tools
- Printed or written cursive
- Lead pencil
- Ink pad(s)
Step 1: Type out the word/saying in your desired font and adjust the size to what you would like to carve, click “Print.” Note, there is no need to invert it because the next step will do this.
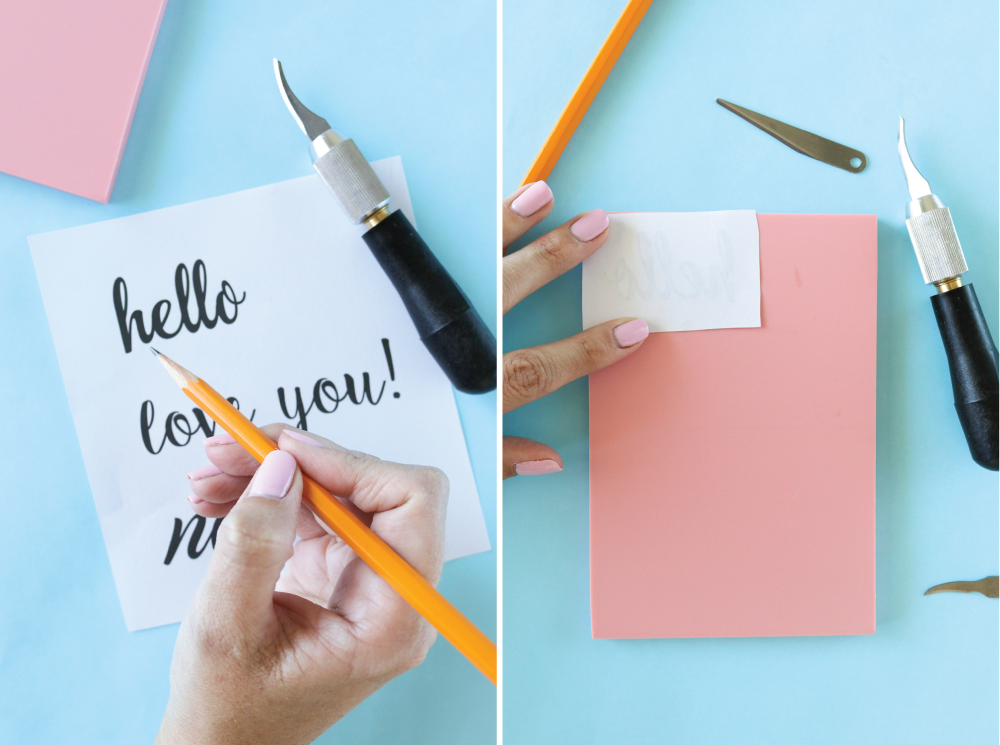 Step 2: Use a lead pencil to heavily trace the wording on the paper. Turn over and press the penciled side onto the stamp rubber and burnish with a tool or other flat piece. Carefully peel back the paper to reveal the image on the rubber.
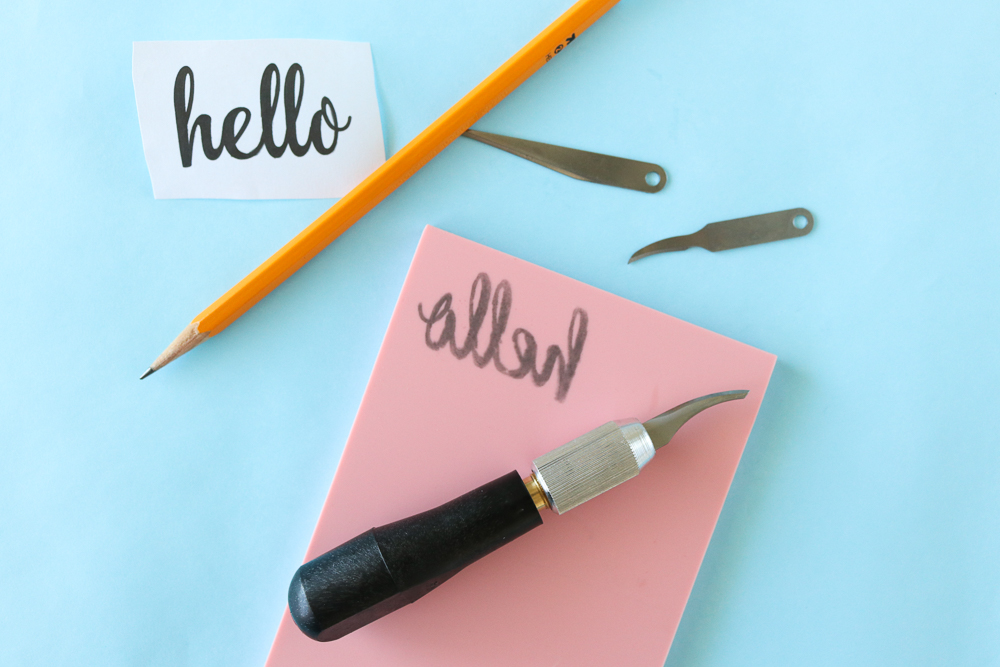 Step 3: Carefully begin using the carving tool to carve the negative space around the letters, paying close attention to spaces between letters as these will be the most difficult to carve. Remember to go slow because you can always carve more away but you cannot put it back.
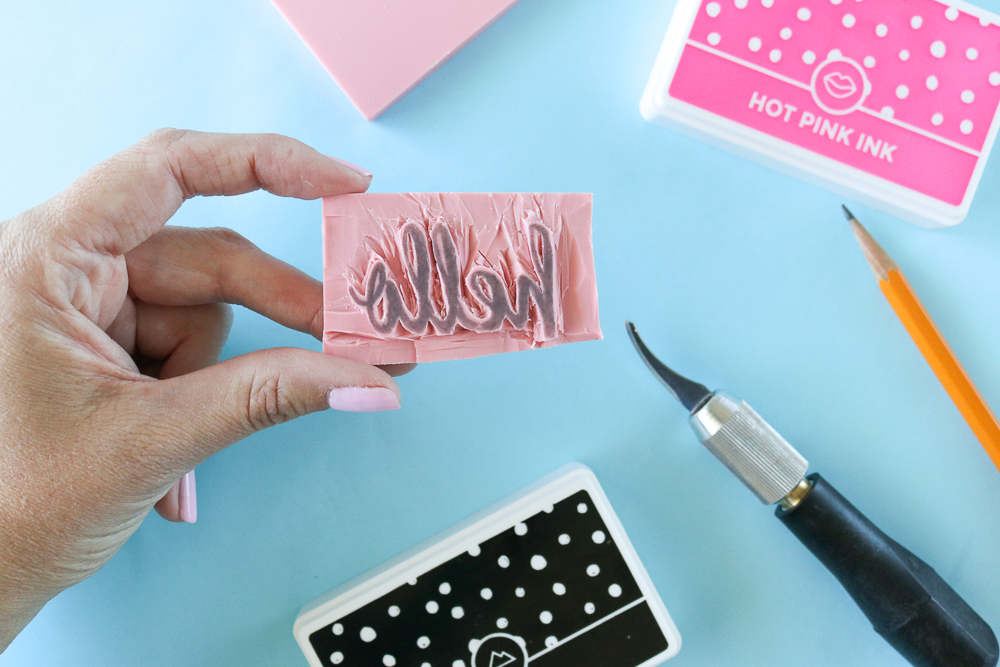
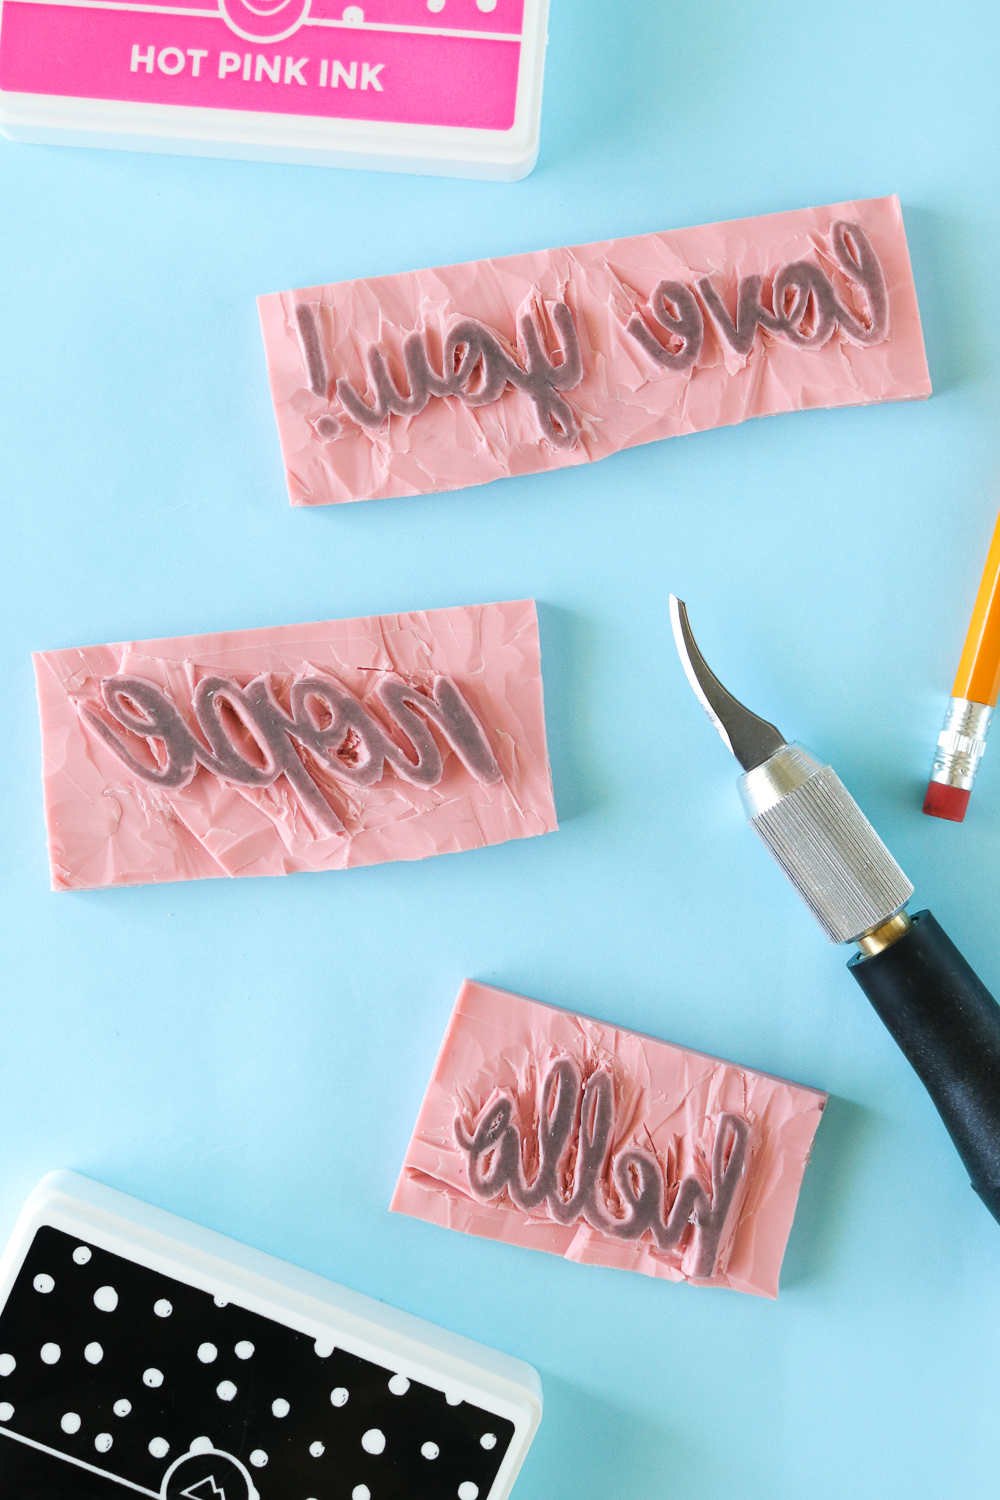 Step 4: Once the area around the wording is carved, lightly press the newly carved stamp on an ink pad and test on a piece of paper. If there are unwanted spaces being stamped, use the carving tool to remove them and try again until you’re satisfied with the result.
It’s OK if the edges don’t look pretty! All that matters is that the stamp prints the way that you want.
 Then your stamp is ready to use! Clean between uses for best results, and you should have a stamp that lasts a long time. If desired, you can also use a small amount of glue to attach the back of the stamp to a piece of wood. This is ideal for larger stamps because it keeps it very sturdy.
Have fun making your own stamps, whether you’re making goofy sayings or carving your own name. They’re fun to make and easy to work on while you sit back and watch a movie. Happy crafting!
Thanks to Excel Blades for sponsoring this post. All opinions are my own. Thank you for supporting the brands that keep Club Crafted making.
*Note, this post may contain affiliate links.
Brandi
These are just so super cool!!
Holly Wade
BrandiThanks Brandi!