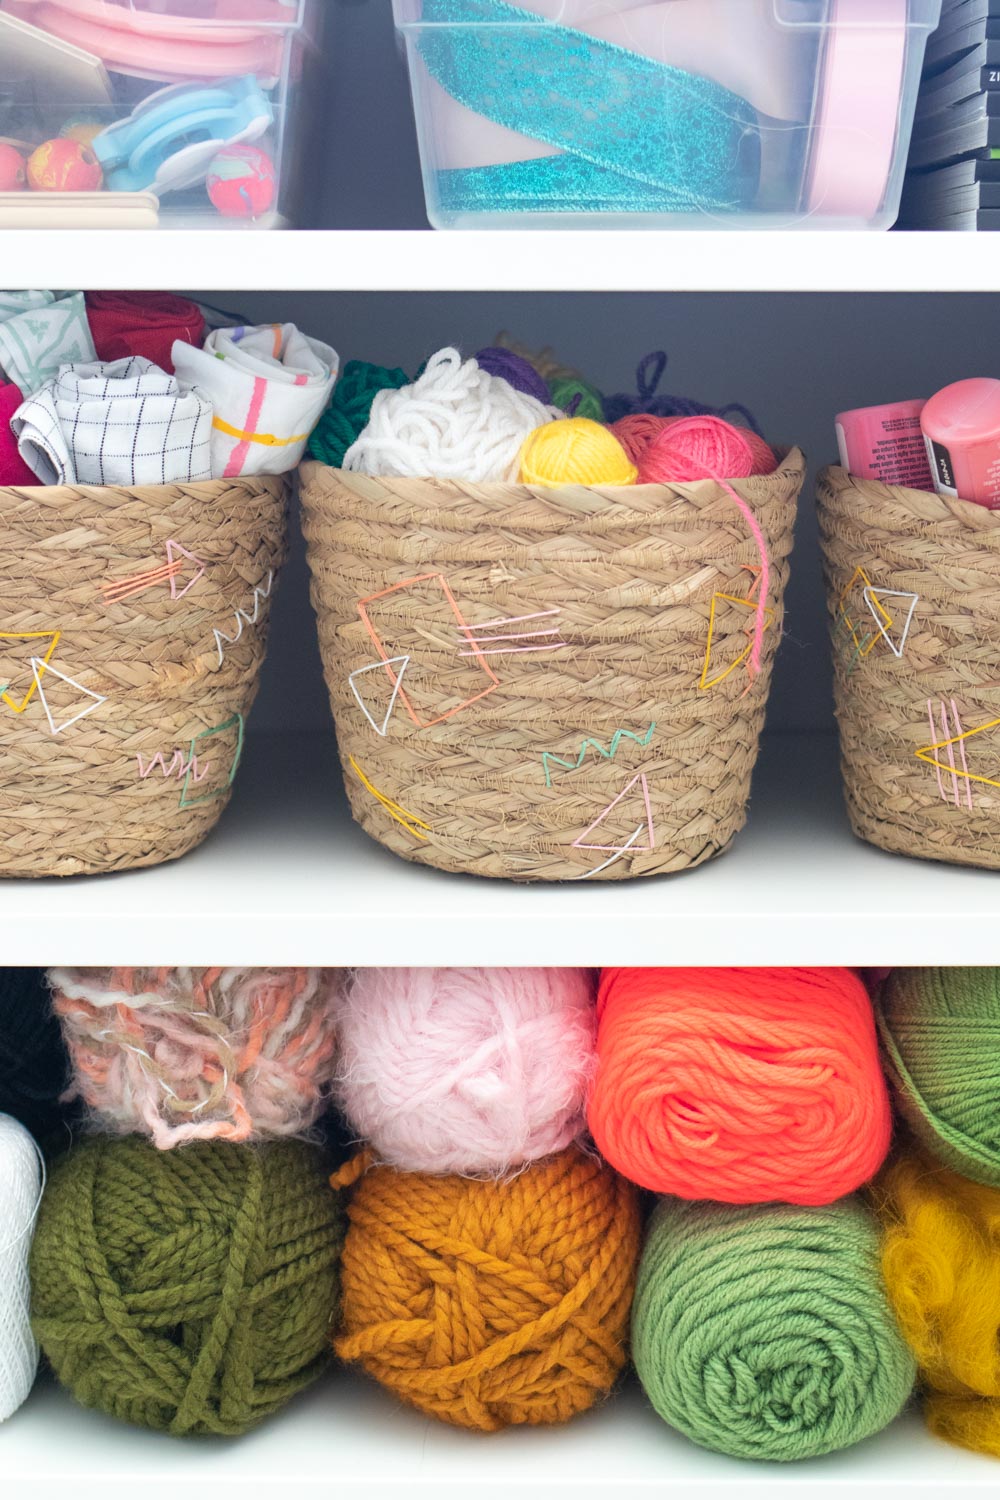
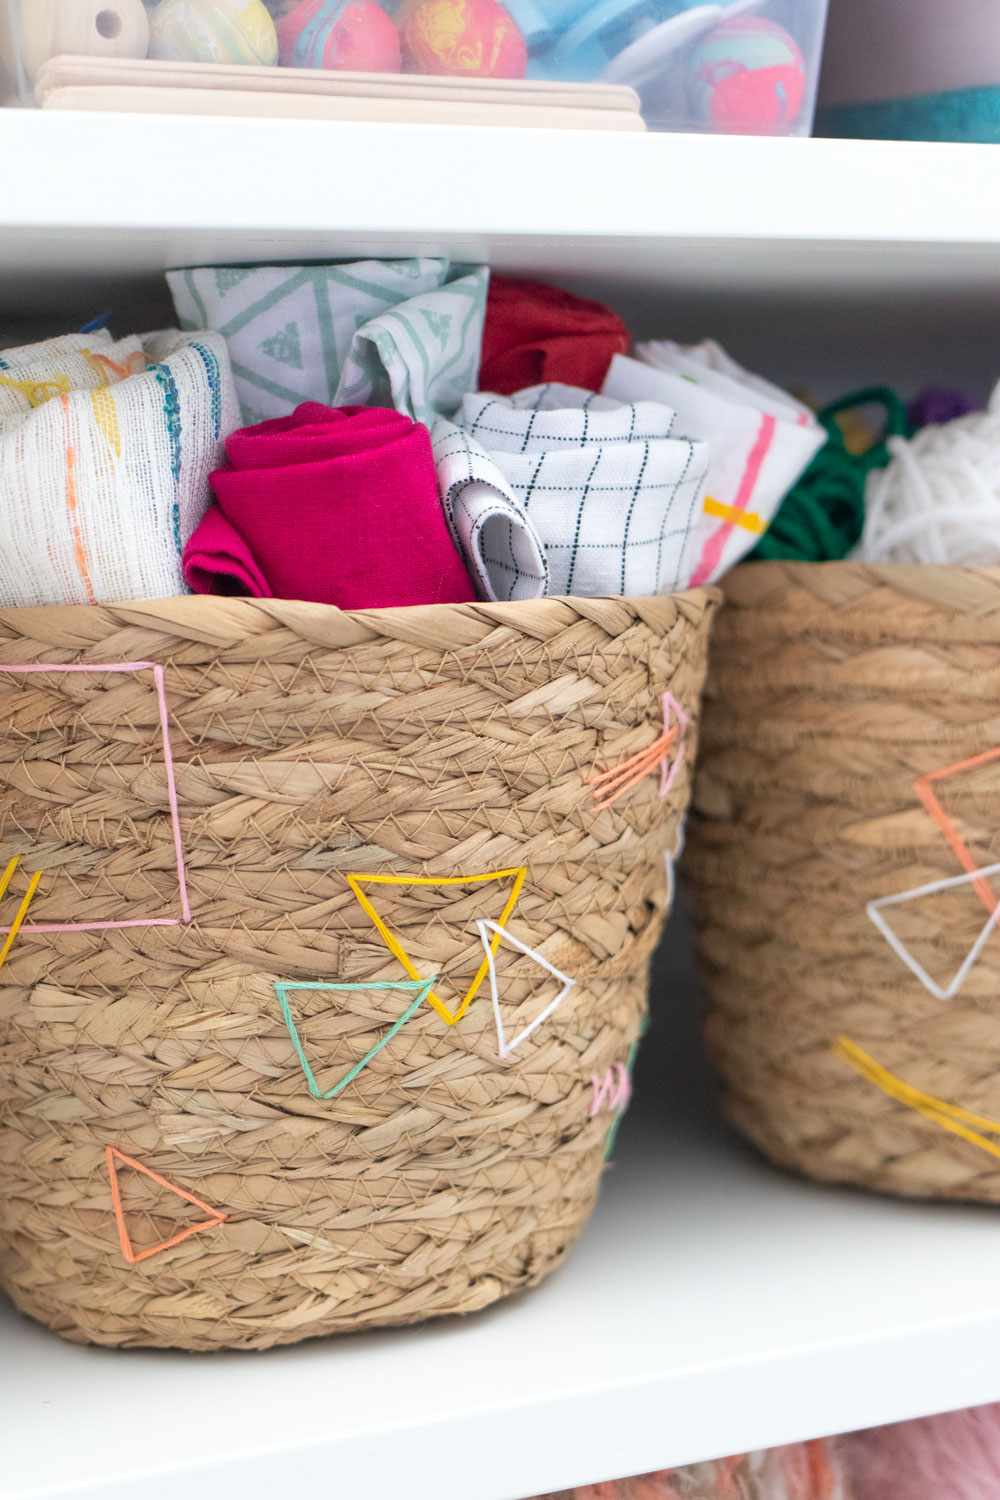
I’m slowly getting back to normal after a difficult few weeks, so I’m ready to share a new update in my office/studio space. I picked up these baskets on a whim with the hope of trying an easy basket update, but I wasn’t sure what to do. Finally, I decided to try this embroidered basket idea! They fit perfectly inside of my new office cabinets. Capitalizing on my favorite 80s/90s patterns, I used a few of my favorite colors on the basket update. Here’s how to you can easily recreate this embroidered basket idea!

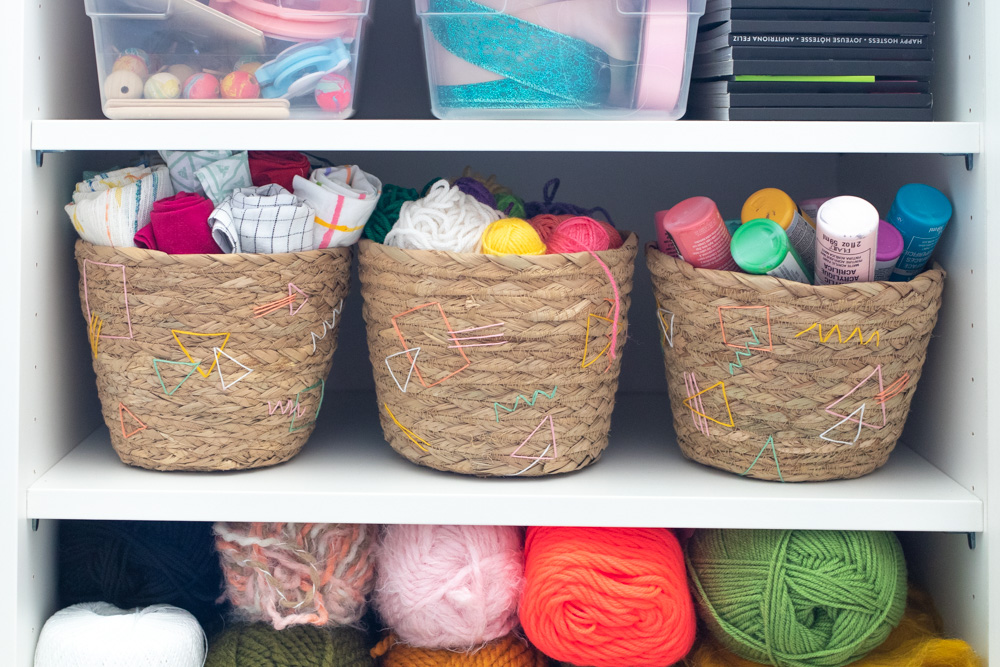
I have to say, I am SO happy with this new studio space. It has a lot of natural light throughout the day that I love. To make better use of the space, I purchased IKEA cabinets and a bookshelf. It’s so helpful! Now these DIY embroidered baskets fit perfectly inside the cabinets so I can keep all of my craft supplies organized. It’s also a perfect space for organizing my growing collection of yarn. When I open these cabinets, I feel happier to see organized storage!

Supplies:
- Baskets (similar here or here)
- Embroidery floss, various colors
- Scissors
- Embroidery needle
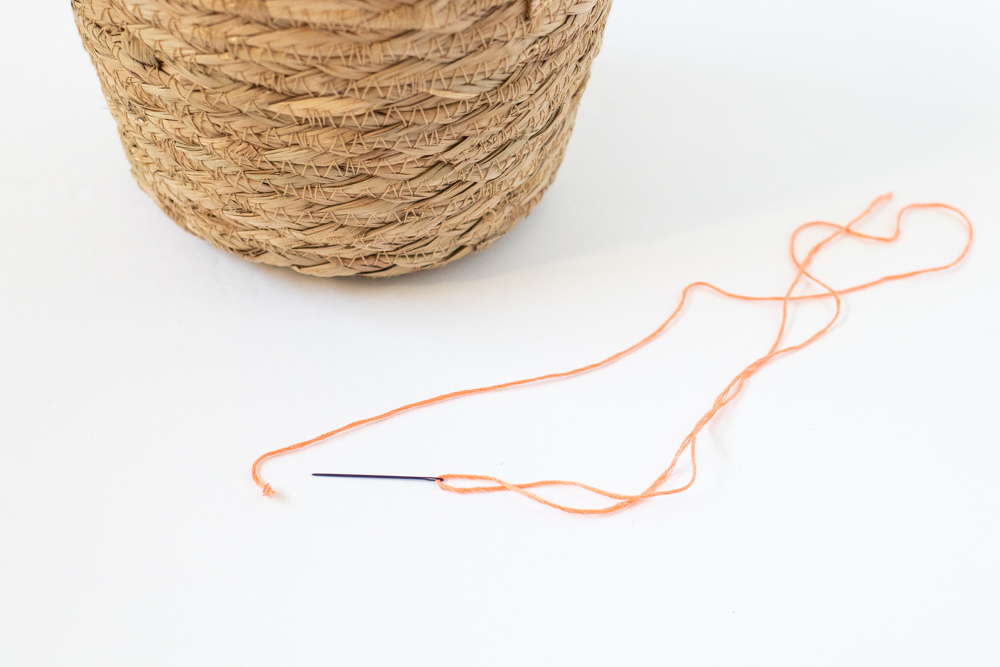
Step 1: Cut a long piece of embroidery floss. Thread it onto a needle and double knot the end.
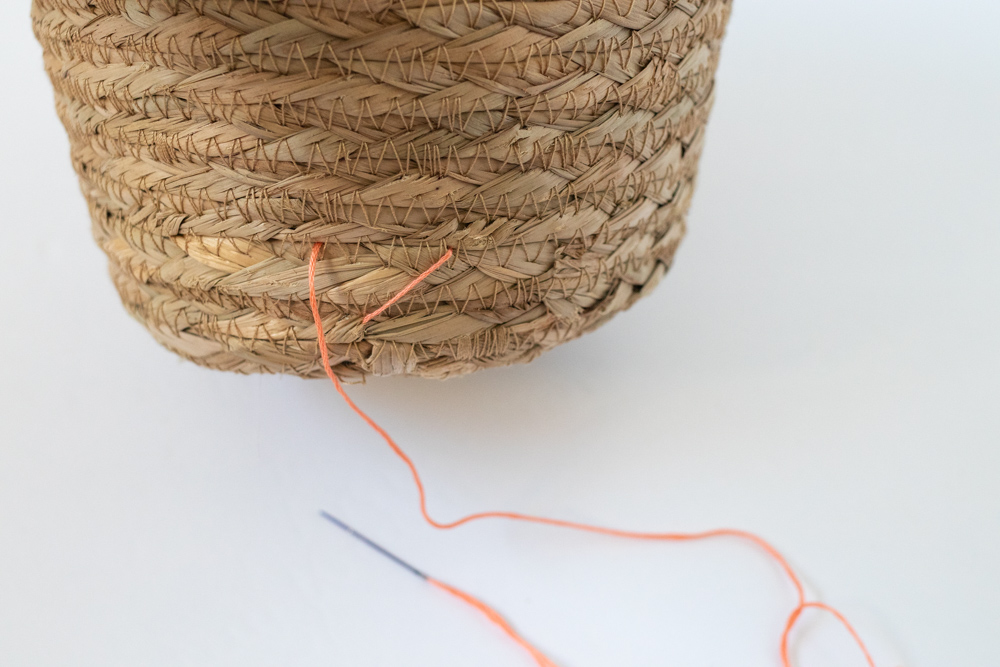
Step 2: Poke through the inside of the basket and pull until the knot catches. Then begin making your shape, such as a triangle, zig zag, square or lines. Once the shape is complete, thread the needle under a section inside of the basket. Make a knot and trim.
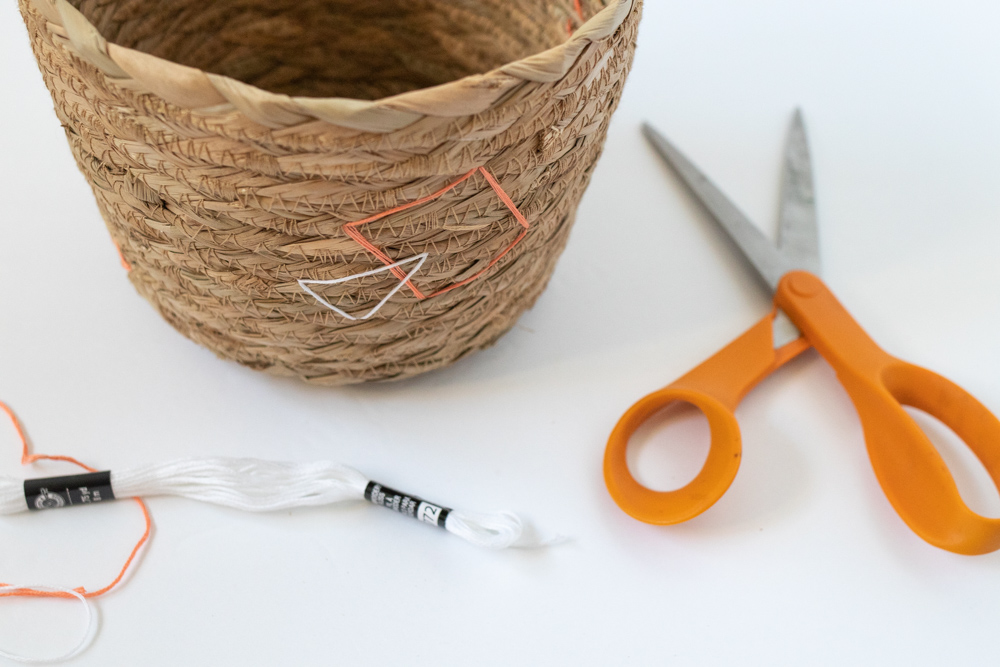
Step 3: Repeat the process by embroidering shapes all over the basket in different colors. Allow some shapes to overlap.
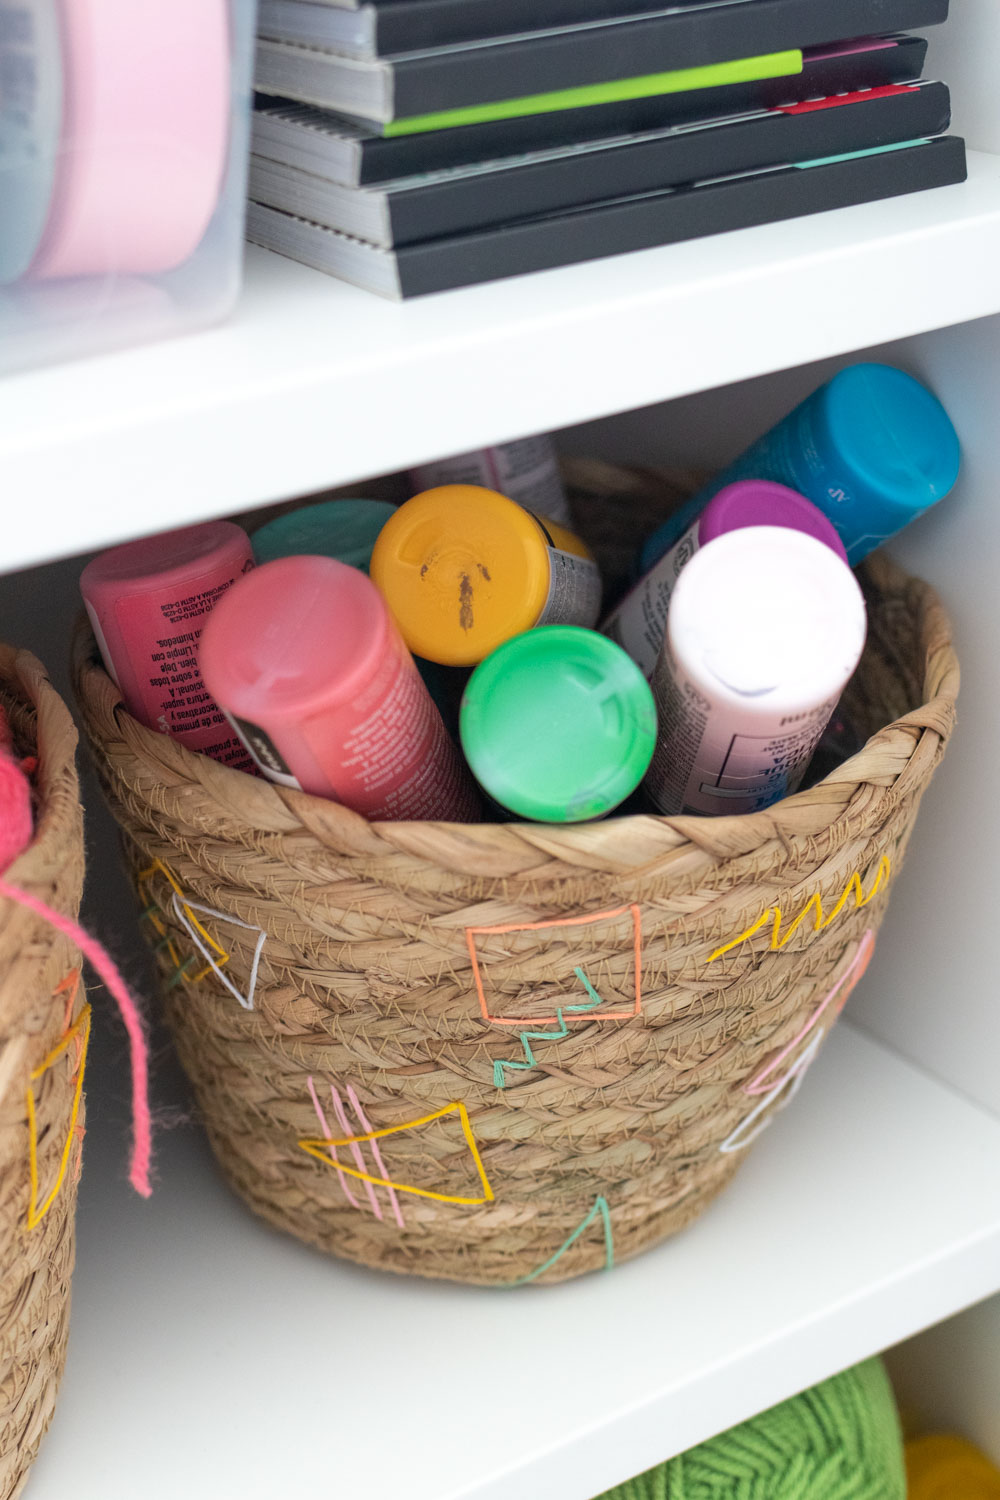
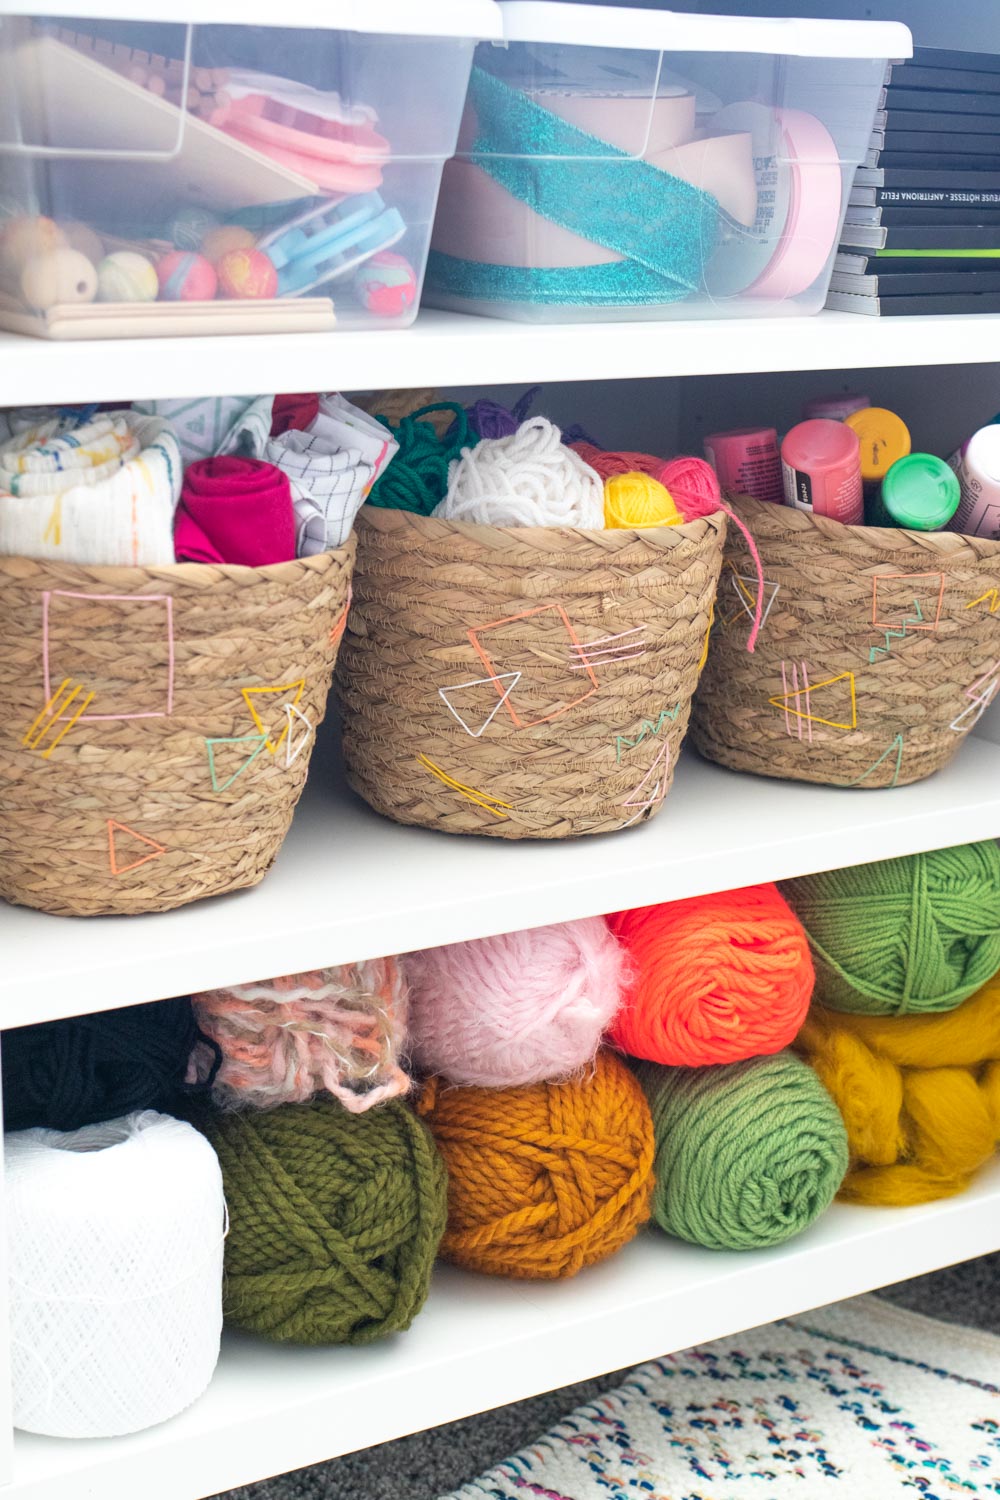
It’s really that easy! Making an embroidered basket is a really quick and easy project. Try it on small baskets like these or even a larger basket. I have a large wicker basket I store blankets in that would be perfect for this embroidery technique too. There’s a lot of progress to be made in my studio, but I can’t wait to share more!
Please note this post contains affiliate links from which I may collect a small profit should you choose to make a purchase. I only link to products I personally use or recommend.