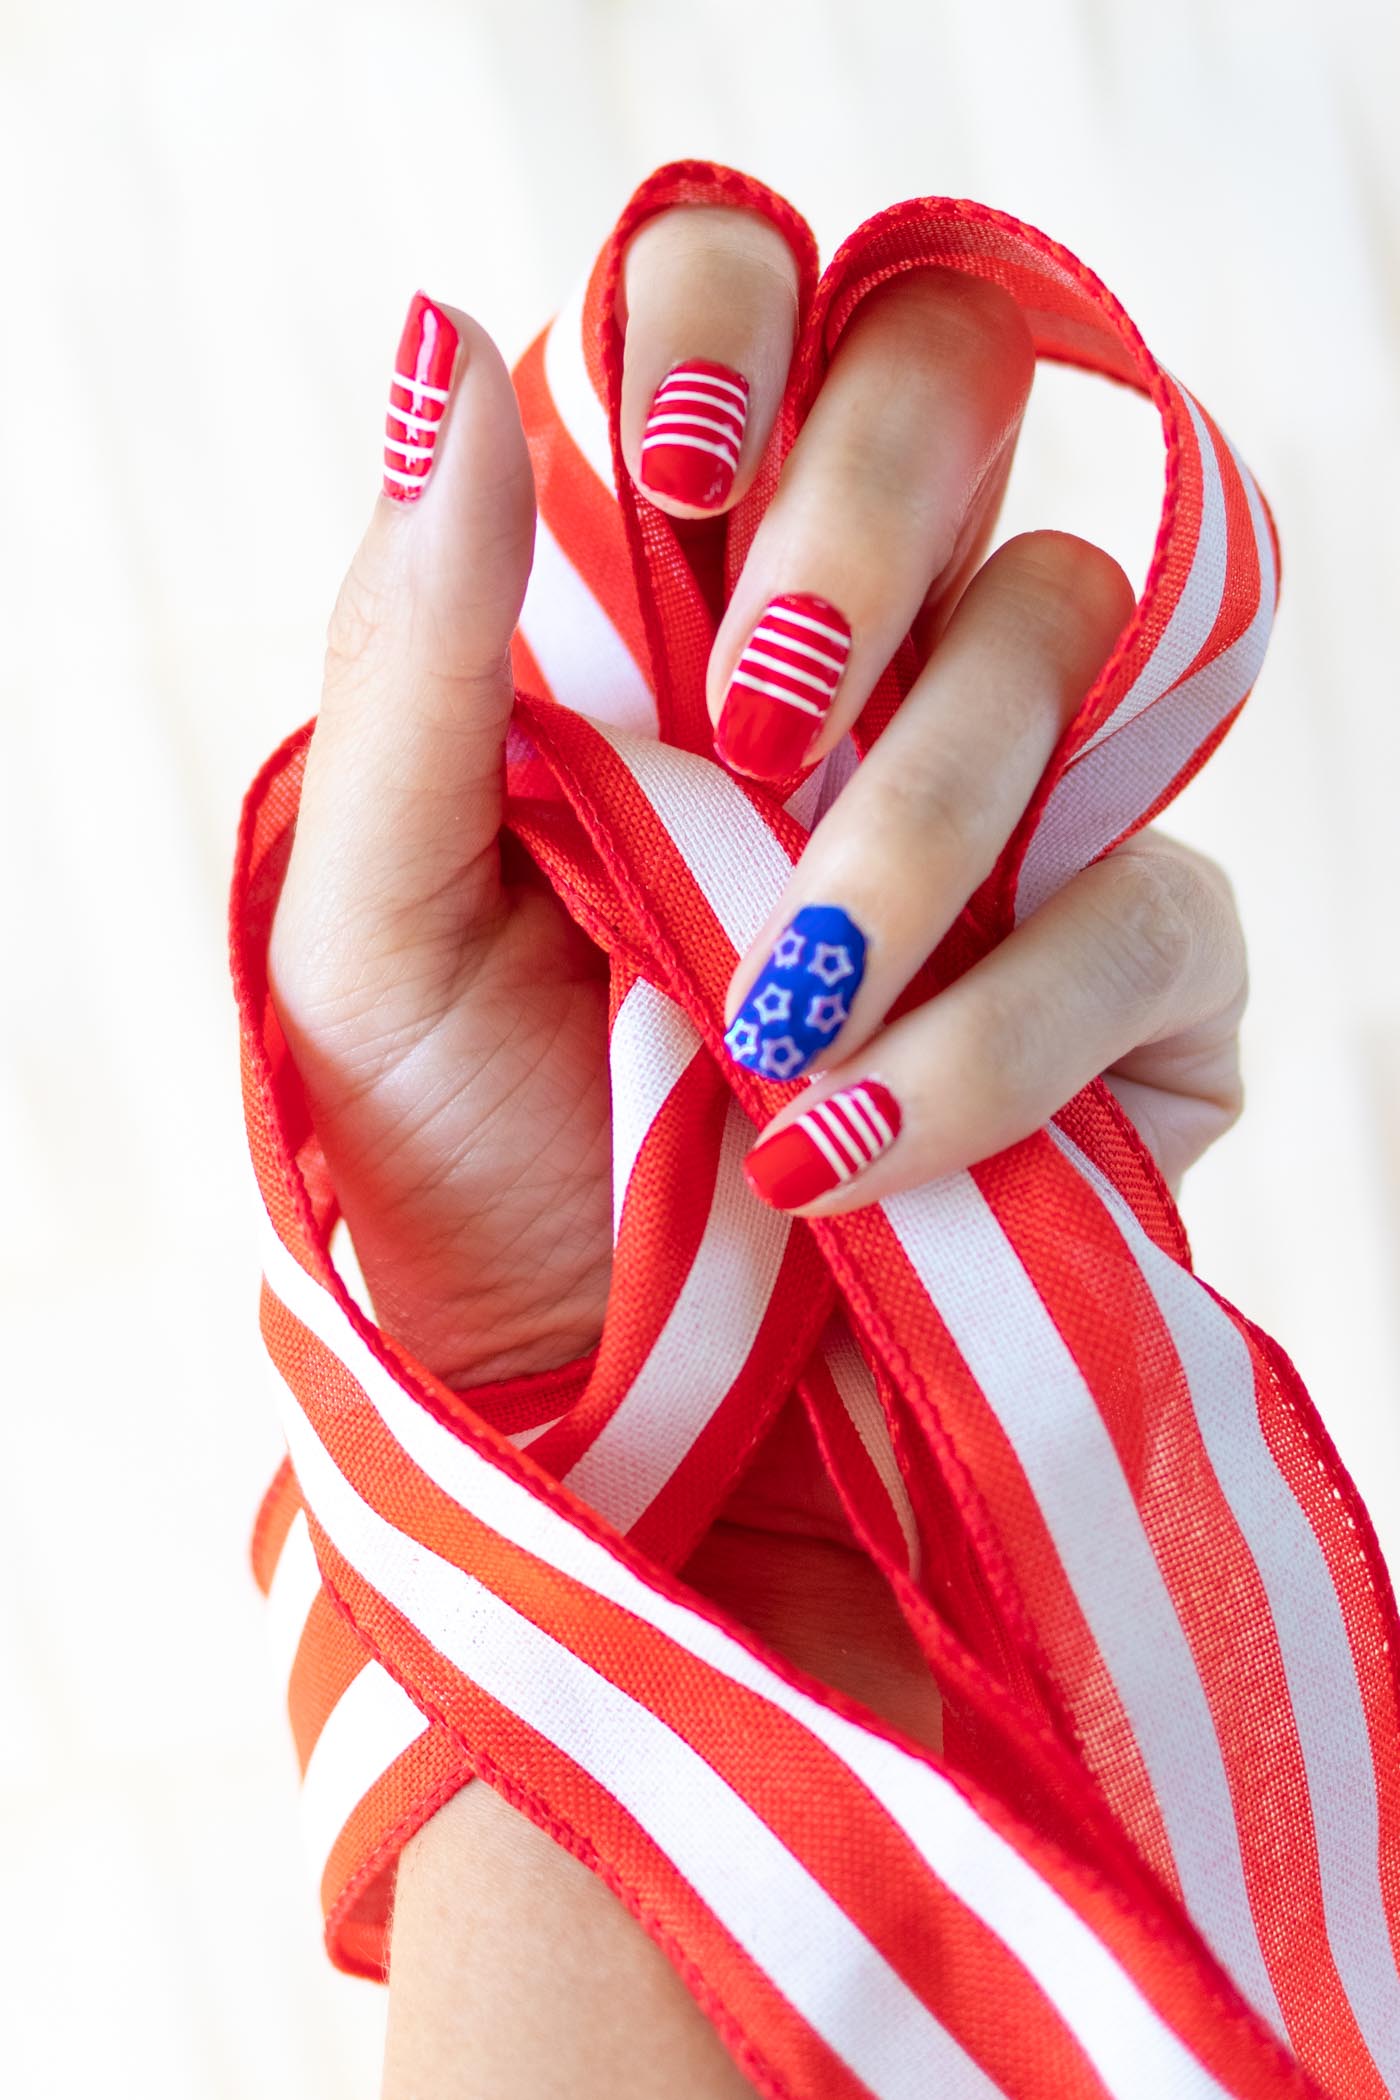

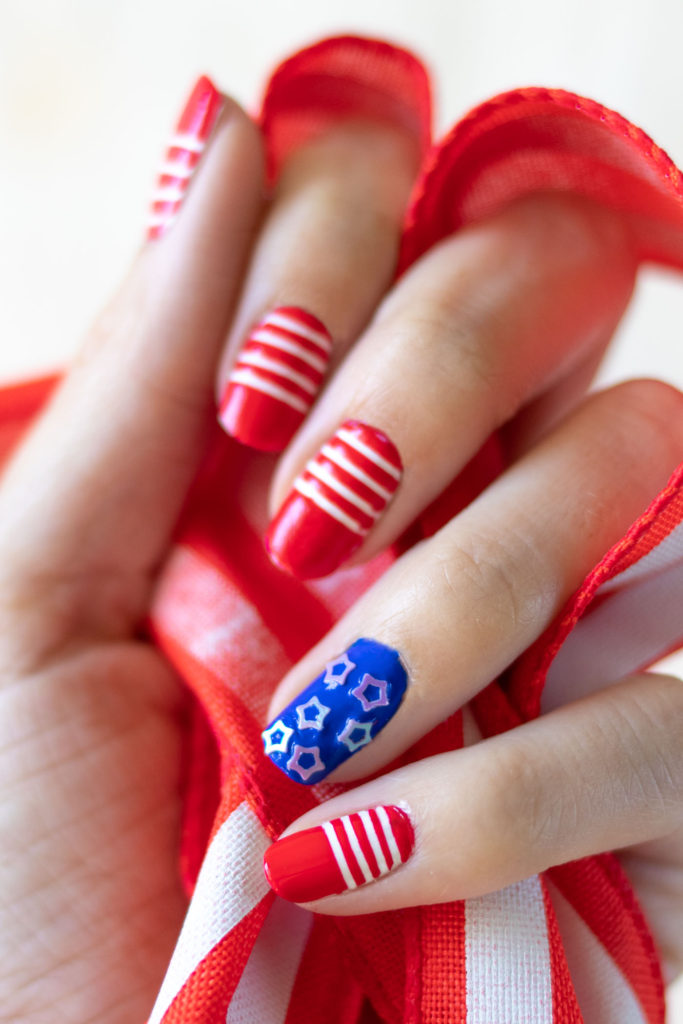
Who’s ready for the 4th?! To get in the patriotic spirit, I have an easy 4th of July manicure to share with you all. Maybe you saw a sneak peek in yesterday’s boozy snow cones post? These 4th of July nails were one of my biggest accomplishments (no seriously) because, as anyone knows, trying to paint your own nails is ROUGH. Well, I did it, and so can you! Get ready to celebrate with this 4th of July manicure complete with glittery stars.
As you’ve probably seen in my other nail ideas posts, I highly recommend Sally Hansen nail polishes, especially the Insta-Dri line because the polishes are high quality, low cost and dry quickly. In this case, both my white and red polishes are Sally Hansen.
Supplies:
- White nail polish
- Red nail polish
- Blue nail polish
- Thin nail tape, any color
- Nail scissors
- Tweezers
- Tiny glitter stars
- Clear top coat polish
Step 1: Paint all of your nails white except for your ring fingers. Let dry completely
Step 2: Once dry, cut sections of nail tape and create thin stripes on top of the white polish, pressing the tape into the sides of your nails. Go all the way up your nail, or only cover the bottom half.
Step 3: Paint a thick coat of red on top of the stripes so that the white polish is completely covered. Immediately use the tweezers to carefully remove the nail tape.
This is important because the longer the polish sits on top of the nail tape, the more likely the nail tape will not remove cleanly. For best results, paint one nail and remove the tape before moving to the next nail.
Step 4: Paint your ring fingers with blue polish (two coats as needed). While wet, carefully use the tweezers to place stars on top of the polish.
Step 5: Paint all of your nails with a top coat and let dry completely.
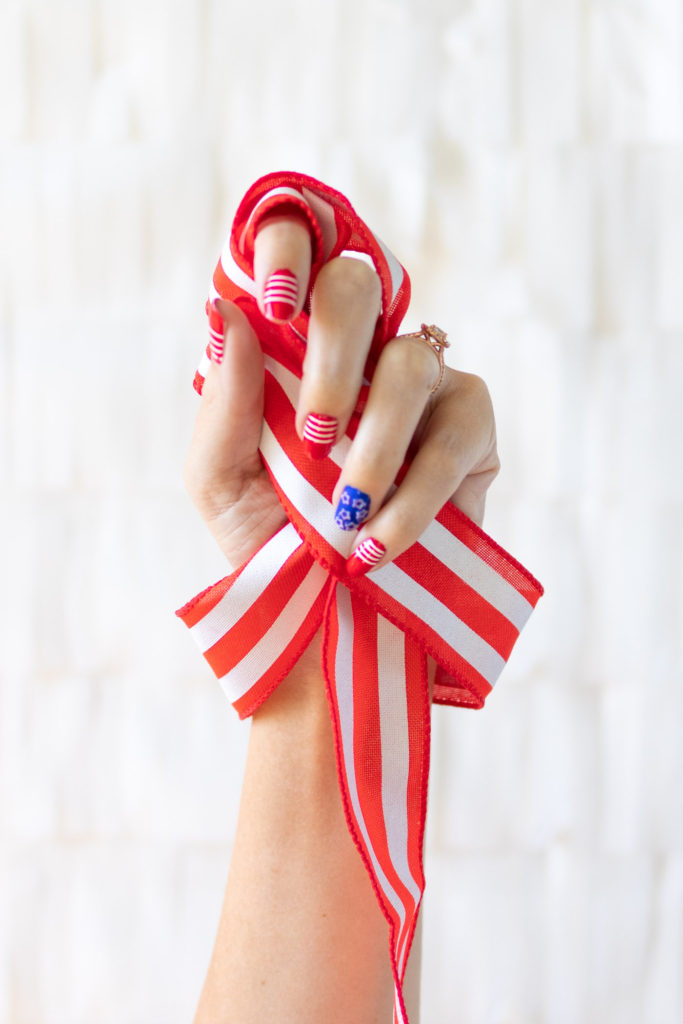
What do you think?! Will you give yourself a 4th of July manicure with stars and stripes this year? It’s definitely a labor of love, but you’ll be SO proud of the final outcome!
PS, want more nail polish ideas? Check out this simple striped nail art idea!