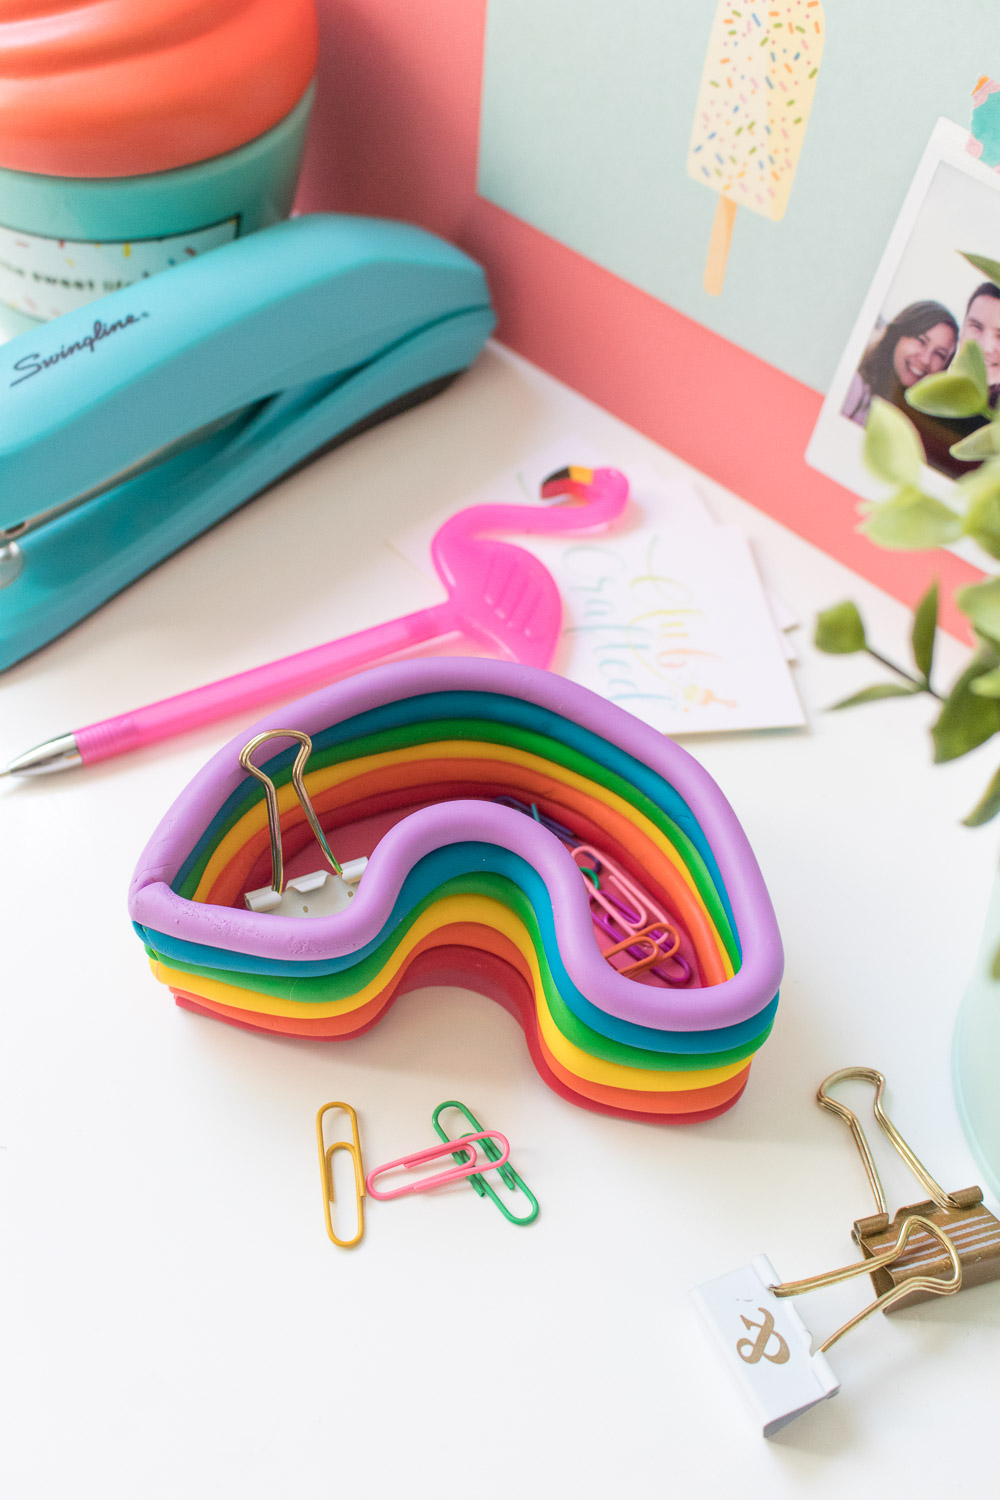
Did anyone else watch Rainbow Brite growing up? Even though it was an 80s show, I LOVED it in the 90s. I even dressed up as Rainbow Brite for Halloween in high school because it was one of my favorite cartoons. Well, today’s project is somewhat inspired by Rainbow Brite’s BOOTS. Yes, her boots or even her jacket. This rainbow catch-all dish with rolls of clay making a rainbow up the sides reminds me of her outfit, and it’s officially my new favorite desk accessory for catching my random paper clips and push pins.
 I’m also a sucker for desk accessories, so it’s not like I really needed any more, but who can resist when it’s this cute?!
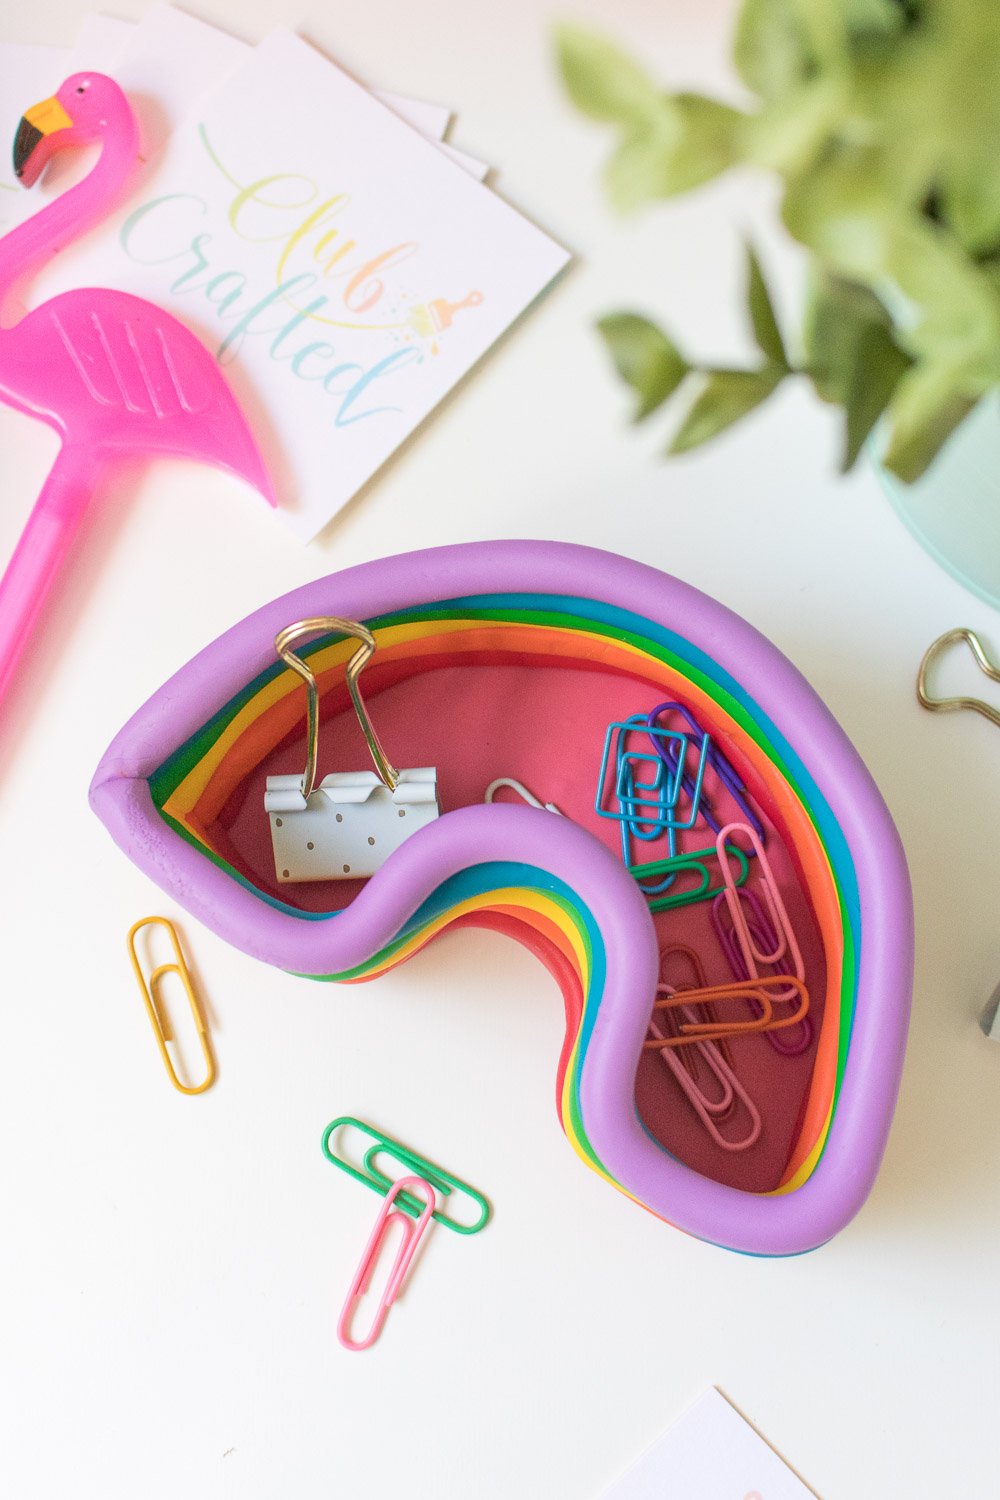
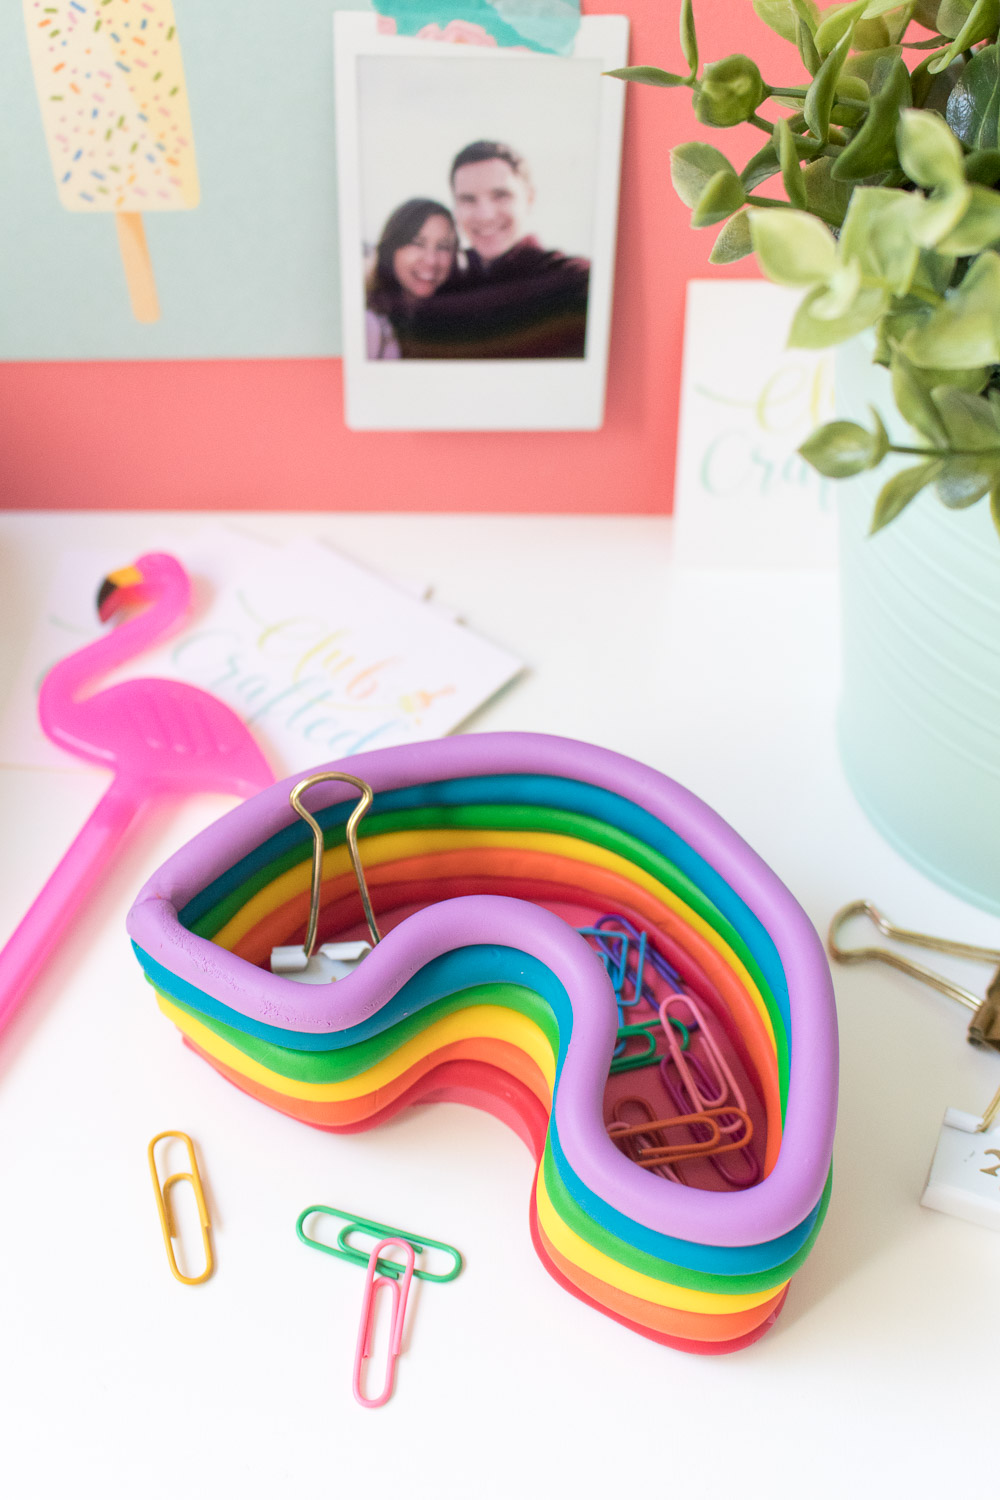
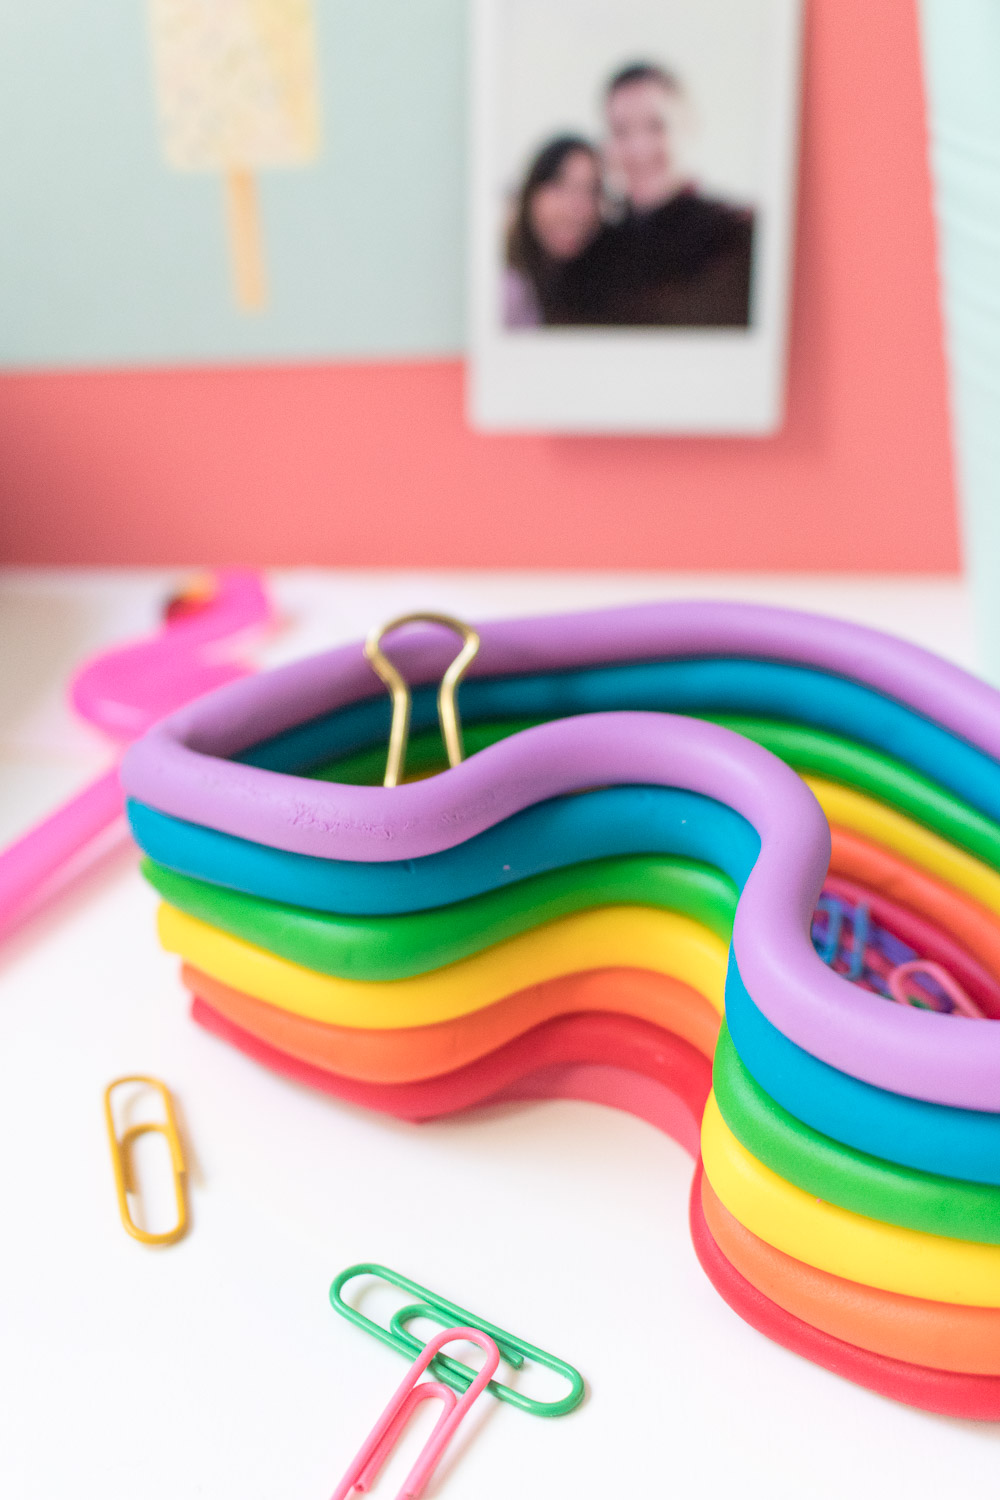
This rainbow catch-all dish will be taking a spot front-and-center on my desk from now on. I can’t imagine a happier dish to keep near me while I work anyway. Made out of polymer clay, it was really easy to make with simple shapes and rolling, so you don’t need any special supplies if you have a rolling pin and a knife in the house. All in all, I whipped this little dish up in about 15 minutes.
Can you image a more perfect way to store my rainbow of paper clips?!
 Time: 15 minutes
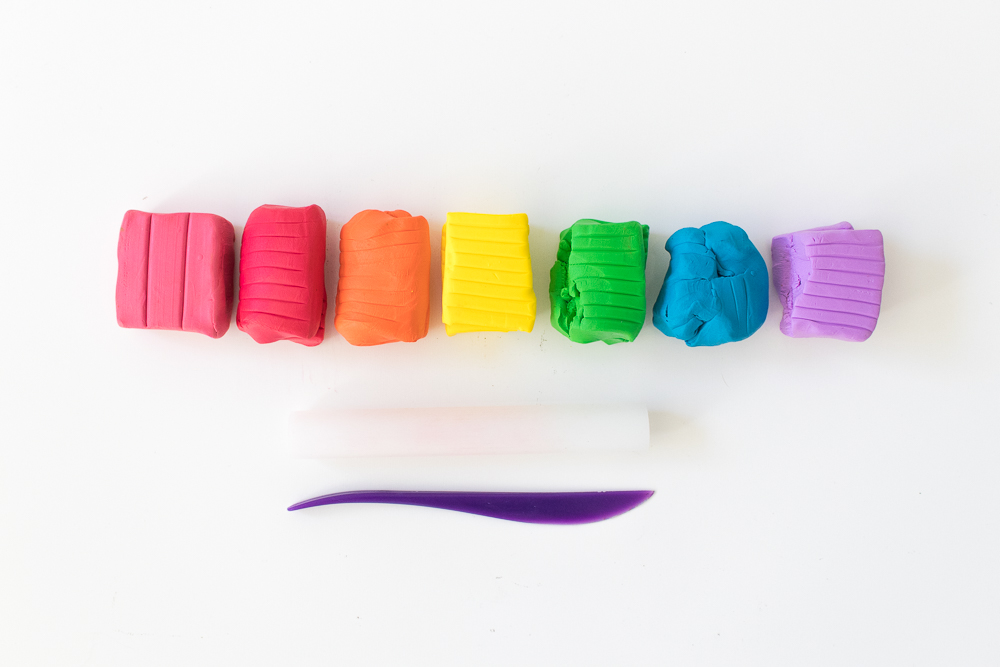
Supplies:
- Oven-bake polymer clay, rainbow colors
- Clay knife
- Clay rolling pin
*Note, I used red and pink in my rainbow, so the pink became the bottom piece.
Step 1: Choose the bottom color (pink in my case) and roll flat on a protected surface until about 1/4 inch thick.
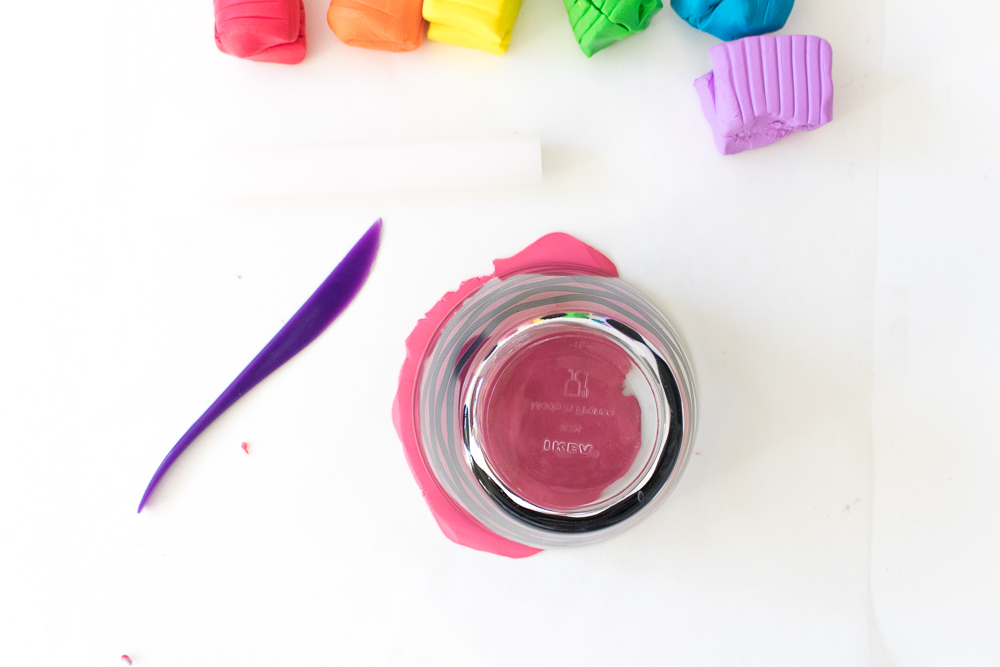 Step 2: Use a round object like a cup/bowl as a stencil. Cut a half circle out of the clay that’s about 4-5 inches wide.
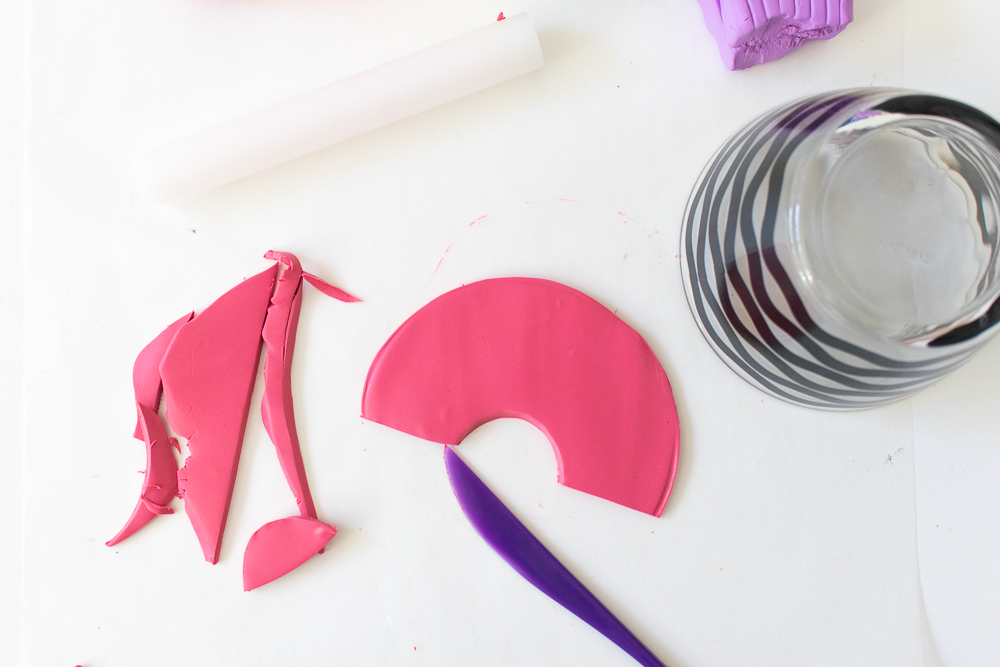 Step 3: Then cut a small arch from the bottom to create a rainbow shape. Carefully move to a baking sheet covered with parchment.
Step 4: With the next color (red), roll it in your hands and then on a protected surface until it begins to form a rope. Continue to roll it until the rope shape thins to about 1/4 inch.
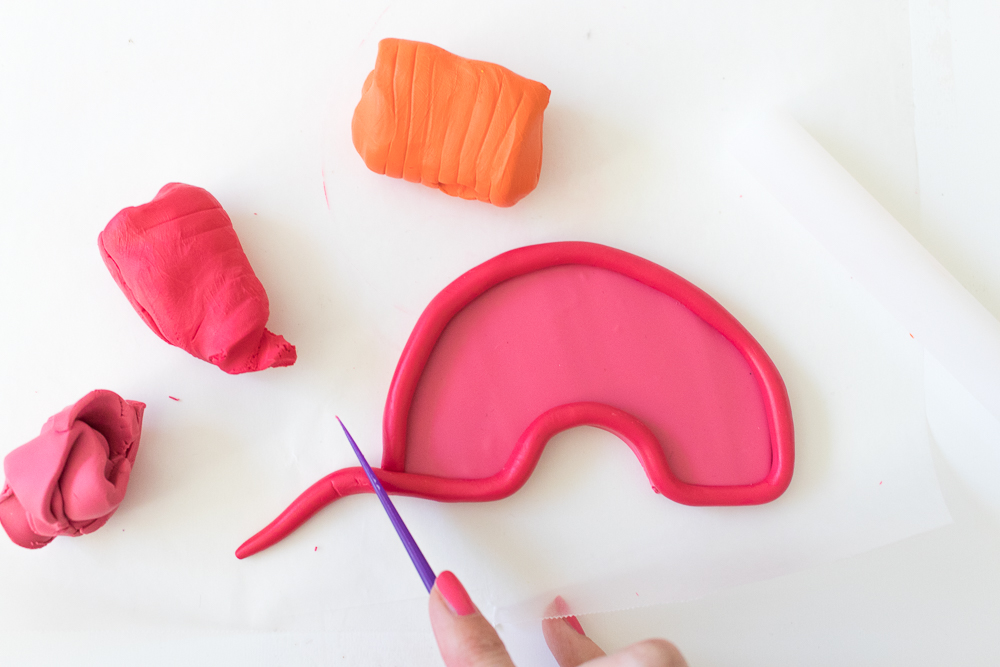 Step 5: Gently place the rope on top of the base and position around all edges of the rainbow shape. Pinch the ends together at a corner and press lightly so that it sticks to the base but does not change shape.
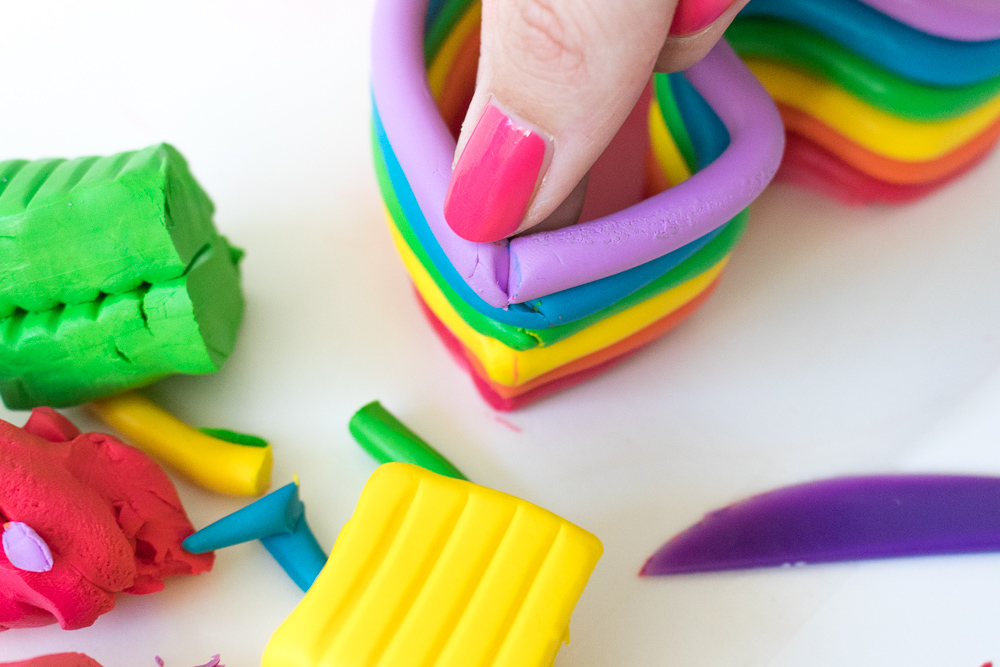 Step 6: Repeat with the remaining colors (orange, yellow, green, blue, purple), readjusting as needed to keep the sides upright.
Step 7: Bake the clay catch-all dish for about 25 minutes on 275 degrees F or according to package instructions. Remove when clay feels a little hard. It will solidify more as it cools.
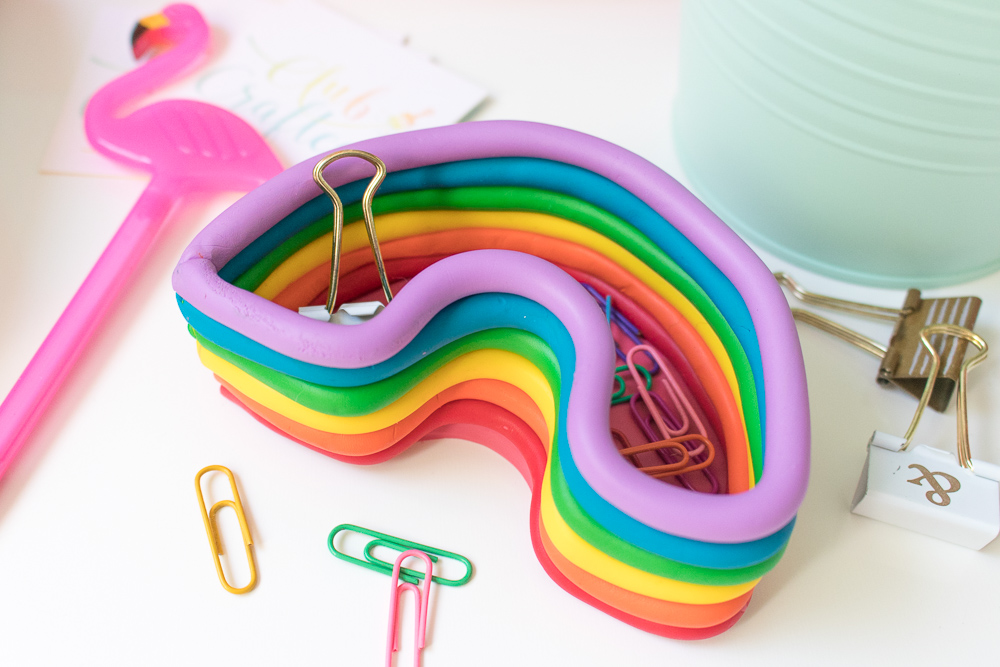
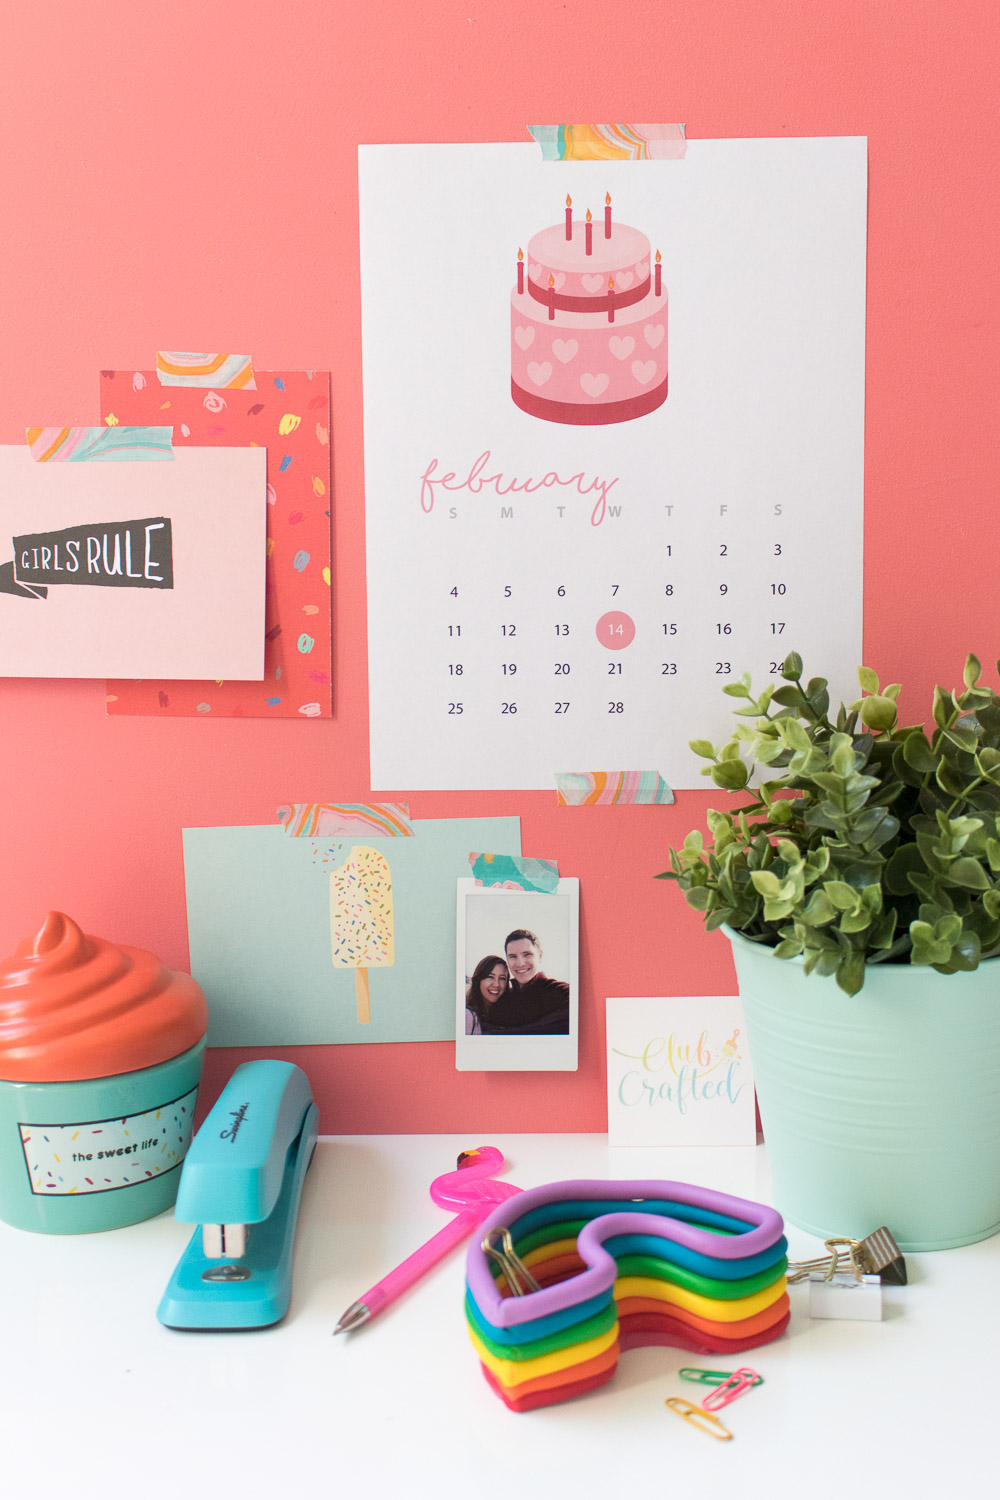 Then fill up the dish with small items from your desk or vanity. I have a million dishes like this rainbow dish around the house, but this one is without a doubt my FAVORITE.
Liz
Where is that desk plant from (in last picture)?
Holly Wade
LizHi Liz! It’s a fake plant from IKEA
Liz
Holly WadeThank you! 🙂
Rebekah
Love this idea! It would make the perfect gift for a roommate.