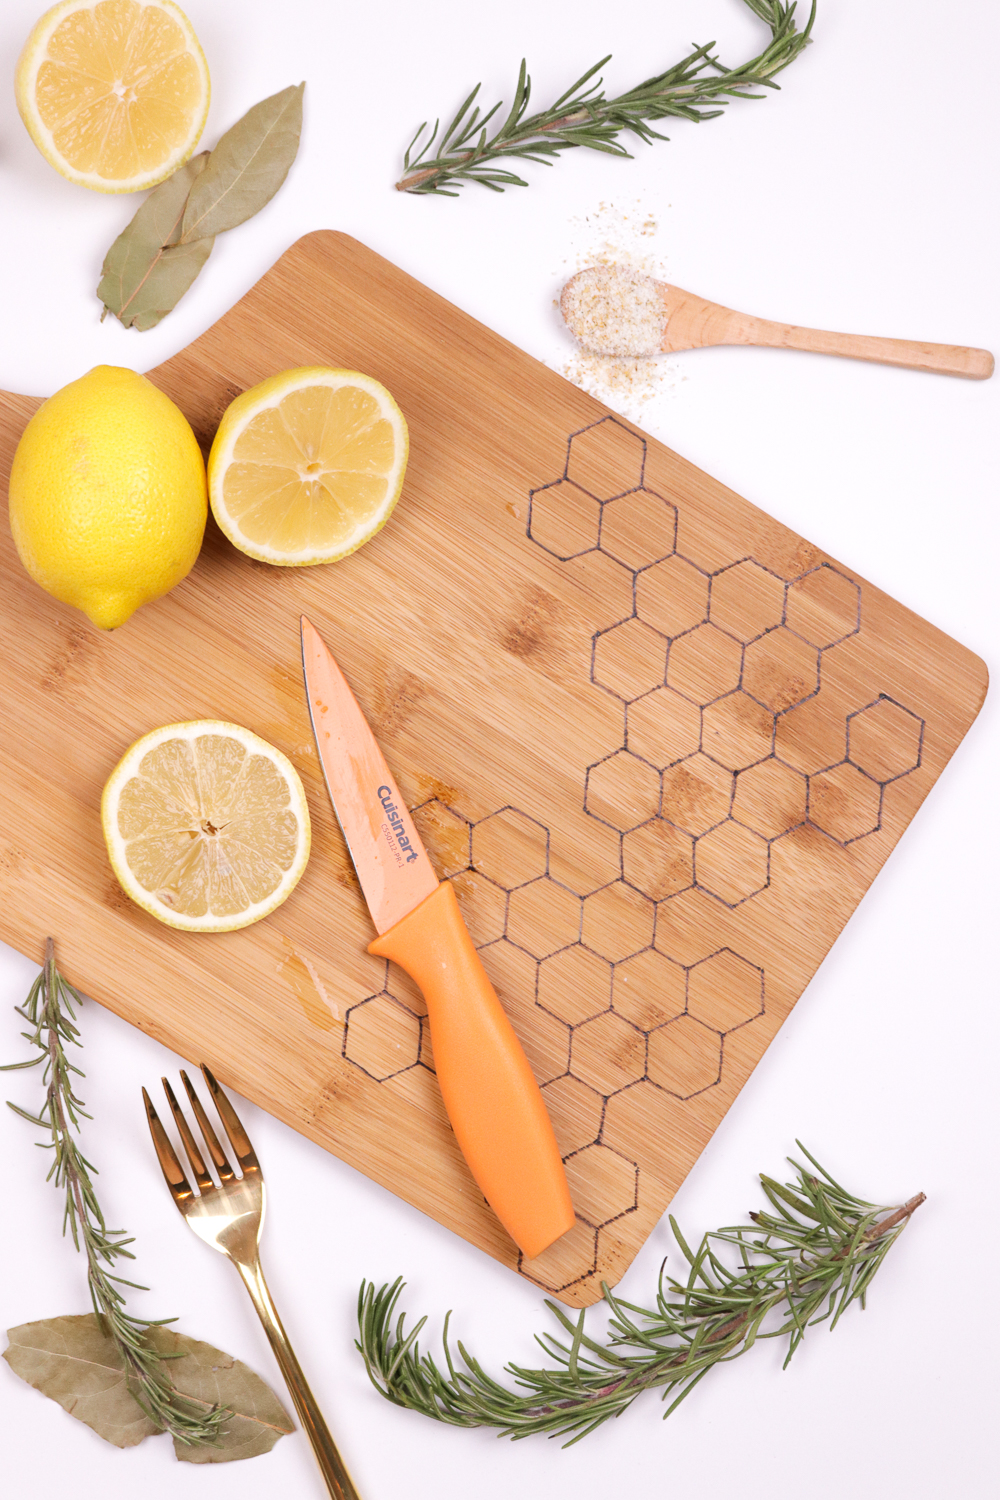
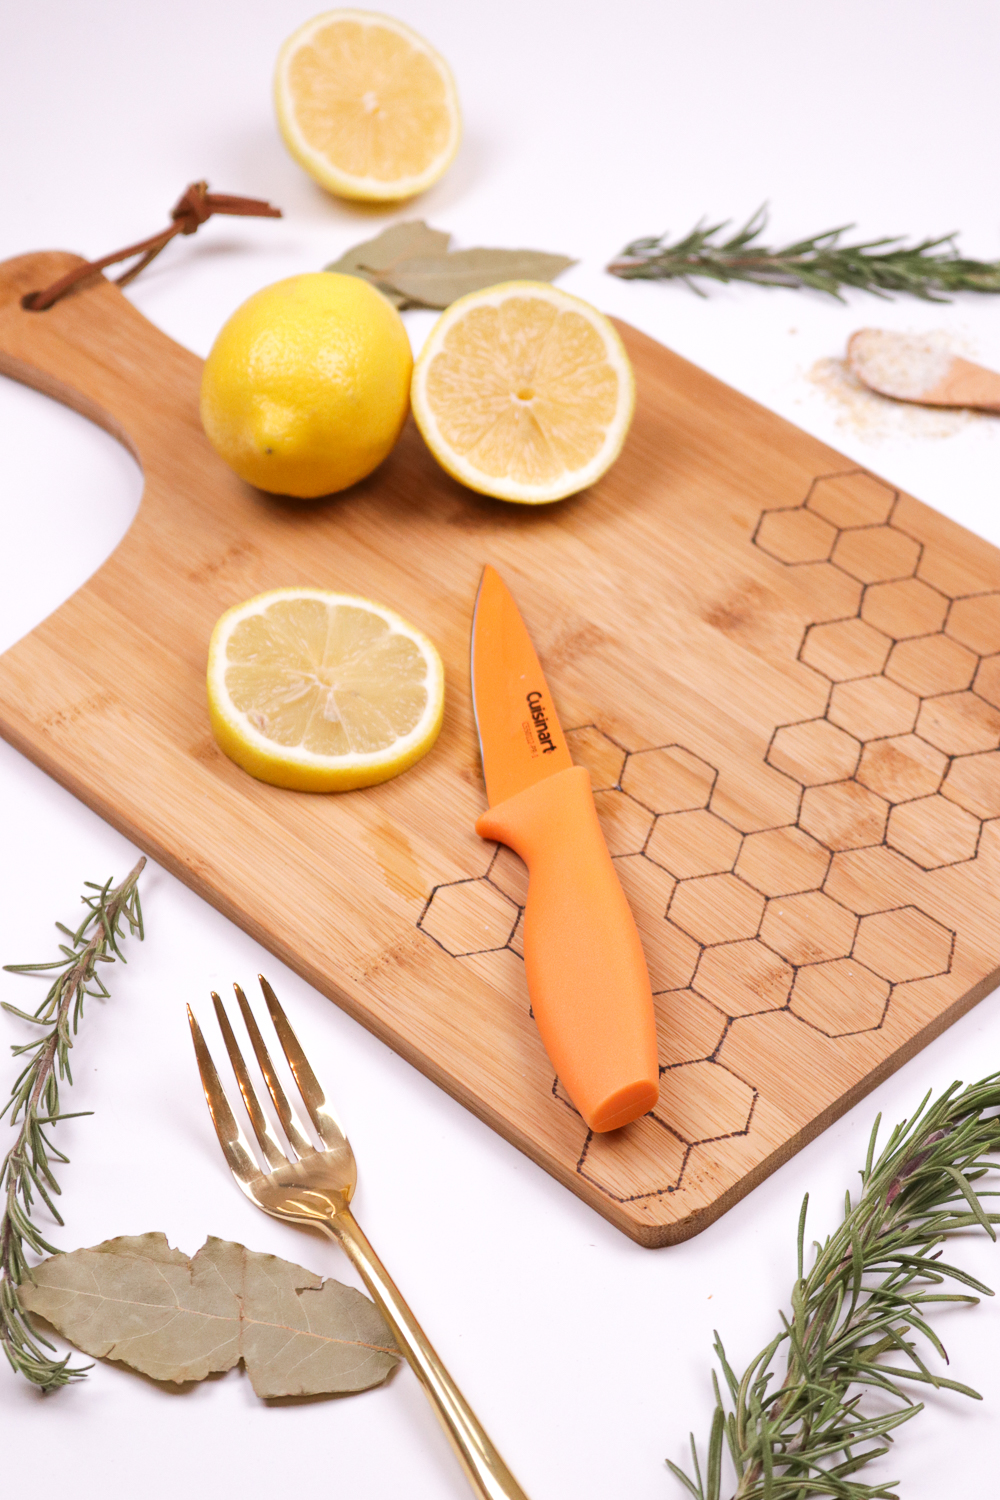
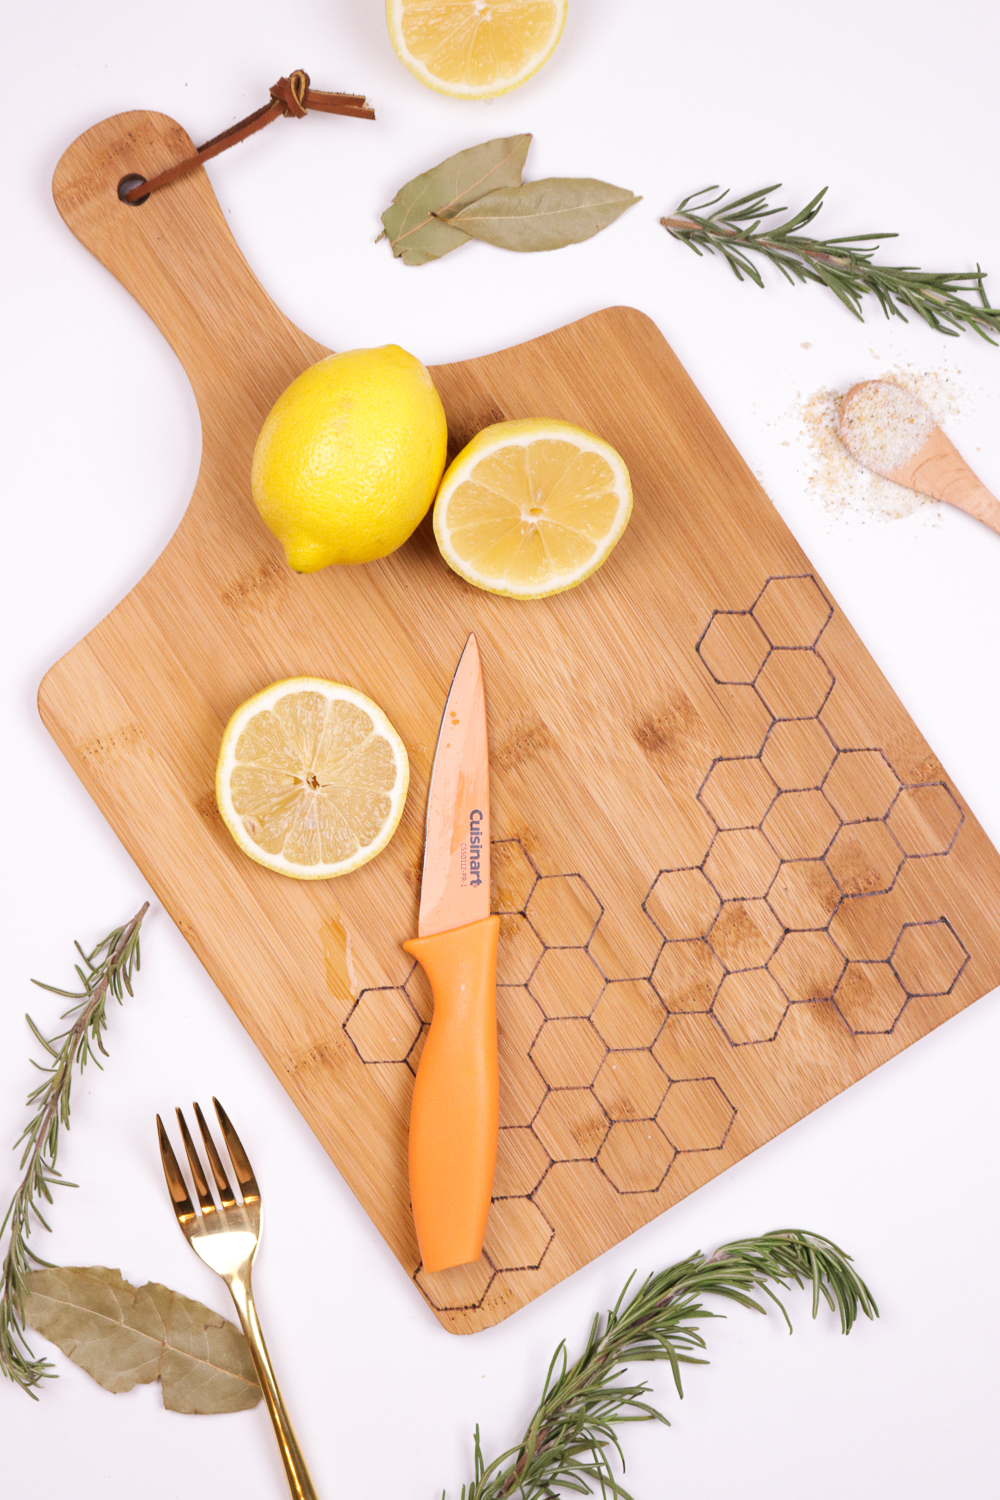
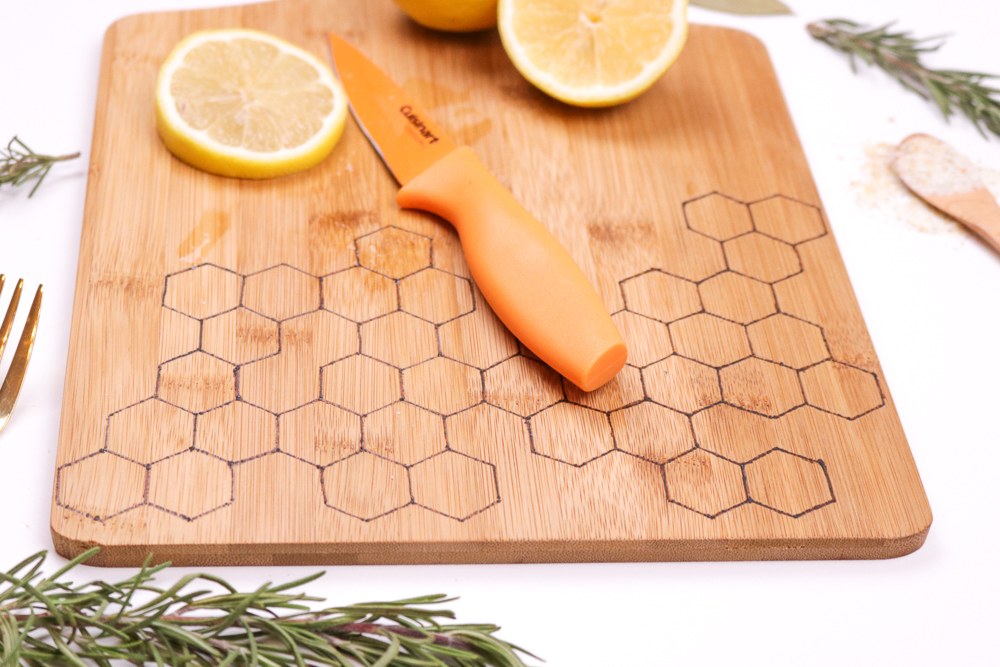
When Excel Blades contacted me to try out one of their products, I was immediately excited to try their wood burner. I’ve never used one before, and it had been on my wish list for quite a while. I started practicing with it right away, and decided to share this DIY honeycomb wood burned cutting board with a hexagon pattern. Now I love for cutting fruit, chopping veggies or even styling my photos.
 A girl can never have too many cutting boards! That’s what I keep telling myself anyway as my collection continues to grow…
I was really excited about the honeycomb pattern and how the project turned out! I was worried about how well I could use the wood burner, but as you can see, it went pretty well. I practiced a bit on some scrap wood and then jumped right into this project. Take your time and you can make a really pretty customized cutting board!
 Time: 1 hour
Supplies:
- Standard cutting board
- Wood burner with pointed tip
- Pencil
- 1-inch hexagon stencil
Step 1: Make sure the cutting board is clean.
Step 2: Either cut small hexagons with a cutting machine or punch, or use a pre-made stencil. I cut 1-inch hexagons using my Cricut Explore Air.
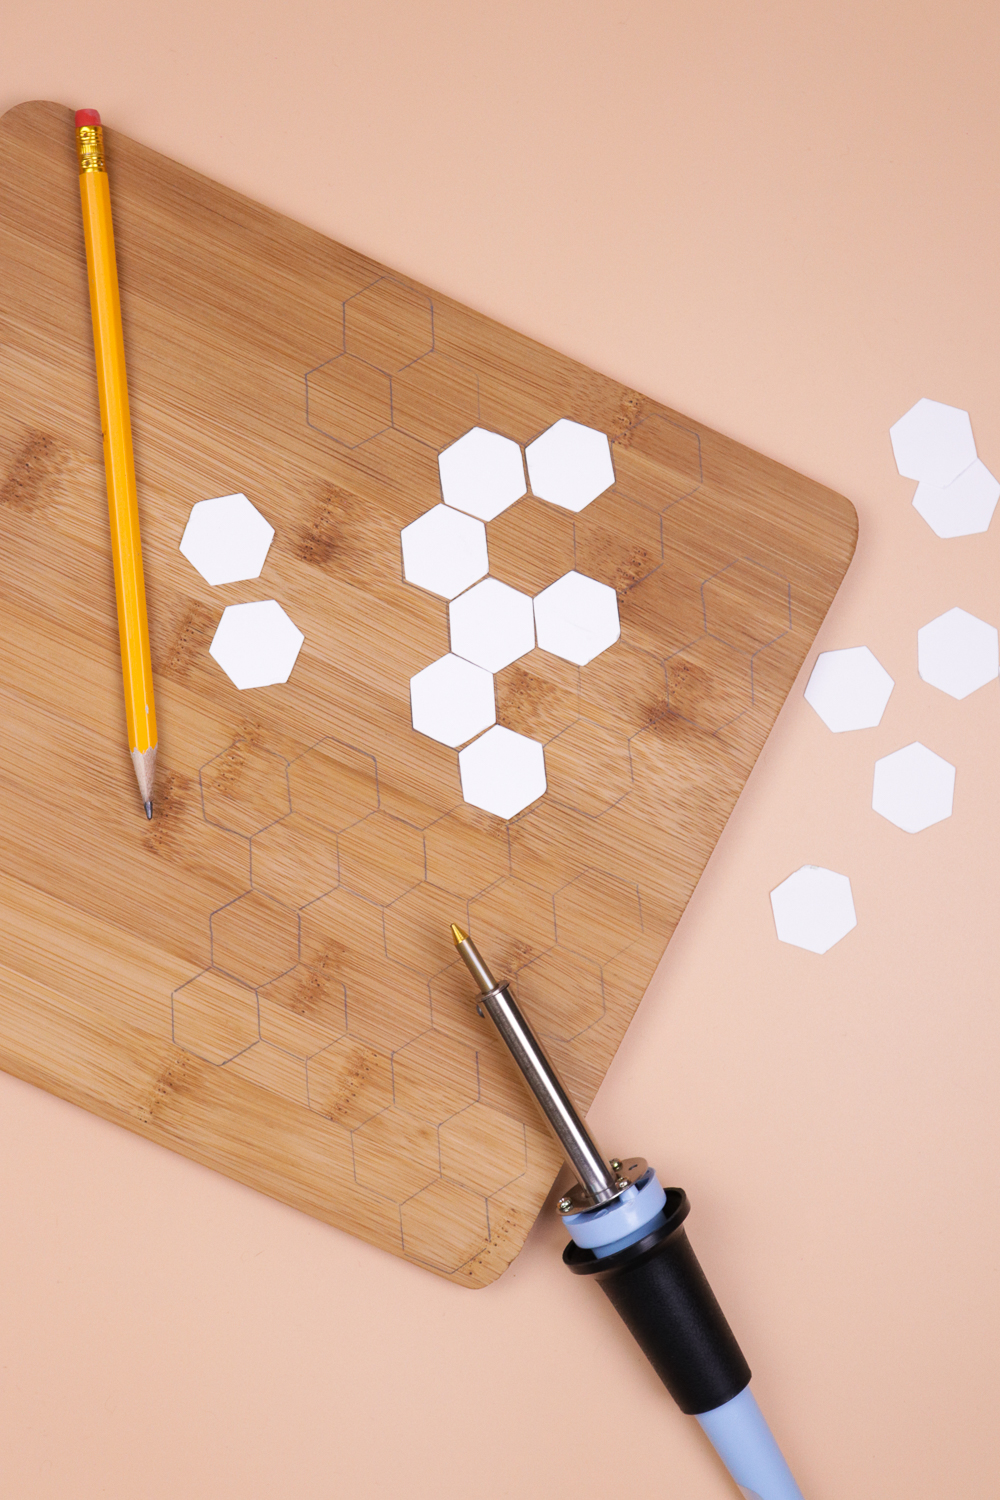 Step 3: Trace the hexagons onto the cutting board, penciling them side by side in your desired pattern. I chose to leave a few gaps.
Step 4: Once your pattern is traced, heat up the wood burner. Give it about 5 minutes to heat fully and carefully burn over your pattern. You may need to go over some spots multiple times to get an even burn. This will take time, so take breaks if your hand begins to hurt.
This was my first time using a wood burner, but I found it very easy to use. I highly recommend practicing on a piece of scrap wood to familiarize yourself with the tool first.
Step 5: After your pattern is burned, wash the board to remove any residue from the pencil marks.
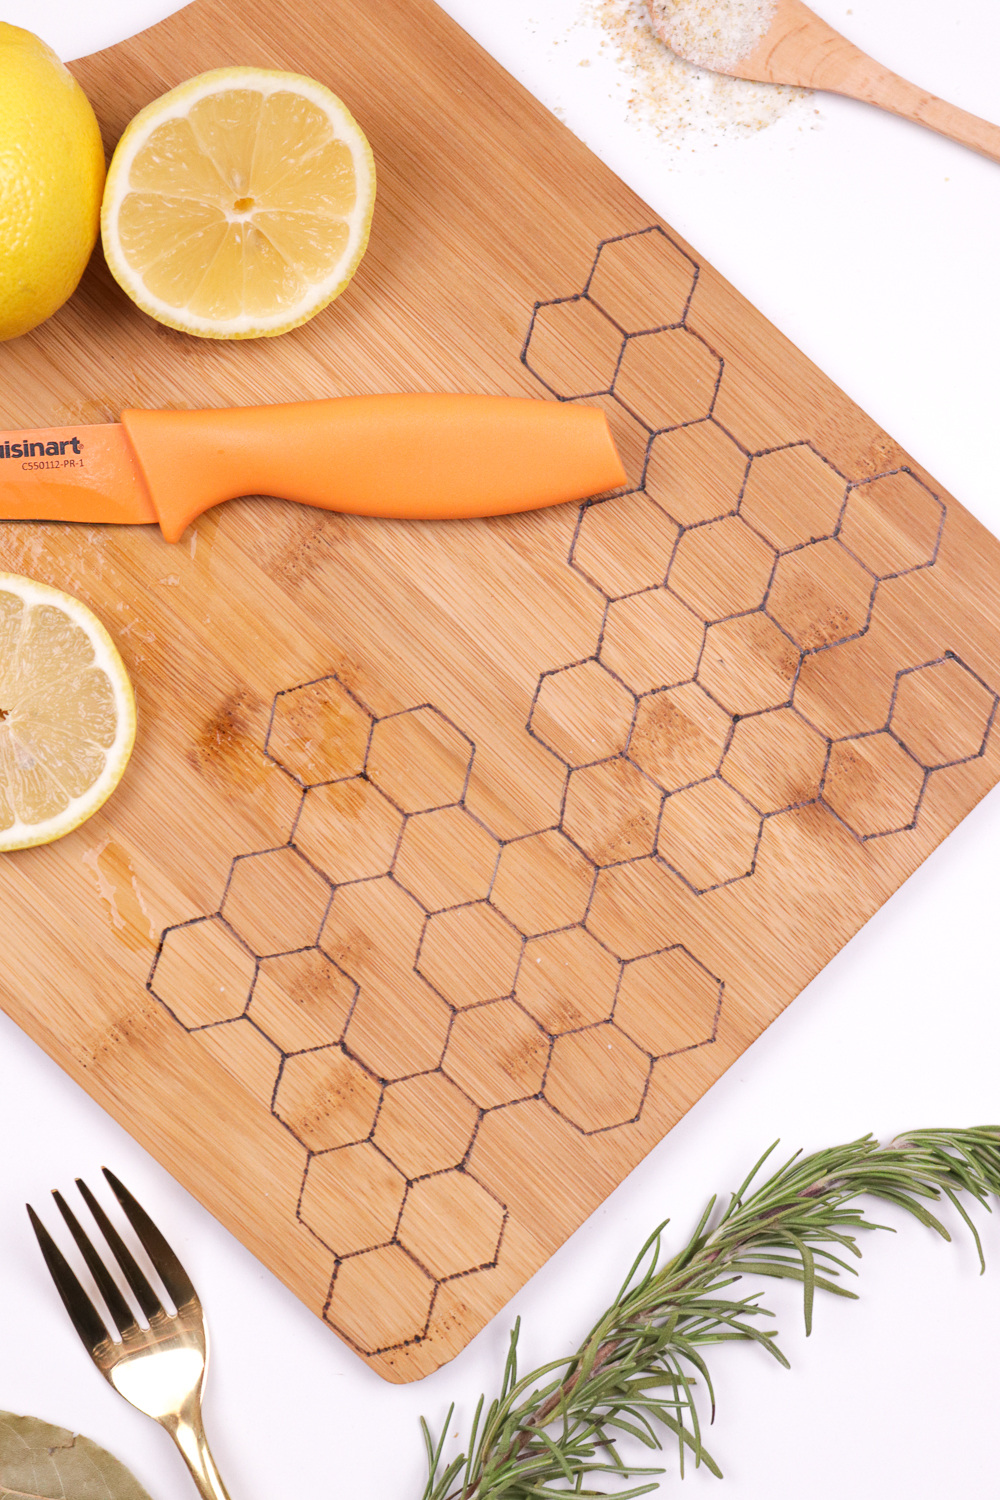
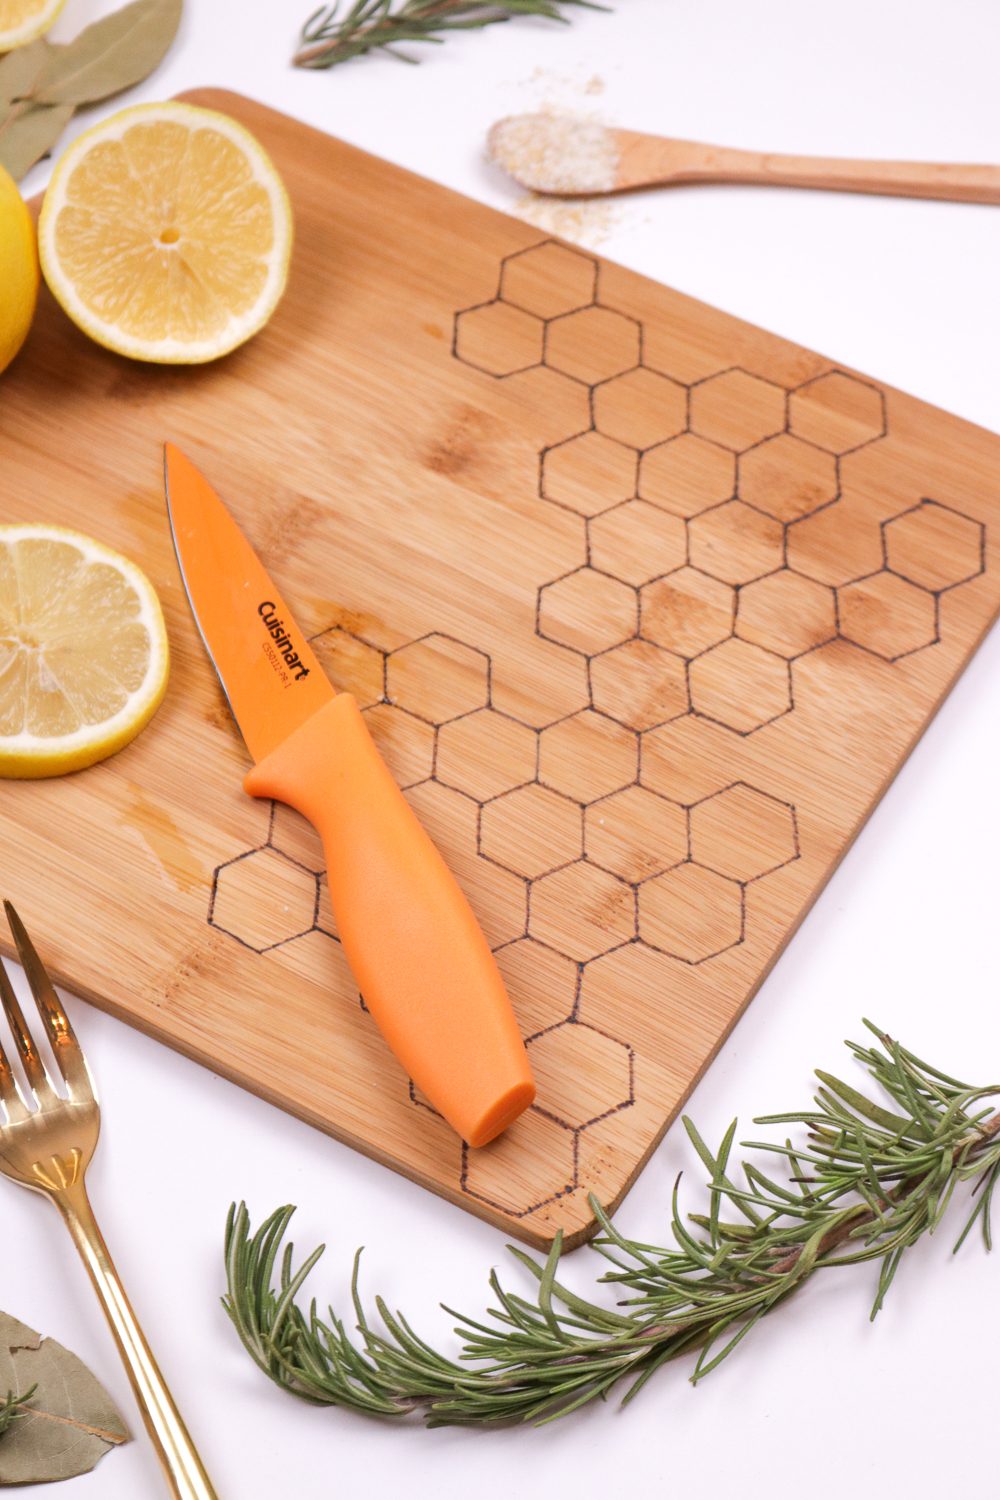 Now it’s ready to use! Wood burned cutting boards are easy to care for – simply treat it like any other cutting board. It adds some fun character to the board, and I also updated this one with a piece of suede string looped through the handle. This makes it easy to hang if you want, but I have a stack of cutting boards leaning on my counter. I can’t wait to use this one more often now! I think you’ll see it make appearances in future photos here on the blog.
Disclaimer: Excel Blades generously provided a wood burner for this post. All opinions are my own. Thanks for supporting the brands that keep Club Crafted going!
Natasha
What a fun way to use a basic pattern for an elaborate design!