The following post is sponsored by JOANN
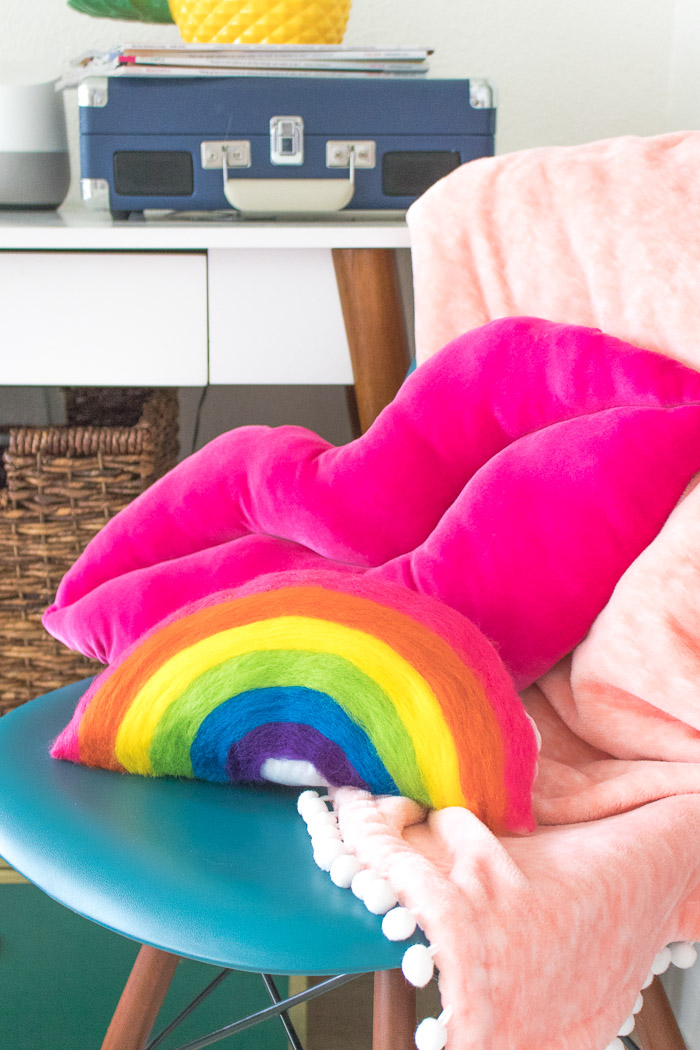
I’m really excited to share a new crafting technique with you guys today…needle felting! I’ve always been fascinated by needle felting but also a little intimidated, so I was excited to finally experiment with it to make this adorable DIY needle felted rainbow pillow. After all, every room deserves a rainbow pillow! I quickly realized that this type of needle felting was not only very easy but SO great for de-stressing! There’s just something about stabbing wool through a piece of fabric that helps ease some stress, and boy did I need some stress relieving after the craziness of last week. Now, let’s get on with the tutorial!
 Naturally, I picked up all of my supplies at JOANN and ordered some from JOANN.com. You know I’m all about those coupons! I grabbed all of my supplies with a discount off my entire purchase.
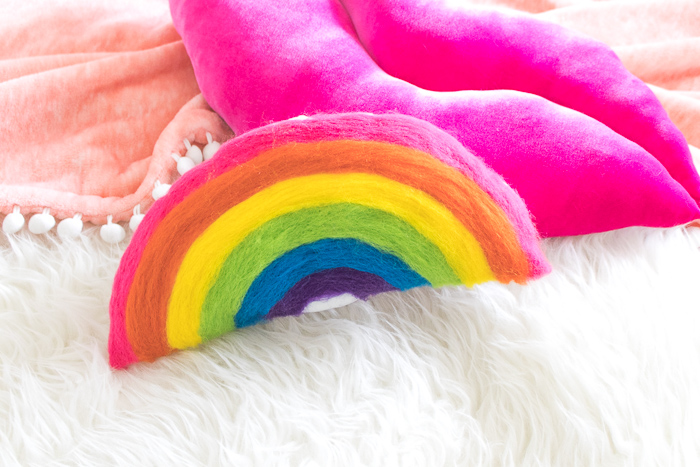
The actual sewing portion of this rainbow pillow only takes a minute, so it’s ideal for beginners. If you’ve never needle felted before (as I hadn’t), then I think this is a fun first project to experiment with. Needle felting onto fabric like this essentially involves using the needle tool to push the wool into the woven fabric and condense it so that it sticks. In the end, it feels a little like a furry pillow though, and I mean that in the best way.
 Time: 30-40 minutes
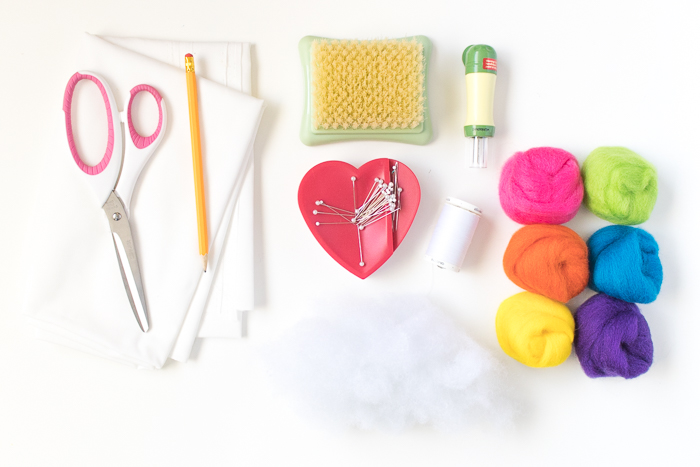
Supplies:
- 1/2 yard white fabric (medium weight)
- Fabric scissors
- Pencil
- Roving wool, rainbow colors
- Needle felting tool
- Needle felting mat
- Pillow stuffing
- Pins
- Thread
- Hand sewing needle
- Sewing machine (recommended)
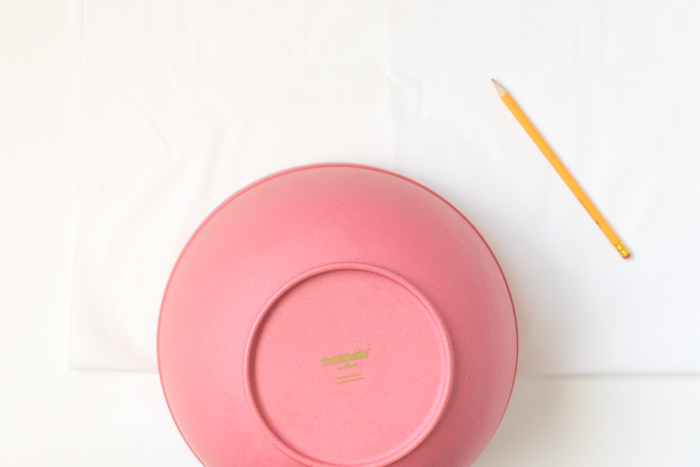 Step 1: Fold fabric in half and cut out the pillow in desired circle size along the fold. If needed, use a large round object like a bowl as a template so that you have a full circle of fabric that folds into a rainbow shape.

Step 2: Use a pencil and a ruler and mark where the lines of the rainbow will be. In this case, the 8-inch circle left about 1-inch for each color, leaving a white space at the inside curve and along the outside for sewing.
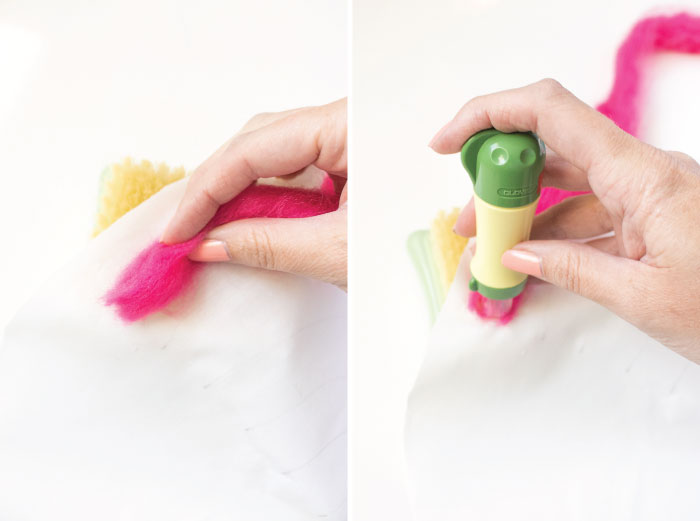 Step 3: Starting with one color (in this case, the outside), pull off a long piece of wool and place at the outside mark where the the fold would be.
Step 4: Place the section of fabric over the needle felting mat and position the wool where you want it. Begin stabbing (for lack of a better word) to embed the wool into the fabric. You’ll quickly see how it condenses into the fabric.
 Step 5: Reposition the fabric as needed so that it stays over the needle felting mat and continue in an arc all the way around the outside of the fabric. You can pull off more wool and continue if you run out.
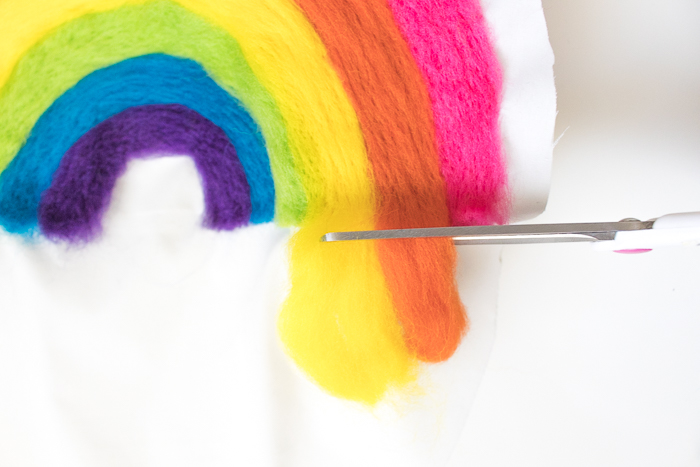
Step 6: When you reach the other side of the rainbow, simply trim away the excess BEFORE attempting to needle felt the area. 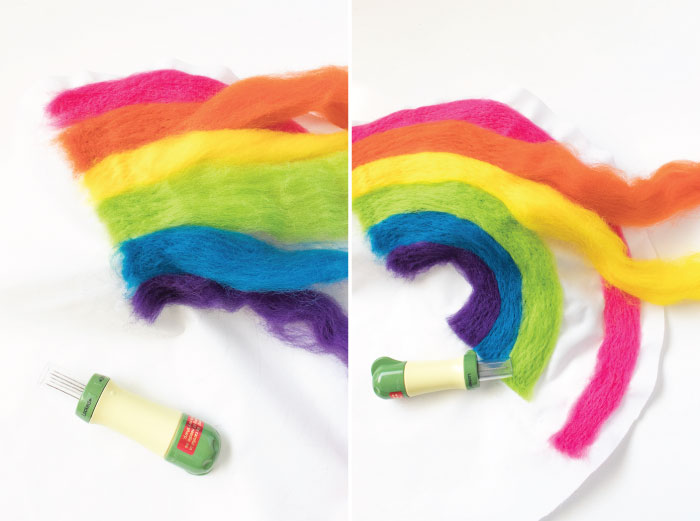
Step 7: Continue with each color so that they are immediately next to one another. You can either follow one color at a time or work on multiple as you make your way across the fabric – this is entirely up to you.
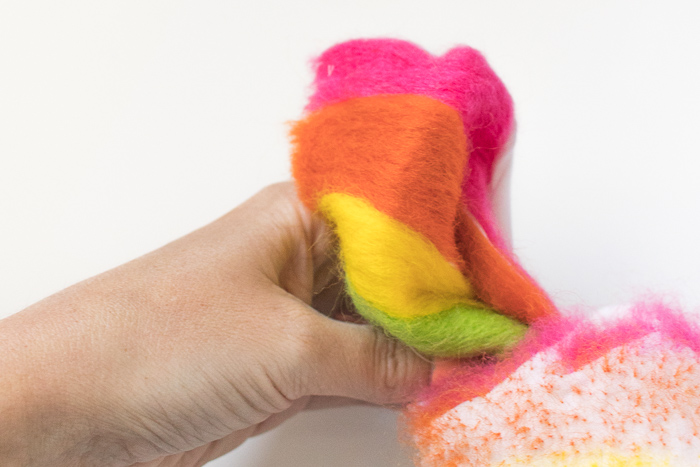
 Step 8: When you’ve completed the needle felting, fold the fabric into the half-circle shape so that the needle felted pattern is on the inside, and pin around the edges, leaving a section at the end open.
 Step 9: Sew around the half circle, leaving one section open. Trim loose threads and pull the pillow right side out through the opening.
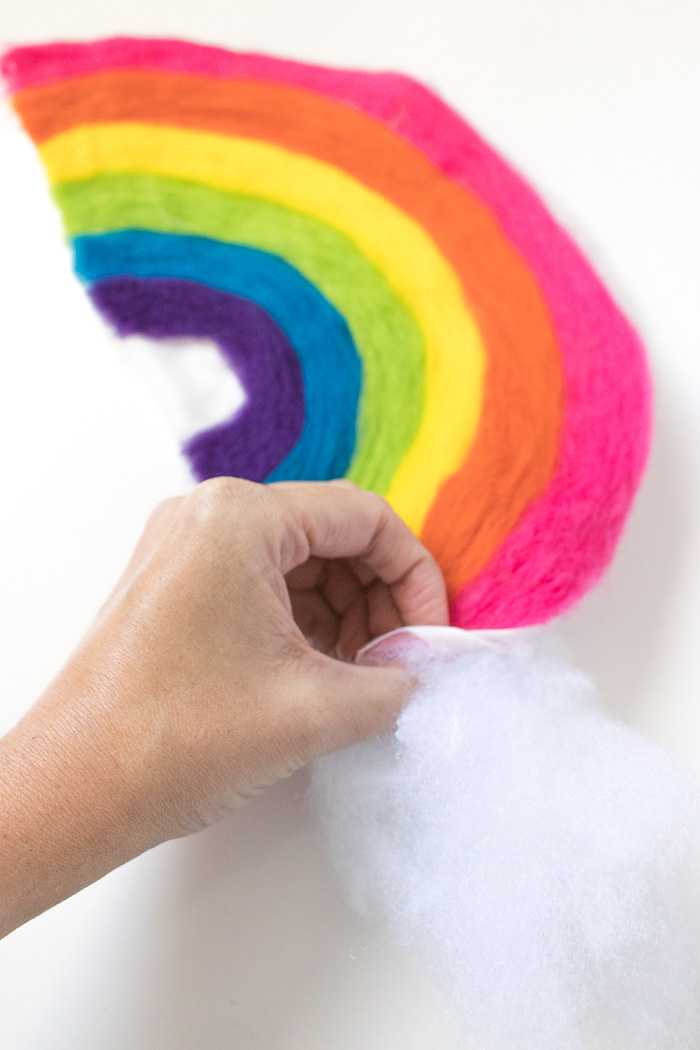 Step 10: Stuff the pillow to desired stiffness.
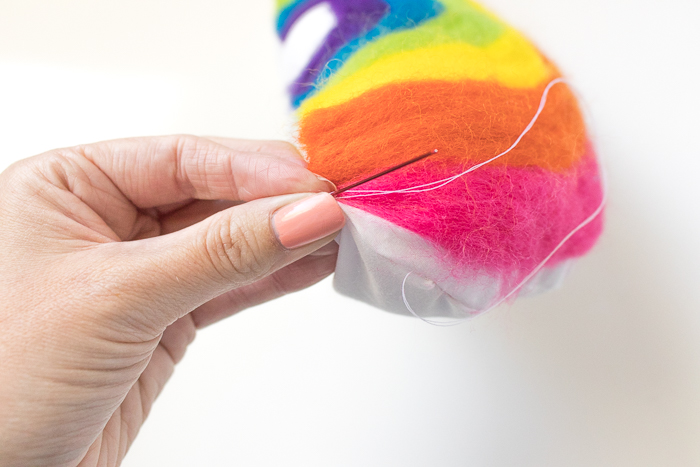 Step 11: Thread a hand sewing needle with thread and use an invisible stitch to sew up the opening and finish off the pillow.
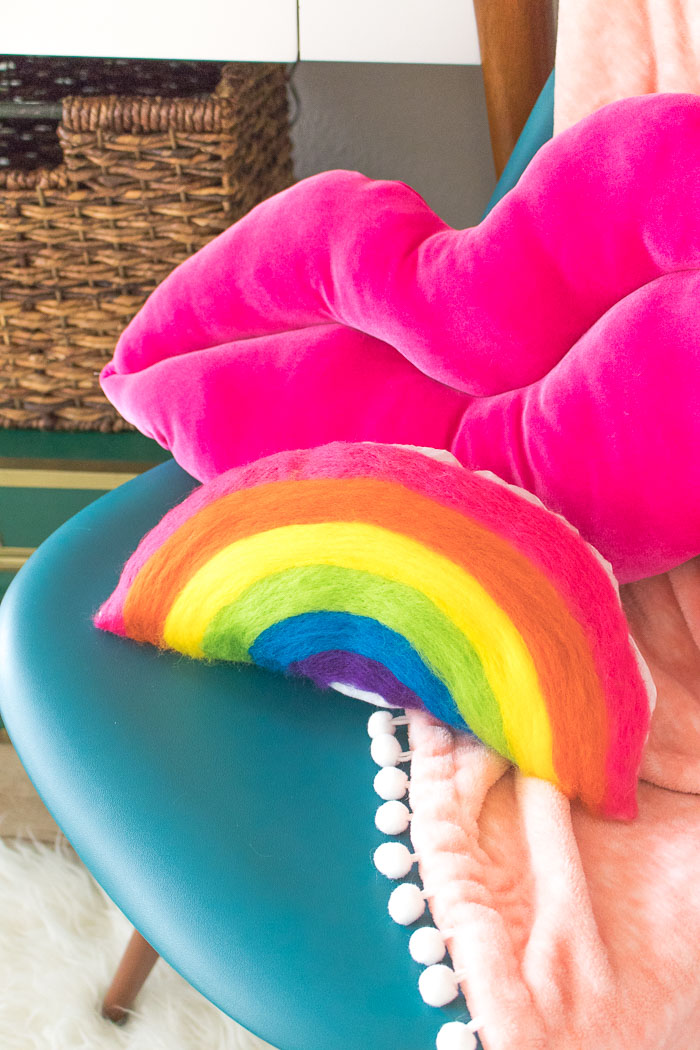
Add your new needle felted rainbow pillow to a bed or chair alongside other colorful pillows to add colorful cheer to any room!
PS, that velvet lips pillow is also a DIY!
Thank you to JOANN for sponsoring this post. All opinions are my own. Thank you for supporting the brands that keep Club Crafted sharing!
Dearlives
Such awesome idea. Really want to get one pillow like this. Thanks for posting this felted rainbow DIY tutorial.
Indya | The Small Adventurer
I was so excited when I saw your post of this on Instagram, and now that I’ve realised how easy it is I’m even more excited! I LOVE making pillows and a rainbow one has been missing from my life. Definitely adding this to the to-do list! ☺️
Holly Wade
Indya | The Small AdventurerThanks so much Indya! I hope this turns out to be a fun project for you!! Be sure to send photos ☺️